Chart your course
How to Change and Bleed a Marine Diesel Fuel Filter
Quick answer
The short version
Changing a diesel fuel filter is a model-specific service job with a predictable risk: opening the fuel path can admit air, spill fuel, or leave a leak behind. The safe preparation is broadly useful, but the actual filter, shutoff, gasket, torque, priming pump, bleed point, and restart process belong to the installed engine manual. Yanmar's JH manual, for example, calls for priming after a filter change and uses a particular fuel cock, air-bleed screw, and priming pump. Another engine may bleed itself, use a different filter layout, or require a different sequence.
Start by deciding whether your manual gives you an owner procedure. If it does not, this article can still help you set up a clean work area and give a technician good information. Do not work from a video that happens to show a similar-looking filter.
Confirm Which Filter You Are Servicing
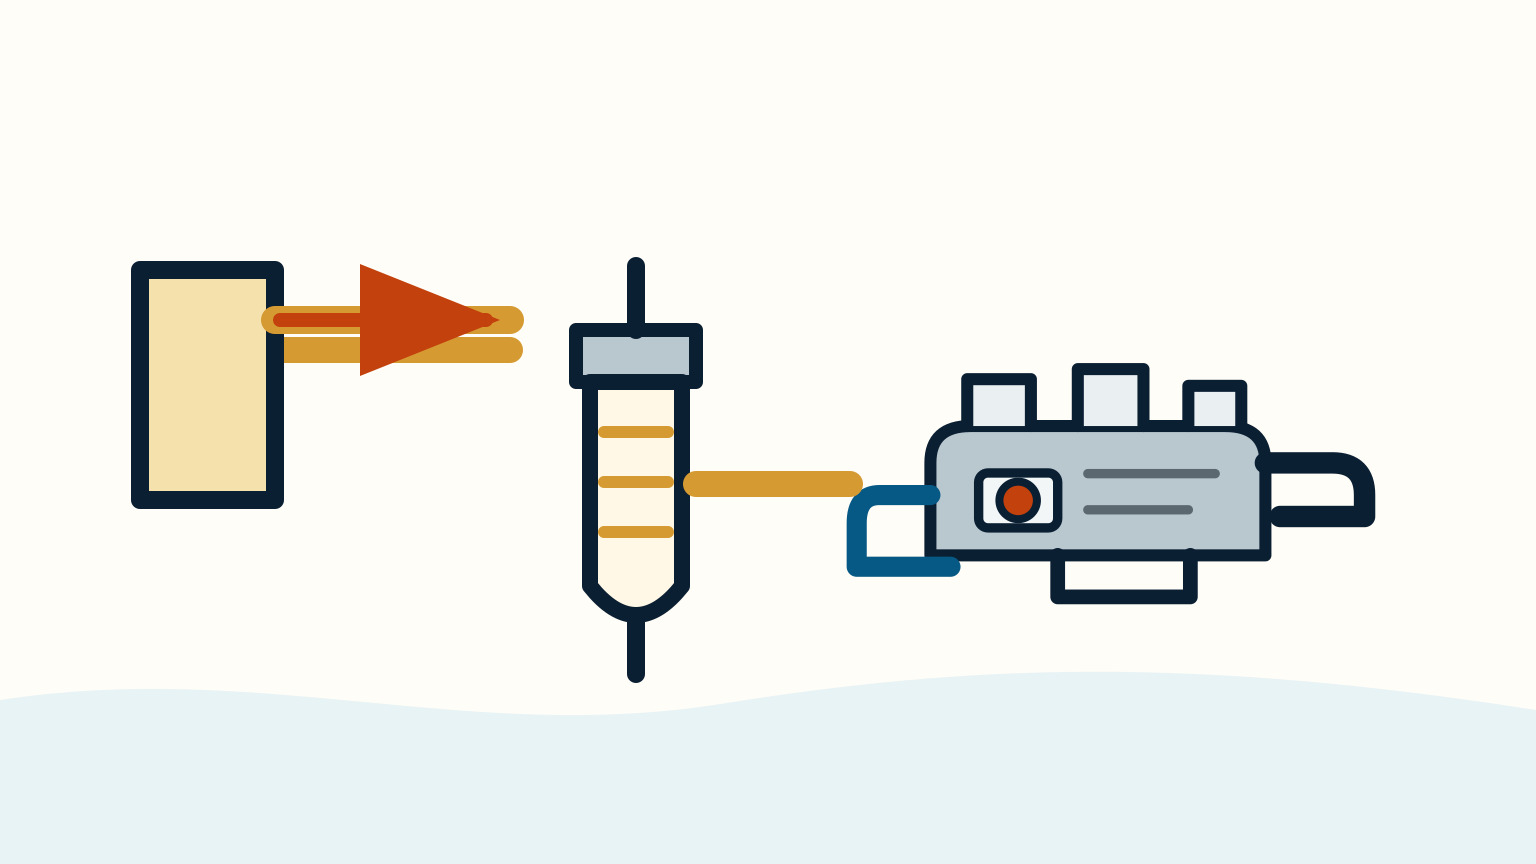
Many boats have more than one fuel-cleaning component. There may be a primary water separator between the tank and engine, an engine-mounted fine filter, a small pre-filter, or a combination that has been changed by a previous owner. Find the exact engine manual, fuel-system drawing, and part number before you order anything or close a valve.
Read the manual's wording closely. A procedure for a filter element can differ from a procedure for an entire spin-on filter. A model may require a new seal, a specified fuel-compatible lubricant on the gasket, a hand-tightening method, or a stated torque. Those details are not cosmetic. A wrong element or damaged seal can restrict fuel or leak when the system is pressurized.
Locate the tank shutoff and know what it controls. Do not turn valves simply because a generic layout says they should be near the filter. On some boats, one valve affects a return path or another tank. Mark the normal position before you change anything so you do not create a second mystery when the engine later will not start.
The sailboat fuel system explained article is useful for recognising the path from tank to engine. It is not a substitute for the service section for your own engine and separator.
Prepare For Fuel And Air To Escape
Diesel fuel and vapours need fire discipline. Ventilate as the boat and engine manuals direct, keep ignition sources away, and have an approved container ready for fuel. In Yanmar's 6LY2A procedure, the container sits below the opened component and spilled fuel is cleaned immediately. It specifically warns against using a shop rag as a catch container because vapours from the rag can be flammable and explosive.
Wear the protective equipment required by your manual. The cited Yanmar bleeding guidance includes eye protection. A fuel system can be under pressure, and a small splash is easier to prevent than to explain after it reaches your face, clothing, or bilge. Keep absorbent material ready for cleanup, not as the primary container.
Make the engine unable to start unexpectedly using the method in its documentation. Let hot surfaces cool. Take a photo of the filter, hose routing, and labels before you disturb them. If a hose, fitting, or return line looks cracked, wet, or improvised, pause. A filter change is a poor time to discover that the rest of the fuel system needs attention.
Plan fuel disposal before you begin. Do not pour old diesel, water from a separator, or contaminated absorbent into the bilge, water, or a drain. Requirements and facilities vary by harbour and country, so verify the current local disposal route before collecting the waste.
Change The Filter By The Manual
Follow the manual's order from the first shutoff through the final seal check. The cited Yanmar 6LY2A procedure closes its fuel cock, drains its filter arrangement, removes its element, applies clean diesel to the new gasket's sealing surface, installs the specified part, and then bleeds the system. That is an example of why "change the filter" cannot be reduced to a universal number of turns.
Keep dirt out of the open system. Do not leave an exposed fitting while you search for a part. Compare a new element with the old one only to confirm the correct type; do not use the old filter's visual condition to diagnose the whole fuel system. A dirty element can be evidence of fuel contamination, water, corrosion, or a neglected service interval, each with a different next question.
Check the filter's surrounding mounting bracket and visible hose support before you finish. A heavy filter or separator that has been rubbing on a hose can bring a new vibration or leak into the next run. Do not redesign the mount from this observation. Photograph it and add it to the service handoff if the manual does not give a clear repair.
Do not force a filter that will not seat. Check the part number, threads, sealing surface, and old-gasket removal according to the manual. A doubled gasket or cross-threaded housing can create a serious leak after the first restart. If you cannot restore the component exactly as it came apart, stop before the engine is run.
For contamination clues that go beyond normal service, read diesel fuel contamination on sailboats. Repeatedly changing filters without finding the source can leave you stranded with the same problem.

Bleed Air Using Your Engine's Method
Air admitted during fuel service can stop a diesel from starting or make it run poorly. The cited Yanmar JH method confirms fuel in the tank, opens its fuel cock, loosens its air-bleed screw, operates its priming pump until fuel flows without bubbles, and then tightens the screw. Other engines have automatic bleeding, different primer arrangements, or different specified components. Use the procedure that matches your model.
Do not keep cranking an engine that has not been primed as the manual requires. Repeated starter attempts can flatten a battery and add another problem to the record. Do not loosen injector pipes or other high-pressure fittings unless the exact engine manual explicitly directs a trained person to do so. Those lines are not a beginner's place to chase trapped air.
Watch what the prescribed bleed point shows, but avoid making a messier test than the one your manual describes. Capture fuel in the approved container, keep eyes protected, and wipe external drips before reconnecting or restarting. If bubbles persist, a primer will not operate, or fuel will not reach the stated point, stop and work from the manual's troubleshooting route.
Make a note of every valve and fitting you touched. A perfectly bled engine can still fail to run if a fuel cock has been left in the wrong position. Clear, sequential notes help you restore the normal path before you decide there is a new fault.
Inspect For Leaks Before Calling It Done
Once the procedure is complete, inspect the filter housing, drain, bleed point, hose ends, and surrounding pads before a restart. Keep the engine space ventilated and use the manual's stated start-up process. If fuel appears, stop rather than tightening a random connection around a running engine.
During the first approved run, watch for leaks and note how the engine starts, idles, and responds. A clean start does not prove every fuel-system issue has been fixed, but it does confirm an important part of the service record. If the engine will not start, runs roughly, or shows a warning, return to the manual's troubleshooting section instead of altering more fittings.
Record date, engine hours, filter part number, source of the replacement, any drained material, priming method, leak check, and disposal route. Include photographs when they clarify the filter and hose location. This becomes useful evidence at the next service and helps an owner avoid fitting a similar but incorrect part.
The sailboat engine won't start guide can help you keep a no-start symptom separate from the work you just completed. A factual handoff will tell a technician whether the issue began before the filter change, during priming, or at the first restart.
If fuel has reached the bilge or absorbent pads, leave the boat ventilated and deal with the waste according to the current local facility rules. A leak that cannot be cleaned or identified is a reason not to restart. The filter job ends only when the fuel path is dry, the waste is contained, and the boat is safe for the next person to enter.
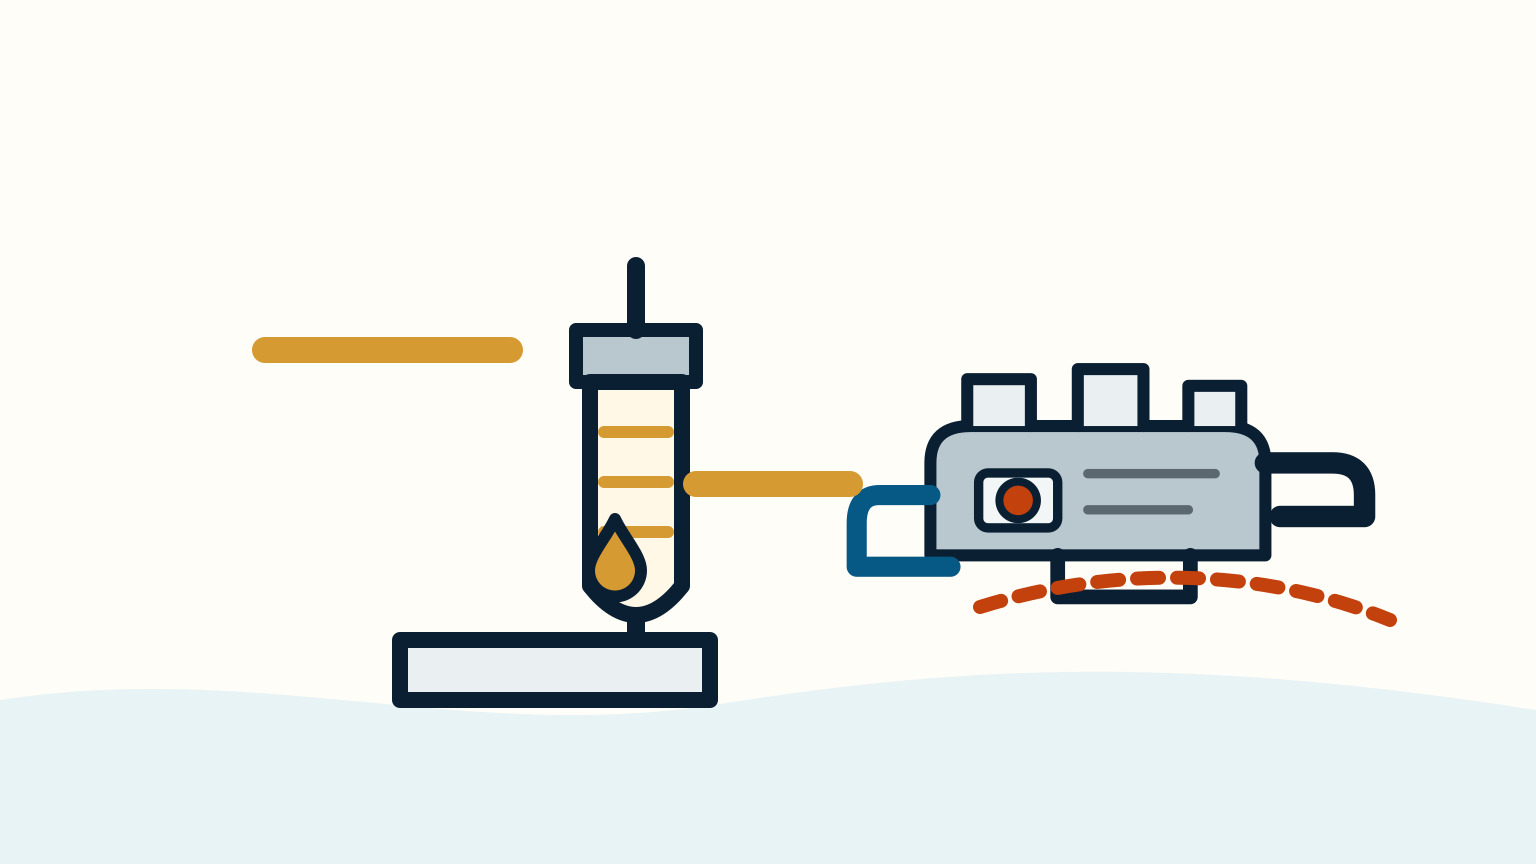
SailStarter's systems lessons make the tank-to-engine path easier to recognise. For part choice, filter removal, fuel bleeding, restart, and waste handling, follow the exact installed manual and use qualified marine service support whenever the procedure is unclear.
Try it from the lesson
Can you spot the next move?
The engine is idling, the boat is safely secured and the propeller area is clear. What should you confirm before departure?
Why you can trust this guide
. We build each guide from public seamanship and safety sources, then teach the universal principle before any local difference.