Chart your course
Sailboat Fuel System Explained
Quick answer
The short version
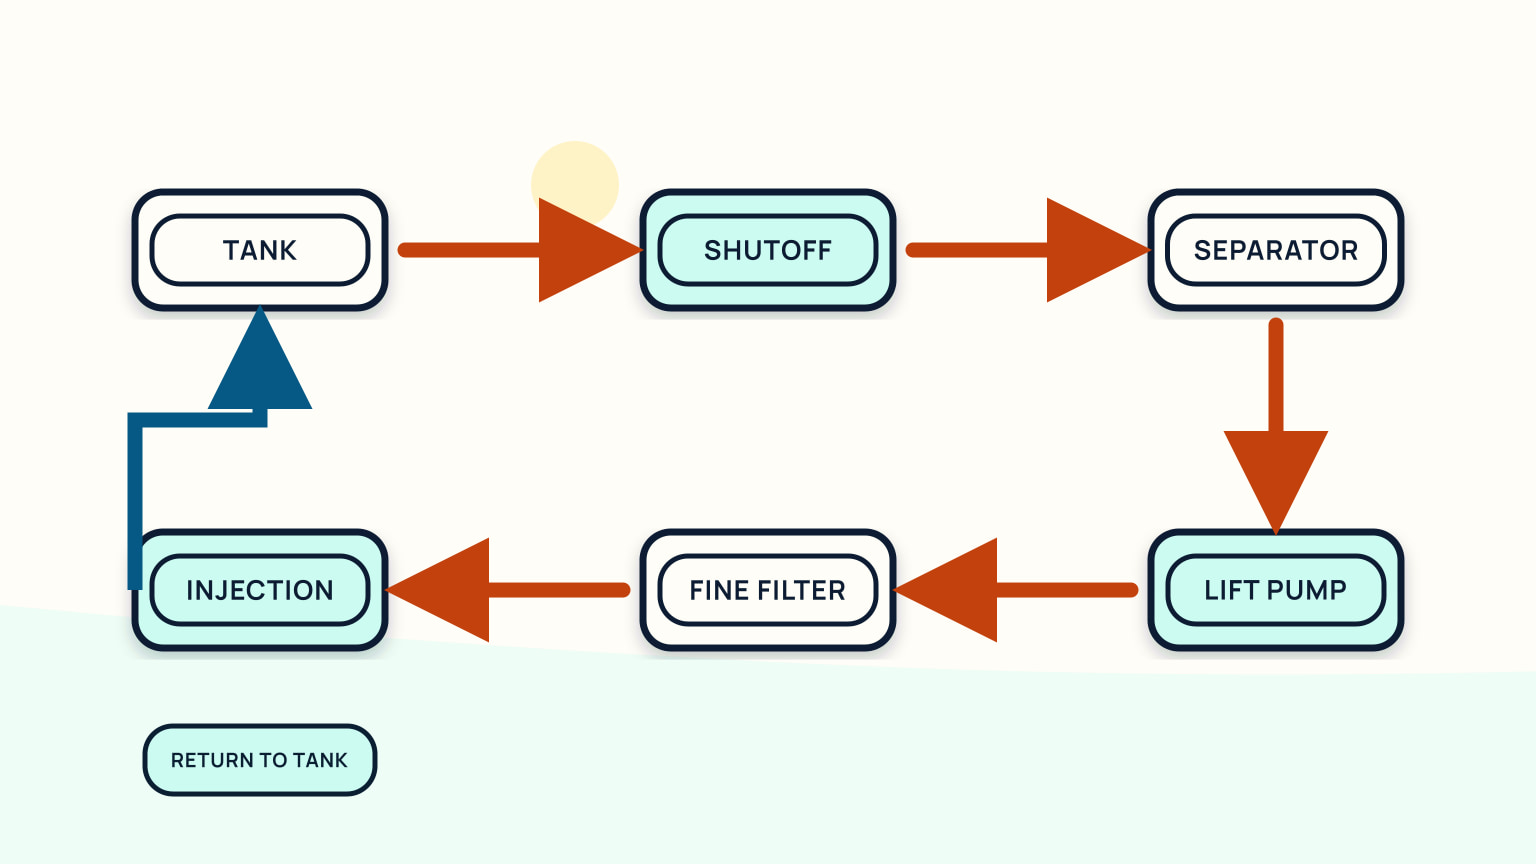
A small sailboat diesel system usually carries fuel from the tank through a shutoff and primary filter or water separator, then through a lift pump and engine-mounted fine filter to the injection equipment. Many engines return excess fuel to the tank. That is a teaching path, not a universal plumbing diagram. Your boat may add selector valves, two tanks, a polishing loop, or different filter positions. Trace every hose at both ends and compare it with the installed engine and filter manuals before moving a valve or opening the system. Stop the engine, ventilate, exclude flames, and follow the maker's isolation and priming procedure.
Understanding the path helps you describe a fault without guessing. It also shows why replacing the nearest filter may not solve recurring contamination. Use labels, hose connections, arrows on the boat's own schematic, and service records to map the installation. The diesel contamination guide goes deeper into fuel quality; this article focuses on recognizing the route and deciding what evidence to collect.
Trace the fuel path
Begin at the fill and tank. Locate the fill hose, vent, inspection or sender access where fitted, pickup, shutoff, and any selector valve. Follow the supply hose to the primary filter or water separator. From there, trace the low-pressure side toward the engine's lift pump and fine filter. Stop where the manual treats injection equipment as specialist work.
Now find any return line. It may look similar to the supply but carries excess fuel back from the engine. Confirm both ends before labelling it. If two tanks or a day tank are fitted, draw each valve position and route separately. Never infer flow from hose direction alone.
Make the drawing from the actual boat. Add maker, model, filter element, valve names, and normal operating positions only after checking the manual. Keep a copy near the service record, not loose in the machinery space.
Add test and service points to the map. Mark where a sample can be drawn under the manual's procedure, which bowl or drain collects separated water, where the system is primed, and which connections a technician uses for diagnosis. Record hose specification and age only when documents support them. If the tank pickup or return cannot be seen, show the route as dashed and unconfirmed. A clear uncertainty is safer than an elegant false line. Ask a technician to review the map during the next service and update it from what is actually opened.
Recognize filters and connections
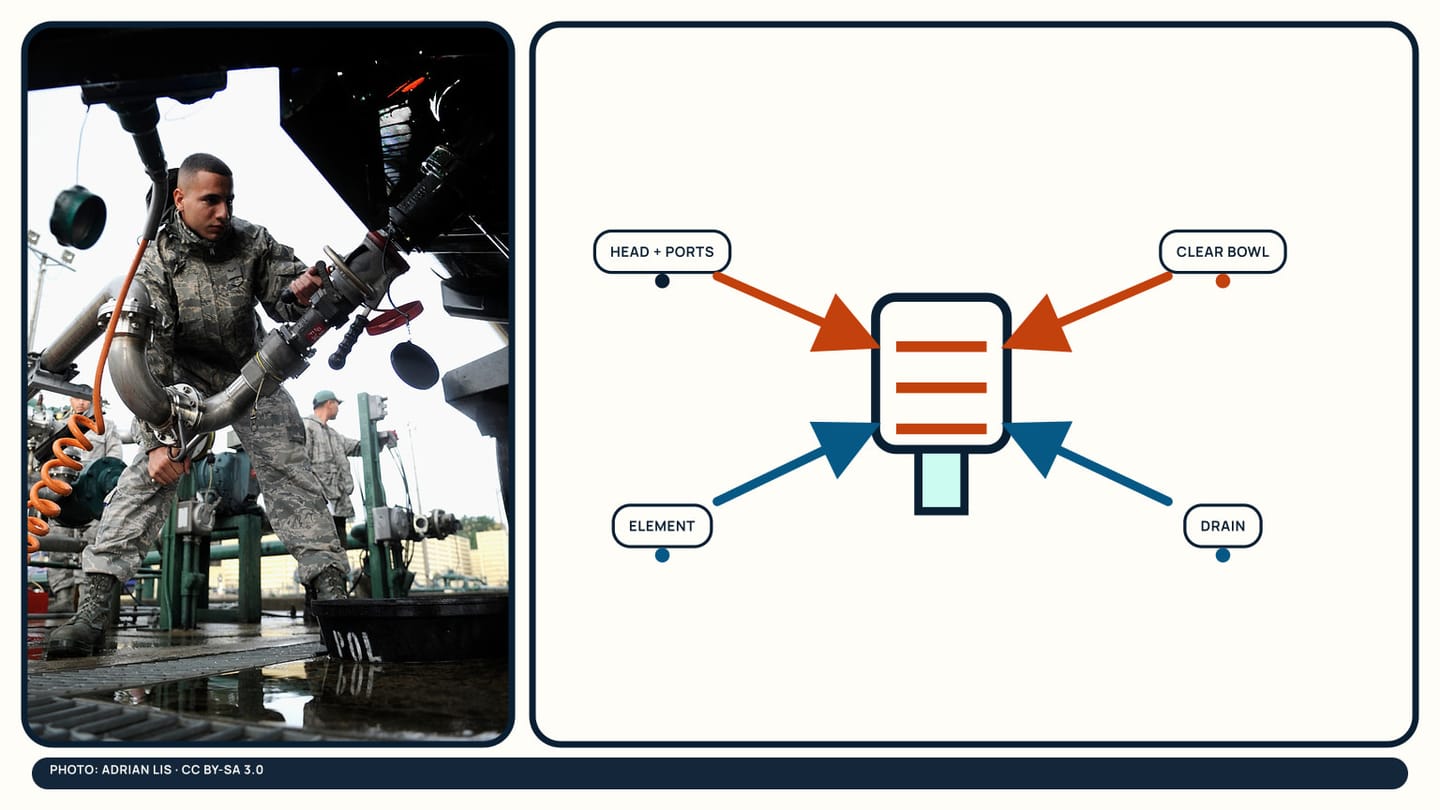
A primary filter or water separator often has a head with inlet and outlet ports, a replaceable element, and a bowl or drain. Some bowls are transparent, which lets you see separated water or debris; others are metal. Labels, casting arrows, and the manual identify direction. The engine may carry another, finer filter in its own housing.
Inspect hose support, clamps or approved fittings, corrosion, chafe, wetness, and staining without disturbing a running system. A dry connection can still be loose, and a stain can be old. Record the finding and clean only when the manual permits, so a fresh leak becomes visible.
Filter rating and flow capacity are not interchangeable guesses. The engine and filter makers specify suitable elements and priming. Keep the exact spare, seals, container, absorbent material, and disposal plan needed for your installation.
Check mounting as well as the filter body. The assembly needs support and service clearance so an element or bowl can be removed without straining hoses. A clear bowl must remain visible and protected as its instructions require. Locate the shutoff that contains fuel during service and confirm that it moves normally only through the approved check. Keep the spare element in clean packaging and compare its part number before opening the system. If the installed filter lacks a readable identity, photograph ports, dimensions, and markings for a supplier or technician rather than choosing by appearance.
Keep contamination in perspective
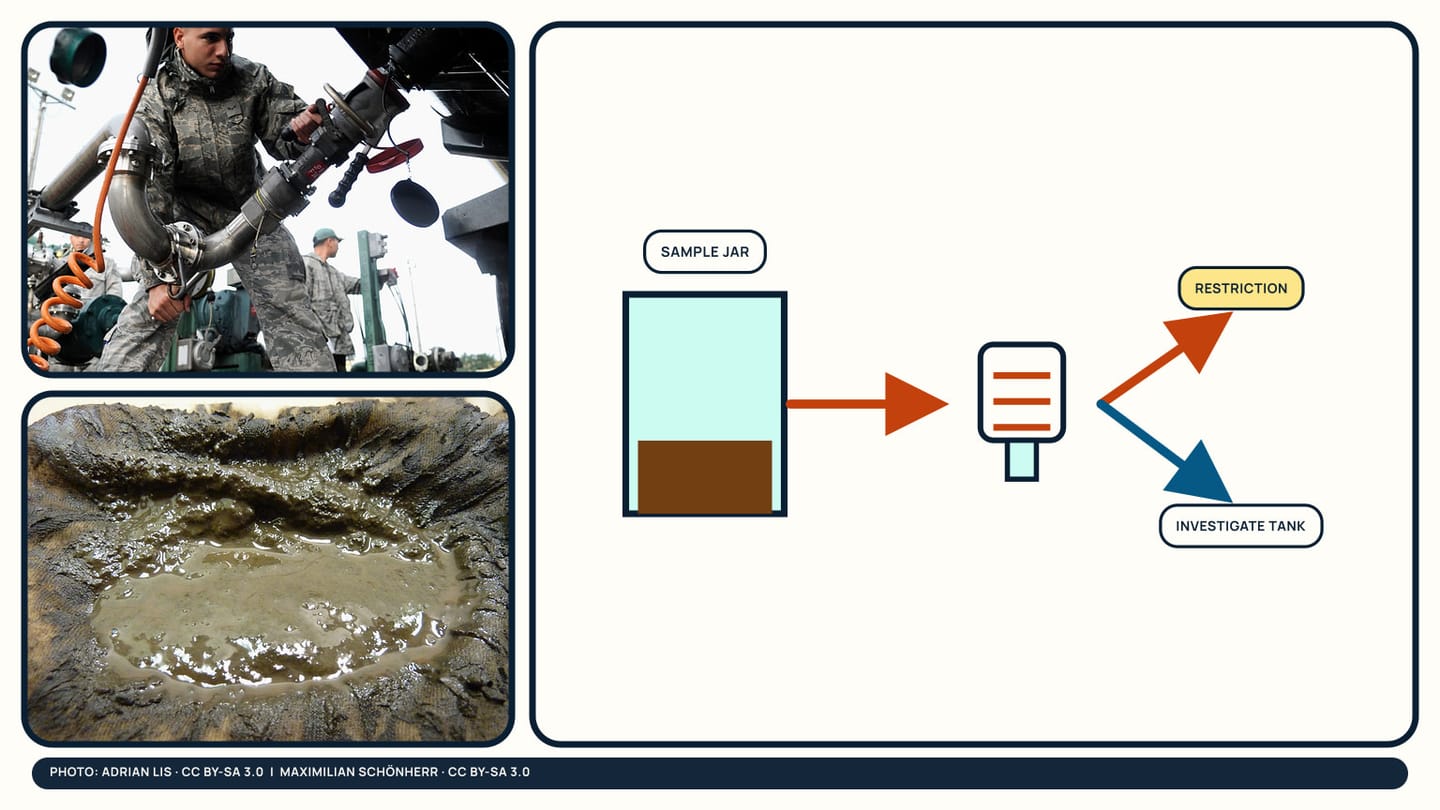
Marine filter makers identify water, dirt, rust, and biological material as contaminants that can restrict fuel delivery and harm downstream equipment. Evidence may appear in a drained sample, transparent bowl, removed element, or a change in engine behaviour. None of those signs tells you the full source by itself.
If a filter blocks soon after replacement, investigate the supply rather than entering a cycle of repeated changes. Record where the sample came from, the engine state, tank level, recent fueling, sea conditions, and how quickly the symptom returned. A tank issue, blocked pickup, closed valve, air leak, damaged connection, or incorrect service can create different versions of poor delivery.
Fuel handling carries fire and pollution risk. Use the installed procedure and local disposal rules. Strong fuel odour, an active leak, damaged hose, or uncertainty about safe isolation ends the owner check.
Treat every sample consistently. Use the container and method specified for the check, label tank and draw point, and let the responsible technician interpret unfamiliar layers or debris. Do not return a questionable sample to the tank. Record how much water or material was found only if the method supports that measurement. If more than one tank feeds the engine, compare them separately. A clean separator after a short idle run does not prove the entire tank is clean; motion and fuel level can change what reaches the pickup.
Use the installed manual
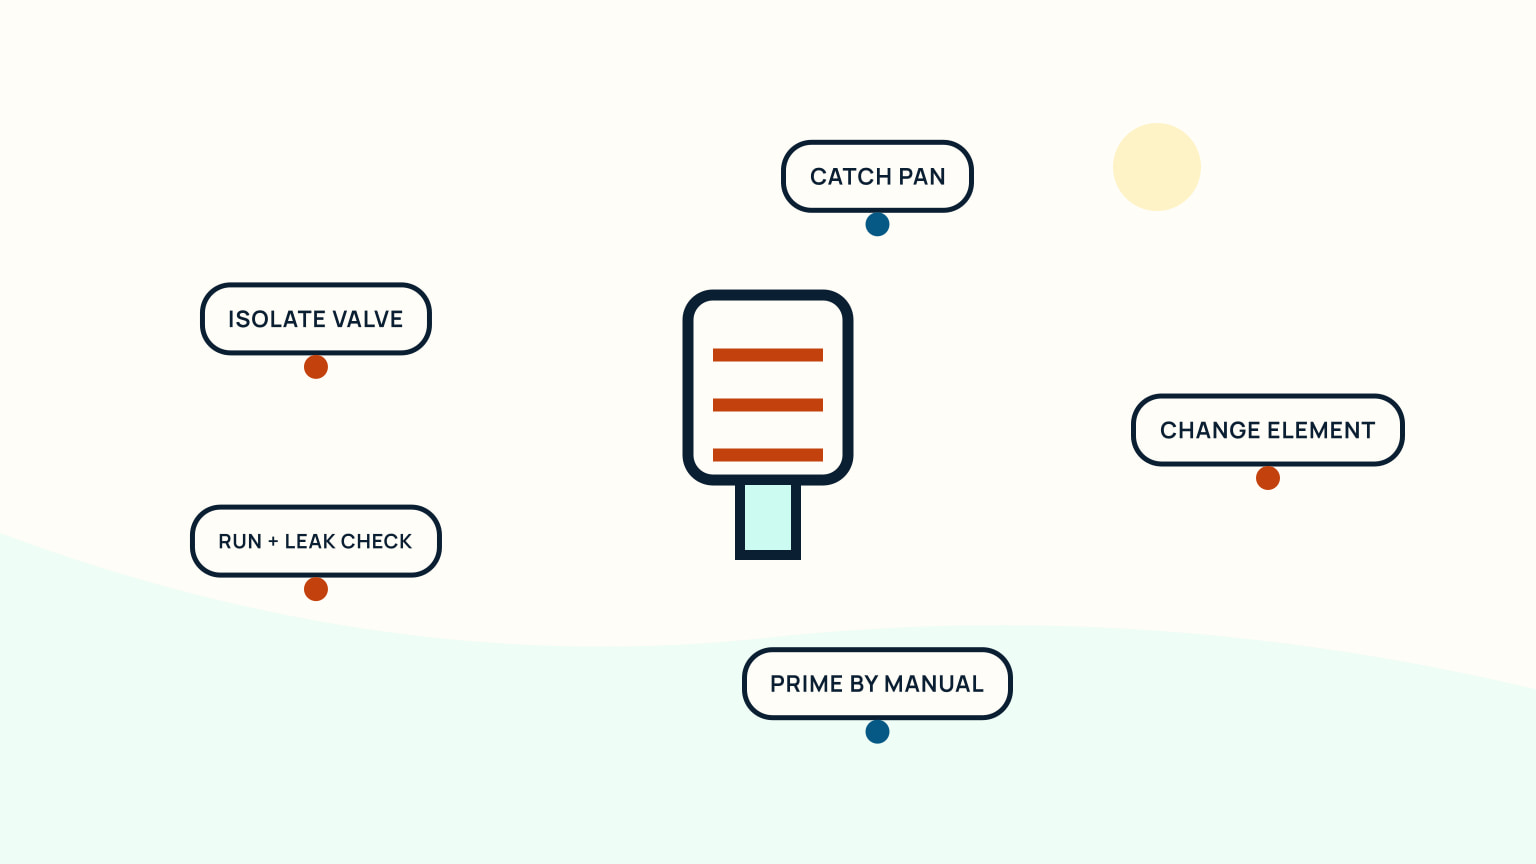
Before service, identify the engine and every separate filter. Read the complete procedure for shutdown, cooling, battery isolation, valve positions, element replacement, seal treatment, filling, priming, bleeding, leak inspection, and restart. One engine may use a hand primer; another may use an electric pump or different sequence.
Prepare a container and absorbent materials before opening the bowl or element. Keep dirt away from clean connections. Replace only the specified element and seals, and follow the stated tightening method. Thread tape, improvised sealant, or excessive force can introduce debris or damage a housing when the instructions do not call for them.
After reassembly, restore valves deliberately. Prime and bleed only as directed, then inspect the entire disturbed path during the manual's test. Record the element, date, engine hours where used, sample appearance, and result.
Plan for the possibility that the engine will not restart immediately. Service in a secure place with enough battery reserve, daylight, absorbent material, and access to qualified help. If the manual permits owner filter changes, practise finding the tools and spares before a trip, not during a developing navigation problem. Keep old and new seals separate and inspect the old element in a way that does not contaminate the clean side. Once the engine runs, watch connections at idle and the specified operating check; a dry static joint may leak under suction or vibration.
Respond to a changed system
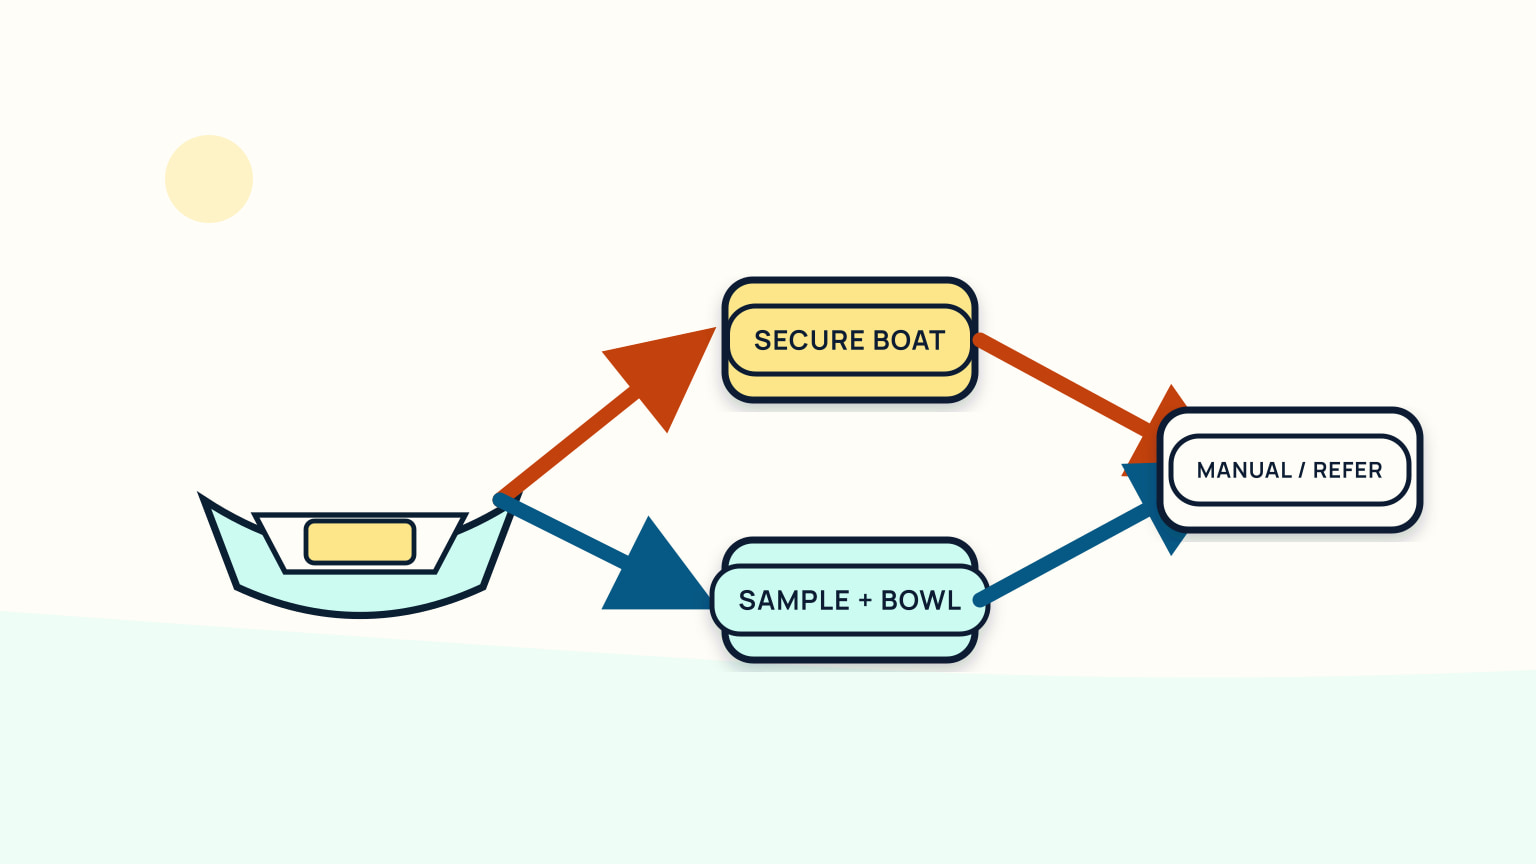
When the engine loses power, stops, starts poorly, or shows a changed fuel sample, protect the boat first. Do not begin machinery-space work while a navigation risk is growing. Once secure, record the symptom precisely: sudden or gradual, one speed or all speeds, after rough motion or fueling, and whether alarms or leaks appeared.
Check only the items the manual assigns to the operator: fuel level, intended valve positions, visible filter condition, connections, and relevant panel information. Avoid loosening high-pressure injection lines. Do not keep restarting when fuel is leaking or the cause is unclear.
Hand a technician the system sketch, photographs, filter history, samples handled safely, recent fueling details, and the exact sequence of symptoms. That evidence is more useful than “bad fuel.” Add the outcome to the engine-check routine and future service plan.
Separate fuel evidence from other engine evidence. A normal-looking bowl does not exclude cooling, electrical, air, exhaust, or mechanical causes. An engine that starts and then stops may have a different path from one that never cranks. Keep the symptom description broad until the manual or technician narrows it. If a filter change restores power, retain the record of the removed element and investigate why it restricted when the timing was unusual. The recovery is evidence about delivery, not proof that the tank, hoses, and filter choice are now sound.
Keep the system sketch aboard.
Trace one hose at a time with the engine stopped and compare the finished map with the manuals. If the route, valve function, contamination, or priming procedure remains unclear, leave the system closed and arrange qualified service. SailStarter lessons can help you recognize onboard systems and communicate symptoms, while the installed documents control every model-specific action.
Try it from the lesson
Can you spot the next move?
The engine is idling, the boat is safely secured and the propeller area is clear. What should you confirm before departure?
Why you can trust this guide
. We build each guide from public seamanship and safety sources, then teach the universal principle before any local difference.