Chart your course
DIY Sailboat Maintenance for Beginners
Quick answer
The short version
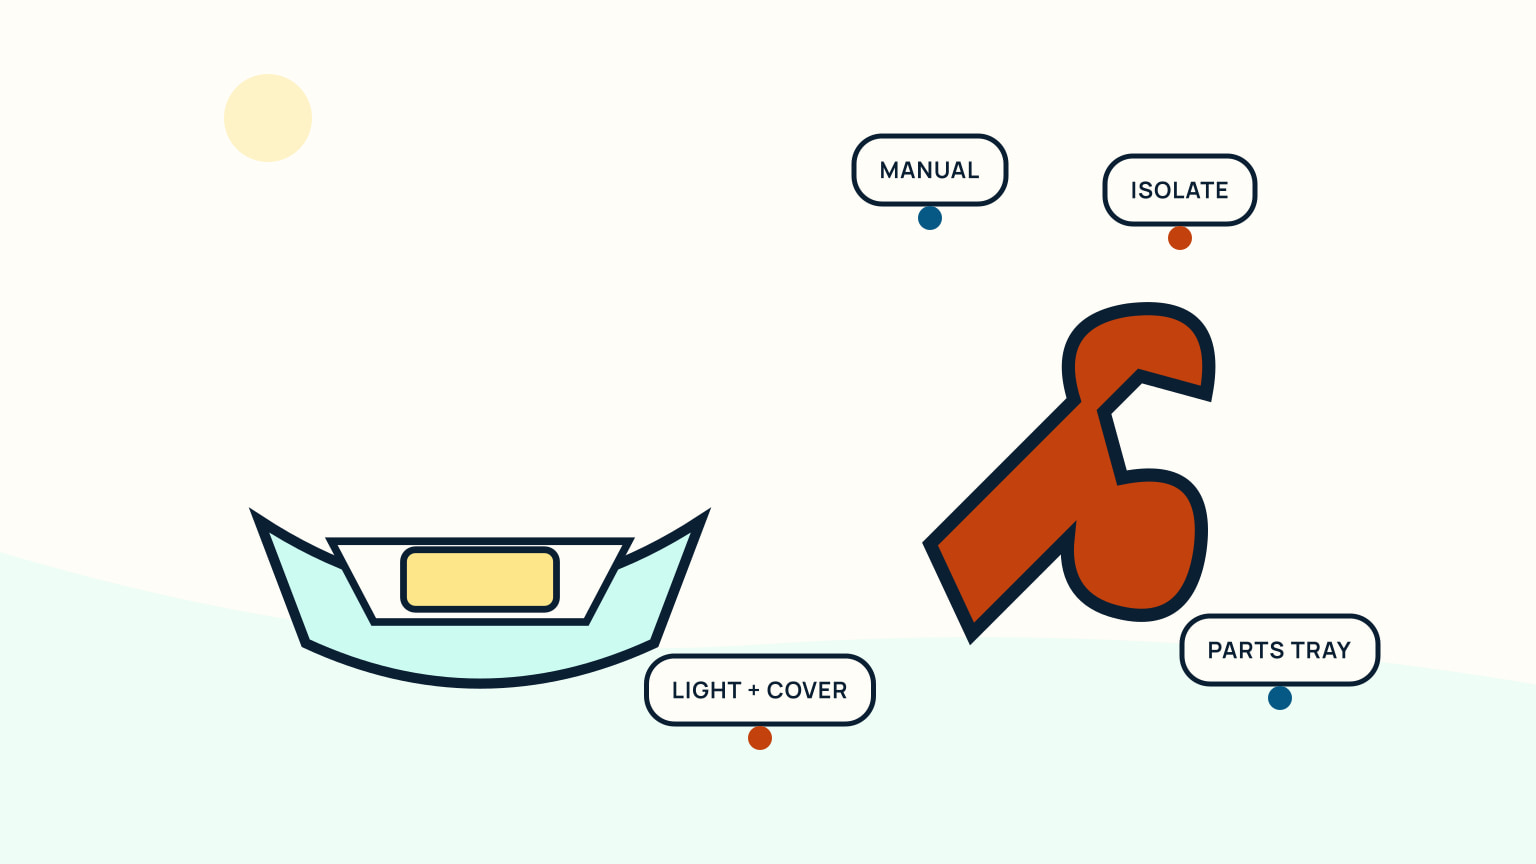
Good beginner DIY maintenance starts with a small job that the installed manual clearly assigns to the owner. Cleaning, careful visual inspection, inventories, simple adjustments, and documented replacement of an accessible service item can be sensible first work. Fuel, hot machinery, high-current wiring, hidden structure, pressurized systems, and unclear faults deserve a much tighter boundary. Before opening anything, identify the exact component, read its instructions, arrange isolation and safe access, and decide what condition will make you stop. A successful first job ends with the boat restored, tested as directed, and the work recorded.
DIY skill grows through repeatable habits, not bravery. You will learn more from one bounded task done cleanly than from dismantling three systems at once. Choose work that lets you see the entire component and account for every fastener, seal, tool, and connection. If the manual is missing, find the correct edition before choosing a substitute procedure. The monthly maintenance schedule can hold future tasks, but each job still needs its own preparation and return-to-service check.
Choose a bounded first job
A bounded job has a clear start, a known finish, and a way to confirm the result. Washing salt from accessible hardware, cleaning a bilge so leaks become visible, checking line chafe, updating an equipment inventory, or replacing a maker-specified service item can fit that shape. “Fix the electrical system” does not. Neither does “sort out the engine,” because both hide several possible faults and hazards.
Write the job in one sentence. Name the component, observed condition, manual section, intended action, and final check. Then ask four questions. Can you isolate the system? Can you reach it without putting weight on fragile parts or working over open water? Do you have the specified consumables and tools? Can you stop with the boat left in a safe state if the finding changes?
If any answer is no, narrow the work to observation and documentation. A technician can act faster when you provide the model, symptom, photographs, service history, and exact point where the manual stopped making sense.
Choose a job whose failure mode you can contain. Cleaning and inspecting an accessible pump strainer may be reasonable when the valve, housing, seal, and restart check are documented. Opening an unidentified below-waterline hose is not. Replacing a labelled cabin-light fuse may be straightforward after the cause is understood; bypassing protection because it opens again is not. A first task should also fit one session with daylight left for testing and cleanup. If the boat must remain disassembled overnight, plan a safe cover and a clear warning. These boundaries are part of the repair, not evidence that you lack confidence.
Prepare the work area
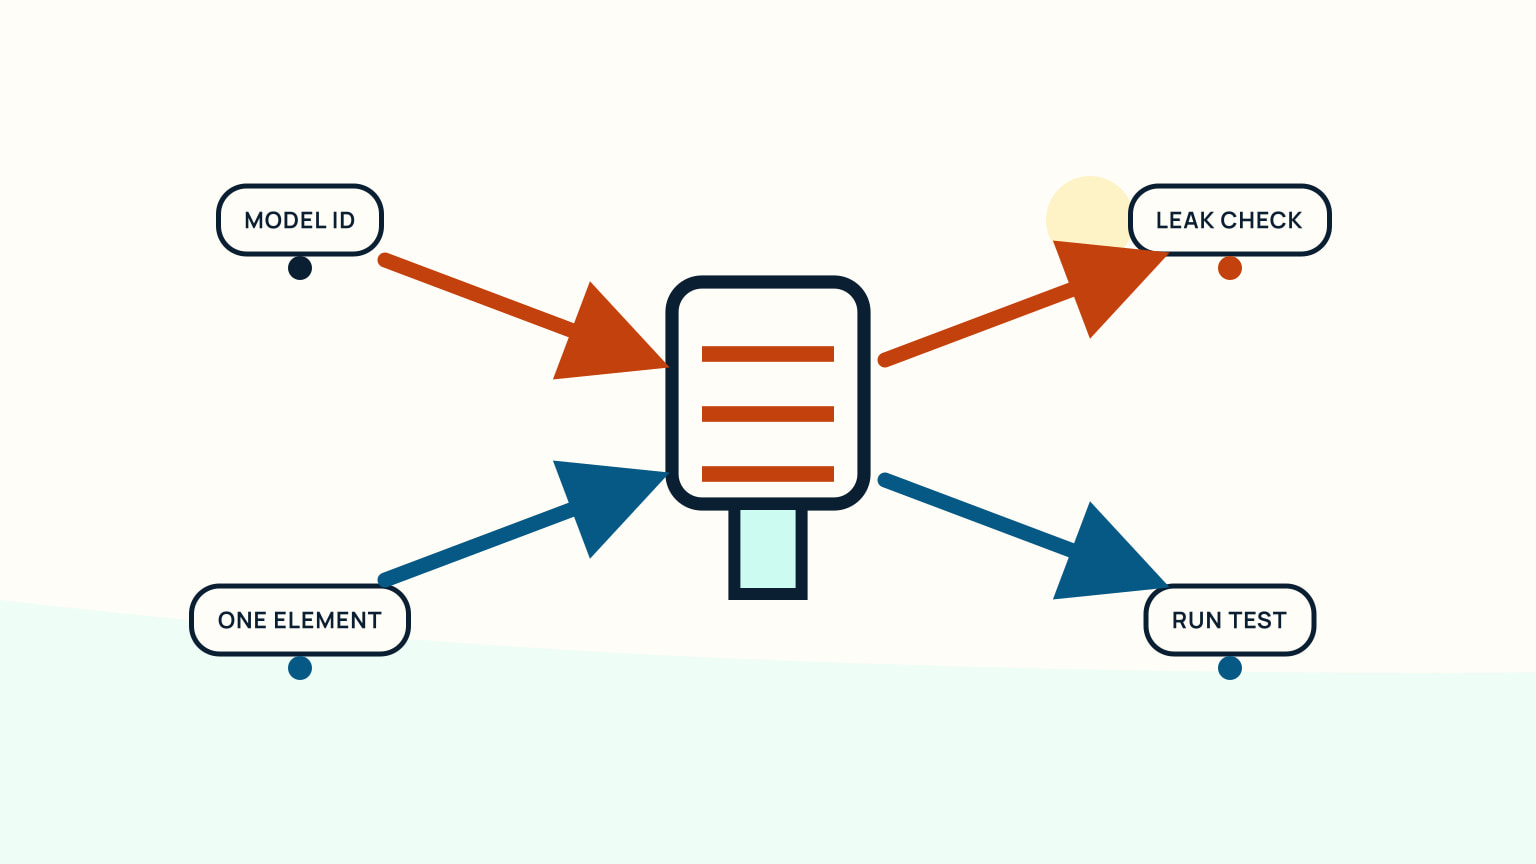
Most avoidable DIY trouble begins before the first fastener moves. Clear enough space to work without stepping on tools or losing small parts. Protect openings and soft finishes. Improve lighting. Arrange ventilation where the manual requires it. Keep ignition sources away from fuel work, and do not begin hot-engine service until the maker's conditions are met.
Take wide and close photographs before disconnecting anything. Mark orientation where a part can be installed more than one way. Lay removed items in sequence, using containers for clips, washers, springs, and seals. Check that replacement parts match the exact model, not merely a similar photograph or description. Product labels and safety data control gloves, eye protection, ventilation, cleanup, and disposal.
Plan the interruption. If you discover corrosion under a terminal, a damaged hose behind a panel, or a fastener that will not move normally, you need somewhere to stop. Cover exposed openings, label isolated controls, and prevent another person from operating the system while it is incomplete.
Use a parts tray with compartments labelled in removal order. Put old and new parts side by side only after the new item has been checked against the model. Cover drains, bilge openings, and gaps where a washer can disappear. If you are working above batteries or electronics, add an insulating cover. Arrange the camera so you can photograph hidden wire and hose routes before your hands block the view. Tell other people aboard which controls are isolated and when they may be used again. A simple written tag on the switch or valve prevents a helpful person from undoing your safe setup.
Use manuals and observations
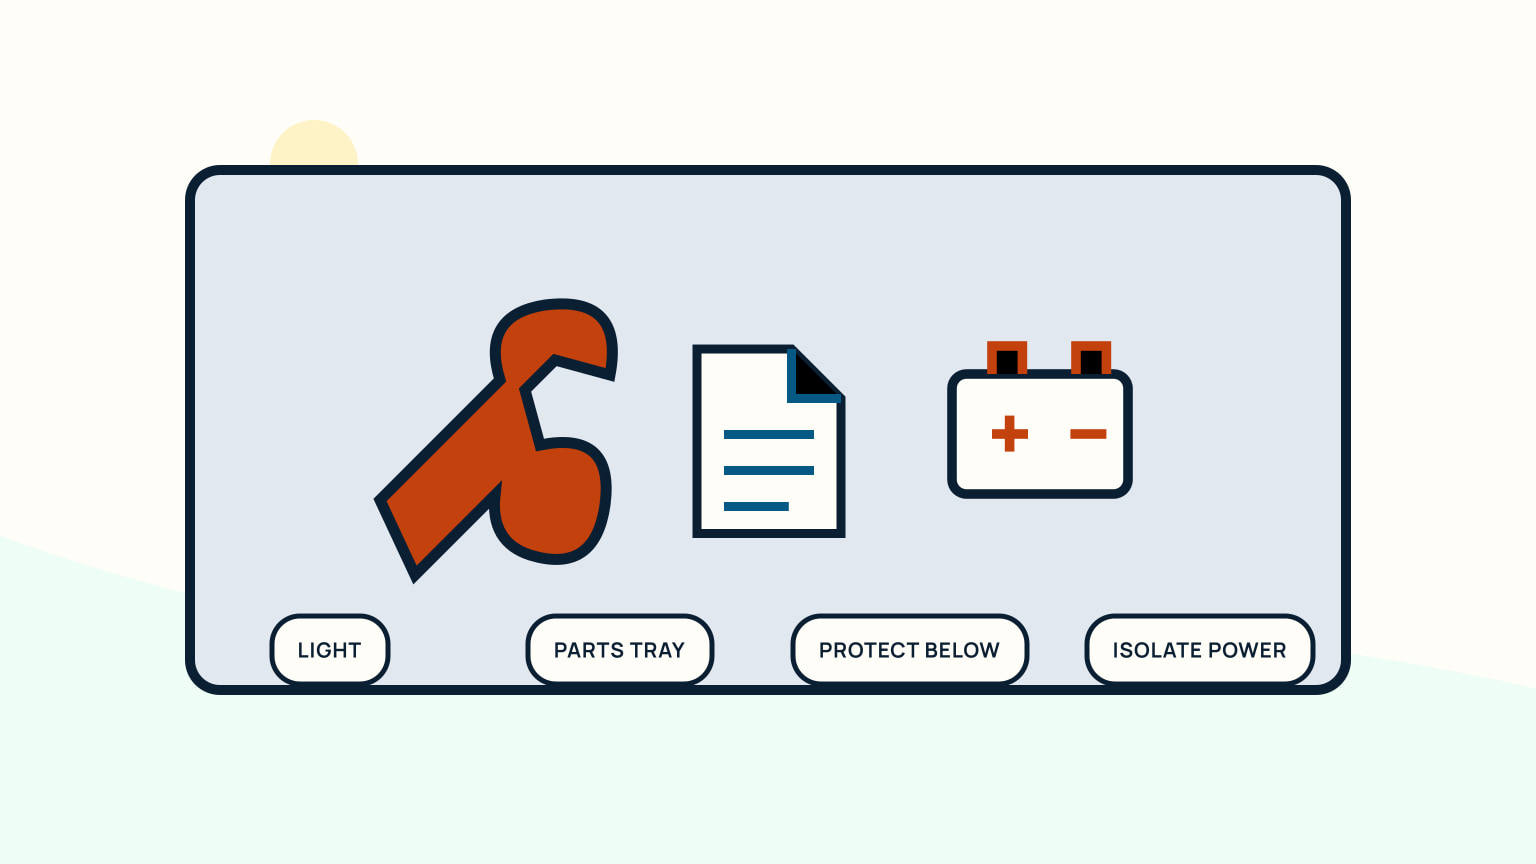
The manual is the route through the job. Your observations tell you whether the route still fits the boat. Read the complete procedure before starting, including warnings, required access, specified materials, tightening sequence, disposal, and the final operational check. If the installed component has been modified, photograph the difference and pause until you understand it.
Describe what you can verify. Write “green deposit on the negative terminal” rather than “bad battery.” Record whether a leak is fresh, where its highest wet point appears, and when it occurs. Note whether a pump is silent, runs continuously, or cycles. For machinery, record the panel state, alarms, smell, sound, smoke, cooling-water evidence, and whether behaviour changed from the previous run.
Measurements only help when the manual identifies the test point and expected condition. A number taken from the wrong terminal or with the wrong system state can send you toward the wrong repair. Never bypass protection or invent a test because a generic video looks similar.
Read diagrams for component identity as well as procedure. A drawing can show which side of a filter is inlet, which cable is a sensor rather than power, or which valve position is normal. Match those details to labels on the installed equipment. If the manual drawing and boat differ, look for an approved option, earlier modification, or the wrong document. Do not “correct” the boat until the discrepancy is understood. Write observations in chronological order during testing. The sequence from control input to sound, movement, warning, and shutdown often tells a technician more than a summary written after several attempts.
Know when to stop
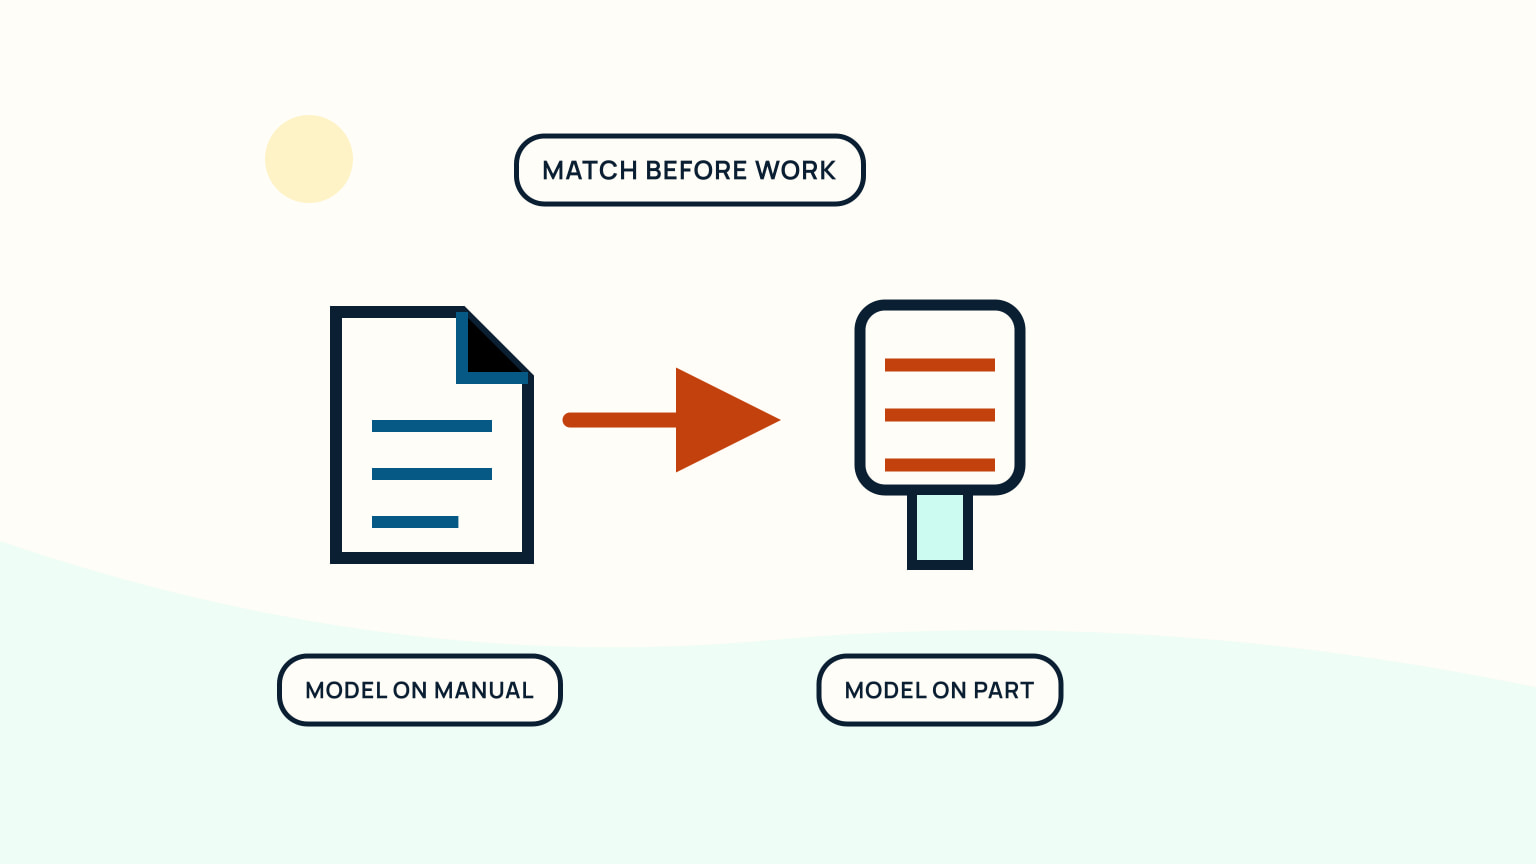
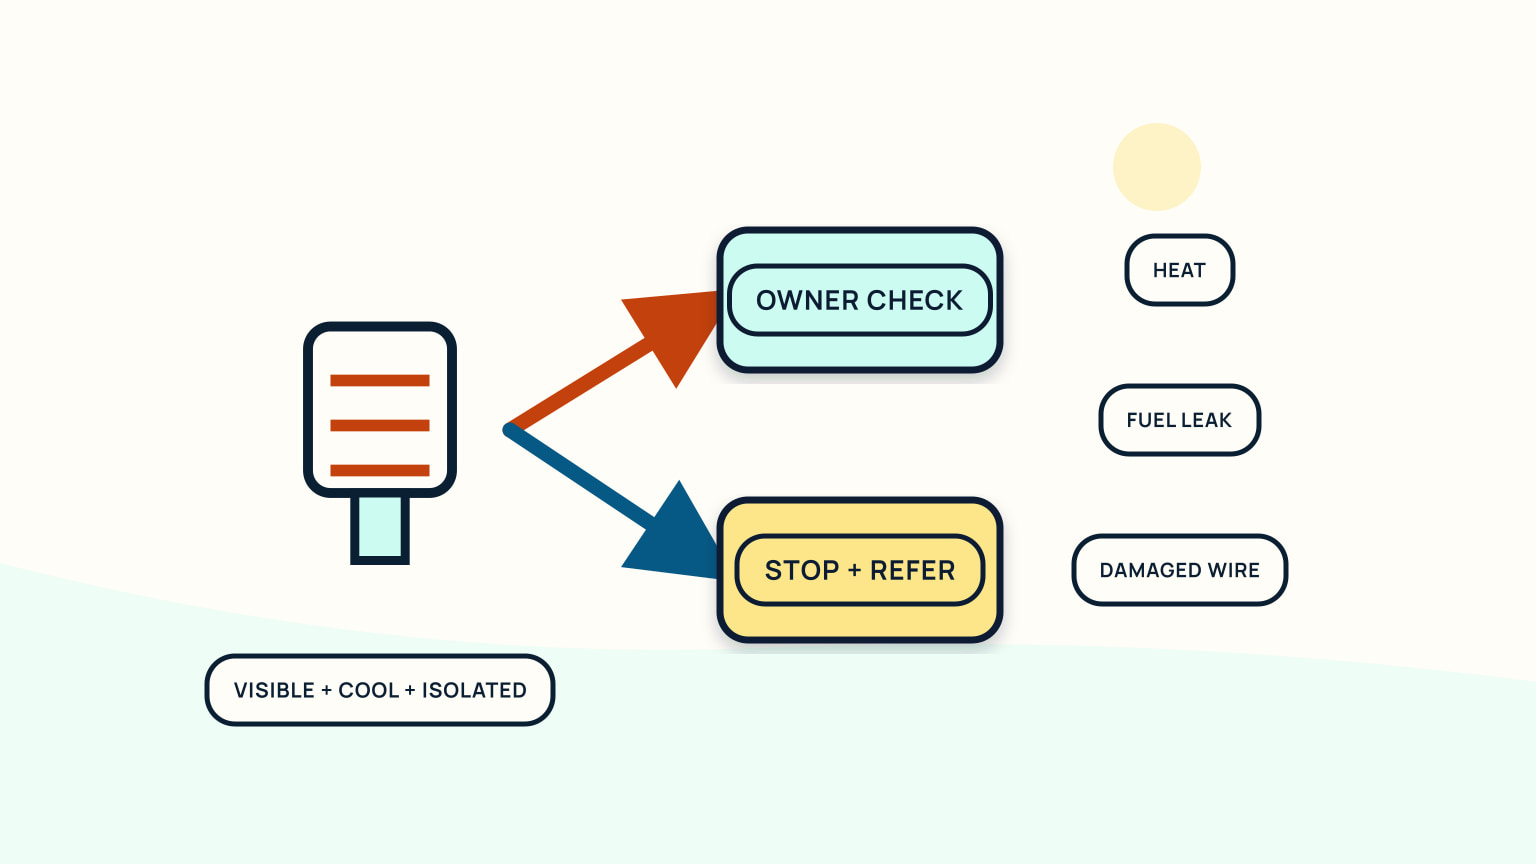
Set stop conditions before you work. Heat, smoke, arcing, a fuel or burnt odour, damaged insulation, pressurized leakage, moving machinery, unexplained water ingress, soft structure, or a component that does not match the manual ends the job. So does a fastener, valve, or fitting that needs abnormal force. More force can turn missing knowledge into damage.
Some jobs are simple until they expose a second system. A deck fitting may reveal wet core. A battery check may uncover nonstandard high-current wiring. A filter service may show contaminated fuel returning immediately. At that point, preserve the evidence and change the plan. Replacing the visible item again does not resolve the source.
Professional help is also appropriate when the repair needs specialist test equipment, lifting, rig access, pressure work, structural assessment, or compliance with local electrical, fuel, pollution, or yard rules. A calm handoff is part of good DIY maintenance. It protects the boat and gives you a chance to learn from a clearly defined problem.
Stopping does not mean abandoning the job. Secure the component, restore any safe valve or switch state that the procedure permits, contain fluids, protect openings, and label what remains incomplete. Photograph the exact condition that changed the plan. Then write a short handoff: what you intended, what you found, what you touched, what remains isolated, and what advice is needed. Avoid dismantling further merely to make the problem look clearer. The untouched relationship between parts can be valuable evidence. If the boat cannot safely remain in that state, call the yard or relevant service provider before leaving it.
Record the return to service
Before testing, count tools and removed parts. Restore guards, covers, hose supports, cable restraints, valves, switches, and access panels to their documented positions. Remove rags and temporary plugs. Inspect the whole work area, including the spaces around the component you touched.
Follow the manual's test sequence. A static leak check, powered test, dockside run, or controlled trial may be required depending on the job. Watch the repaired area and connected systems through the complete test. Stop if a new smell, sound, warning, leak, temperature, or movement appears. Do not call the job complete because the equipment started once.
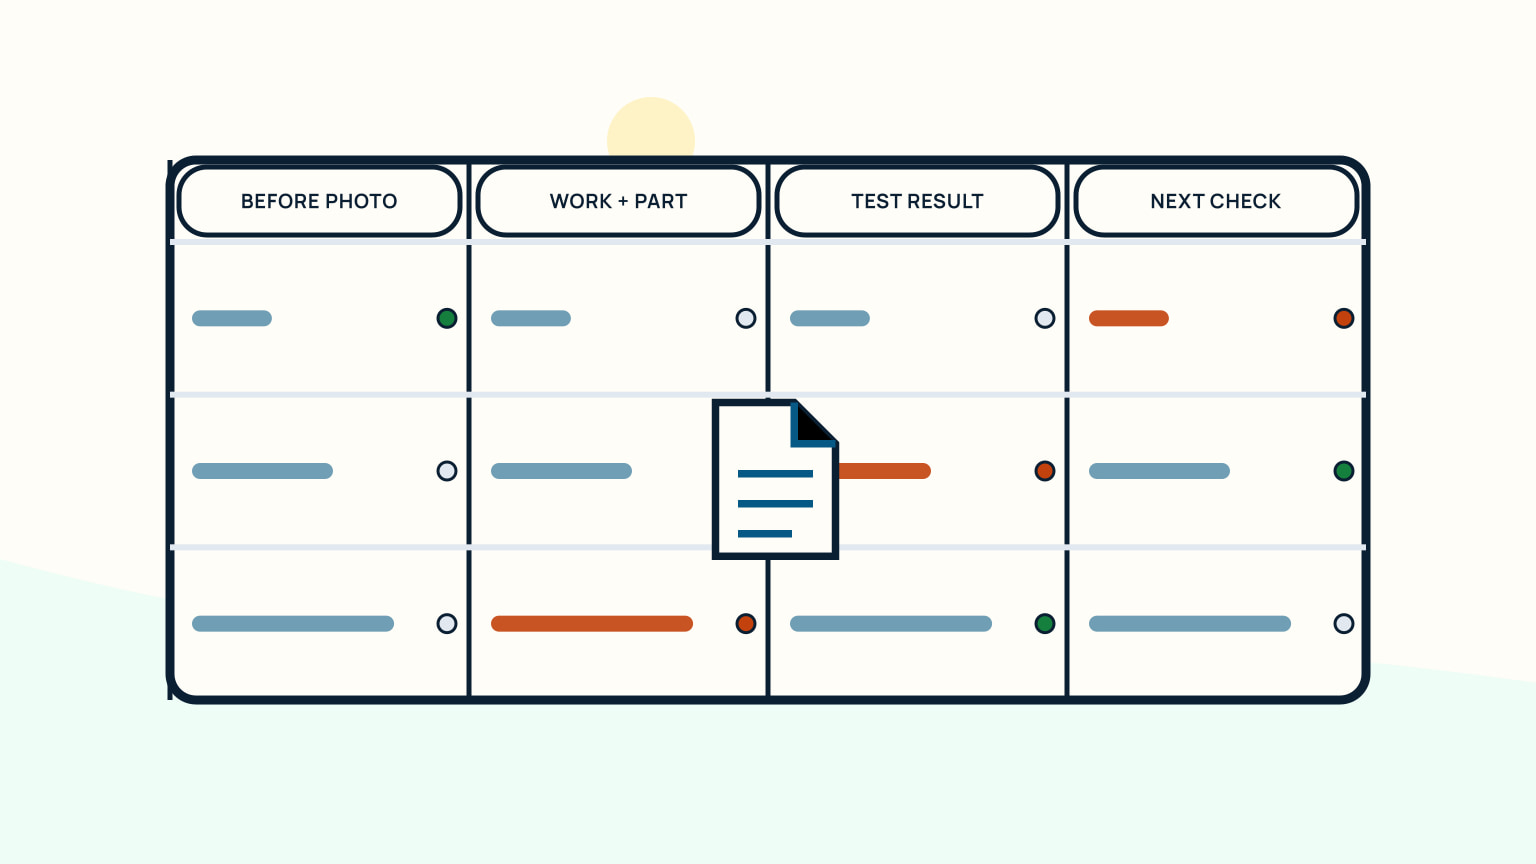
Record date, engine hours where relevant, parts, consumables, observations, photographs, result, and next due action. Keep receipts and product details with the service entry. These notes improve the next repair and the boat's eventual paperwork file. They also make a later used-boat inspection more honest.
Separate “assembled” from “verified.” A hose can be clamped and still need a leak check. A pump can run at the dock and still need an automatic-mode test. A deck fitting can look neat while the product remains uncured. Write the required test before starting, then perform it under the specified condition. Ask another person to inspect the area when the consequence of a missed tool, open valve, or loose connection is serious. Finally, schedule a follow-up after first use. Vibration, pressure, heat, rain, or loading may reveal a problem that a static workshop check could not.
Pick one task whose full path you can see today. Read the installed instructions, prepare the space, and write your stop conditions before touching the component. If the job expands, document what changed and book the right help. SailStarter lessons can build your vocabulary for onboard systems and routine checks, which makes both DIY work and conversations with technicians clearer.
Try it from the lesson
Can you spot the next move?
The engine is idling, the boat is safely secured and the propeller area is clear. What should you confirm before departure?
Why you can trust this guide
. We build each guide from public seamanship and safety sources, then teach the universal principle before any local difference.