Chart your course
Watermakers for Sailboats
Quick answer
The short version
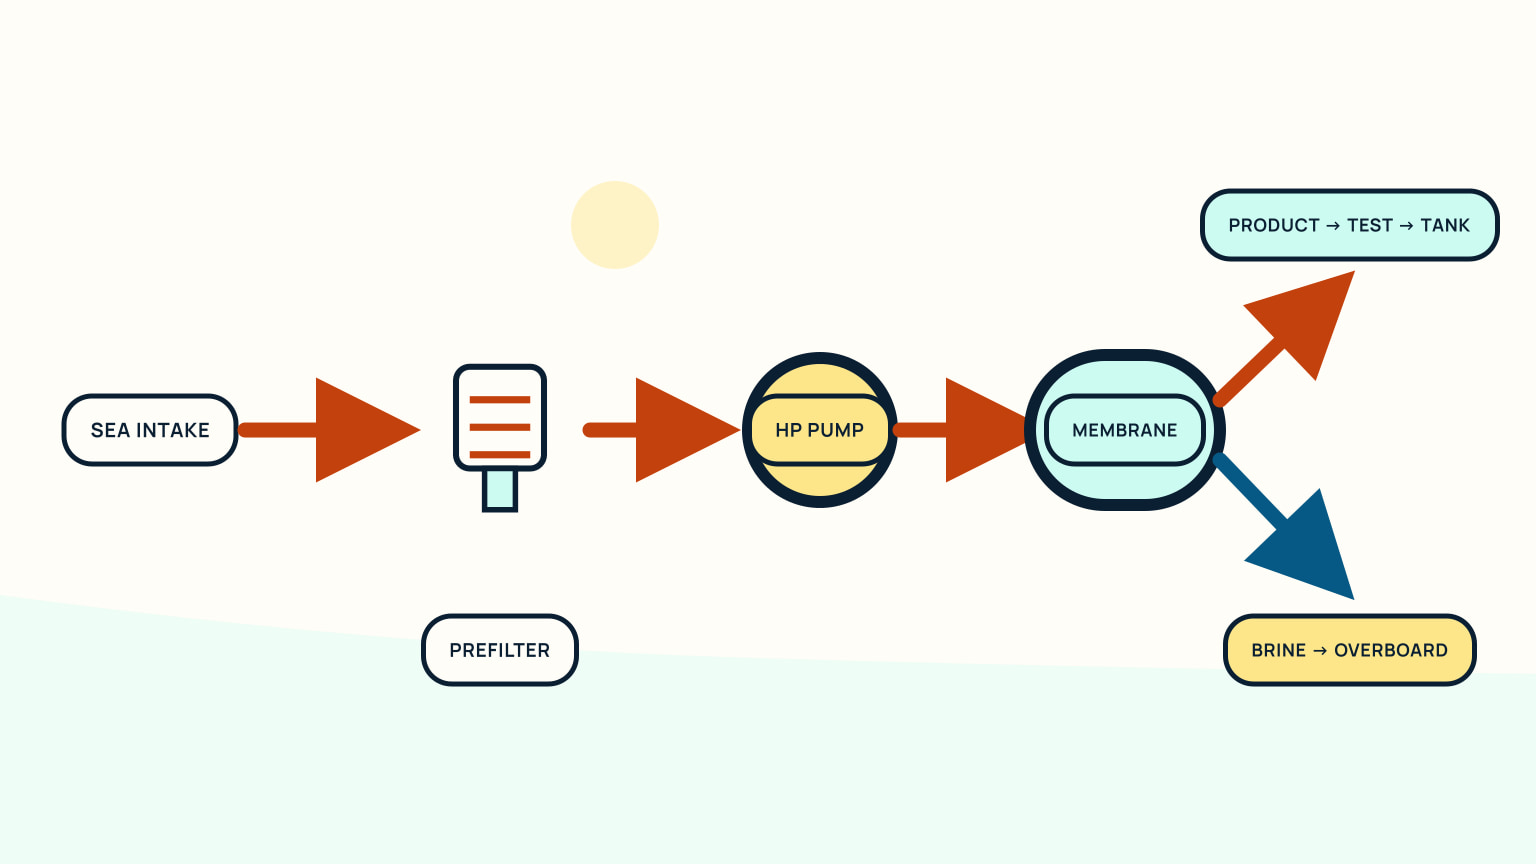
A sailboat watermaker uses reverse osmosis to turn suitable seawater into product water. A typical path runs from seacock and strainer through prefilters and pumps to a high-pressure stage and membrane. Product water is tested before it goes to the tank; concentrated reject water returns overboard. Decide whether one fits by connecting crew demand with rated output, electrical load, intake and discharge locations, service access, prefilter supply, flushing, preservation, and the water you already carry. Do not size from output alone. Feed-water quality and periods of non-use can matter as much as daily production.
A watermaker reduces dependence on shore water only when the crew can operate and maintain it. It also adds hoses, filters, power demand, spare parts, and a preservation routine. Start with a water plan, then compare exact models. The cruising water guide can help estimate demand; the model manual turns that demand into a realistic operating schedule.
Begin with the water plan
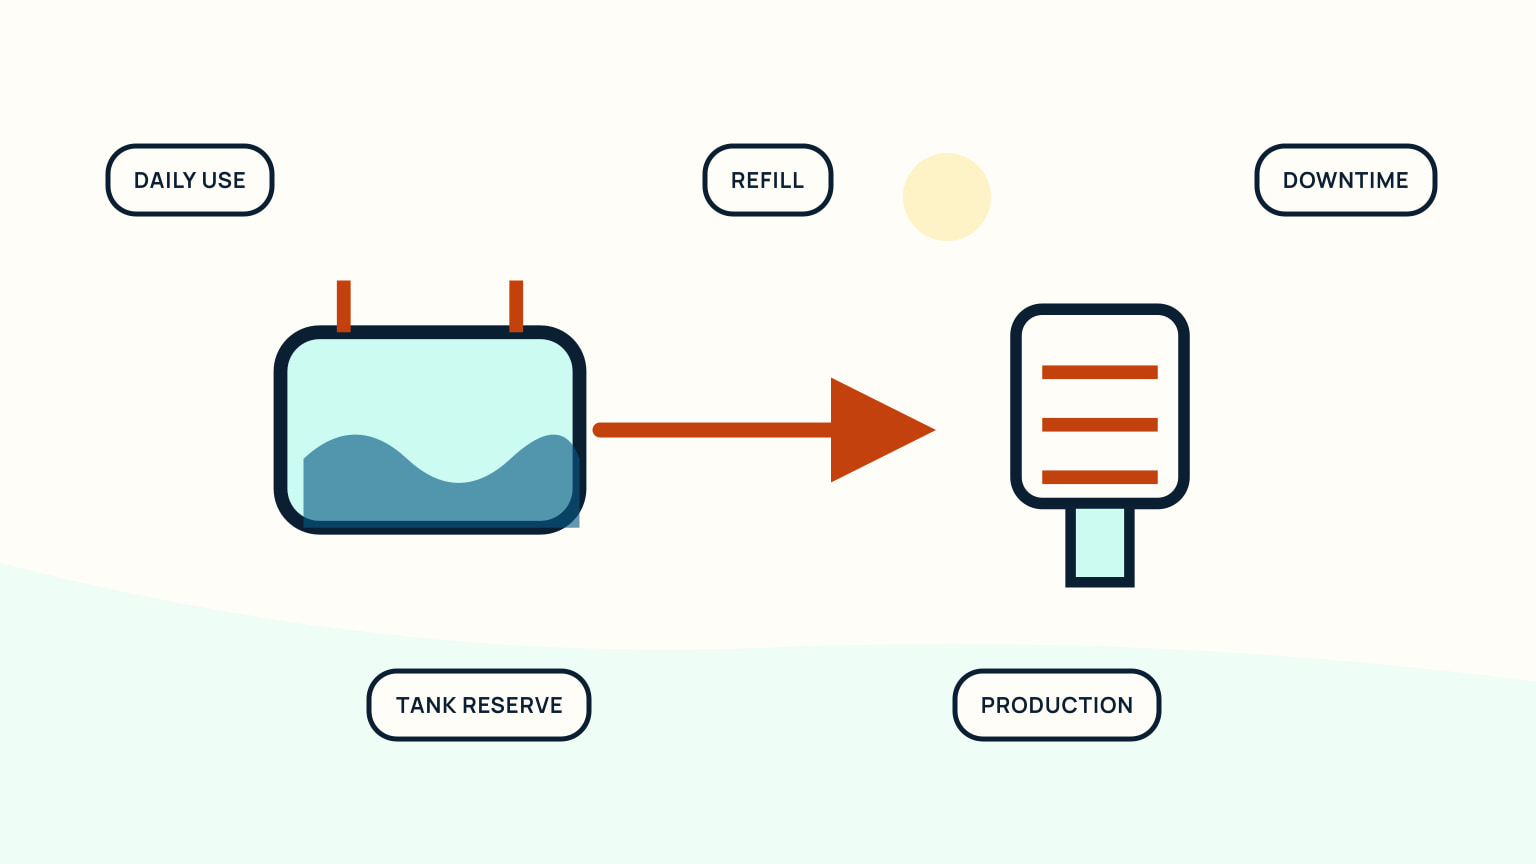
Record how much potable water the crew uses for drinking, cooking, and hygiene on trips like the ones you actually plan. Measure rather than guessing from tank capacity. Add existing tankage, refill opportunities, reserve policy, trip length, and the consequence of the watermaker being unavailable.
Decide what role the machine will play. It may supplement shore fills, extend time between stops, or become a regular source offshore. Keep enough stored reserve for maintenance, poor feed water, power problems, or a failed component. A watermaker is equipment, not an inexhaustible spring.
Translate daily need into operating hours using the exact model's rated output under its stated conditions. Allow for diversion during startup, flushing, and any quality check. Do not assume the nameplate output will be available in every temperature, salinity, voltage, or filter condition.
Measure demand in the same operating style you plan to use. A crew that showers ashore and eats in port has a different pattern from one cooking and washing aboard at anchor. Record hot days and ordinary days separately. Decide which uses can take non-potable water and which require product water. Build the reserve around the longest credible period when the intake water is unsuitable or the machine is under service. If the watermaker becomes essential to the plan, carry the parts, test method, and crew knowledge needed to restore or replace that supply.
Follow the treatment path
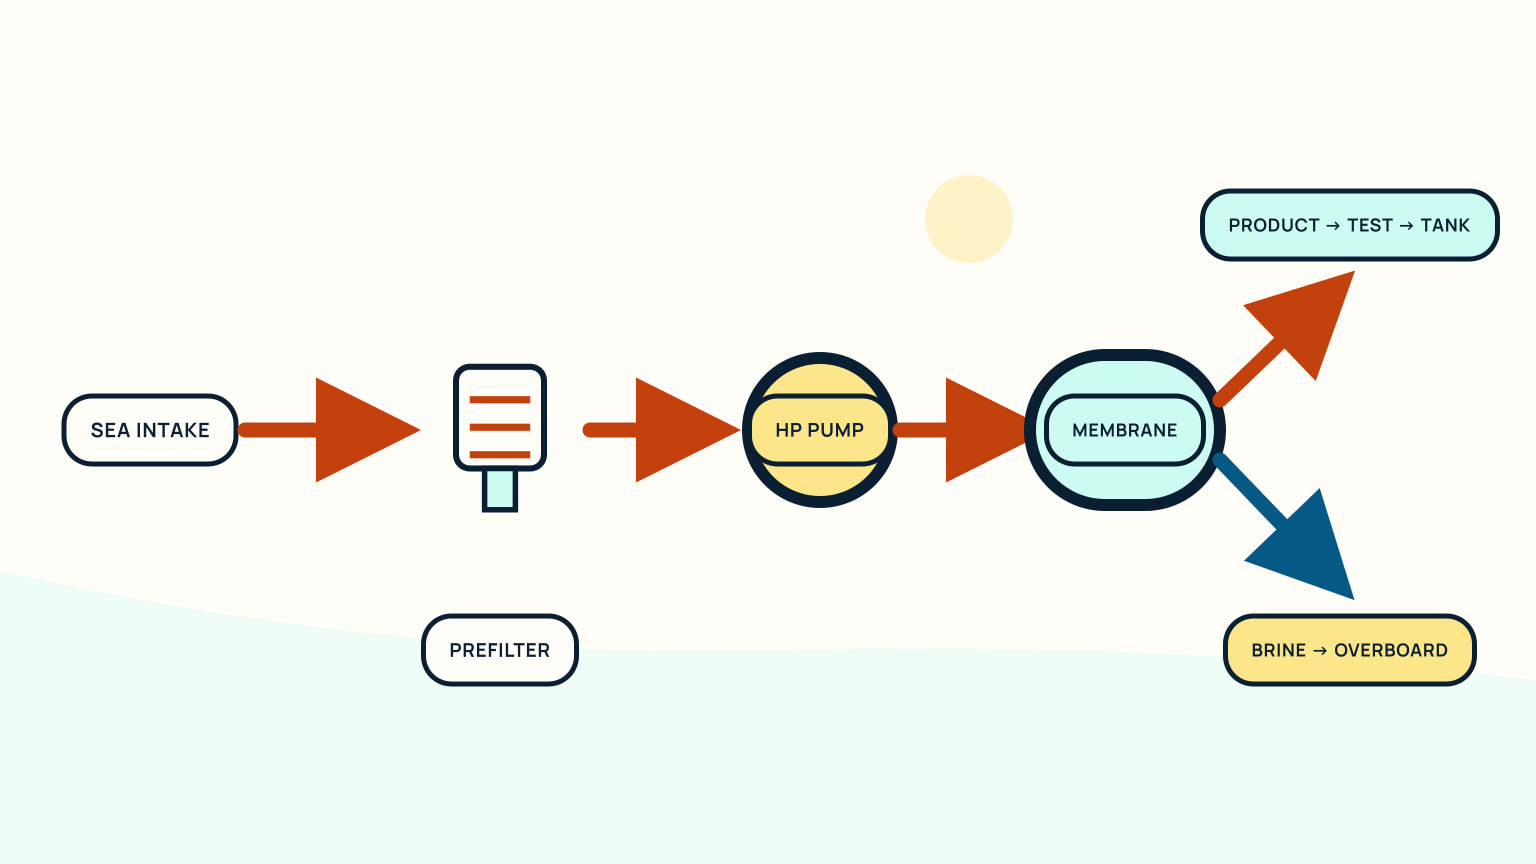
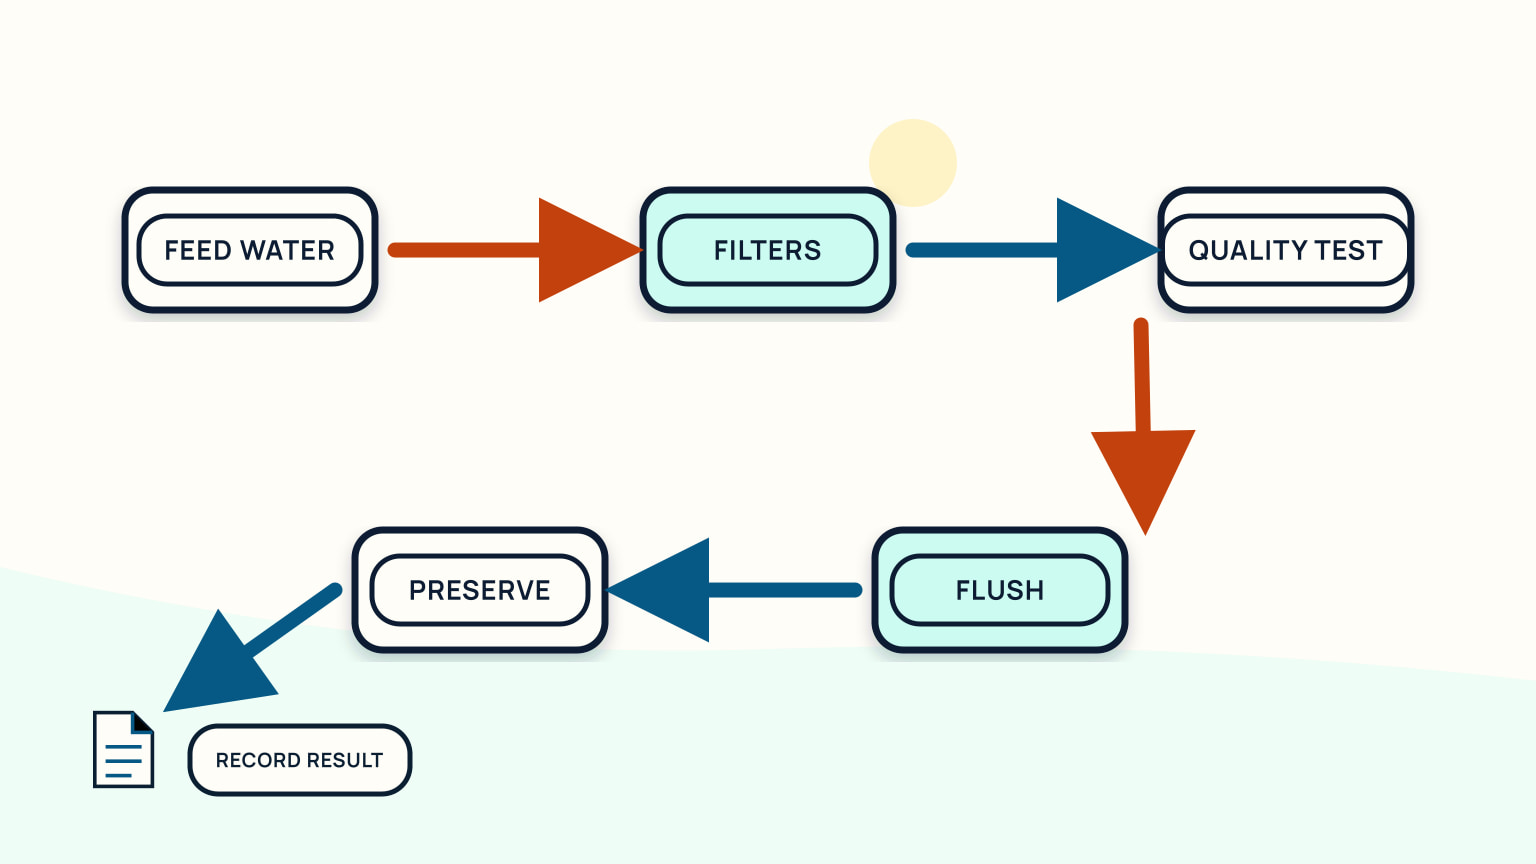
Trace the installation from the sea. The intake and seacock feed a strainer, then a boost or feed pump and staged prefilters. The high-pressure pump or energy-recovery unit raises pressure for the reverse-osmosis membrane. The membrane separates lower-salinity product water from reject brine.
Product water passes a quality sensor or test point before a diversion valve sends acceptable water toward storage. Startup water may return overboard until the system reaches the manual's condition. Reject water has its own discharge route. A fresh-water flush circuit can add a tank connection and carbon filter to keep chlorine away from a membrane where the manual requires it.
Draw each line and valve from the installed manual. Keep seawater, product, reject, and flush paths distinct. A wrong connection can contaminate the tank or damage equipment.
Mark every point where seawater, cleaning solution, or unverified product could reach the potable tank. The diversion valve and check method are central protections. If the system is automated, learn what sensor decision opens the tank route and how the crew confirms it. Draw the flush source too. Chlorinated shore water can require carbon treatment before reaching a membrane in the example manual. Use only the installed manufacturer's procedure and approved chemicals; reverse-osmosis systems are not interchangeable collections of hoses.
Account for power and space
Use the model's actual voltage, current or power, startup behaviour, and rated output. Map the full supply path, circuit protection, cable route, controls, and charging source. Compare watermaker hours with refrigeration, navigation, communications, lighting, and battery-charging needs. A low-energy design still needs a complete energy budget.
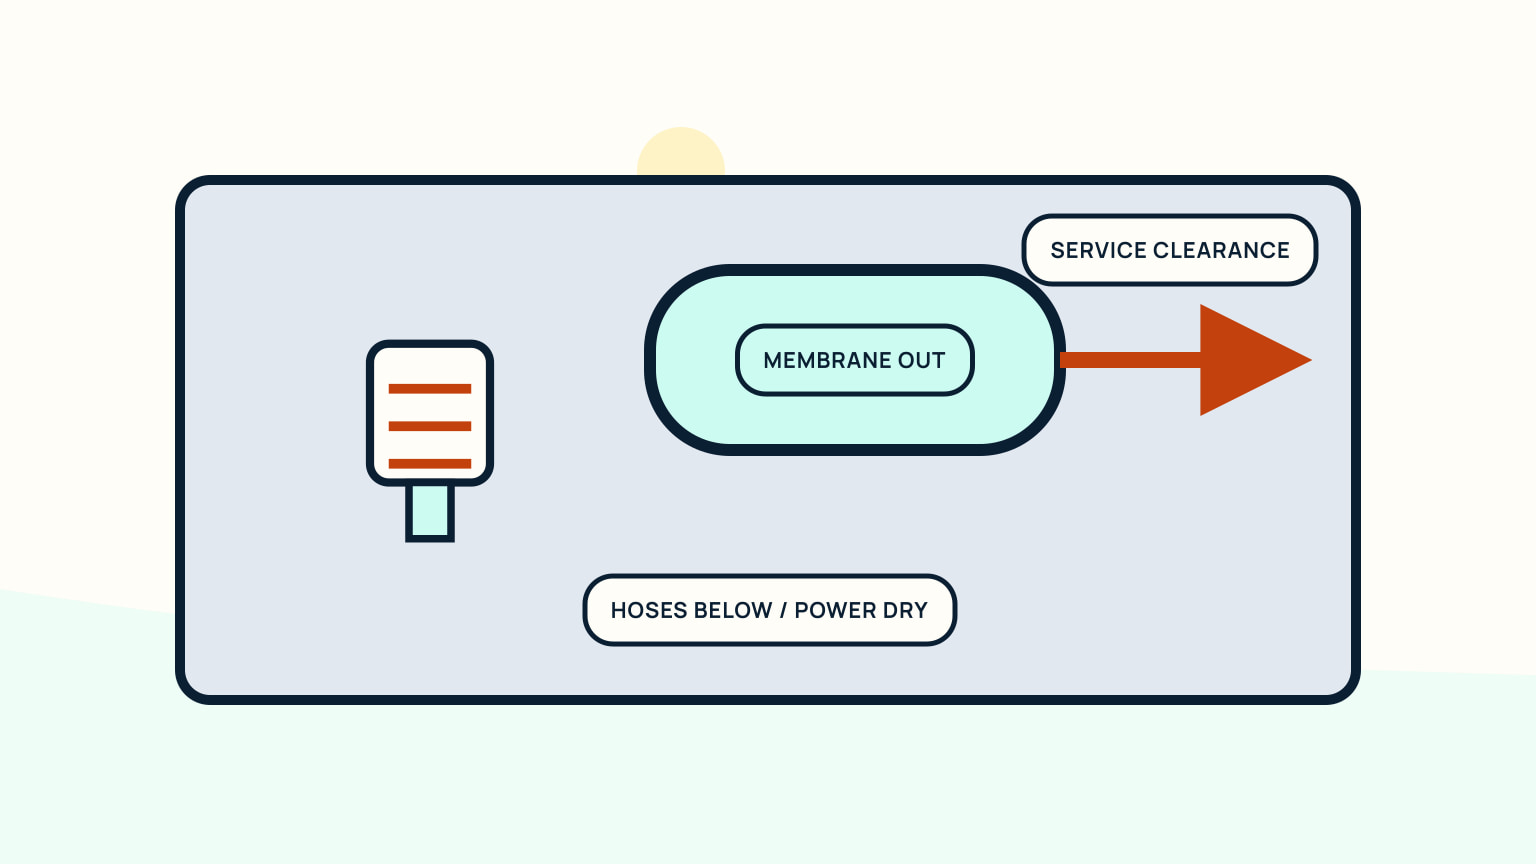
Plan physical access around servicing requirements, not simply installation. You need room to change filters without spilling into electrical equipment, read gauges, inspect leaks, reach valves, remove a membrane or pump, and store spares. Long hose runs, lift from the waterline, ventilation, noise, and secure mounting affect the installation.
Choose intake and discharge locations with the manufacturer's guidance and the boat's underwater arrangement. Keep the system away from contaminated feed water and make every seacock reachable. A qualified installer should reconcile the plumbing, structure, and electrical design.
Create cardboard service envelopes before fixing components. Show the length needed to remove a filter bowl, cartridge, membrane, pump head, or motor. Add hand and tool space, drip containment, and a route for the removed wet item. Place gauges where the operator can read them in the same position used to adjust or observe the system. Keep electrical equipment protected from filter spills. An installation that fits perfectly with all parts assembled may be impossible to maintain without removing unrelated joinery.
Plan maintenance and testing
Feed-water quality drives prefilter loading. The example manufacturer warns against oil, fuel, chlorine, silt, and biologically contaminated water. Near-shore or dirty water can shorten filter life and affect output and quality. Observe the water before starting and follow the model's limits.
Record pressure, flow, product quality, operating time, filter condition, leaks, and any alarm in the form the manual recommends. Test or monitor product water before diversion to the tank. A falling output or changed reading is evidence to investigate; do not adjust pressure or substitute a chemical without the procedure.
Flushing and preservation depend on how the system is used and how long it will stand. Carry the correct filters, seals, chemicals, test method, and tools for the planned trip. Put lay-up and recommissioning dates on the maintenance calendar.
Define who tests the product and where the result is recorded. A taste check is not a substitute for the method specified by the manufacturer. If the system diverts automatically, still record alarms, unusual startup time, output, and quality trends. A slow change may reveal prefilter loading, feed-water conditions, membrane condition, or another issue that deserves manual-led diagnosis. Preserve filters and chemicals in the conditions stated by their suppliers. Stock rotation matters because a locker full of expired or contaminated consumables is not a maintenance plan.
Decide before installing
Compare at least three complete options: use existing tankage and refills, add storage or conservation, or install the proposed watermaker. Price equipment, intake and discharge work, electrical supply, mounting, commissioning, spares, filters, preservation, and specialist service. Include the space those items consume.
Ask the supplier to review crew demand, cruising water, temperature and salinity range, daily operating window, power system, tank connection, intake location, and expected periods of non-use. Obtain the current manual before purchase. Confirm who can install and support the model where you sail.
A watermaker fits when its routine matches the crew. If nobody wants to monitor product quality, change filters, flush after use, or preserve it during lay-up, extra tankage and planned refills may be the more reliable system. The liveaboard readiness guide can help place water beside power, storage, and maintenance.
Ask what happens during winter, a long yard period, or a month away from the boat. The preservation procedure may require chemicals, circulation, fresh water, recommissioning, and disposal. Put these tasks on the travel calendar before deciding that the system suits an intermittent owner. Compare the cost and space of spares with the inconvenience of waiting for them in a cruising area. A smaller system run regularly may fit one crew better than a larger unit that sits unused, while another crew may need the higher output. Let the operating pattern decide.
Include crew training in the purchase. At least two people should be able to identify the seawater, product, reject, and flush paths; read normal indications; test product; divert questionable water; change a prefilter; perform the routine flush; and place the system into the correct non-use state. Write a short checklist from the manual and keep it at the controls. If only one person understands the unit, illness or absence turns a working machine into unavailable capacity. Practise without contaminating the potable tank or discharging chemicals improperly.
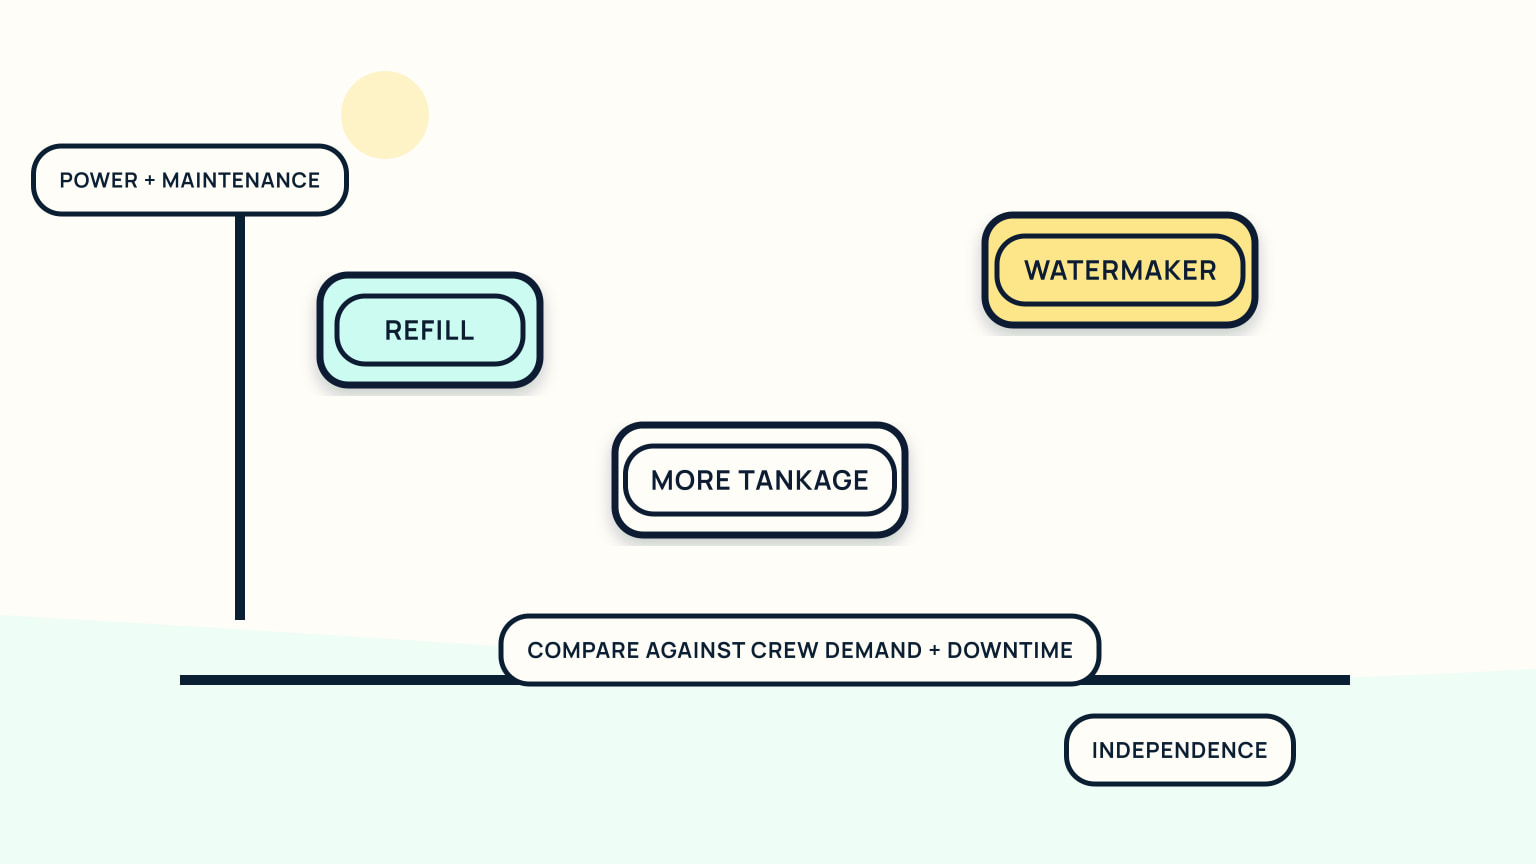
Build the water and energy budgets before choosing a model. Then draw the full installation and maintenance access from the manual. SailStarter lessons can help you understand pumps, valves, and onboard planning; the manufacturer and a qualified installer should confirm capacity, wiring, plumbing, commissioning, and preservation for the actual boat.
Try it from the lesson
Can you spot the next move?
The engine is idling, the boat is safely secured and the propeller area is clear. What should you confirm before departure?
Why you can trust this guide
. We build each guide from public seamanship and safety sources, then teach the universal principle before any local difference.