Chart your course
Seacock Inspection and Maintenance
Quick answer
The short version
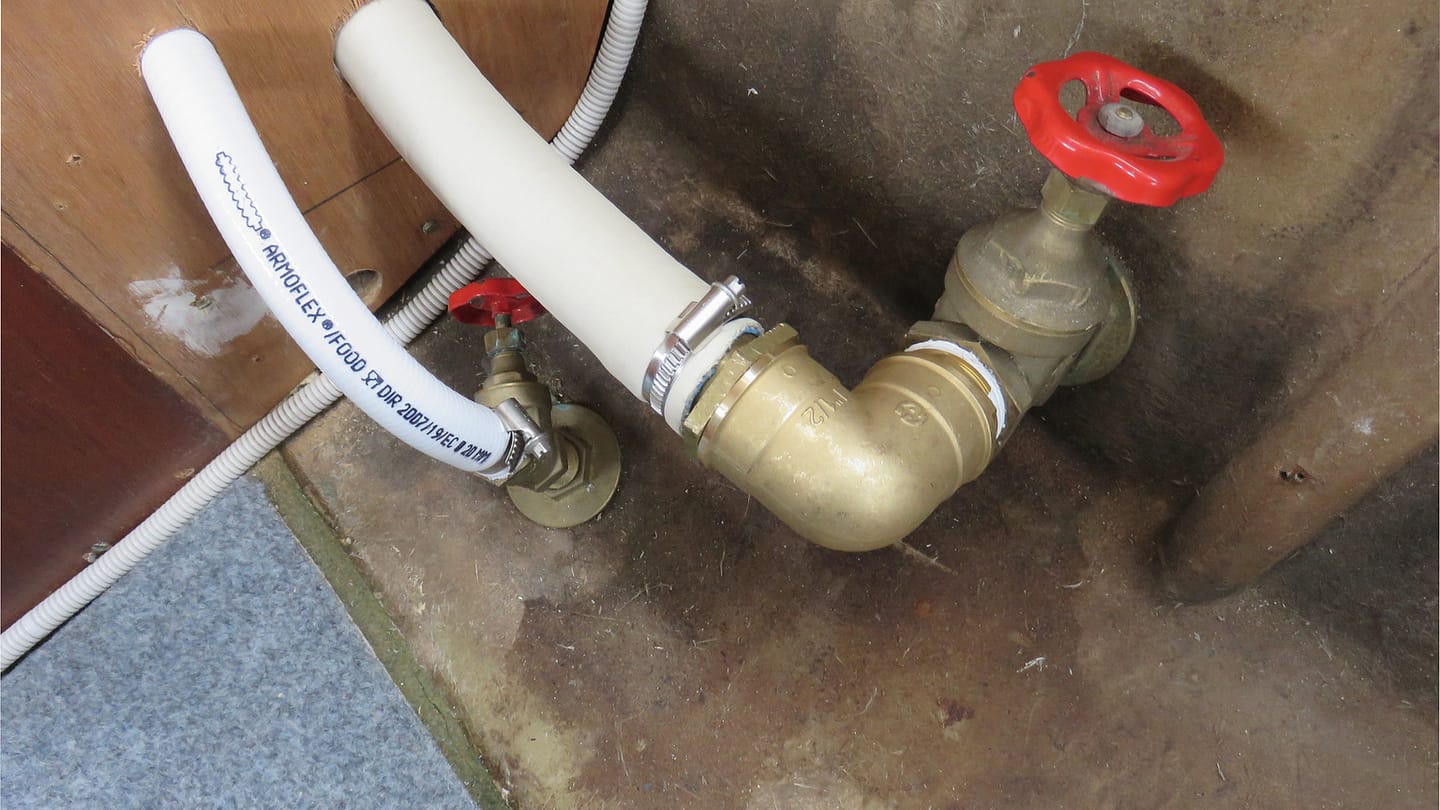
A seacock is the valve attached to a through-hull opening. Build a map of every one aboard, identify the connected system, and make sure the handle remains reachable. Inspect the valve, surrounding material, hose, clamps, and visible corrosion without disturbing a sound installation. Exercise each valve through its intended movement as the manufacturer directs. A stiff or frozen seacock needs service before anyone relies on it. Keep a suitable plug at each location and make sure regular crew know where the map and plugs are stored.
The inspection is about readiness, not appearance. A clean valve is still a problem if stored gear blocks its handle, and a labeled locker is not useful if the label names the wrong opening. Work methodically from bow to stern and on both sides of the hull. Do not assume two similar hoses serve the same purpose. Trace what you can, check installed documentation, and leave uncertain identification visible on the map for a surveyor or technician to resolve.
Map Every Through Hull
Start outside when the boat is hauled, if that view is available, and pair each hull opening with the fitting seen inside. When working afloat, stay with non-invasive observation. Mark the location on a simple boat outline and record the system it appears to serve, the access panel, the handle direction, and whether the valve can be reached immediately.
Use names that describe the function, such as sink drain or engine intake, rather than numbering anonymous valves. Add a photograph that includes enough surrounding structure to relocate it. A close-up of the handle alone can be difficult to match later. If a hose disappears behind furniture or machinery, show that limit on the map instead of drawing a guessed route.
Test the finished map with another crew member. Ask that person to locate a named seacock and the plug stored beside it without coaching. Fix confusing labels and remove gear that obstructs access. Repeat the check after loading for a trip because bags, tools, and provisions often occupy the same low lockers. The map should serve someone responding quickly, not only the owner who remembers how it was made.
Add a status field to every mapped opening. Useful entries include verified open, verified closed, normal operating position recorded, movement uncertain, and service required. Do not infer position solely from handle direction unless the installed valve information confirms it. The status turns a location sketch into a working control record and prevents a crew member from "correcting" a valve that was deliberately left in its required state.
Inspect Valve Hose And Clamps
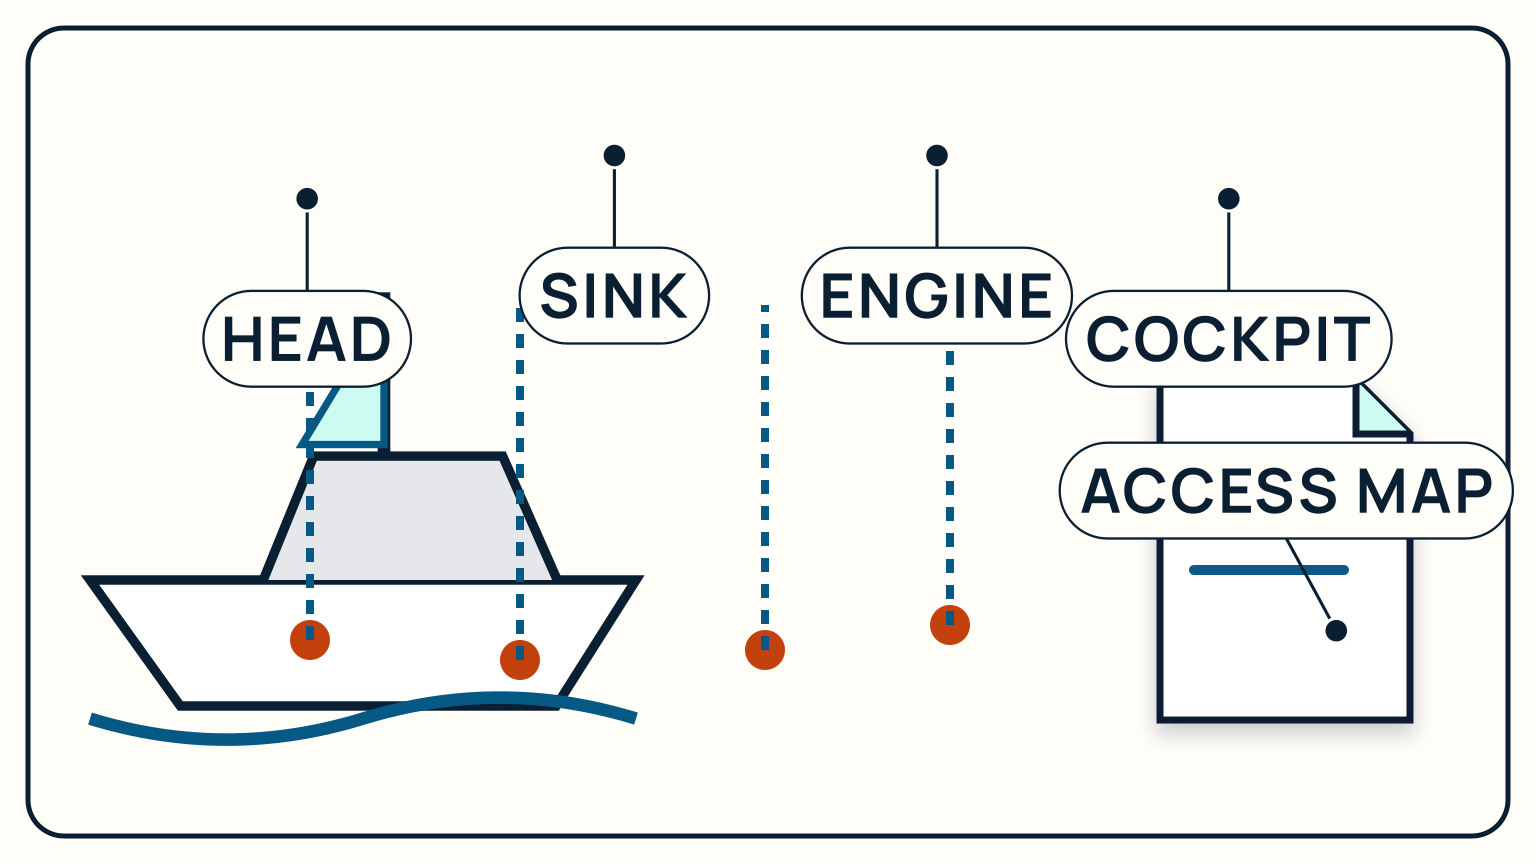
Look at the complete visible assembly: through-hull connection, valve body, handle, hose tail, hose, and clamps. Check for corrosion, cracking, distortion, staining, looseness, or a hose that no longer sits securely. Compare the hardware with the installed information and earlier photographs. A change over time can be more useful than trying to judge an unfamiliar surface from one visit.
Access is part of the inspection. You should be able to reach and move the handle without removing a pile of equipment. The hose route should not force you to put body weight on the valve during normal locker use. Do not tighten, scrape, paint, or dismantle hardware merely to make it look better. Surface treatment can hide evidence a professional needs to see.
Record each finding with location, date, and operating state. Separate a confirmed defect from an observation that needs interpretation. A surveyor or competent repairer can decide whether material condition, corrosion, hose choice, clamp arrangement, or surrounding structure requires work. The close-up in the figure helps identify the inspection targets, but it cannot show hidden surfaces or prove that the valve operates correctly.
Compare port and starboard installations only as a way to notice differences, not as proof that one is wrong. Hose routes and access can vary with the connected systems. Photograph unusual bends, contact with stored gear, and areas where water or residue obscures the valve. If cleaning is needed to inspect, ask what method is safe for the material and preserve a before image so evidence is not lost.
Exercise And Service
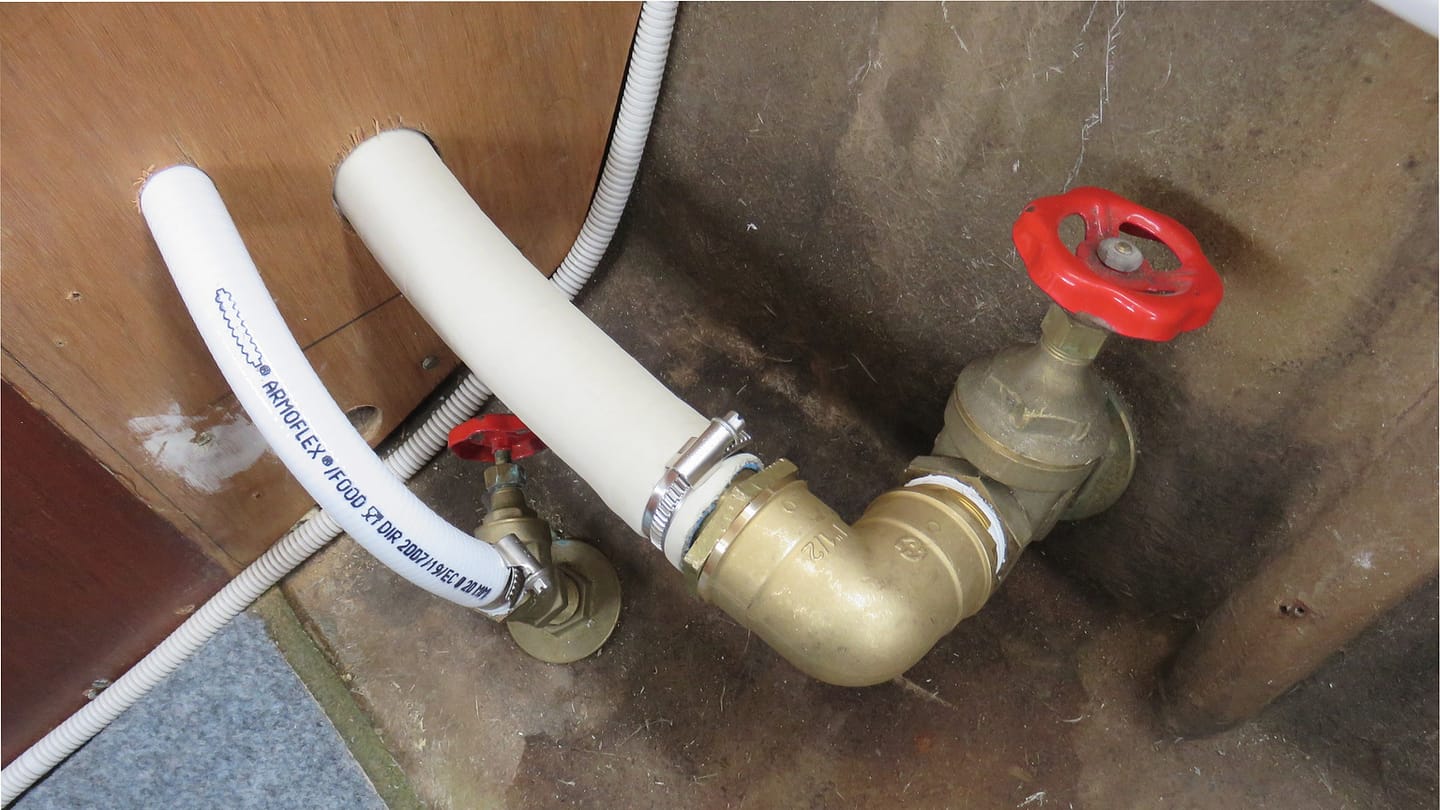
Follow the valve manufacturer's instructions for exercising and lubrication. Move the handle through its full intended arc and return it to the required operating position. The important result is smooth, controlled movement with a clear open and closed state. Do not apply a longer lever or sudden force to a valve that resists; extra leverage can transfer the problem to the fitting or hull connection.
Mark stiffness, restricted travel, a loose handle, or uncertainty about position as a service item. A stiff or frozen seacock should be serviced before it is relied on. Decide with the repairer whether the work can safely occur afloat or requires a haulout. That judgment depends on the actual installation and cannot be settled by a generic maintenance article.
After service, repeat the agreed completion check and update the map. Keep the invoice or service note with the valve photograph so the next inspection has a baseline. Establish an inspection rhythm based on the installed guidance and boat use. A handle moved only during an emergency is more likely to reveal its problem at the worst time than one whose readiness is checked under controlled conditions.
Include the connected system in the return-to-service check. A valve can move normally while a disturbed hose connection leaks or the supplied equipment lacks flow. Observe the installation after restoration according to the repairer's instructions and record the final position. If access panels or stored gear were removed, reinstall them without blocking the handle. The job is complete when both operation and emergency reach remain clear.
Prepare For A Leak
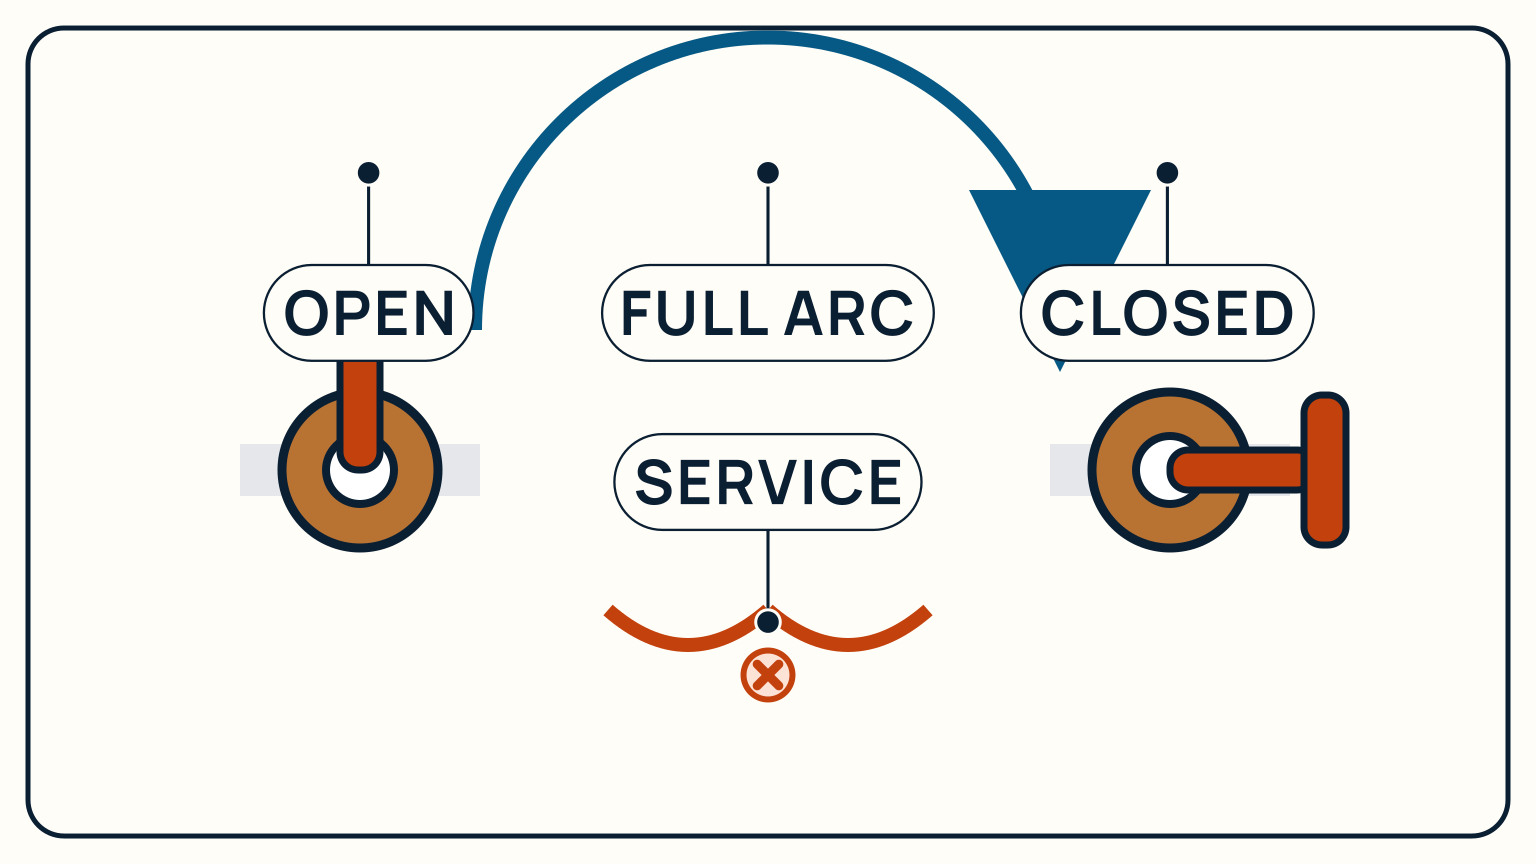
Keep a suitable soft plug at each seacock, sized for the nearby opening, and secure it where it remains visible and reachable. A plug may help control flooding after a fitting or hose failure, but it does not replace a working valve, sound hose, or competent repair. Add the plug location to the map and include it in the crew walk-through.
Discuss the first actions before they are needed. The response may involve stopping water, closing the valve if possible, using the plug where appropriate, operating pumps, and calling for help. The exact sequence depends on what failed and the boat's emergency procedures. Do not encourage a person to reach into unsafe moving machinery or a rapidly worsening space simply because a valve exists there.
Run a dry exercise without creating a leak or disturbing the installation. Have a crew member open the access, identify the handle, find the plug, and point to the communication and pumping equipment. Note obstacles and unclear instructions. When a real leak is controlled, the boat still needs assessment and repair before the system returns to service. A plug and a closed handle are emergency controls, not evidence that the original failure has been corrected.
Consider how the response changes when the fitting is beneath water, beside hot machinery, or hidden behind an occupied berth. The safest first action may differ because access itself creates risk. Put those constraints in the boat's emergency plan and review them with experienced help. The purpose of the exercise is to find impossible assumptions on a calm day, not to encourage a crew member to enter an unsafe space during flooding.
Check the pumping plan against the leak map. Know which pump is automatic, which requires crew action, where discharged water goes, and how loss of electrical power changes the response. This planning does not increase the strength of a failed fitting, but it prevents the crew from discovering unrelated access or power problems while water is entering. Ask an experienced professional to review any scenario the crew cannot explain safely.
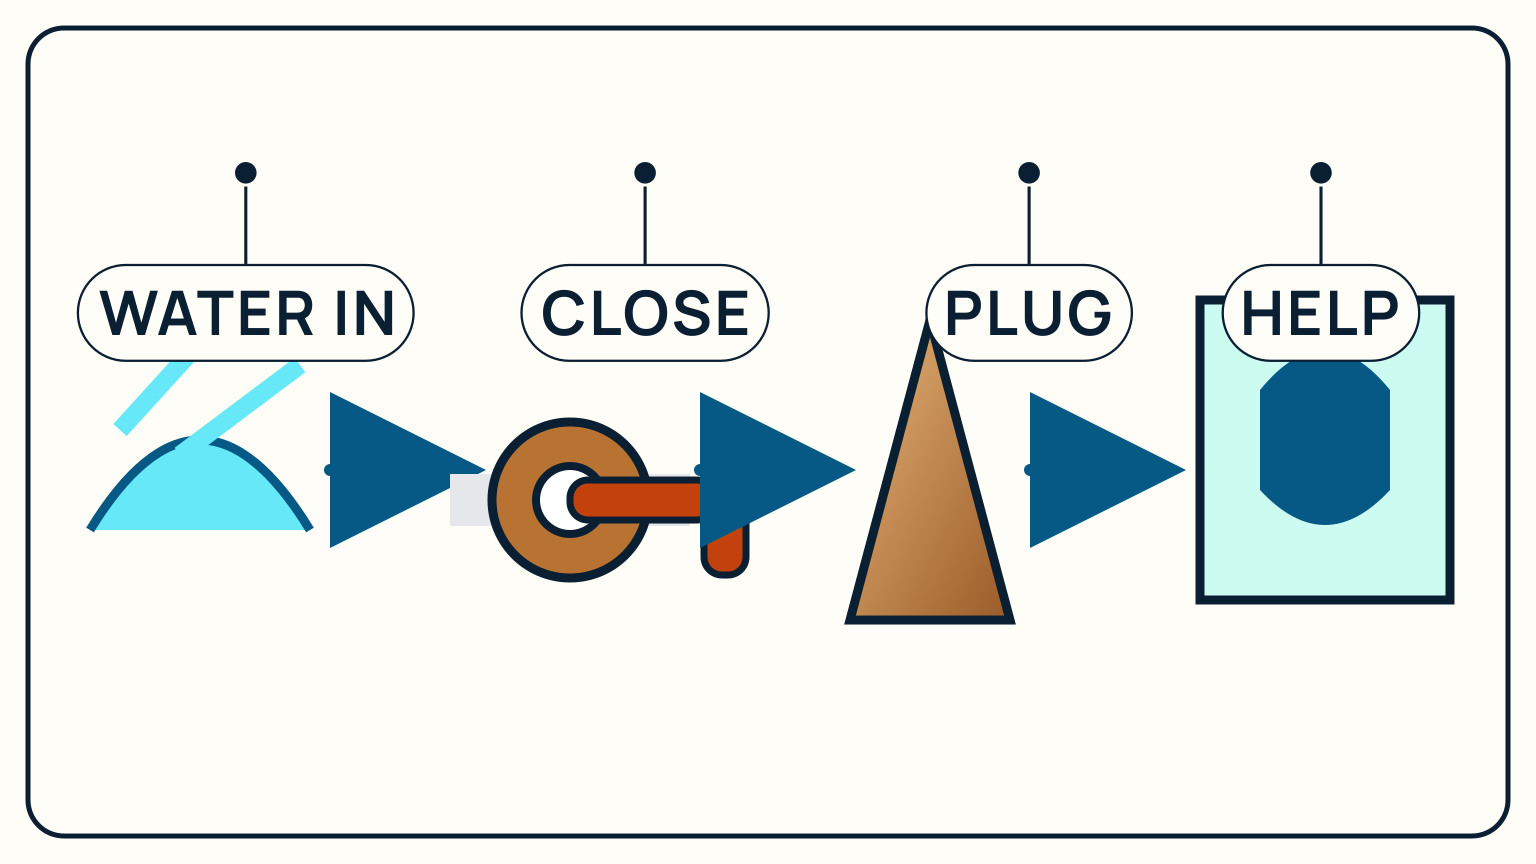
A reliable seacock plan joins identification, access, condition, movement, and emergency preparation. Keep the map with current photographs and service records, then test whether another crew member can use it. SailStarter's systems lessons can help you learn the onboard layout. A surveyor or competent marine repairer should evaluate uncertain materials, stiff valves, leaks, and any work involving the through-hull installation.
Update the map after a hose, appliance, or through-hull change, even when the valve itself was untouched. Its function or normal position may have changed, and an obsolete emergency label can be worse than none.
Replace every older printed copy used for regular routine crew briefings at the same time.
Try it from the lesson
Can you spot the next move?
The engine is idling, the boat is safely secured and the propeller area is clear. What should you confirm before departure?
Why you can trust this guide
. We build each guide from public seamanship and safety sources, then teach the universal principle before any local difference.