Chart your course
How to Tie a Figure-Eight Stopper Knot
Quick answer
The short version
A figure-eight stopper knot makes the end of a line too bulky to pass through a block, fairlead, hole, or other retaining device. Cross the working end (the short end used for tying) over the line to form a loop. Take it under and around the standing end, then pass it down through the loop. Pull both ends snug. Dress the knot so the strands lie neatly, then check for a clear “8” shape and a generous tail. Before use, compare the knot with the hardware opening. If it could pass through, choose a bulkier stopper, such as a stevedore stopper.
A line can slip back through a block, hole, or retaining device when its end is left free. A figure eight stopper knot adds a thicker point at the end, helping to keep the line in its hardware. You may meet it on sheets, halyards, and other control lines aboard a sailboat.
In this guide, you will follow the knot’s shape through three simple moves. You will learn how to arrange, or dress, the finished knot so its strands sit neatly, then inspect its clear “8” shape. You will also compare the knot with the opening it must stop. If the figure eight is too small, you need a bulkier stopper instead.
This is a stopper knot only. Its job is to stop a line from passing through an opening. The final section explains why you should check it regularly and not treat it as a load-bearing termination.
Set Up the Line
Before you tie the figure-eight stopper knot, learn the three parts you will handle:
- The working end, or tail, is the short end. You move this end to form the knot.
- The standing part is the section that will run from the finished knot back toward the long, unused part of the line.
- A loop is a partial circle where the rope crosses itself. That crossing creates the opening that the tail will later pass through.
Do not confuse a loop with a bight. A bight is a fold where two parts of the rope lie beside each other without crossing. For this knot, you need a loop.
Start with a comfortably long tail: enough to hold and move without your fingers crowding the end. If you are unsure, pull through a little more line before you begin. A longer tail is better than one that leaves you barely enough rope to finish.
Tie It in Three Moves
The working end, or tail, is the short end you move. The standing part is the longer section that stays still.
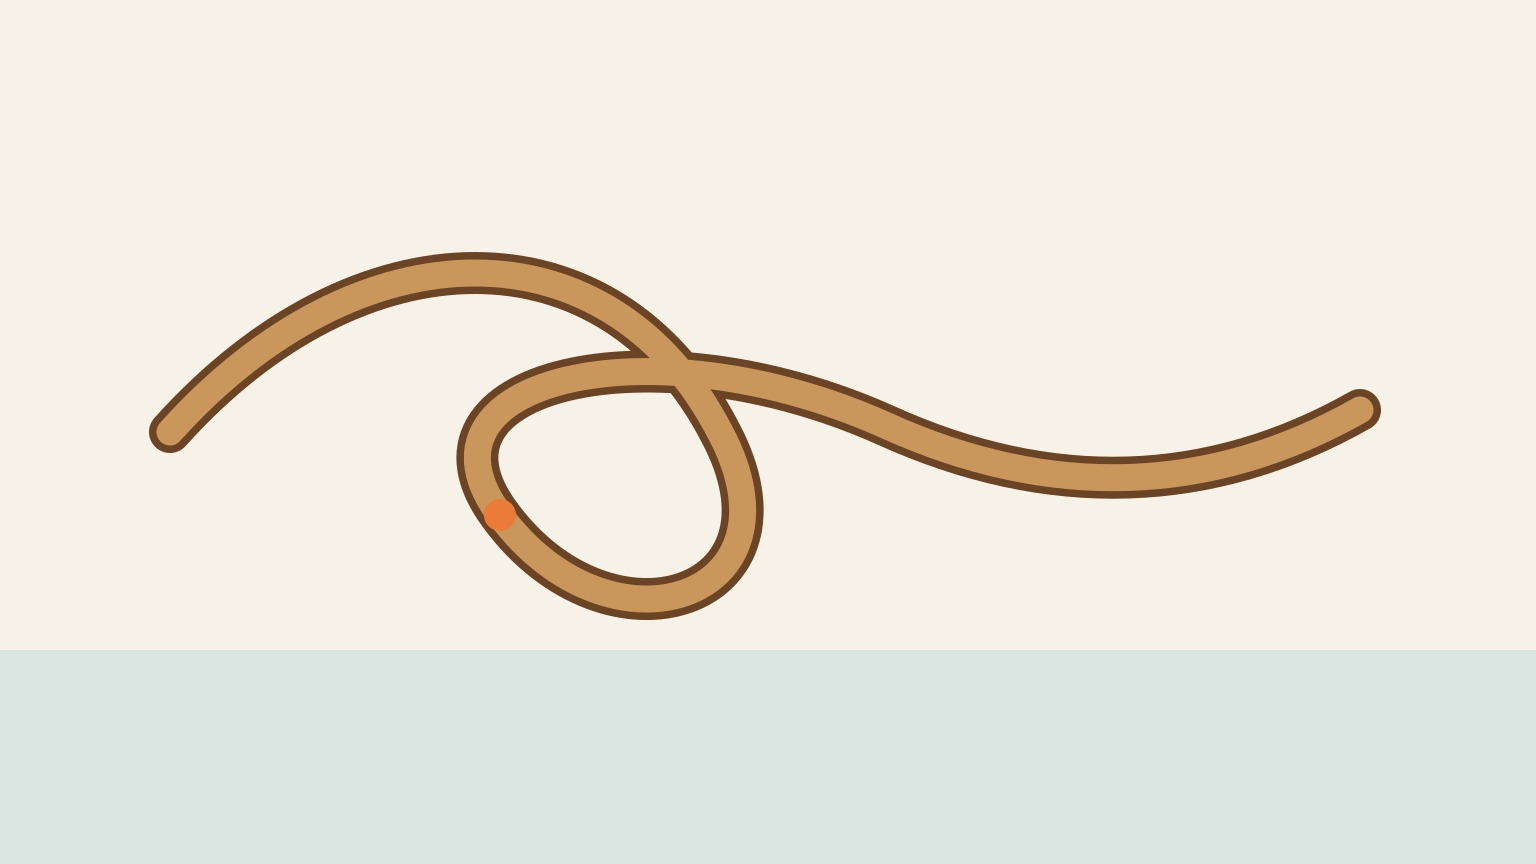
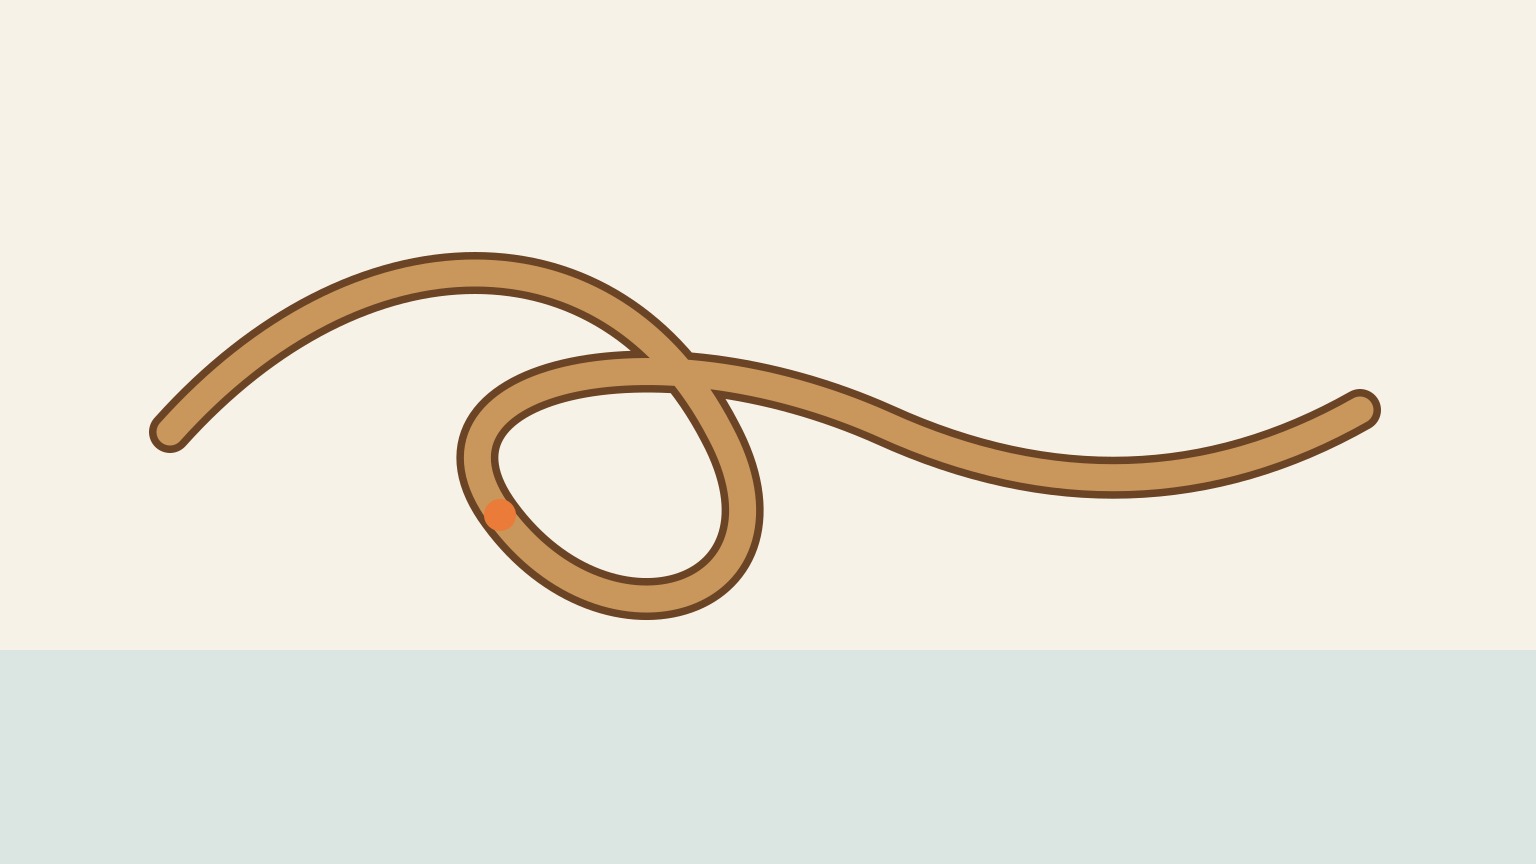
- Make the loop. Pass the working end over the standing part. The two sections cross, creating the original loop.
- Go around. Continue the working end under and around the standing part.
- Finish the knot. Feed the working end down through the original loop.
Now hold the working end in one hand and the standing part in the other. Pull them apart to tighten the knot. Dress it carefully: adjust the rope so the strands lie neatly beside each other rather than crossing in a messy bundle.
Look for the clear “8” shape of a correctly tied figure-eight stopper knot. Make sure some tail extends beyond the finished knot. A longer tail is better than a short one; when in doubt, make it a little longer than you think you need.
Dress and Inspect the Finished Knot
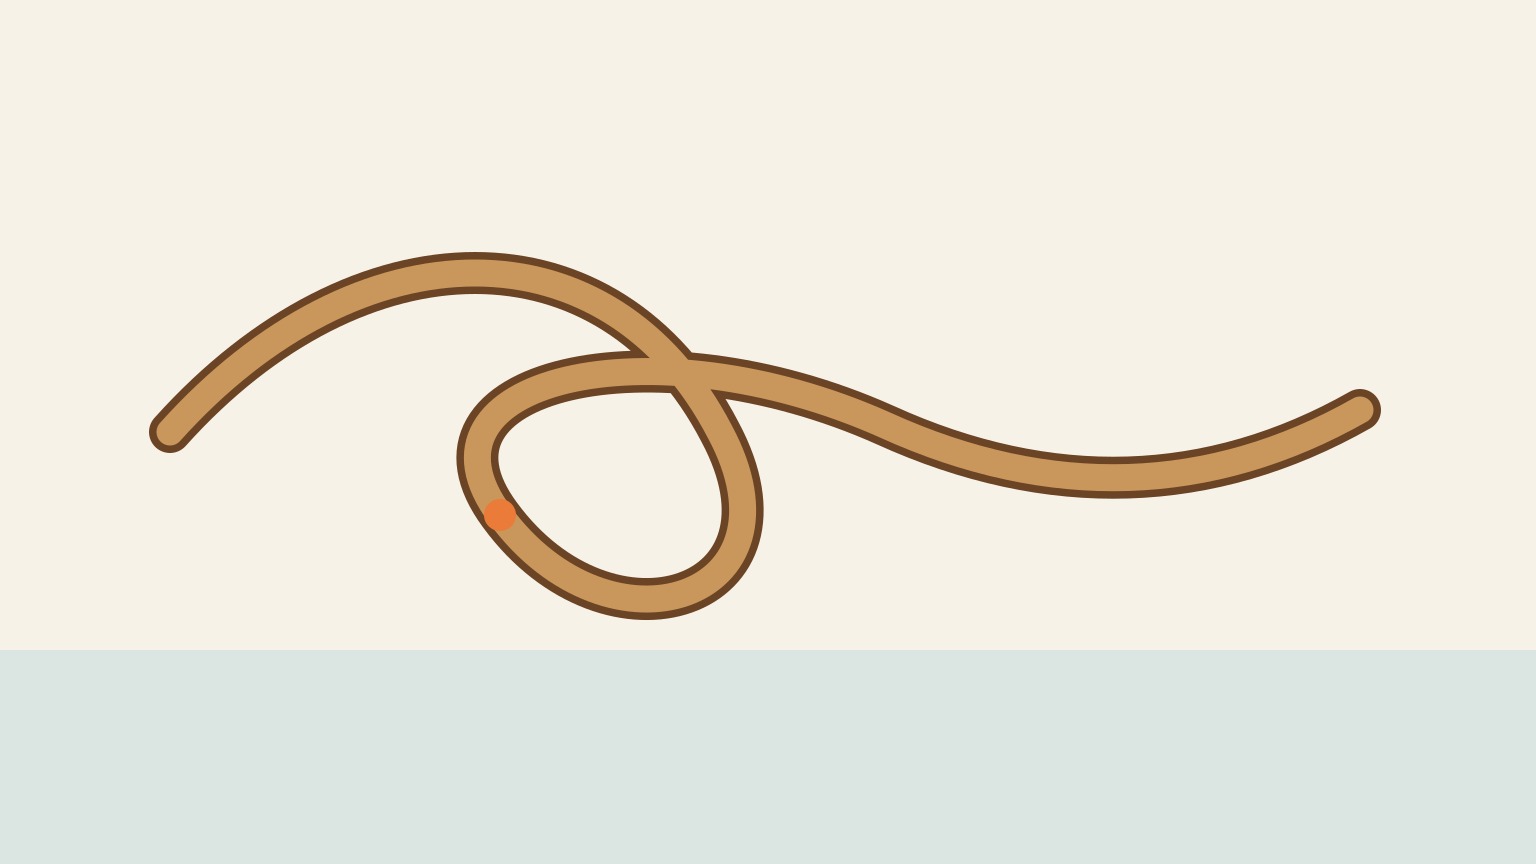
Dress the figure-eight stopper knot before you rely on it. Dressing means arranging its strands so the knot holds securely. Ease out twists and place the strands neatly alongside one another. Then grip the tail and the standing part, which is the section leading toward the long end, and pull both ends to tighten the knot.
A loose knot can shift when a load comes onto the line. As it shifts, it may draw the tail farther into the knot and eventually come untied.
Use three quick checks:
- Shape: The crossings form a clear figure eight.
- Tightness: The strands sit firmly together, with no loose sections.
- Tail: A generous length extends beyond the knot. A very short tail leaves little room if the knot shifts. A loose knot can consume that tail as it changes shape.
If the shape looks wrong or the tail seems short, untie it and start again. A longer tail is the better choice when you are unsure.
Match the Stopper to the Hardware
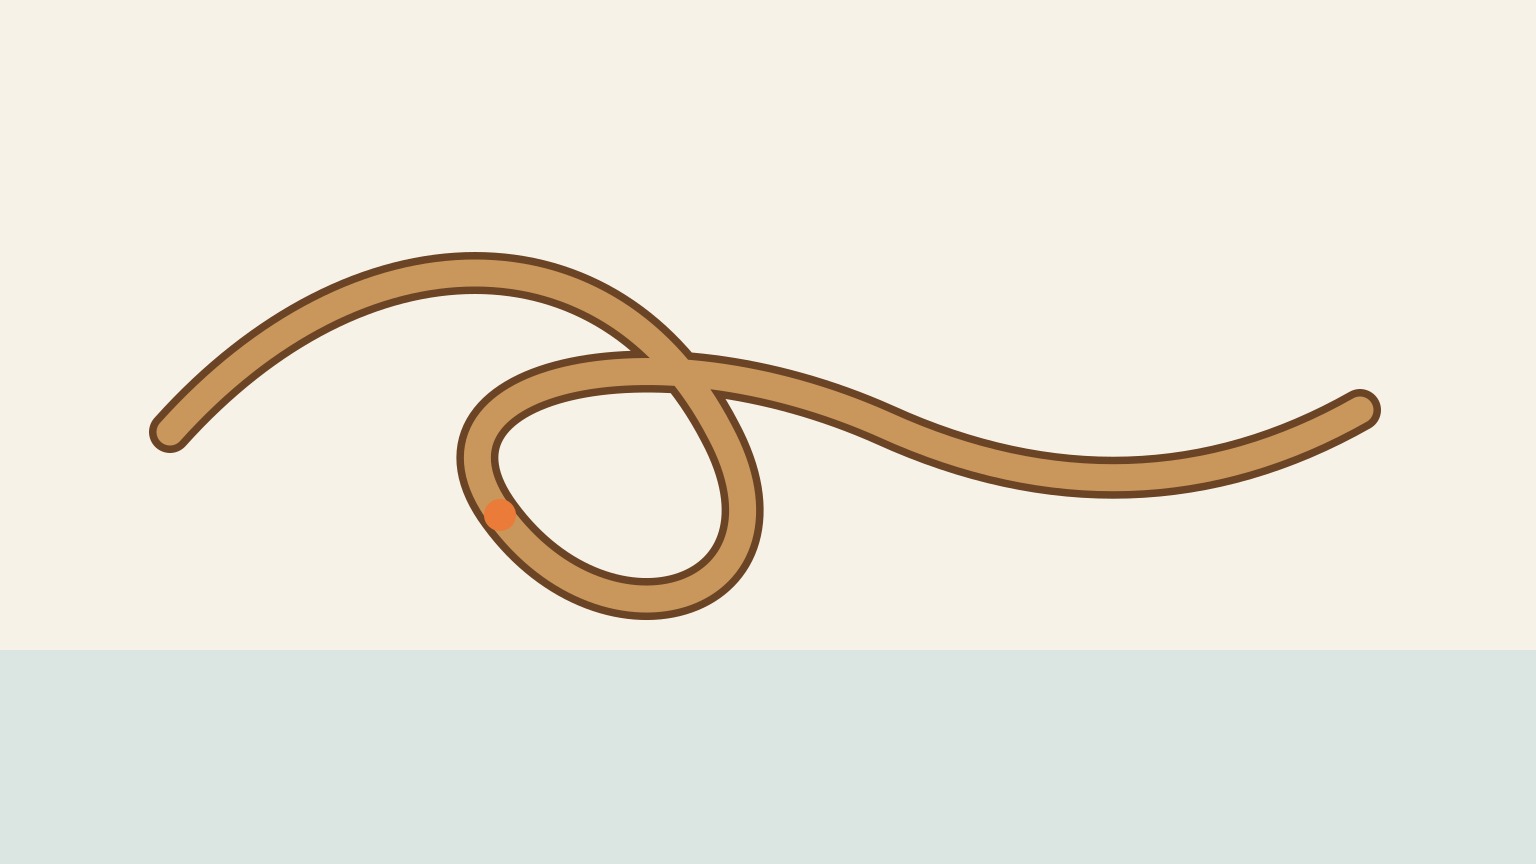
A stopper works only when the finished knot is wider than the opening it must stop. Check the narrowest point in the block, fairlead, cleat opening, or hole. Before you rely on the knot, hold it against that opening and compare the sizes.
For many boat lines, the figure eight stopper knot gives you more bulk than a simple overhand knot. It is also less likely to jam and is usually easier to untie after loading.
A small opening may need only an overhand knot, provided the finished knot is clearly too large to pass through. Choose it with care: it can bind tightly and become difficult to undo.
For a larger opening, use a bulkier stopper. A stevedore stopper is similar to a figure-eight but adds another turn around the part of the line running away from the knot. That extra turn makes a larger stopper.
Very slippery rope may need a stopper designed specifically to hold in low-friction line. Match the knot to both the rope and the hardware.
Respect the Stopper’s Limits
A figure-eight stopper knot is usually easier to release than an overhand knot. Push its upper loop toward the knot to free the rope. Even so, it is not jam-proof. Heavy loading can tighten it until it is difficult to undo. At other times, it may loosen and need to be retied.
Check the knot whenever you handle the line. Confirm that it still has a clear figure-eight shape, that the strands sit neatly, and that the tail has not pulled shorter. Retie it if it looks loose or distorted.
Every knot bends and compresses rope fibers. The fibers cannot share the load as evenly, so the line loses some strength at the knot. Treat this figure-eight as a stopper, not as a strength-preserving termination for a load-bearing line. Follow the rope and hardware manufacturers’ guidance for suitable knots, splices, loads, inspection, and replacement.
Practise inspection, not only tying
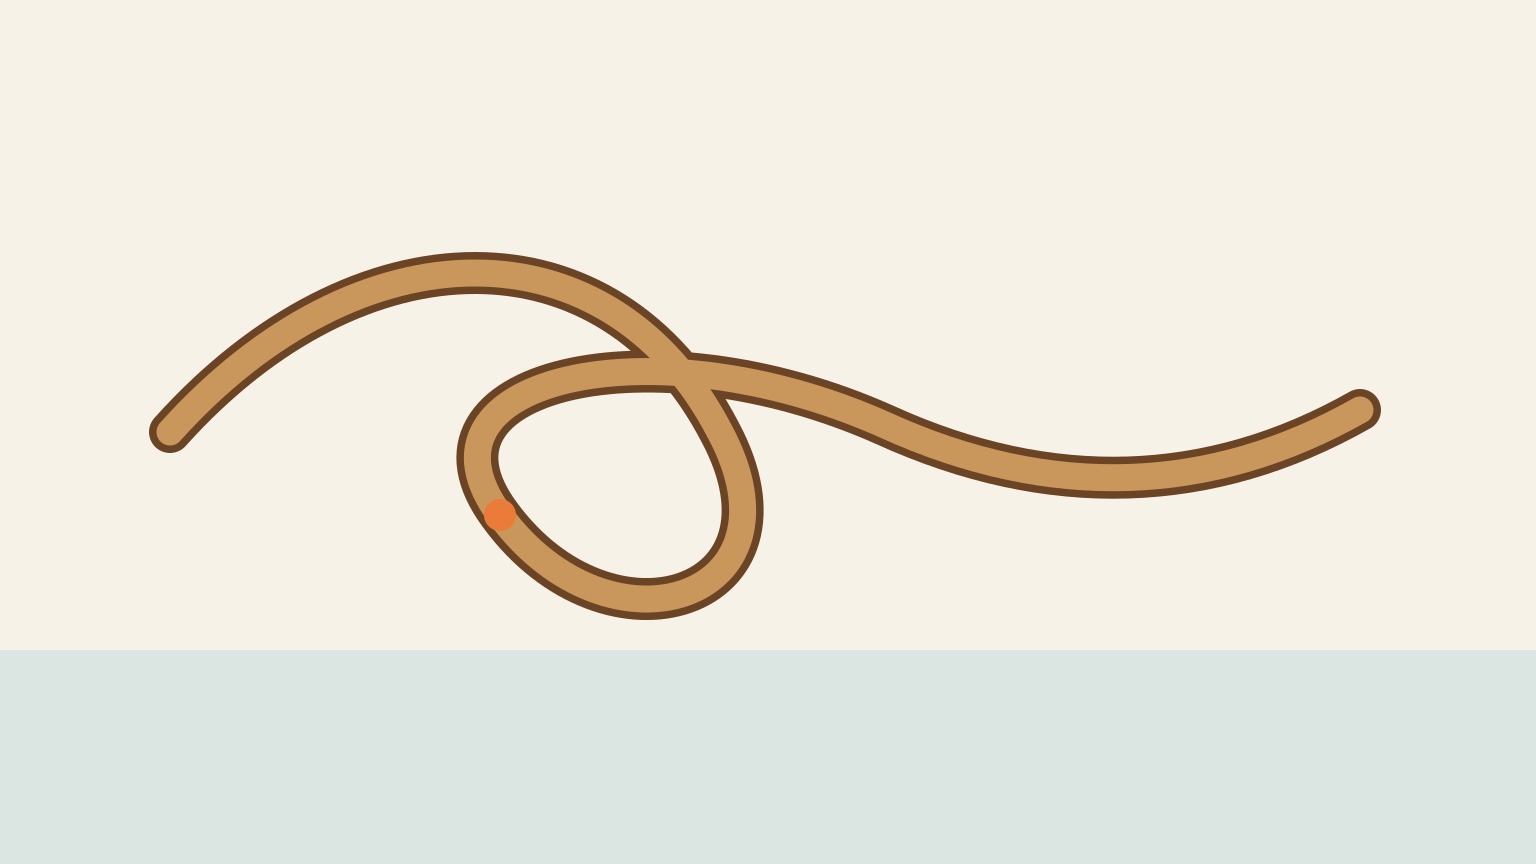
Tie the knot slowly, dress it into the same compact shape shown above, and leave a suitable tail for the line and job. Then hand it to a partner without explaining what you did. Ask them to trace the standing part through every turn and identify the tail. This catches a loose or crossed form that can look convincing from one side.
Next, place the knot against the actual fairlead or block opening without loading it. Confirm that the finished knot is too large to pass through and that it will not jam somewhere the line must later run. Hardware size matters. A stopper that works on one control may be unsuitable on another.
The bowline guide teaches a fixed loop for a different job. The reef knot versus sheet bend guide shows why choosing a knot starts with the physical task. Keep those jobs separate rather than treating a familiar knot as a universal answer.
After use, inspect the line and knot before pulling harder. A stopper limits travel through compatible hardware. It does not replace the correct attachment, a sound line, or crew control of a loaded end. If the knot has tightened, unload it before working it loose and use the boat's normal procedure for that line.
A figure-eight stopper knot gives you a simple way to help keep a line from slipping back through a block, hole, or retaining device. Practise the same rhythm: form the loop, take the tail under and around the standing end, then pass it through the loop. Dress the strands so they lie neatly, tighten the knot, and check for the clear “8” shape and a useful tail. Before relying on it, make sure the finished knot is bulkier than the hardware opening. Choose a larger stopper when it is not.
Remember that knots reduce rope strength, and a figure-eight can work loose or jam. Inspect it again after use.
Try more practical knot lessons with SailStarter.
Finish practice by untying the knot after a controlled load. Notice which part of the dressed shape gives you room to work it loose. If the line, knot, or hardware shows damage, retire it from the exercise and ask for guidance. Repetition should improve both tying and inspection, not normalize a worn setup.
Try it from the lesson
Can you spot the next move?
A line needs to stay on your side of a small opening. What job does the figure-eight do?
Why you can trust this guide
. We build each guide from public seamanship and safety sources, then teach the universal principle before any local difference.