Chart your course
5 Sailing Knots Every Beginner Needs
Quick answer
The short version
The first five sailing knots to learn are the figure-eight stopper, bowline, cleat hitch, clove hitch, and sheet bend. Each answers a different job. Use a figure-eight to stop a line end from escaping through hardware. Use a bowline to make a fixed loop. Use a cleat hitch to secure a working line to a horn cleat. Use a clove hitch for a light, adjustable attachment such as a fender on a rail. Use a sheet bend to join two lines, especially when their diameters differ. Learn the job before the hand motion. A beautifully tied knot in the wrong place is still the wrong knot, while a small set matched correctly to real tasks will cover much of a beginner's first season.
Long knot videos are satisfying to watch, but a beginner rarely needs a collection of twenty decorative solutions. Aboard a sailboat, the useful question is immediate: what must this line do? It may need to stop, form a loop, hold on a cleat, attach temporarily, or join another line. That decision narrows the choice. Practise with clean rope on land, dress every knot so its parts lie clearly, and inspect the finished shape before loading it. Speed comes later. The first goal is a knot another crew member can recognize and trust at a glance.
Stop a Line With the Figure-Eight
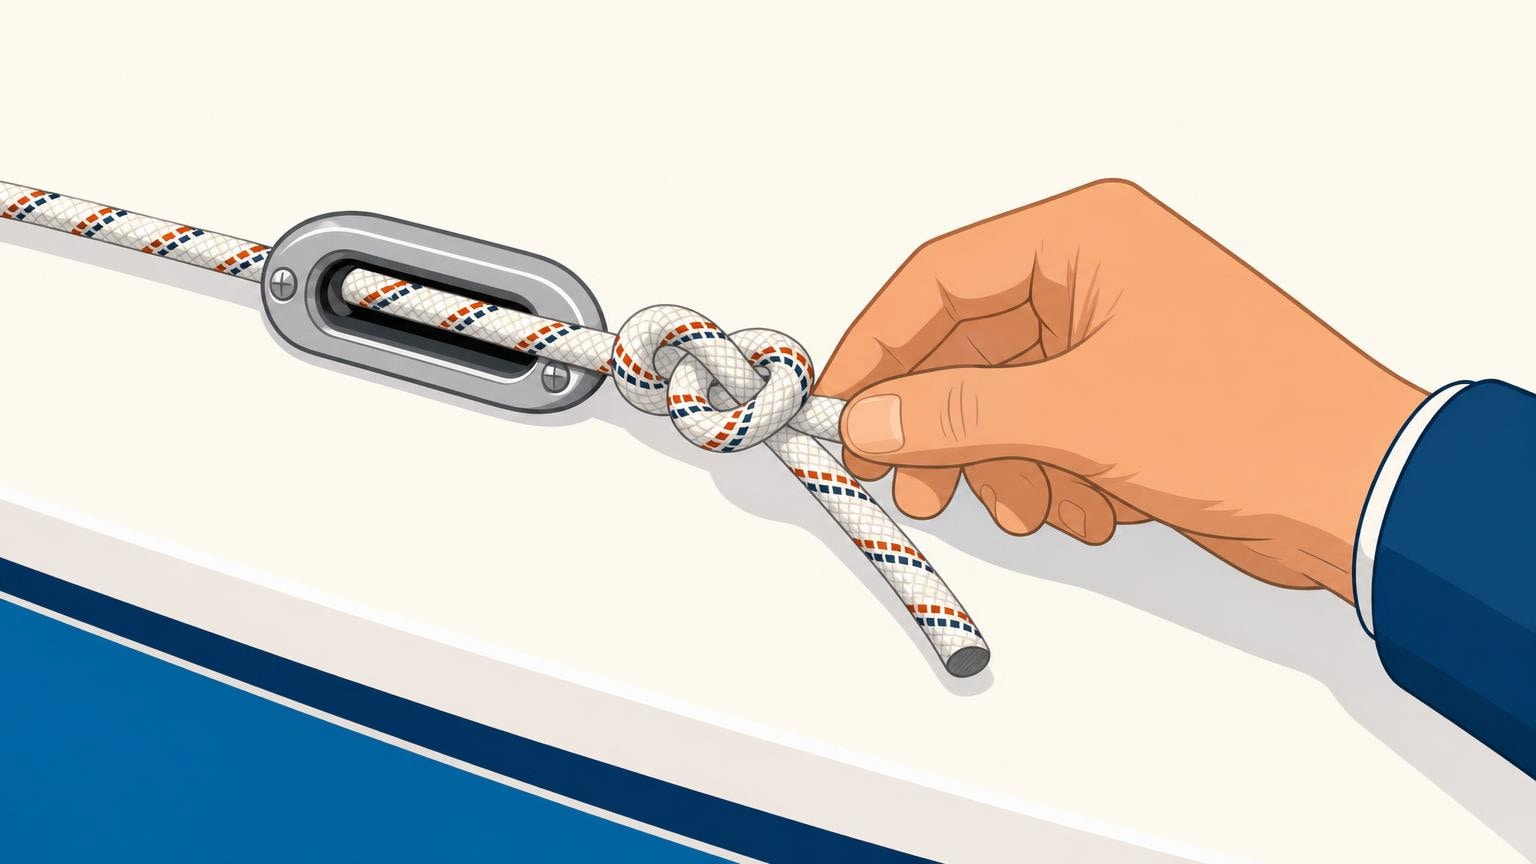
A stopper knot creates a lump larger than the opening a line might otherwise run through. The figure-eight is the common beginner choice for the end of a sheet or control line because its finished shape is easy to recognize and it is normally easier to untie after loading than a simple overhand knot.
Use it where the line must remain reeved through a fairlead, block, or retaining device. Tie it near the end with a useful tail, then dress it until the crossing forms a clear eight. Check that the finished knot is actually larger than the hardware opening. A tiny stopper on a large opening solves nothing.
The figure-eight does not attach the line to the boat and does not create a working loop. Its whole job is to keep the end from disappearing. That narrow purpose is why it is such a good first knot.
A Common Mistake: Tying It Too Small
The most common figure-eight mistake is dressing a small, tight knot that looks tidy but does the opposite of its job. If the finished knot is barely bigger than the opening it is meant to block, a sudden load can still drag it through instead of stopping at the hardware. Leave a generous tail before you dress the crossing, and pull all four parts snug rather than leaving one loop doing none of the work. Hold the finished knot up against the actual fairlead or block opening it needs to stop, not just against the general thickness of the line, before you call it done. A figure-eight tied correctly takes only a few seconds longer than a rushed one, and that difference is exactly what separates a knot that works from one that only looks like it does.
Make a Fixed Loop With the Bowline
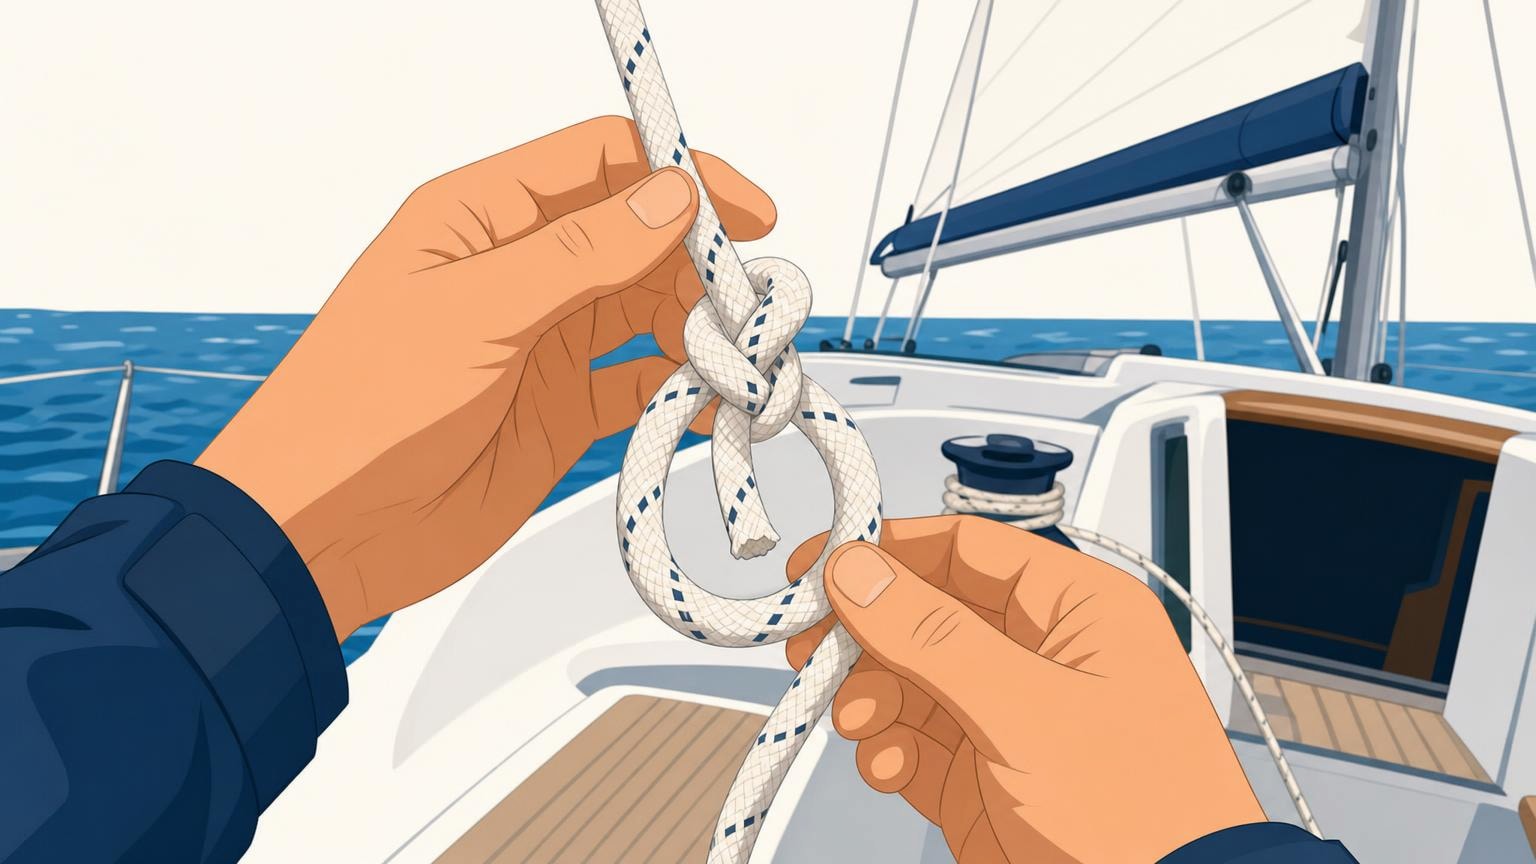
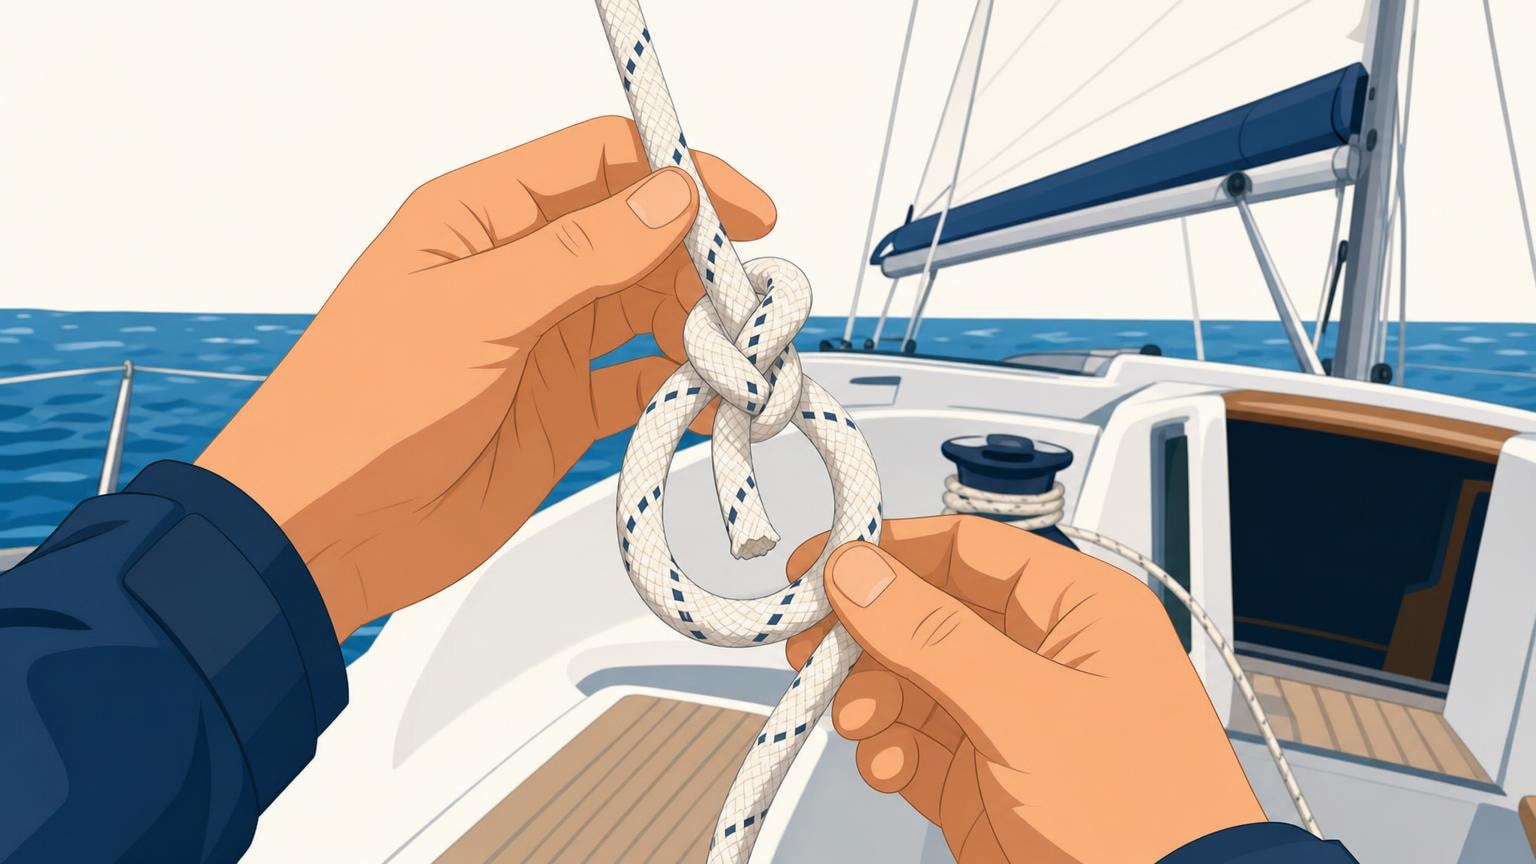
The bowline creates a loop that keeps its chosen size under ordinary load. It does not tighten like a noose around the object inside it. That makes it useful when you need a fixed loop around a post or through a fitting, or when a loop must be easy to identify as a loop rather than a hitch.
Learn the parts before the rhyme: standing part, working end, and the loop you intend to keep. After tying, pull the standing part and loop in opposite directions to set the knot. Inspect the familiar central collar and confirm the working end exits with enough tail.
A bowline is not a stopper and it is not a cleat hitch. If the job is to secure a line to a horn cleat, use the hardware as designed. The bowline earns its place because it gives you a dependable fixed shape when the task truly needs one.
Reading a Bowline That's Gone Wrong
A bowline that's tied correctly keeps its loop size steady under ordinary load, which is the whole reason to reach for it over a slipknot or a noose. If yours tightens down around whatever it's looped through instead, the working end went around the standing part the wrong way somewhere in the sequence, so check the finished shape rather than trying to remember the exact hand motion. If the knot or the loop shrinks under load, the tail is usually the problem: a working end that barely clears the collar has almost nothing left to grip once the knot is loaded. Set the knot before you trust it by pulling the standing part and the loop firmly apart, and confirm the tail is long enough to stay put under strain. A bowline you haven't set is a bowline you haven't finished tying.
Secure and Adjust With Two Different Hitches
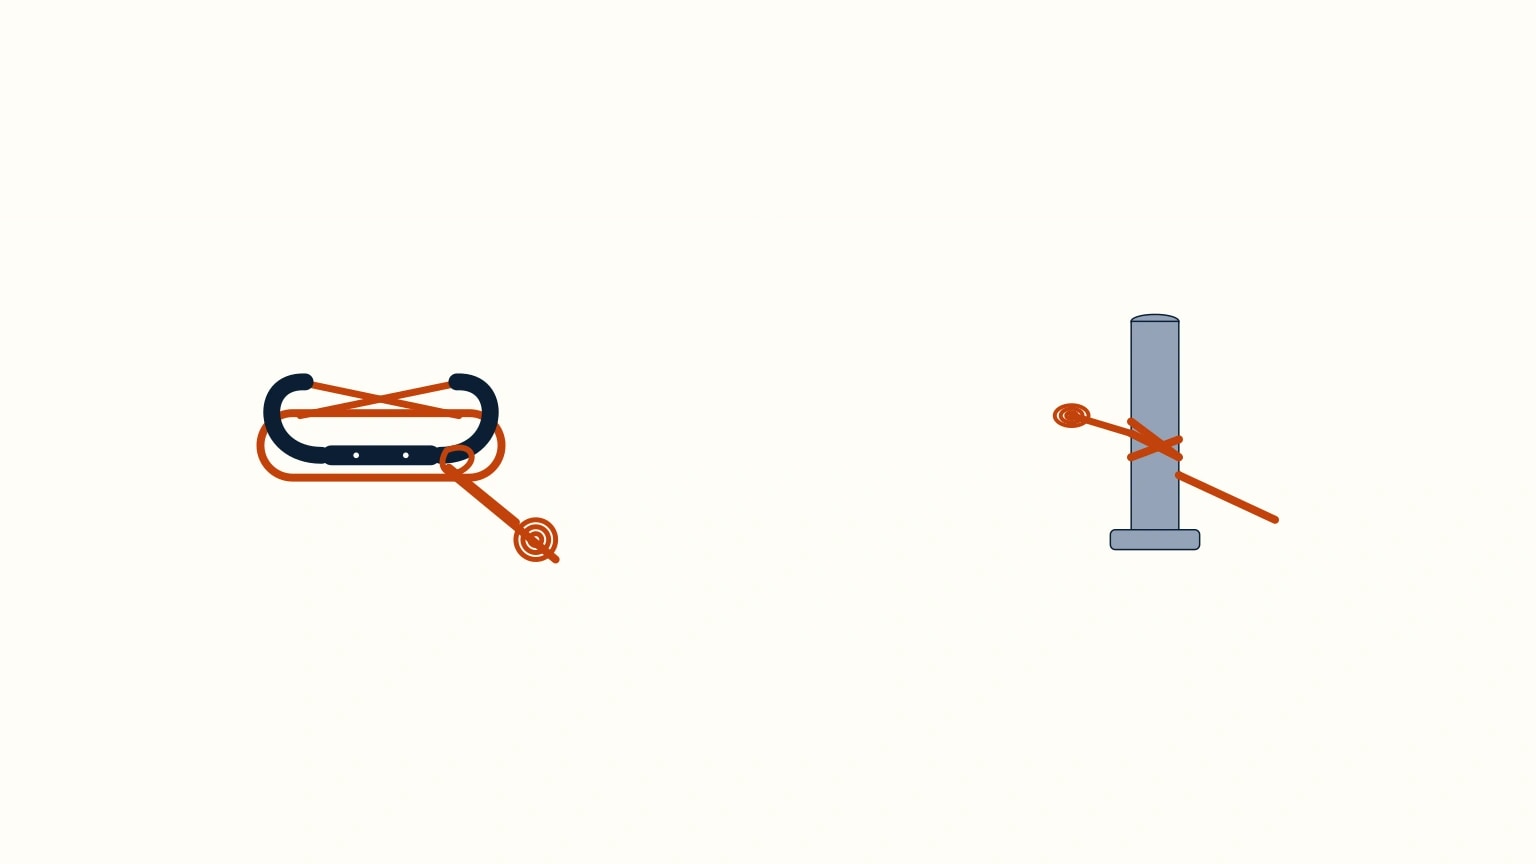
A cleat hitch and a clove hitch can both hold a line, but they suit different hardware and loads. On a horn cleat, lead the loaded line around the base before adding crossing turns. The load belongs low on the cleat, not balanced on a pile of loose figure-eights. Keep the tail managed so the hitch can be eased in a controlled way.
Use a clove hitch for a light, temporary, adjustable attachment around a round rail or post. A fender line is the classic example because you can slide the hitch to change the fender's height. A bare clove hitch can also slip under changing load or jam after heavy strain. For a line that will remain unattended under a serious load, choose a more secure arrangement.
The hardware tells you which lesson you are in: cleat hitch on a cleat, clove hitch around a rail or post.
Loading a Cleat the Right Way
The base fact is easy to forget under pressure: a cleat hitch starts with a full round turn around the base of the cleat, and the load needs to reach that base before it ever crosses the top of the horns. Rushing straight to crossing turns without that round turn first leaves the load riding high on the cleat instead of low, which is the opposite of what the hitch is built to do. Add your crossing turns once the round turn is set, and keep the working line managed as you do, since the whole hitch is easier to inspect and easier to release when every turn lies where you can see it. When you need to ease it, take the turns off in the order you put them on rather than throwing the whole thing free and letting a loaded line run all at once.
When a Fender Needs Something Stronger Than a Clove Hitch
A bare clove hitch is the right choice for a fender you want to slide up or down the rail through the afternoon, but it is not the knot for a line that will carry real, sustained load, such as one holding the boat against a piling in a surge. Under changing load a clove hitch can slip along the rail, and under one hard, sustained pull it can jam so tight that freeing it means cutting it away rather than untying it. If you can already tell a job will load the line hard or leave it unattended for a while, that is your cue to reach for a different, more secure attachment instead of asking a bare clove hitch to do a job it was never meant for.
Join Two Lines With the Sheet Bend
The sheet bend joins two separate lines. Form a bight in the thicker or less flexible line, pass the working end of the other line through the bight, around both legs, and under itself. Dress the knot so both short ends finish on the same side and the turns sit neatly together.
Do not substitute a reef knot just because its shape is familiar. A reef knot is a binding knot for wrapping two ends around an object. It is not the dependable choice for joining two loaded lines. Matching the sheet bend to the joining job prevents that common mix-up.
Why the Thicker Line Forms the Bight
The sheet bend earns its place specifically because it handles two lines of different diameters, exactly the case where a reef knot can slip apart under load. Form the bight in the thicker line, then pass the thinner line's working end through that bight, around both legs, and back under itself. The thicker line holds its shape as the frame, and the thinner line does the wrapping around it. If the two lines are close enough in diameter that it barely matters which one forms the bight, tying it the same way every time (thicker line first) builds the habit so you don't hesitate the day the diameters genuinely differ. Dress the knot so both tails end up on the same side. A sheet bend with tails on opposite sides is already starting to work loose.
Five knots are enough to create a useful practice circuit. Put a line through a fairlead and stop it, make a fixed loop, secure to a cleat, hang a fender, then join a second line. Untie everything and repeat until the job calls up the knot without a prompt.
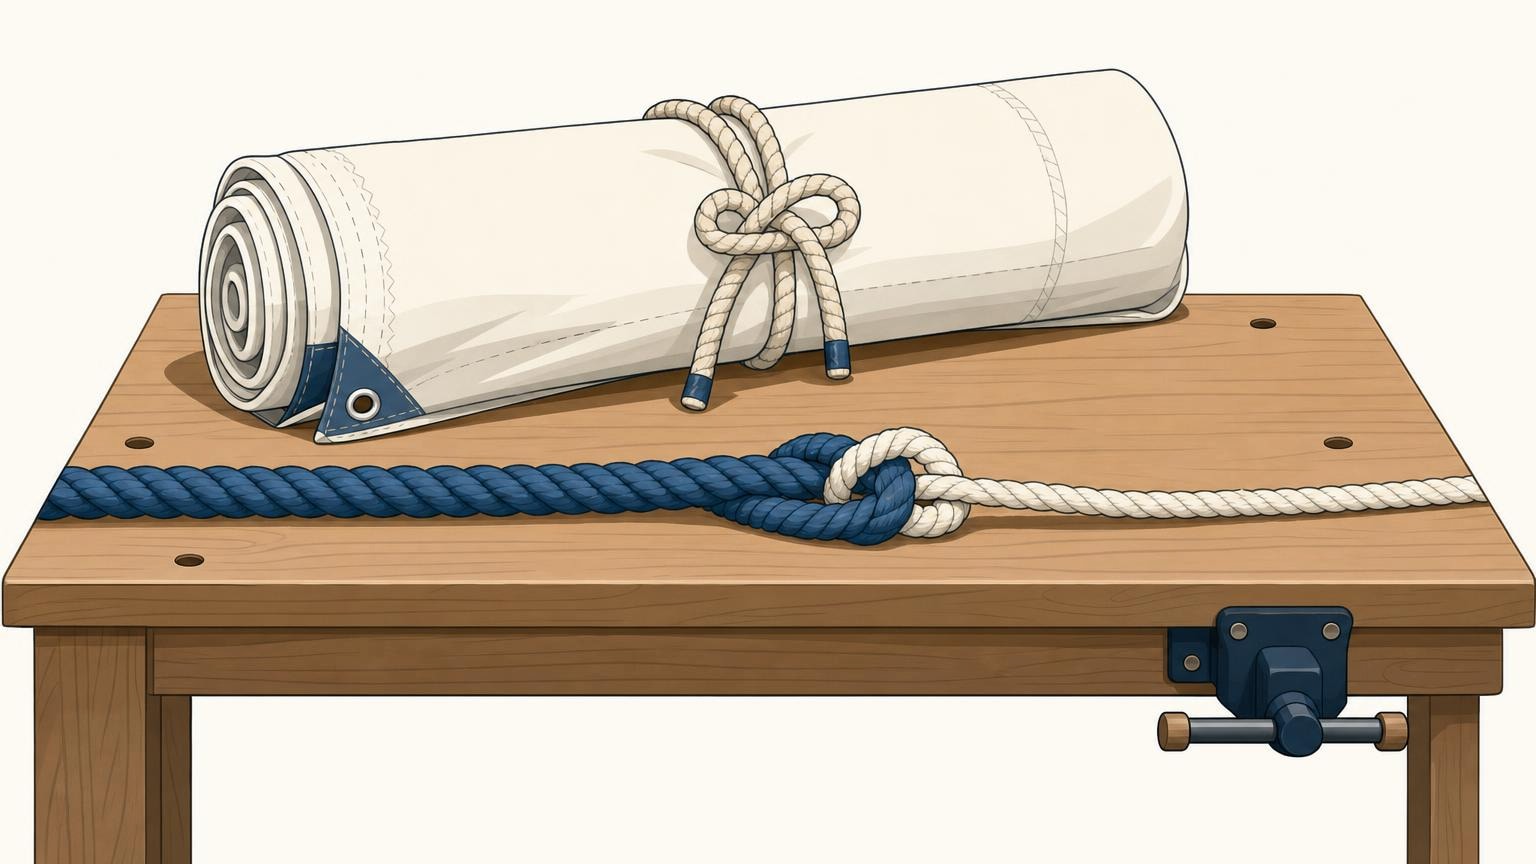
Knot confidence comes from short, correct repetitions tied to real boat jobs. SailStarter teaches these knots where you first need them, so the figure-eight appears with running lines, the bowline with fixed loops, the cleat hitch at the dock, and the clove hitch with fenders. Start with the figure-eight lesson, then build outward one job at a time. Keep practising on land with ordinary rope, and check the finished form before you rely on it aboard. You will learn faster when each knot has a reason, and you will be less likely to reach for the one pattern you remember when the boat is asking for a different solution.
Try it from the lesson
Can you spot the next move?
A line needs to stay on your side of a small opening. What job does the figure-eight do?
Why you can trust this guide
. We build each guide from public seamanship and safety sources, then teach the universal principle before any local difference.