Chart your course
How to Build a Coastal Pilotage Plan
Quick answer
The short version
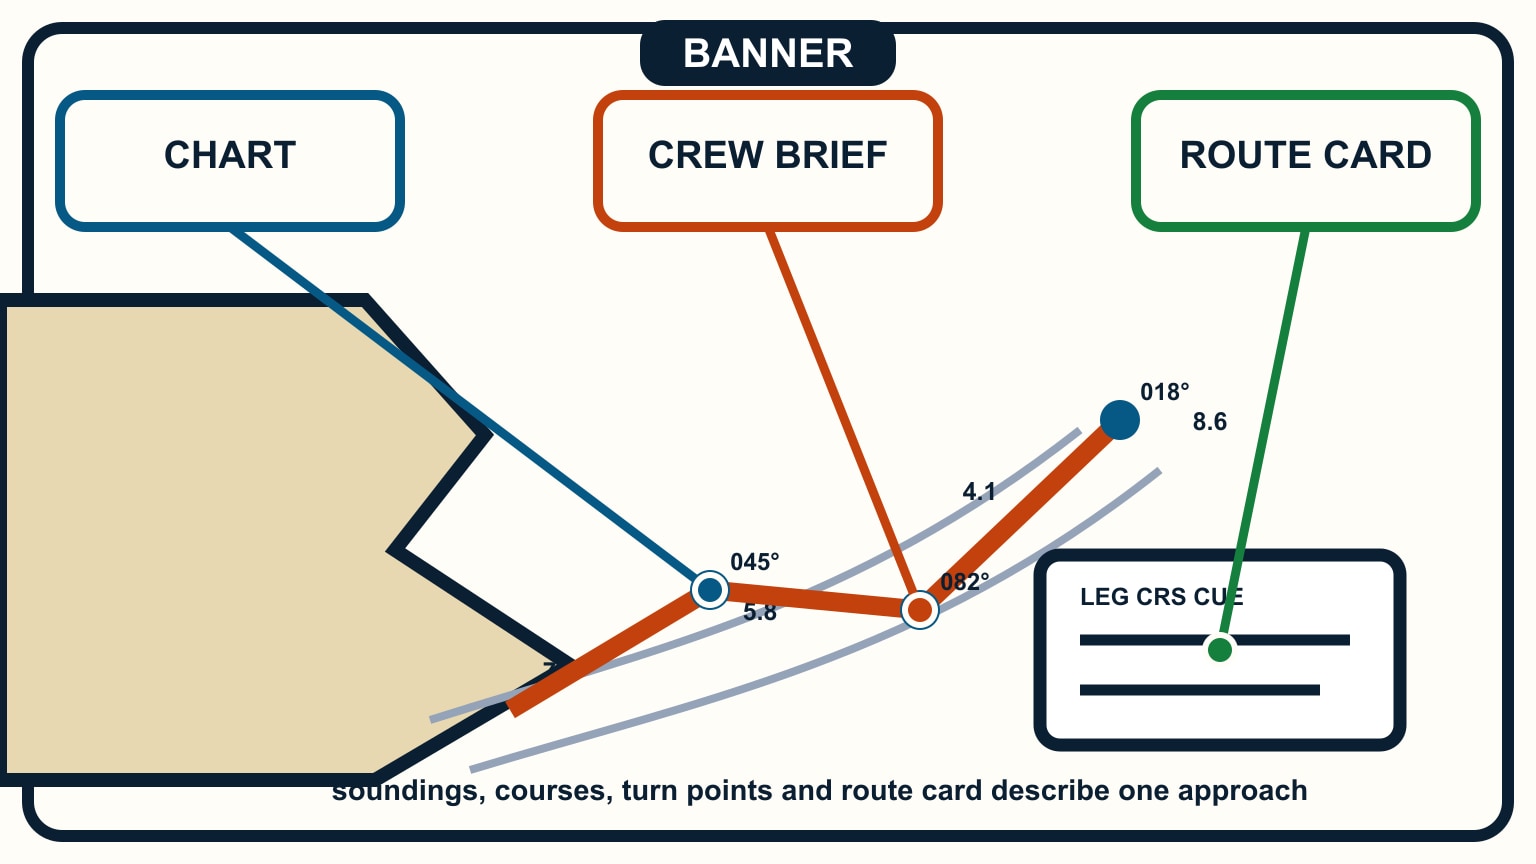
A coastal pilotage plan turns the final miles of a passage into short actions the cockpit can use. Start with current charts, sailing directions, notices, weather, tide and current information, and local harbour instructions. Break the route at obvious changes of course or risk. For each leg, write the course or visual line, distance, depth limit, hazards, expected marks, and the next decision. Add clearing lines that keep the boat outside danger, positions where you will confirm progress, communications, and a safe place to wait or turn back. Keep the finished card brief enough to read without abandoning the lookout.
Pilotage is close navigation by repeated observation. A chartplotter can show position, but the plan tells you which evidence matters next and what would make you stop. Read how to read a nautical chart first if symbols, source notes, scale, or depth units are not yet familiar.
Collect the local picture before drawing
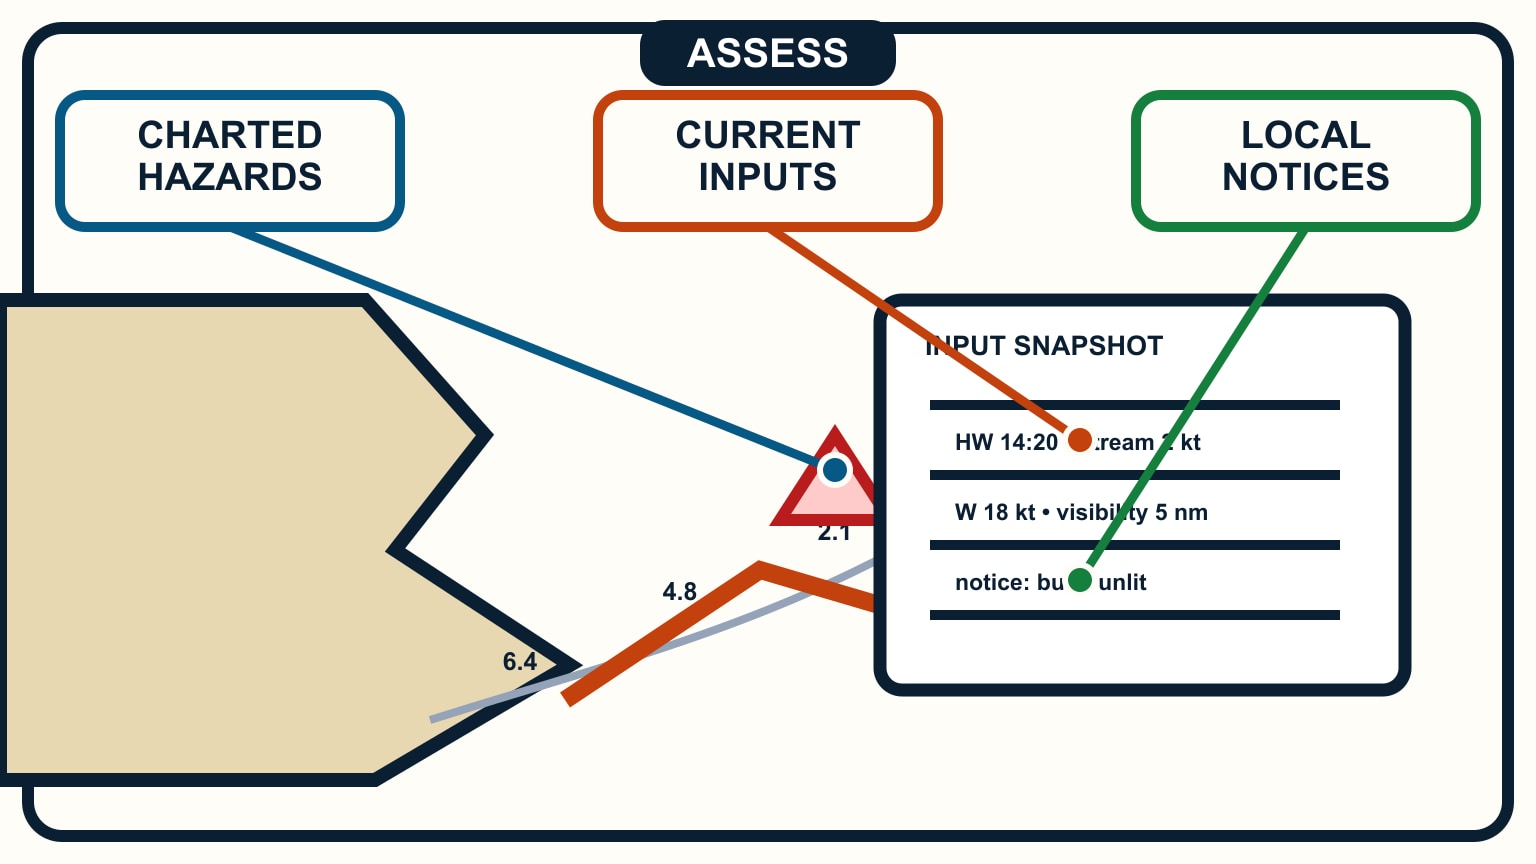
Use an official, corrected chart at a scale that shows the approach. Read its title, edition, units, datum, source notes, and cautions. Add current sailing directions or a pilot book, notices to mariners, harbour notices, and the port's own entry information. A marina waypoint from an old blog does not replace these sources.
Mark hazards and constraints before the route: shoals, drying ground, rocks, traffic lanes, restricted areas, overhead limits, narrow water, strong-current zones, and any reporting point. Note which items depend on tide, daylight, visibility, or a local rule. Keep country-specific buoyage and harbour procedures labelled and verify current local requirements.
Add the environmental window. Record forecast wind and sea state, visibility, predicted tide heights, current timing where relevant, and the usable daylight. Tide height and tidal current are different quantities; high water does not universally mean slack current. Use the local prediction for each.
Finally, assess the boat and crew. Draft, air draft, reliable speed, turning room, engine condition, steering, navigation equipment, and crew roles change what counts as a practical route. A plan suitable for a ship or a fast motorboat may be wrong for a small sailing vessel.
Divide the approach into checkable legs
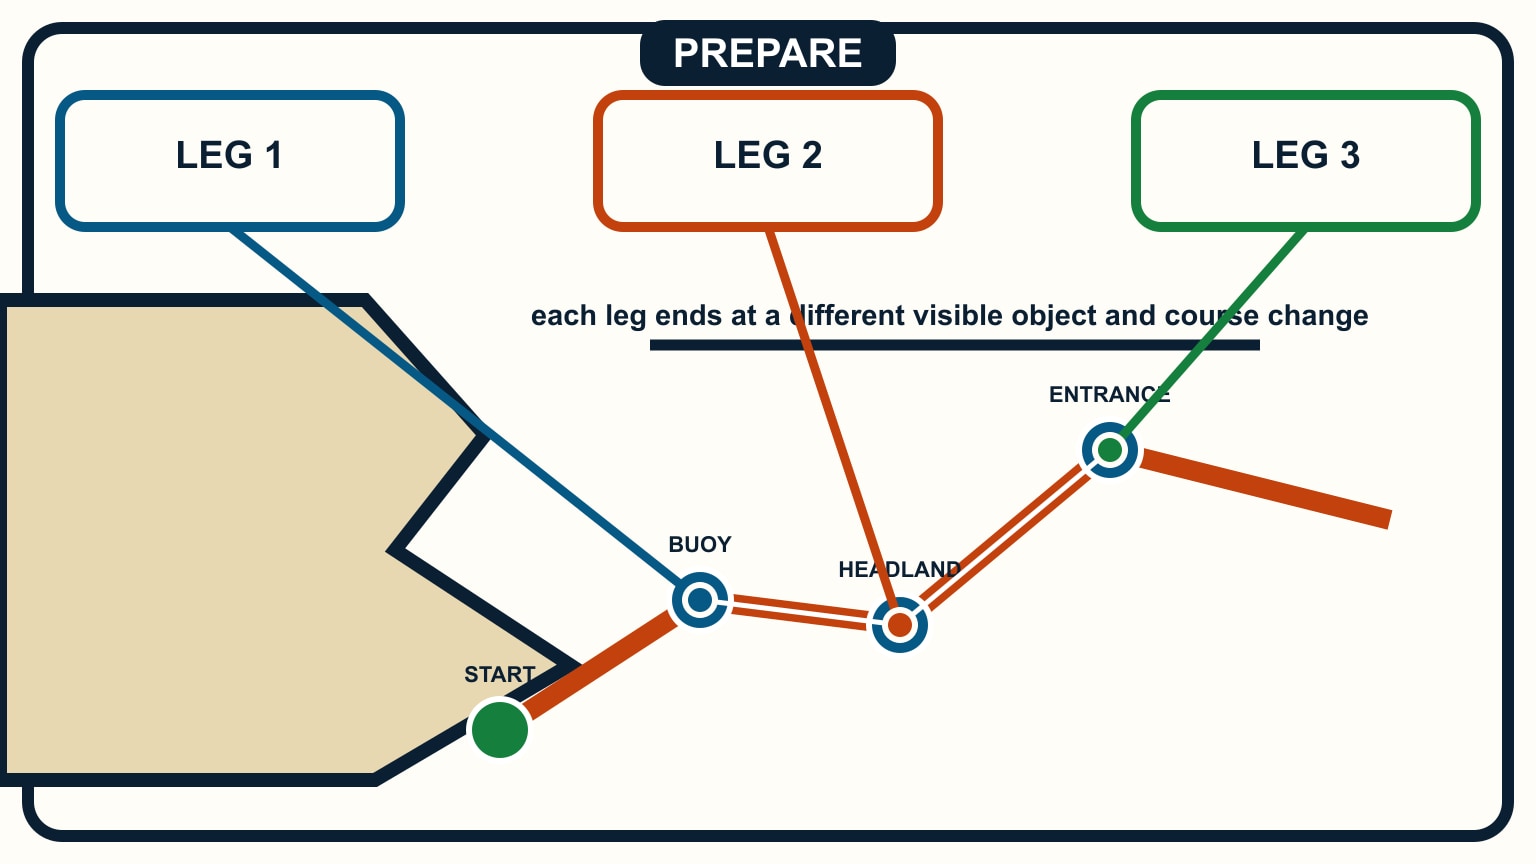
Choose waypoints at real changes in the job: a headland, buoy, channel entrance, turn between hazards, harbour mouth, or berth approach. Each leg should have a clear start and finish plus something the crew expects to see. Long legs hide missed evidence; dozens of tiny legs bury the important turns.
Write the intended track, distance, and a conservative time estimate based on speed through the water and expected current. Add the charted minimum depth along the corridor and the visual feature or electronic position used to confirm it. Number the legs so the helm and navigator can refer to the same line without reading a paragraph.
Use landmarks that are distinctive from the water. A white building may disappear among several white buildings; a lighthouse characteristic, aligned pair, headland shape, or charted structure can be stronger. Check how the feature will look from the planned direction and whether darkness, haze, or backlighting removes it.
Prepare the chartplotter route from the same plan, then compare every electronic leg with the chart. A straight line between waypoints can cross land, a shoal, or a restricted area if the route was entered at the wrong scale. Chartplotter versus tablet navigation explains why the hardware does not replace source and update checks.
Add boundaries that reveal error early
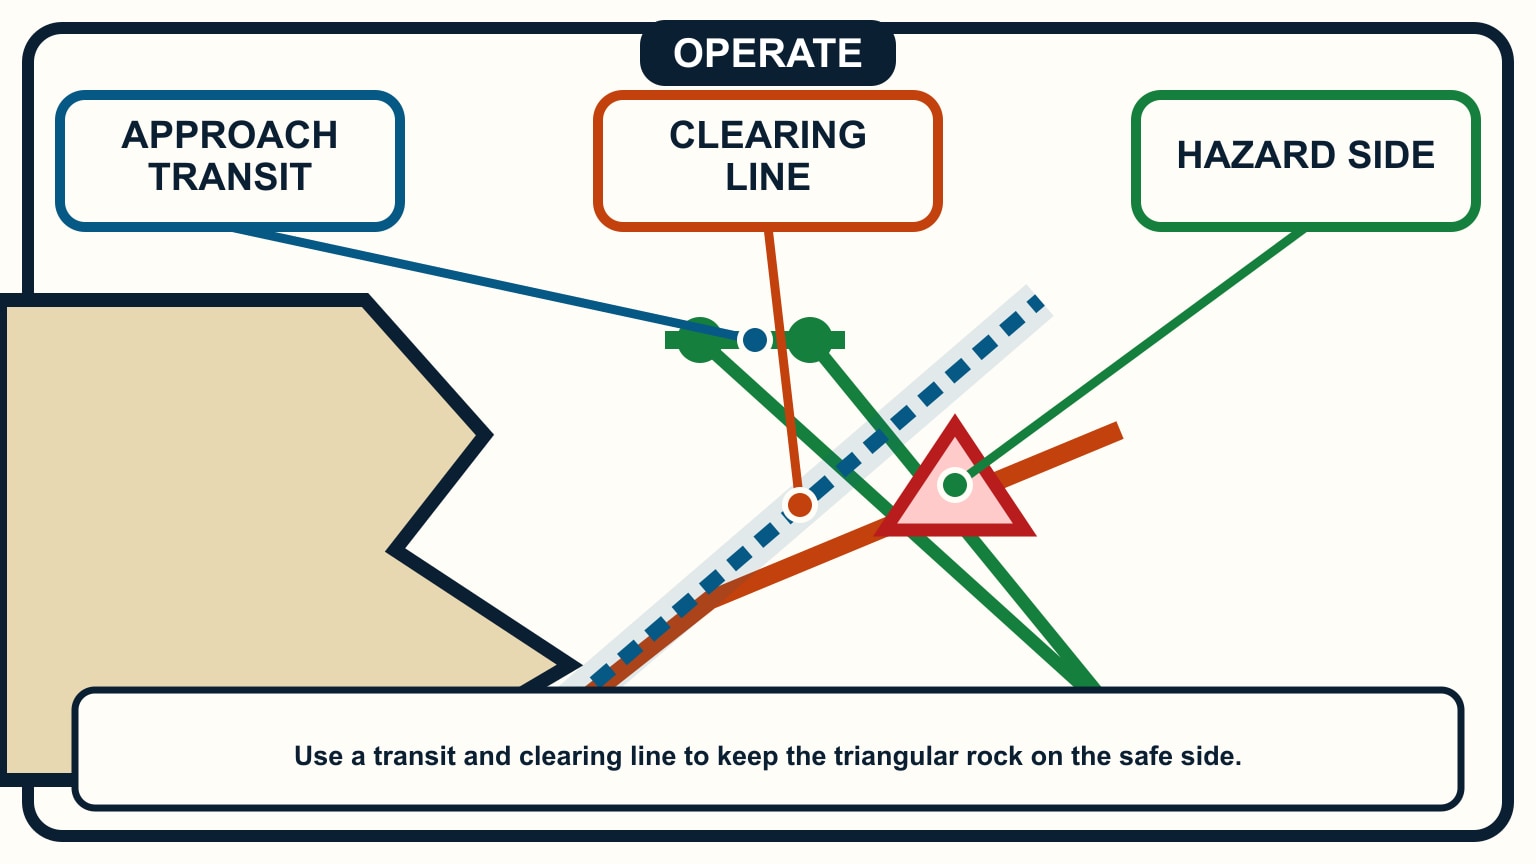
A clearing line is a bearing, transit, depth, or other limit that keeps the vessel on the safe side of danger. It does not need the boat to pass through a precise point. For example, a charted object remaining on one side of a bearing can show that you have not entered the shoal sector. The exact construction must come from the corrected chart and account for compass error where bearings are used.
Transits are especially readable. When two fixed marks align, the boat lies on their line. A channel transit can help hold the intended approach; a clearing transit can show the boundary not to cross. Confirm both objects are correctly identified and remain visible through the leg.
Depth can provide another boundary when charted bottom contours and tide make it meaningful. Write whether the number is a charted depth, predicted water depth, or depth-sounder reading, including transducer offset and required under-keel margin. Do not mix them on one line. Sailboat draft and under-keel clearance covers that calculation.
For every boundary, write the response. “If the transit opens to port, turn to the safe heading” is usable. “Watch the rocks” is not. Choose a response that moves toward known safe water without crossing another hazard.
Put depth and timing beside the decision
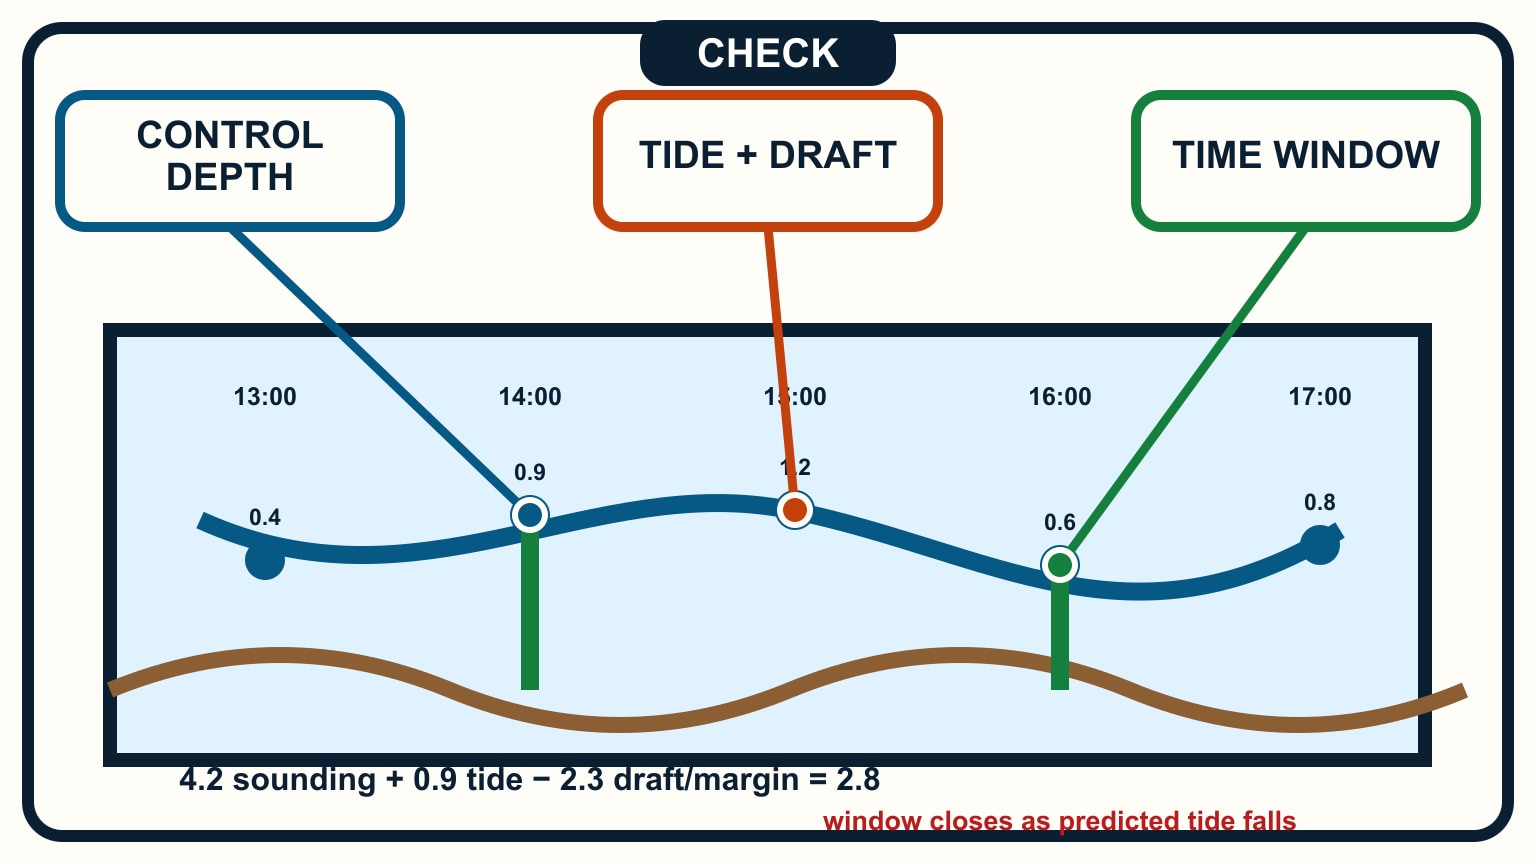
Calculate water depth at the controlling shallow point from the charted sounding and the relevant predicted tide height, then subtract the boat's draft and a margin for uncertainty and motion. Confirm the chart and tide source use compatible datums and units. Keep the worked number on the leg where it matters rather than on a separate page.
Do the same for current. Use the local current prediction, not a general assumption tied to high or low water. Record the expected direction and rate for the time window and how it changes the turn, speed over ground, or ability to stop. If wind opposes a strong current at the entrance, the sea may become steeper than the offshore forecast suggests.
Set an earliest and latest commitment time when depth, current, daylight, bridge opening, or harbour service limits the entry. Work backward from that point to decide when the approach must begin. Include time to identify marks and recover from a missed turn.
Recalculate on the day. A delayed departure, slower boat, updated forecast, or changed tide reference can move the window. A neat card made yesterday does not overrule current information.
Brief the alternative before departure
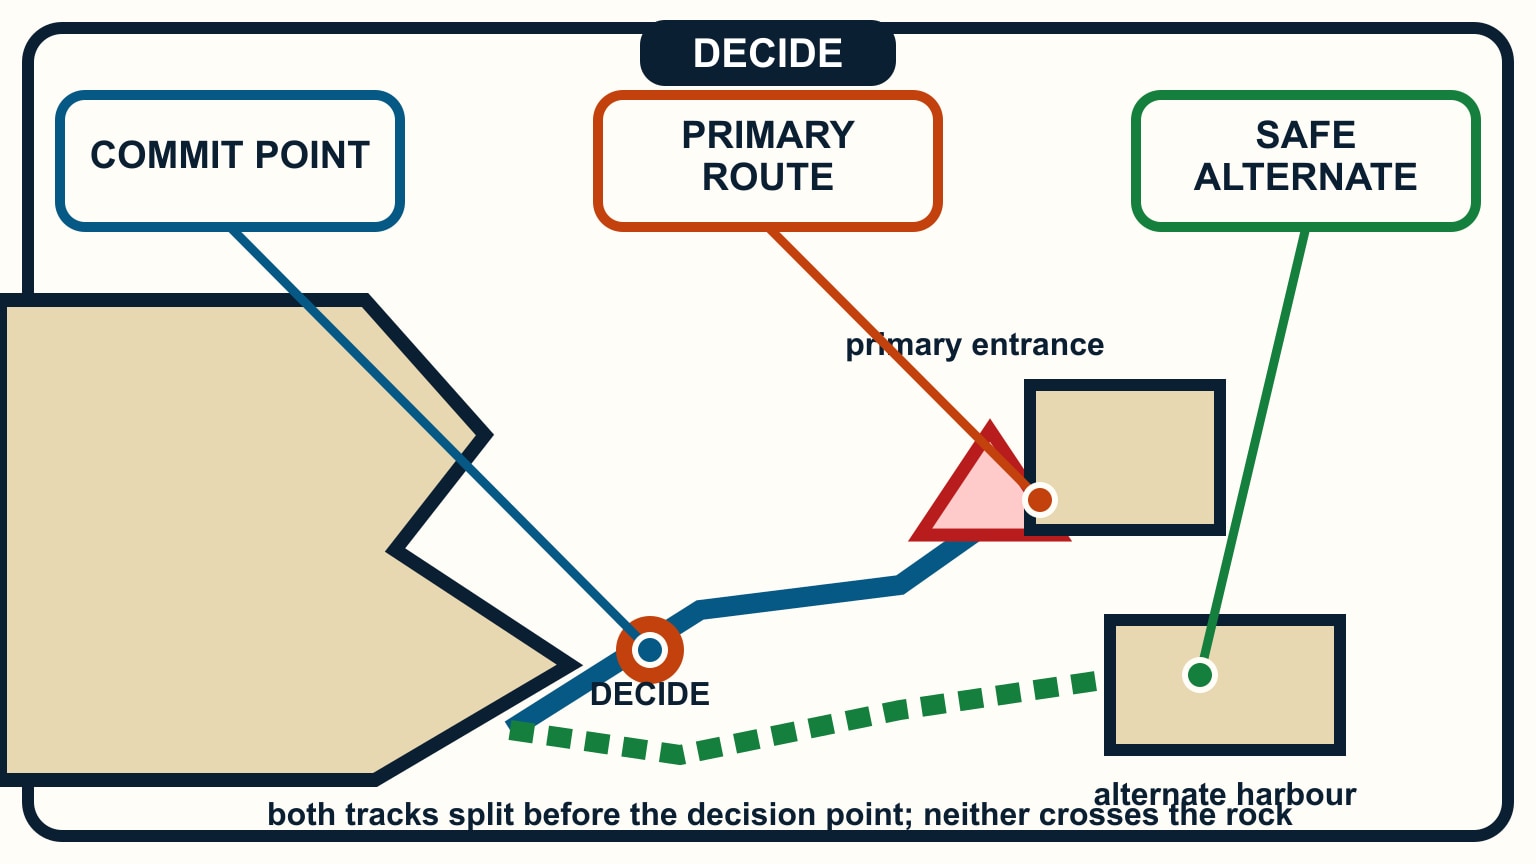
Name a safe alternative that works in the same conditions that would close the primary route. A harbour exposed to the same wind, a waiting area too shallow at low water, or an anchorage reached only through the same narrow entrance is not independent. Check its charts, approach, depth, and local information with the same care.
Write the decision point where the alternative remains reachable. Beyond that point, current, distance, or daylight may remove it. Add a safe holding area only if the chart and local guidance show enough water and room; “wait outside” is incomplete when the coast is exposed.
Brief the crew from the card. Identify who helms, who navigates, who keeps lookout, who handles radio calls, and who prepares lines and fenders. Read out the first two legs, the first danger, and the first abort cue. Keep the chart and backup position method ready if the main display fails.
During the approach, update the plan from observations. If a buoy is missing, depth disagrees, visibility closes, or the boat reaches a checkpoint at an unexpected time, slow or return to safe water. Pilotage is a chain of confirmed steps, not loyalty to the magenta line.
SailStarter's navigation lessons can help you read charts, depth, position, and visual marks before you compress them into a cockpit card. Build your first plans with an experienced navigator and compare the drawing with what appears from the water. A useful pilotage plan says what comes next, what proves you are there, what keeps you clear, and when you will stop. If the crew cannot find those answers quickly, simplify the card before departure.
Make a second crew member talk the plan through from the chart without prompting. They should be able to identify the first visual check, the controlling depth, the turn-back point, the alternate, and the next radio action. Any part they cannot explain is probably too compressed or dependent on the planner's memory.
Always carry the working plan where spray or a failed display will not erase it. A compact waterproof note should preserve the order of legs, critical numbers, radio channel, and diversion even when the main plotter reboots reliably.
After the trip, compare the planned bearings, depths, transit shapes, and timings with what the crew actually observed. Correct the notes, but keep dated corrections separate from official chart updates. A successful arrival does not validate a weak margin; note where luck, unusually good visibility, or lighter-than-forecast conditions made the plan look easier than it was. This debrief turns pilotage into evidence rather than folklore.
Try it from the lesson
Can you spot the next move?
On a NOAA paper chart, you see buff, green, and blue close to shore. What does each colour mean?
Why you can trust this guide
. We build each guide from public seamanship and safety sources, then teach the universal principle before any local difference.