Chart your course
No Cooling Water From Sailboat Exhaust: What Now?
Quick answer
The short version
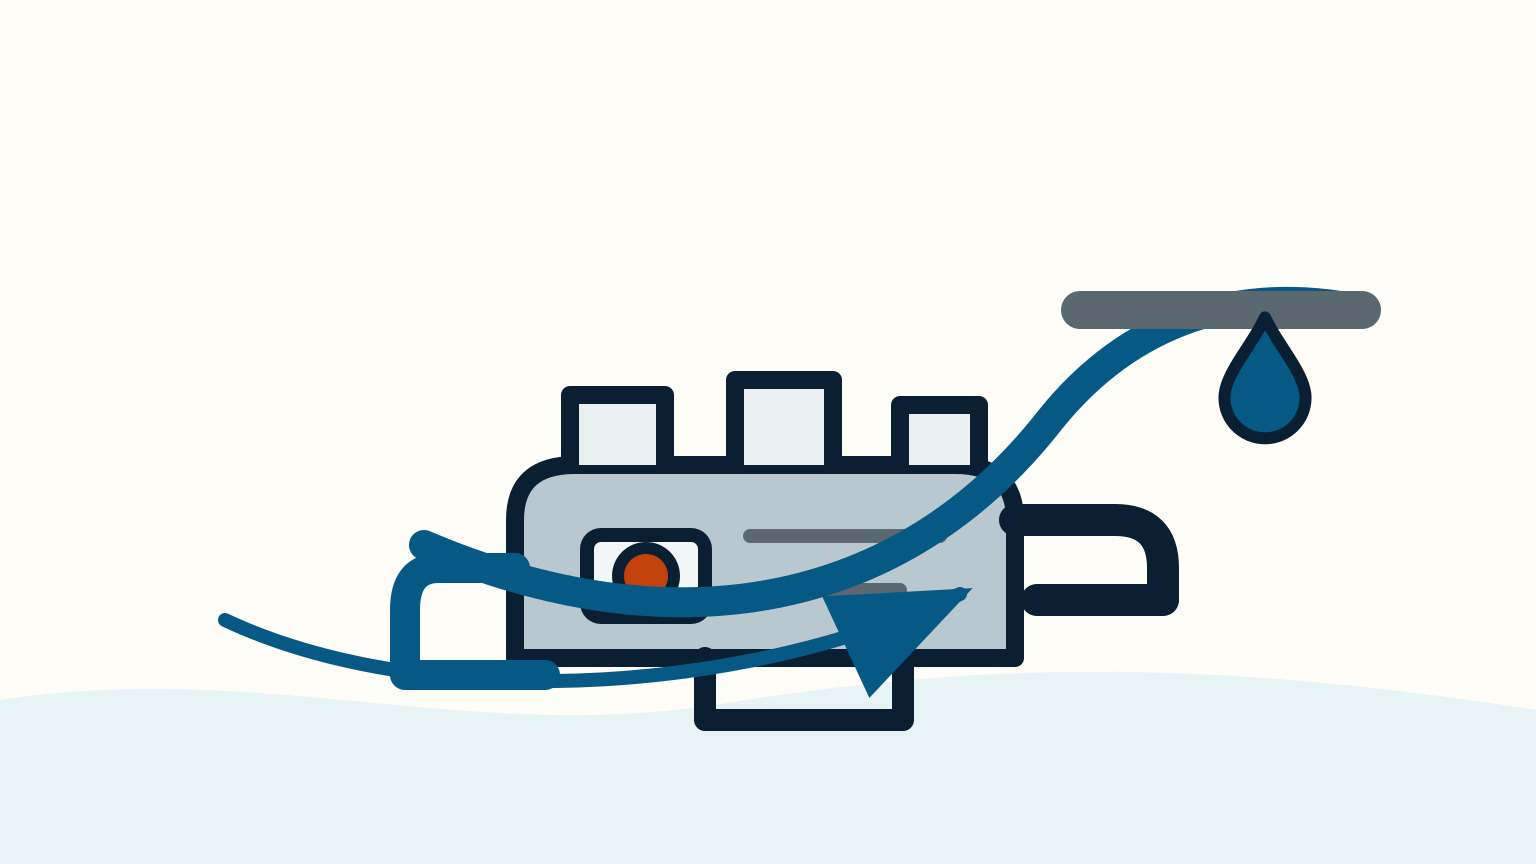
If the usual water at a sailboat's wet-exhaust outlet disappears or becomes much weaker, treat it as an engine-protection warning. Do not assume the outlet is merely hidden by glare, and do not continue running the engine while you work through a generic troubleshooting list. On a Yanmar panel, a cooling-seawater-discharge alarm indicates that seawater flow has become too small and directs the operator toward a clog in that engine's seawater cooling system. Your engine may arrange its parts differently, but the response principle is the same: protect the engine first and use its manual next.
The exhaust outlet is a visible clue to one part of the cooling path. It cannot by itself tell you whether a through-hull, strainer, pump, hose, heat exchanger, sensor, or another component is responsible. A calm record of the last normal discharge, current alarms, temperature, and recent work is more valuable than opening fittings at random.
Make The First Decision Promptly
If there is a cooling-water warning, rising temperature, steam, burning-rubber smell, or an abrupt change in the exhaust outlet, reduce demand and stop the engine as its manual directs. Pick a safe position before doing so. In a fairway, that may mean using sail, anchoring if appropriate, calling for assistance, or arranging a tow rather than relying on propulsion that may be overheating.
Do not keep starting the engine for short checks. A few seconds can be useful only when the installed procedure says it is safe. Repeated starts without water flow can add heat to an already uncertain system. Let the engine cool before you touch hoses, strainers, or caps. Hot cooling fluid, exhaust components, and confined engine spaces can injure you even when the engine is no longer running.
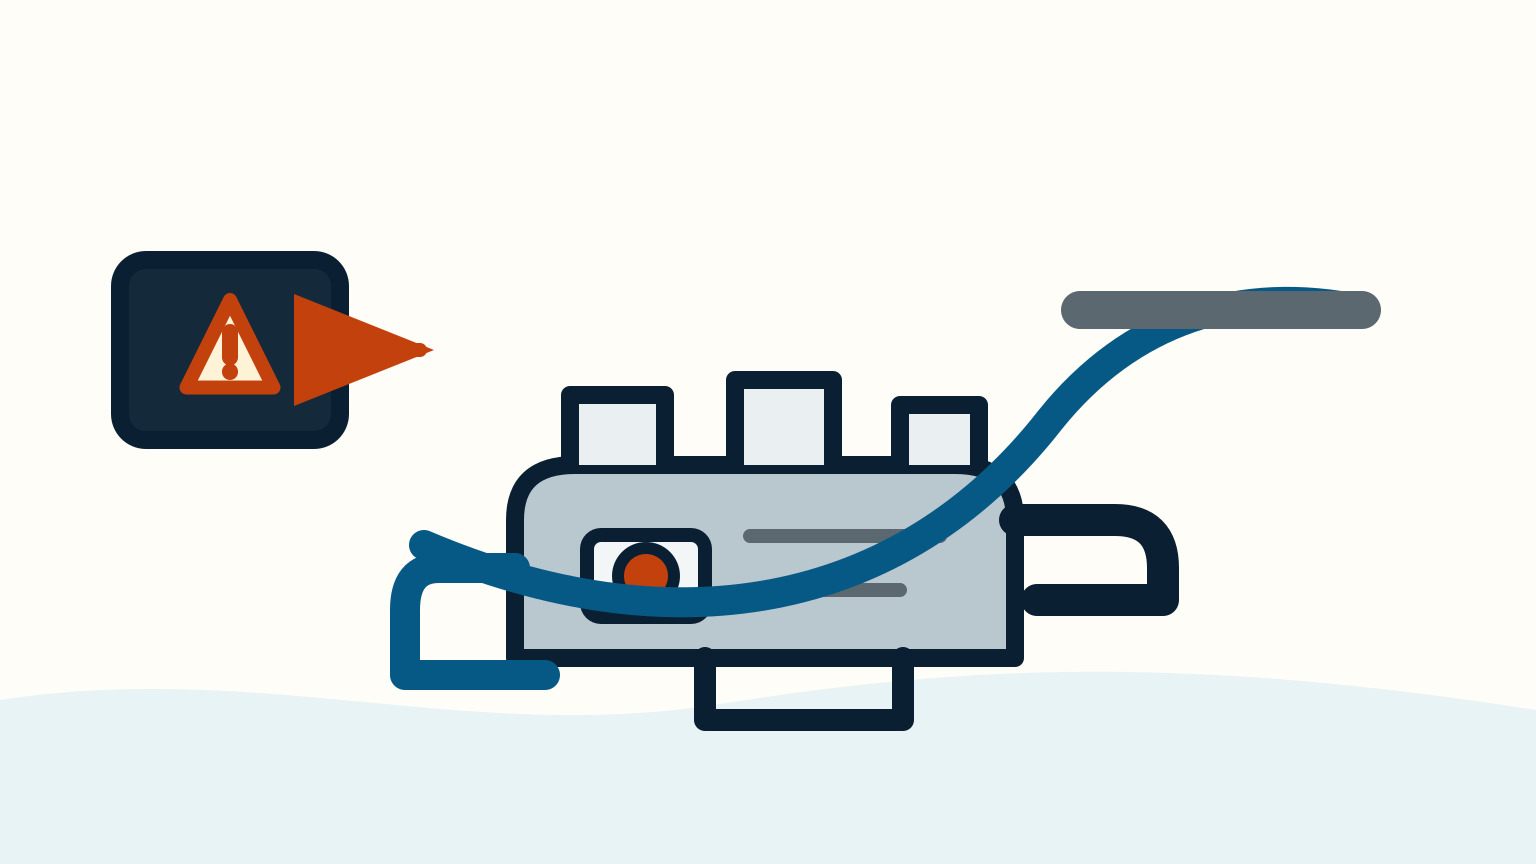
Look at the whole instrument panel before switching off if you can do so safely. Oil pressure, coolant temperature, coolant level, and seawater discharge are distinct warning functions on the cited Yanmar example. Write down exactly which light or buzzer appeared. That distinction matters when you later consult the manual or a technician.
If you are learning the normal pattern for your own boat, include the wet-exhaust outlet in your regular sailboat engine checks. A familiar baseline makes a smaller flow change easier to spot before it becomes a no-flow event.
Confirm The Observation Without Chasing It
Once the engine is stopped and cool enough for the checks your manual allows, look again at the outlet from outside the boat. Harbour reflections, an outlet under a counter, and rough water can make a normal discharge hard to see. A second person watching from the dock or cockpit may be able to confirm what the driver could not see.
Record whether the change was no water, an intermittent flow, less water than normal, or water mixed with unusual exhaust. Also note the engine temperature trend, alarm state, running time, recent weed or shallow-water contact, and whether the boat was just launched or serviced. Do not add a conclusion such as "the impeller failed" unless the manual-led inspection actually establishes that.
The visible exhaust is not the same thing as the closed coolant loop. Yanmar separates cooling-seawater-discharge, coolant-temperature, and coolant-level warnings in its panel information. A normal-looking outlet does not cancel a temperature warning, and an absent outlet does not identify a coolant-level issue. Treat the panel and outlet as two pieces of one record.
A phone video taken at a safe distance can show flow and exhaust sound. Add the time, sea conditions, and engine speed in a note. That simple record prevents the common drift from "I saw no water once" to "the cooling system is blocked." It also helps if the symptom disappears while the engine is cool.

Map Only The Accessible Water Path
Use the installed engine and boat plumbing diagrams to identify what you can see. A typical raw-water route may include an intake, a valve, a strainer, hoses, a pump, and an exchanger or mixing point. That is a recognition map, not a universal order of service. Some boats add components, place them in awkward lockers, or use a different arrangement.
Start with the simplest evidence. Is the raw-water intake valve clearly in the expected position? Is there obvious debris in an accessible strainer bowl? Are there loose clamps, collapsed hoses, or a tool left after recent service? Only inspect a part when you can name it from the actual diagram and the engine is safely stopped. Never open a fitting below the waterline because a general article made it sound like the next step.
The raw-water impeller inspection guide explains why a flexible impeller is a separate, manual-controlled service task. It does not make every cooling problem an impeller problem. If the strainer is clear and the engine still has no discharge, resist the urge to keep moving downstream through unfamiliar components.
Notice what changed immediately before the problem. A weed-filled intake after a shallow creek, a strainer opened during a pre-start check, a hose moved during belt service, or a boat launched after storage each creates a different question for the manual. Write the event next to the observation instead of treating it as background detail. It may be the only clue that a technician can connect to the cooling path.
Use one change at a time. If the manual permits cleaning a strainer, reassemble it correctly and record that it was opened. A newly disturbed seal can introduce an air leak or water leak, which clouds the original fault. A good first check leaves the boat in a known state.

Respect The Heat-Exchanger Boundary
Many owners hear "no cooling water" and head straight for the heat exchanger. That skips important steps and ignores engine differences. The cited Yanmar 6LF exchanger procedure begins with the engine off and at low temperature, then drains the seawater circuit before parts are removed. Its exchanger service has specified access steps, gaskets, materials, torque, refill, and post-service checks.
That detail is the reason not to copy the procedure into every engine bay. The same work on another engine may have a different exchanger, different metals, different drain points, or a different coolant arrangement. Aggressive products can damage some materials. An omitted gasket or an incorrect fastener load can create a new fault after the original restriction is gone.
If your manual names an exchanger inspection, collect the engine model and revision, then read the whole section before loosening anything. Find the required consumables and disposal route. If it calls for a dealer, service centre, or a job beyond the access you have aboard, make that the plan. It is cheaper to stop at a known boundary than to open a sealed cooling component in a cramped berth.
For the context behind that decision, read how to clean a marine heat exchanger. It explains how one manufacturer scopes the task without pretending the same cleaning product or sequence fits every engine.

Restart Only Under The Manual's Conditions
After an allowed inspection or repair, restore every cap, strainer lid, clamp, valve, and electrical connection you disturbed. Use the manual's stated refill and venting procedure. Do not treat a quick start as proof that the fault is gone. Stay near the controls, watch the panel, and assign someone to observe the exhaust if the location is safe.
Run only as the manual permits. Record the first appearance of discharge, engine temperature behaviour, any alarm, and any leak at the part you touched. If the outlet still lacks water, the temperature rises, or a warning returns, stop again. Continuing to "test" a failed repair turns a clear decision into a riskier situation.
Add the incident to the engine log even if the symptom clears. Include what you saw, what you did, what you did not open, and whether a service person was contacted. Cooling faults often have a seasonal or debris-related history that becomes visible only when two observations are compared.
If you are unsure whether a result is normal, call the engine maker's support route or a qualified marine technician with your record. A technician can decide whether the next check needs proper tools, replacement parts, or pressure testing. You have already done the valuable part: you noticed a departure from normal operation and avoided forcing the system.
Before leaving the boat, make the engine status obvious to other crew. If it must not be started, say so and leave a brief note at the controls if that is appropriate aboard your boat. Secure tools, dry any water you introduced during an approved check, and put the manual with the log. A clear handoff prevents someone else from restarting the engine simply because the discharge looked normal for a second.

SailStarter's systems lessons can help you trace the broad engine-to-exhaust path. Use them to recognize what you are seeing; use the installed manual and a qualified technician to decide what may be opened, serviced, or restarted.
Try it from the lesson
Can you spot the next move?
The engine is idling, the boat is safely secured and the propeller area is clear. What should you confirm before departure?
Why you can trust this guide
. We build each guide from public seamanship and safety sources, then teach the universal principle before any local difference.