Chart your course
How to Clean a Marine Heat Exchanger

Quick answer
The short version
Cleaning a marine heat exchanger is not a universal pour-in-a-product job. An exchanger may sit in a raw-water and coolant system with particular metals, gaskets, drain points, fastener torque, refill steps, and disposal requirements. The right starting point is the exact engine manual. Yanmar's 6LF manual provides a good example of why: it requires a stopped, low-temperature engine, drains the seawater circuit, removes the exchanger and tube bundle, uses specified cleaning methods, replaces gaskets, and completes a refill check. That is useful context, not a recipe for another engine.
The article can help you plan the work and recognize its boundaries. It should not make you open a cooling system that your manual does not authorise you to service. A heat problem, poor discharge, or an old service interval needs diagnosis before you decide the exchanger is the cause.
Identify The Actual Component
An engine bay can contain coolers, hoses, strainers, pumps, expansion tanks, exhaust parts, and fittings that look equally important. Do not choose an exchanger from a generic photo. Find the engine make, model, serial number, and manual revision, then use the manual's diagram and component names. If the boat has a separate generator or water heater loop, keep those systems out of the assumption.
The exchanger's job is to transfer heat across a barrier between fluids. That broad idea is useful. The exact construction is not universal. Your engine may use a removable tube bundle, end caps, zincs, sensors, or service access that differ from the cited Yanmar example. A service manual tells you what can be removed, which seals must be renewed, and whether another component has to come off first.
Write down the symptom that led you here. Was it temperature rise, a cooling-water warning, an age-based maintenance task, visible corrosion, or a blockage found elsewhere? This protects you from replacing a maintenance item while a hose, pump, alarm sensor, or raw-water intake remains the real issue.
For the bigger cooling picture, start with no cooling water from a sailboat exhaust. It separates a visible exhaust clue from a complete cooling-system diagnosis.

Plan The Job Before Opening The System
Read the entire maintenance section before buying cleaner, loosening a cap, or draining fluid. A manual may call for a cold engine, a particular drain point, replacement gaskets, specified tools, and an order for removing access parts. It may also require a qualified service centre. Gather that information first, together with the boat's plan for catching and disposing of liquids.
Temperature is not a formality. Pressurized cooling fluid and hot metal can remain dangerous after an engine stops. Give the machinery time to cool as the manual specifies. Keep fuel, electrical connections, belts, and loose gear clear of any planned work area. A cramped compartment rewards preparation more than speed.
The cited 6LF procedure drains the seawater circuit before exchanger access. It does not imply that you should open every seawater fitting on another boat. Anything below the waterline, unfamiliar, or difficult to reassemble should stop the job until the correct procedure and help are available.
Make a parts list from the manual. If a gasket, sealing ring, anode, clamp, or specified fluid must be renewed, have it before disassembly. Pausing halfway through with an open cooling circuit encourages substitution and makes it harder to restore the boat safely.
Decide where the boat will remain while the system is open. A planned berth with access to fresh water, waste handling, light, ventilation, and a way to get help is different from a job started at anchor before a weather change. If the engine is needed to leave the location, postponing the work until support is available is a sound maintenance decision.

Use Material-Specific Cleaning Guidance
Metal choice matters. In its 6LF example, Yanmar calls for soapy water on parts, low-pressure steam and water on the shell and tube, and no aggressive detergents on copper, brass, aluminium, or tin. That is a reminder to use the cleaning chemistry approved for the exchanger you actually have. A product that sounds suitable for "marine cooling" can still be unsuitable for a particular alloy, gasket, or coating.
Avoid internet chemistry experiments. Acid strength, soak time, water temperature, circulation pressure, and neutralising or disposal requirements can change the risk. If a manual gives a named cleaner or refers you to a dealer, use that path. If it gives no cleaning procedure, ask the engine manufacturer or a qualified technician before introducing a product to the system.
Physical cleaning has boundaries too. A tube bundle can be delicate, and a tool that seems to remove a deposit can deform or score a heat-transfer surface. Do not poke wires, drills, or improvised rods through passages unless the manual explicitly tells you how. The visible result can look clean while the component is no longer sound.
Take photos before and after only if they do not slow down safe work. Photograph the hose routing, clamp orientation, gasket seating faces, and serial label. Those photos are most useful when they support the manual, not when they replace it.
Reassemble With New Seals And Specifications
Cleaning is only the middle of the job. In Yanmar's cited 6LF procedure, gaskets are replaced during assembly and screws receive specified torque. A reused seal, wrong fastener load, or pinched hose can create a leak that is harder to find than the original restriction. Treat every seal and tightening instruction as part of the cooling system, not a finishing touch.
Lay removed parts out in the order the manual gives, or label them as they come off. Do not trust a phone photo alone if several hoses or brackets look similar. Confirm the condition and orientation of any cap, cover, clamp, drain plug, or bonding connection before you close the compartment.
If you find corrosion, damaged threads, distorted covers, missing material, or a part that does not seat naturally, stop. Do not draw it into place with a bolt. That is the point for a technician or engine dealer, who can decide whether the exchanger, hardware, or another connected system needs repair.
For a general approach to maintenance evidence and service history, marine diesel maintenance checklist can help you set up a log. Keep model-specific torque and parts details in the manual, not in a generic checklist.

Refill, Check, And Know When To Escalate
The cited Yanmar procedure refills the coolant circuit, runs the engine briefly, then stops and rechecks coolant. Your engine may have a different fill, bleed, warm-up, or pressure-test routine. Follow it exactly. Do not substitute a general "run it until hot" test, especially after work on a cooling component.
Stay with the boat during the initial manual-approved check. Watch for drips at every disturbed joint, listen for an alarm, and observe the panel and wet exhaust from a safe position. Keep an absorbent pad where it helps reveal fresh liquid. If a warning returns, a leak appears, or the temperature behaves abnormally, stop and document the result rather than retightening random hardware.
Record the original symptom, parts used, cleaner or method approved by the manual, work date, engine hours, and outcome. This lets the next owner or technician distinguish a clean exchanger from an unproven assumption. It also gives a practical service baseline for marine diesel overheating if that was the symptom that led to the job.
An exchanger can be serviceable, restricted, corroded, or simply not the source of the fault. Good work ends with that uncertainty handled honestly. A manual-led technician inspection is a successful next step when you cannot verify the component's condition or restore the system exactly.
Do not make the first post-service run a passage test. Stay close to the berth or choose conditions where loss of propulsion is manageable. The correct test location is part of the job plan, because it lets you stop on a warning and inspect a fresh leak without creating a navigation emergency.
Make the result easy to audit on the next visit. Mark the engine hours at service and retain receipts for gaskets, coolant, and any approved cleaner. If a shop completed part of the work, write down which part. That prevents a later owner from assuming the exchanger was fully stripped and cleaned when only an external inspection happened.
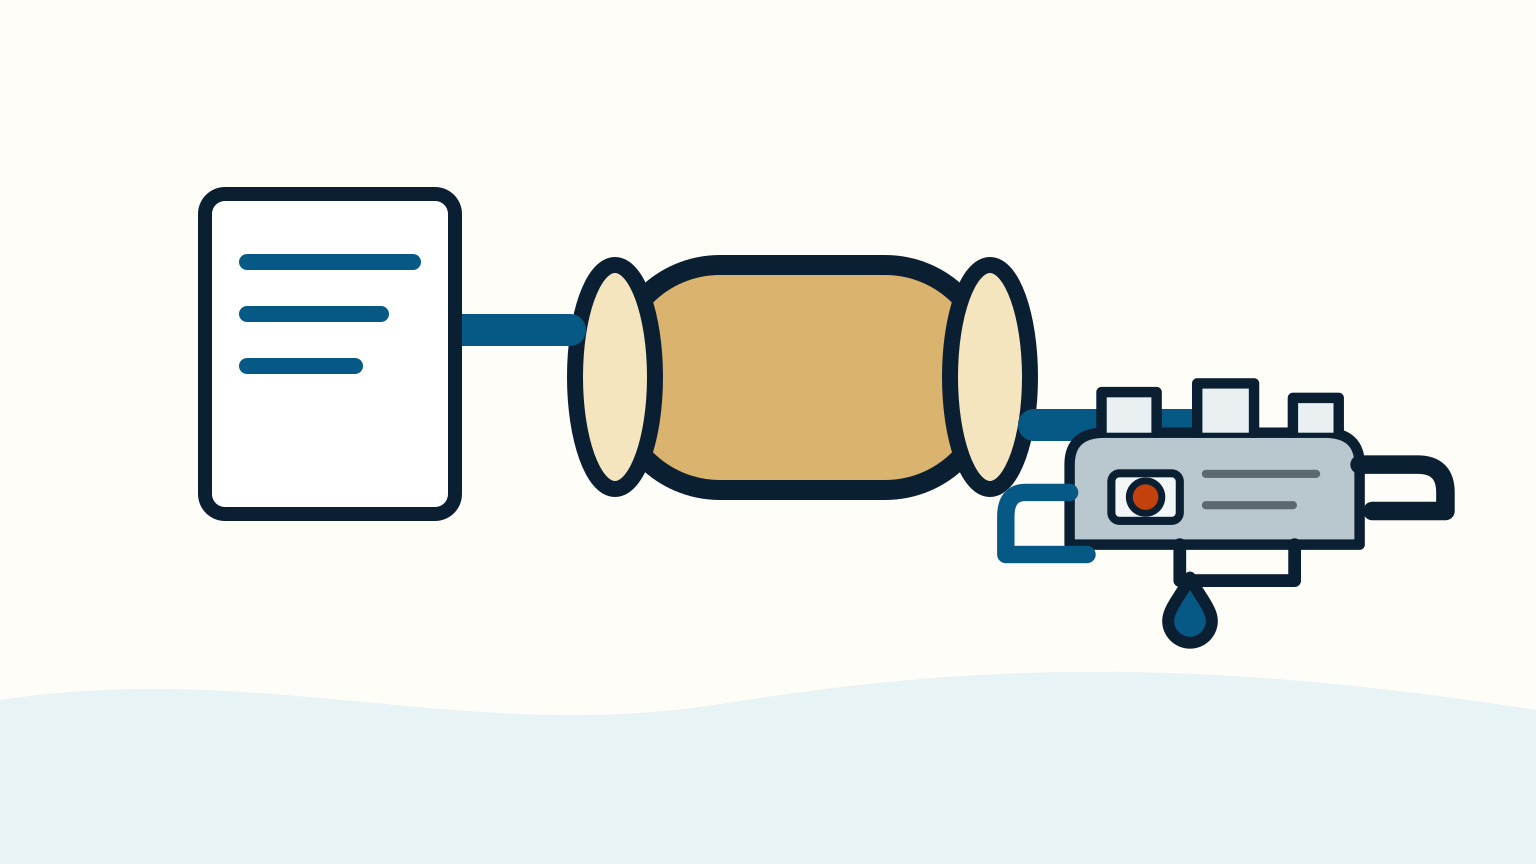
SailStarter's systems lessons help you see how cooling water and engine heat fit together. For exchanger removal, cleaning products, gaskets, torque, refill, and testing, use the installed engine manual and qualified marine service support.
Try it from the lesson
Can you spot the next move?
The engine is idling, the boat is safely secured and the propeller area is clear. What should you confirm before departure?
Why you can trust this guide
. We build each guide from public seamanship and safety sources, then teach the universal principle before any local difference.