Chart your course
Sailboat Ditch Bag Checklist
Quick answer
The short version
A sailboat ditch bag is a floating, portable bundle of emergency gear for the last move off the boat. Build it to supplement what is already worn, fixed aboard, or sealed inside the liferaft. The first priorities are reliable ways to call and signal for help, followed by the extra first aid, water, light and survival items the crew may need while waiting for rescue.
There is no universal shopping list. The correct contents depend on the people, voyage, climate, liferaft equipment pack and current local carriage rules. A well-stocked bag can still fail if it is trapped below, too heavy for one person, waterlogged, or packed so tightly that the radio is unreachable.
Use this checklist to design the system, then check each electronic or pyrotechnic item against its current manual and applicable rules. A ditch bag supports an abandonment plan. It does not make an unsafe boat disposable, replace worn lifejackets, or decide when the crew should leave.
Start with what is already in the liferaft
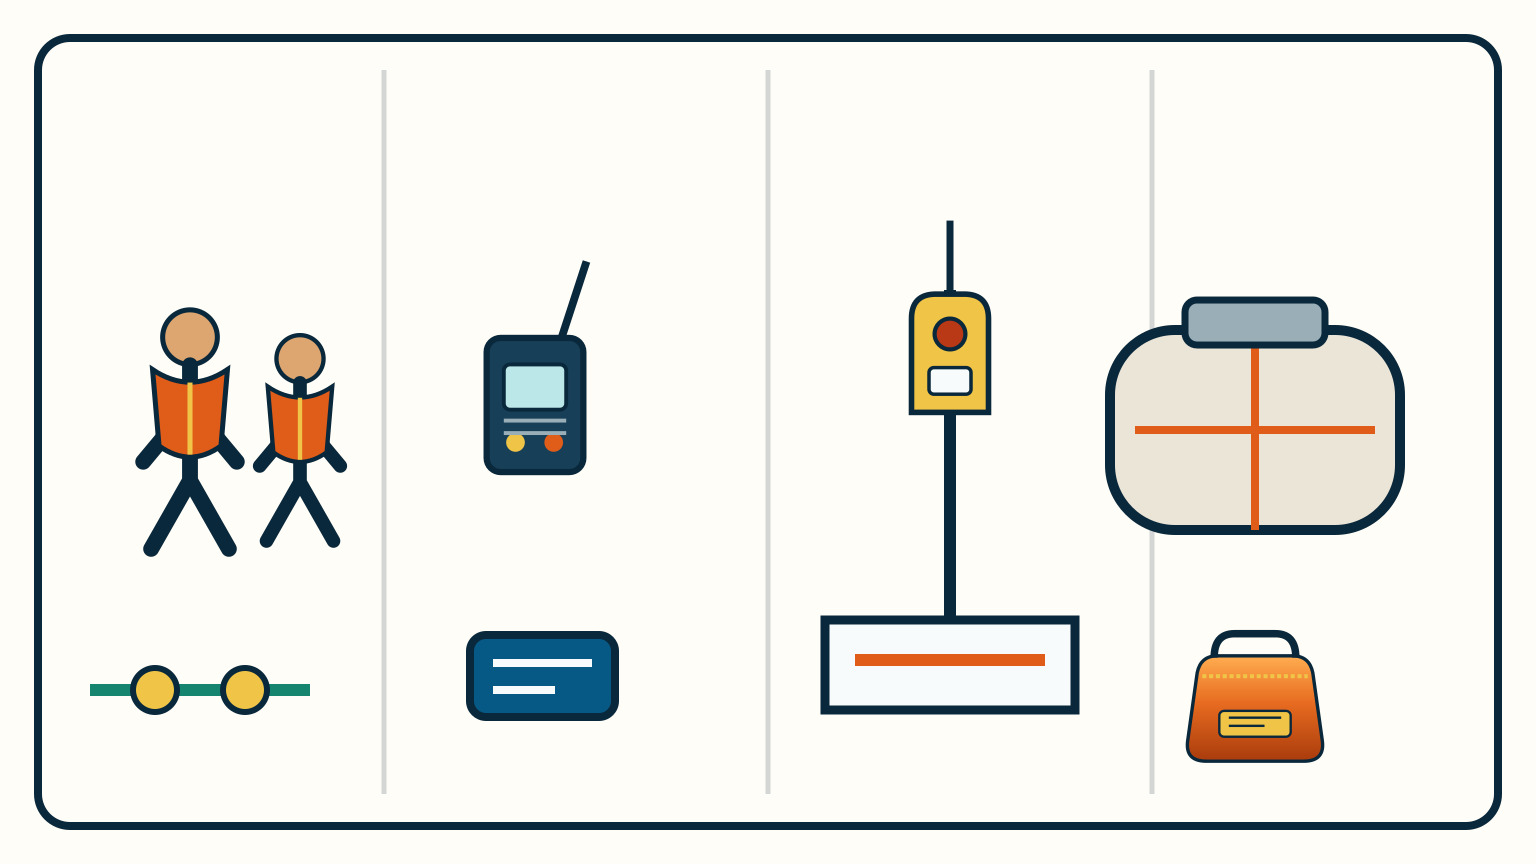
Lay out four columns before buying anything: worn by each person, fixed or mounted on the yacht, sealed in the liferaft pack, and carried in the ditch bag. This prevents a common planning error: buying a second version of something already available while leaving a real gap elsewhere. It also shows which equipment could disappear with the yacht before anyone reaches the bag.
Lifejackets usually belong on people, correctly fitted, before an abandon order. A float-free beacon may belong in its approved bracket. The liferaft has a maker-defined equipment pack that must remain sealed and serviced. The bag then carries selected extras that can travel with the crew, such as an appropriate emergency beacon, waterproof handheld VHF, suitable distress signals, waterproof torch, first-aid kit, drinking water and compact food.
Count people rather than containers. Does the water allocation and first-aid provision make sense for the actual crew? Can a person with limited strength carry the finished bag? Is essential personal equipment worn or assigned rather than buried at the bottom? Keep prescription decisions with the individual and medical professional; a general checklist cannot determine them.
Review the wider sailboat safety-equipment checklist at the same time. A fire extinguisher, bilge pump or fixed VHF remains part of saving the yacht. Moving ordinary onboard safety gear into a ditch bag can make the earlier emergency harder to control.
What belongs in the first-access layer?
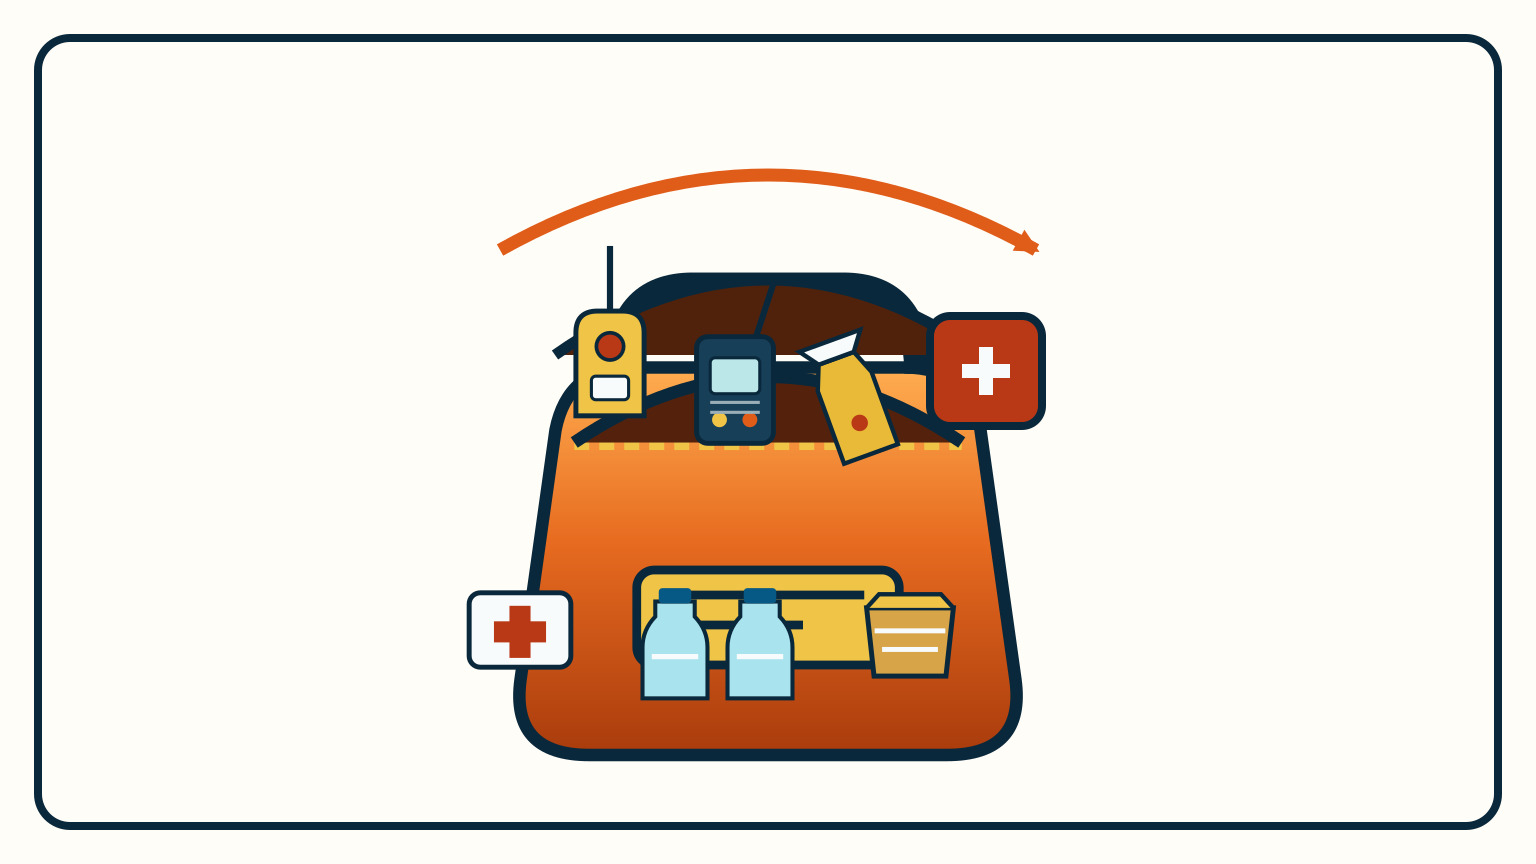
Put the equipment needed to attract help where it can be reached without emptying the bag. That normally means the manually operated vessel beacon or person-carried locator chosen for the voyage, a waterproof handheld VHF, current legal distress signals, and a waterproof torch or strobe. These tools do different jobs. A beacon alerts the satellite rescue system; VHF can exchange details with nearby stations or vessels; visual signals help a rescuer identify the survivors at shorter range.
Do not assume any beacon belongs loose in the bag. AMSA warns that a grab-bag EPIRB should be a manually operated model because a wet-activated unit may trigger unintentionally. A float-free EPIRB may instead need to remain in its approved vessel bracket. PLBs are designed around a person rather than a craft. Use the exact maker’s storage and deployment instructions, and read the EPIRB and PLB comparison before assigning either role.
The next layer holds first aid, water and compact food, organized so one wet hand can identify each package. Keep a simple inventory under the lid. Record device model, battery or service date, flare expiry where flares are carried, and the date the food, water and first-aid contents were checked. The inventory is a maintenance aid, not an excuse to open sealed liferaft packs.
A paper card can also show which person brings each separate item. If the raft, beacon and bag are stored in different places, the abandonment plan has three retrieval jobs. Naming those jobs during the departure briefing is more reliable than hoping one person remembers all three under stress.
How should the bag protect and float its contents?
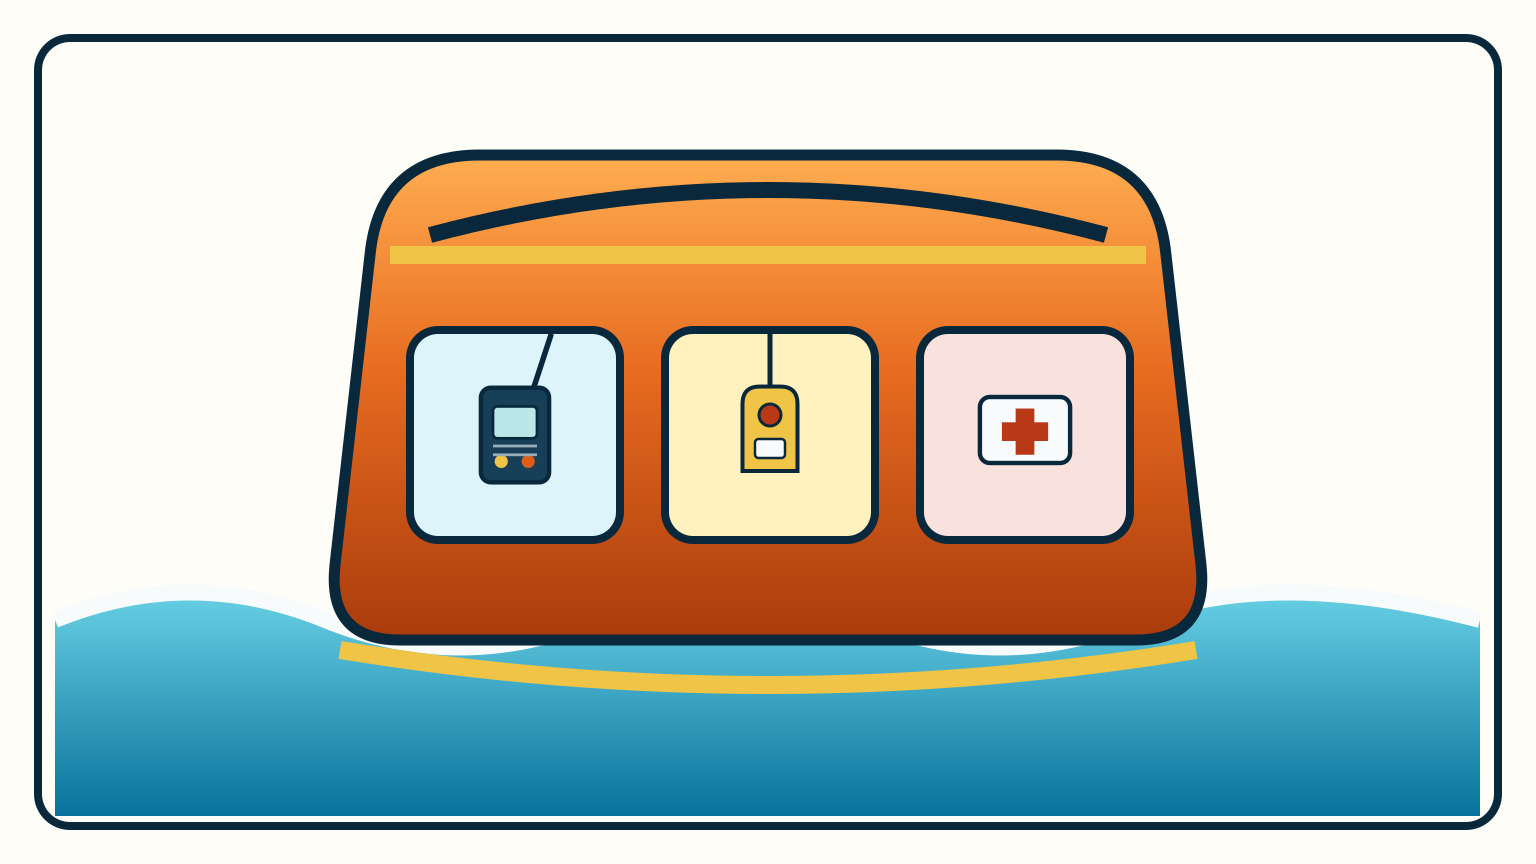
“Waterproof bag” is not enough as a design claim. Check the bag maker’s closure method, buoyancy rating, load limit and attachment points. Then add the real contents and test the packed bag in controlled shallow water according to the maker’s guidance. It must float in its loaded orientation without the closure dipping below the surface. A dry towel or moisture indicator inside can reveal leakage after the test.
Use smaller sealed pouches to separate functions. Communication equipment should not sit in the same loose compartment as a water bottle, metal flare body or first-aid scissors. A puncture or leaking cap should not disable every way to call for help. Keep each device in the protection its maker permits; a waterproof radio may still need a lanyard and charged battery, while a beacon aerial must be free to deploy exactly as instructed.
Check rather than guess. Inspect seams, buckles, handles and the closure. Confirm portable-device charge, spare-battery condition where the maker permits spares, beacon battery date and beacon self-test schedule. Update beacon registration and emergency contacts whenever ownership, vessel or crew details change. Over-testing can drain a beacon, so only use its specified self-test procedure.
High-visibility material and retroreflective patches help a bag stand out, but they do not turn it into a person’s flotation device. Mark the exterior with the yacht’s identity and a contact method that remains useful when wet. Do not tether the bag to a person unless the bag and lifejacket makers explicitly provide that arrangement; a loose line can create an entanglement hazard.
Store it where damage cannot cut off access
The best locker in calm water may be unreachable after fire, flooding or a knockdown. Walk the route from likely crew positions to the bag while imagining the companionway blocked, the cabin dark and the yacht heavily heeled. Maritime guidance commonly suggests an accessible position near the helm or main companionway, but no location works for every boat.
The bag needs a positive restraint that a crew member can release quickly with one hand. It should not become a heavy projectile in a knockdown, sit where boarding water can wash it away, or share a deep locker with lines that can snag its handles. The closure and inventory face outward so a person can identify the bag and check its seal without unpacking the locker.
Visibility is part of access. Every person aboard should know the bag’s location before departure. If the skipper is injured, a guest should not have to distinguish it from ordinary dry bags by colour alone. A prominent fixed label at the stowage point and a matching mark on the bag make the choice clearer in poor light.
Try the reach wearing foul-weather gear and an inflated or bulky lifejacket if the manufacturer permits that training. Can the shortest crew member release the restraint? Can the bag pass through the companionway and cockpit gate? Can it be moved without climbing below after the abandon order? If the answer changes with a cabin door or lee cloth closed, revise the stowage plan.
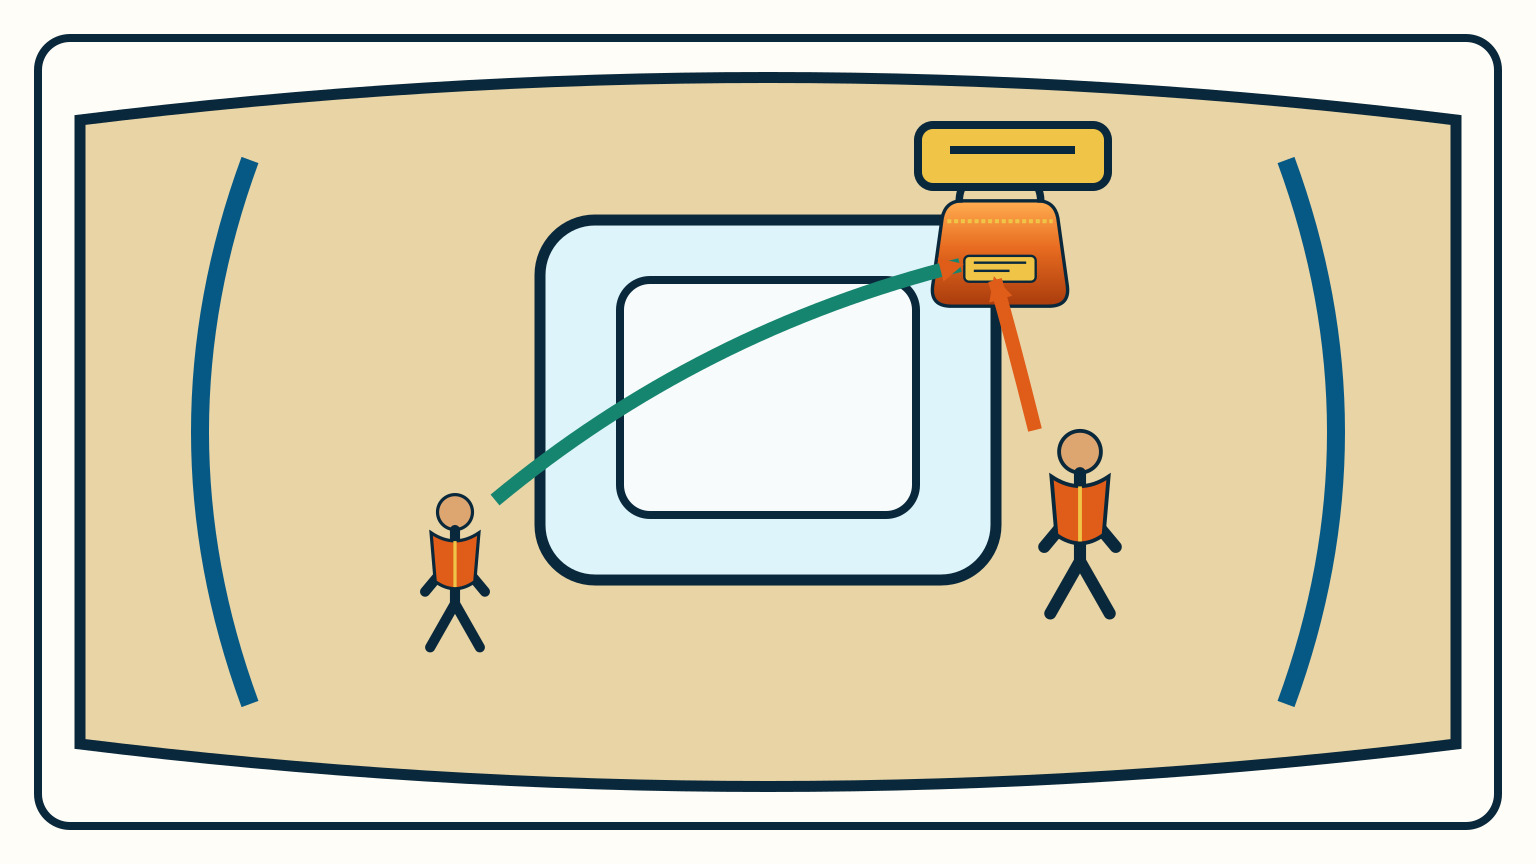
Can every crew member complete the handoff?
A dry drill tests the chain without launching the raft or opening serviced equipment. Begin with the boat in a safe berth. Sound the agreed practice alarm, call the muster point, put on practice clothing and lifejackets as directed by their makers, account for everyone, and assign the raft, beacon, radio and bag. One person should remain responsible for the distress call and position information.
Carry the packed bag along its real route to the intended raft embarkation point. Use a weighted substitute if the actual bag contains devices that should not be handled repeatedly. The person carrying it needs one hand available for the boat. If two hands, a ladder, or a return below are required, the system is not ready.
At the handoff, rehearse who controls the bag while another person prepares the raft painter and boarding area. Do not clip improvised tethers to the liferaft, open its container, or pull the painter during a dry drill. Those actions belong in maker-approved practical training. The purpose here is to prove that the correct bag and communications equipment arrive with the people, not to pretend a cockpit rehearsal duplicates boarding in waves.
Finish with a head count and an inventory check, then record the time and every snag. Rotate roles on the next drill so the plan survives an incapacitated skipper. The separate guide to when and how a sailboat is abandoned covers the decision boundary; this checklist covers the gear that must be ready if that boundary is crossed.
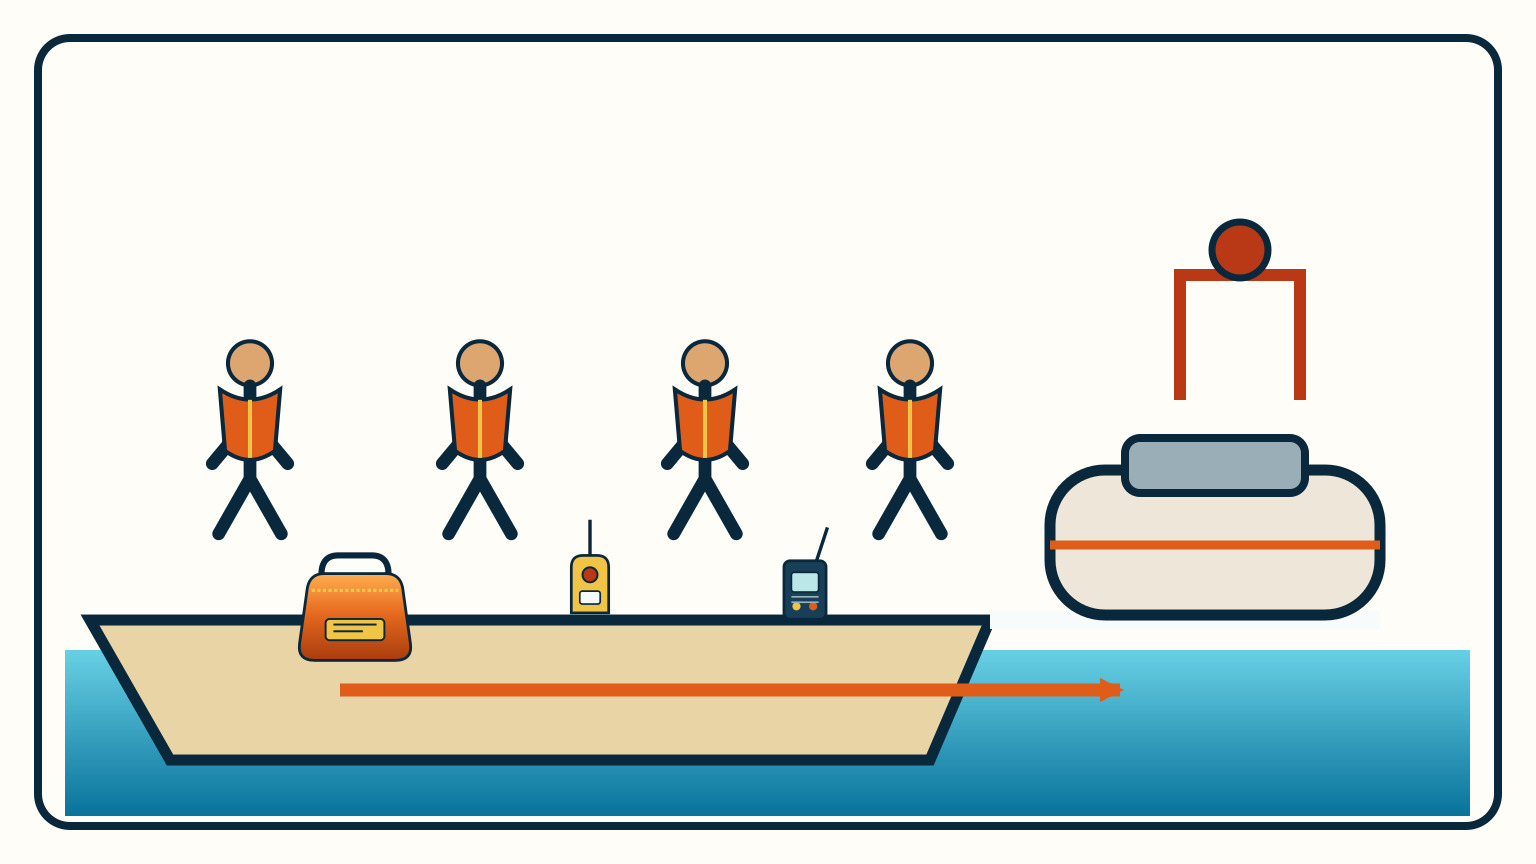
Recheck the bag before each significant passage and after any drill, hard impact or water exposure. SailStarter lessons help crews practise calm observation and clear task-sharing; combine them with current local rules, equipment manuals and hands-on survival training for the raft and devices you actually carry.
Try it from the lesson
Can you spot the next move?
Your distress kit contains an orange day flag, but the sail may continue after sunset. Does that one signal cover both periods?
Why you can trust this guide
. We build each guide from public seamanship and safety sources, then teach the universal principle before any local difference.