Chart your course
Sailboat Mast Step and Compression Post Problems
Quick answer
The short version
A shallow dip in the deck below the mast can be easy to dismiss. So can a rust stain at the foot of an interior post or a hairline crack in the headliner. None of those observations, by itself, tells you whether the mast support is failing. They do tell you where to slow down.
The useful question is not “Does this look bad?” It is “Has the structure that carries mast load changed?” Answering that begins with the boat’s drawings and manuals, a clear view of the support, and dated photographs. It does not begin by tightening the rig or putting a jack under the cabin top.
Quick answer: Treat the mast heel, deck or partners, beam or bulkhead, compression post, and the post’s lower bearing as one connected structure. Compare their shape, alignment, dryness, and surface condition with earlier records and the builder’s arrangement. New movement, cracking, corrosion, soft material, or an uncertain bearing surface calls for a marine surveyor, rigger, builder, or designer who understands that boat.
Trace the mast load into the hull
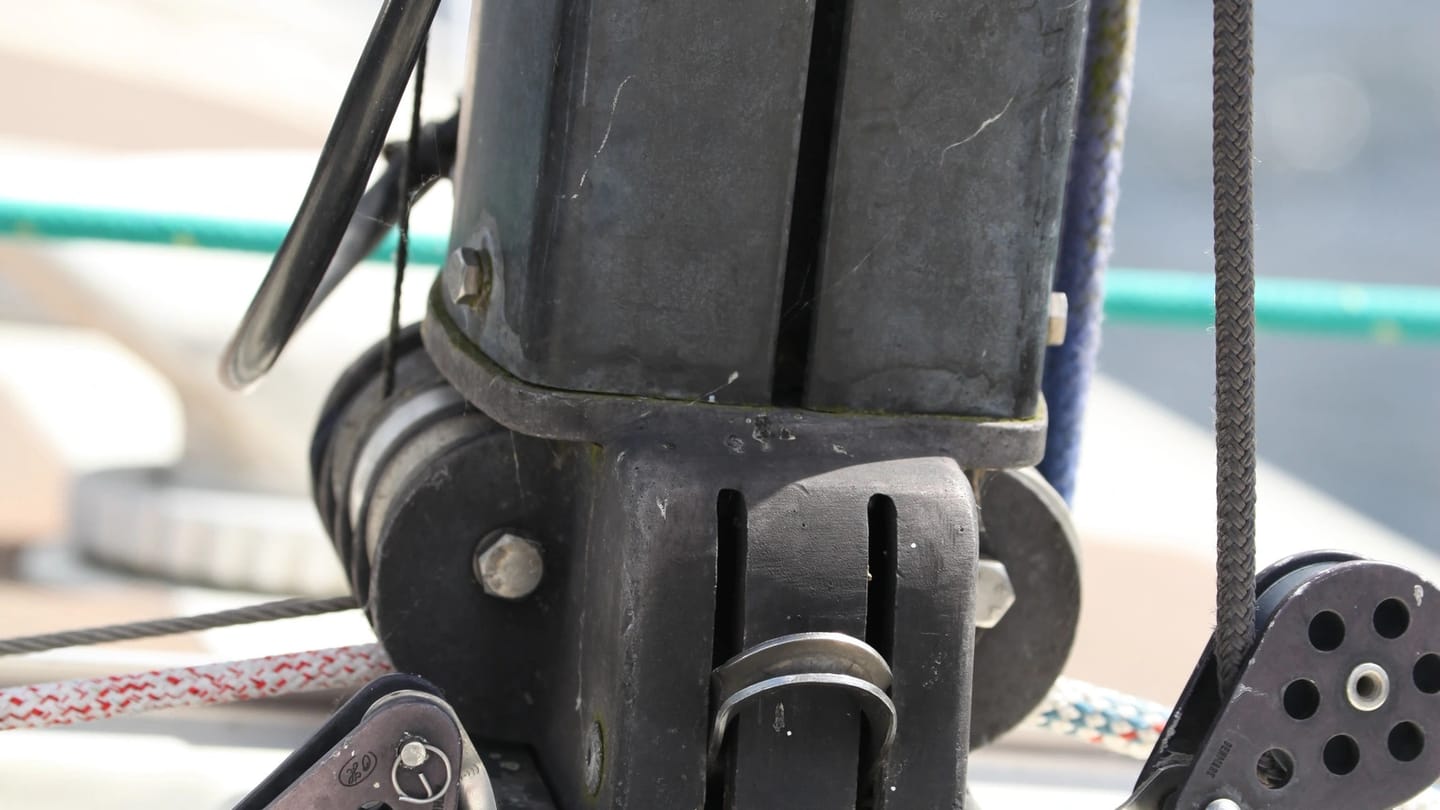
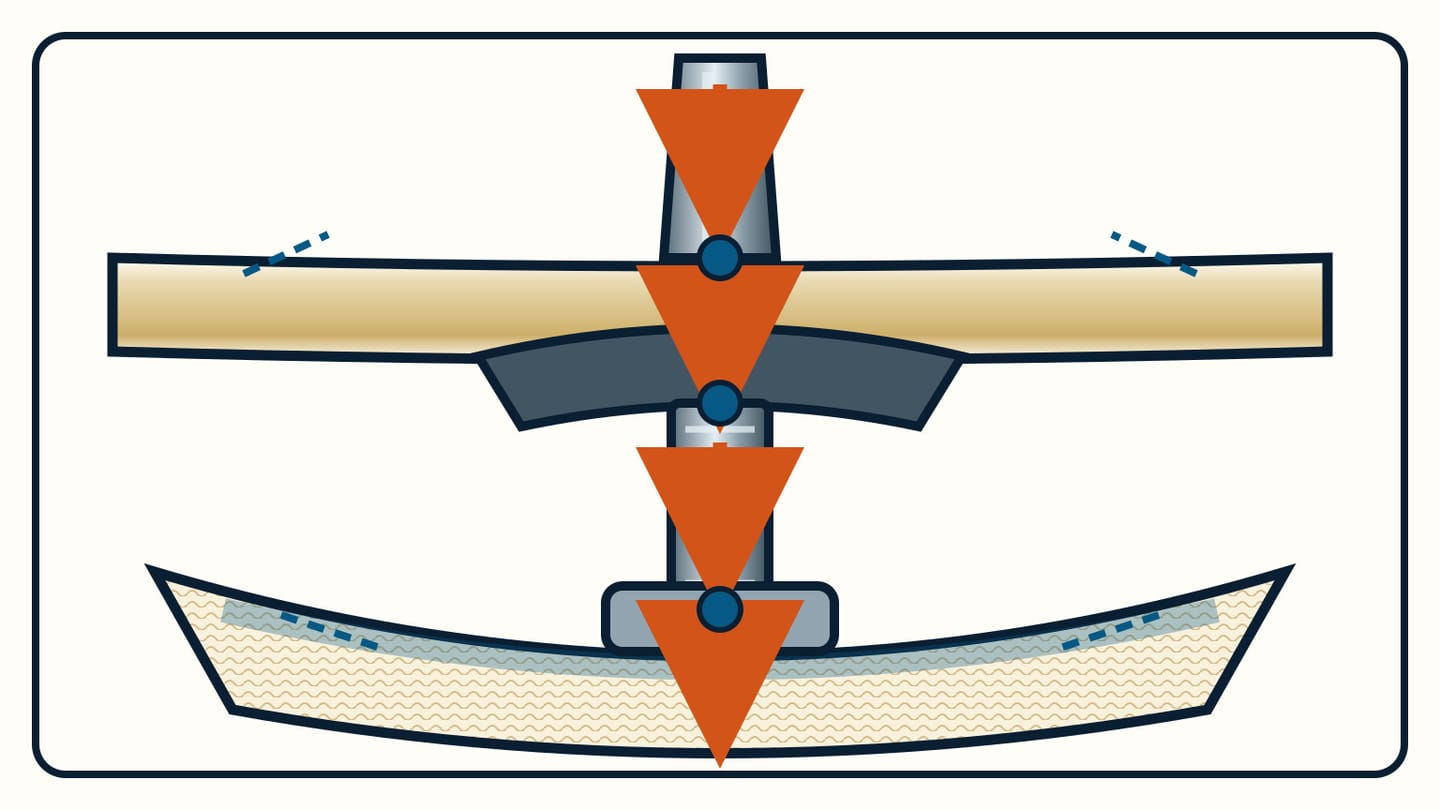
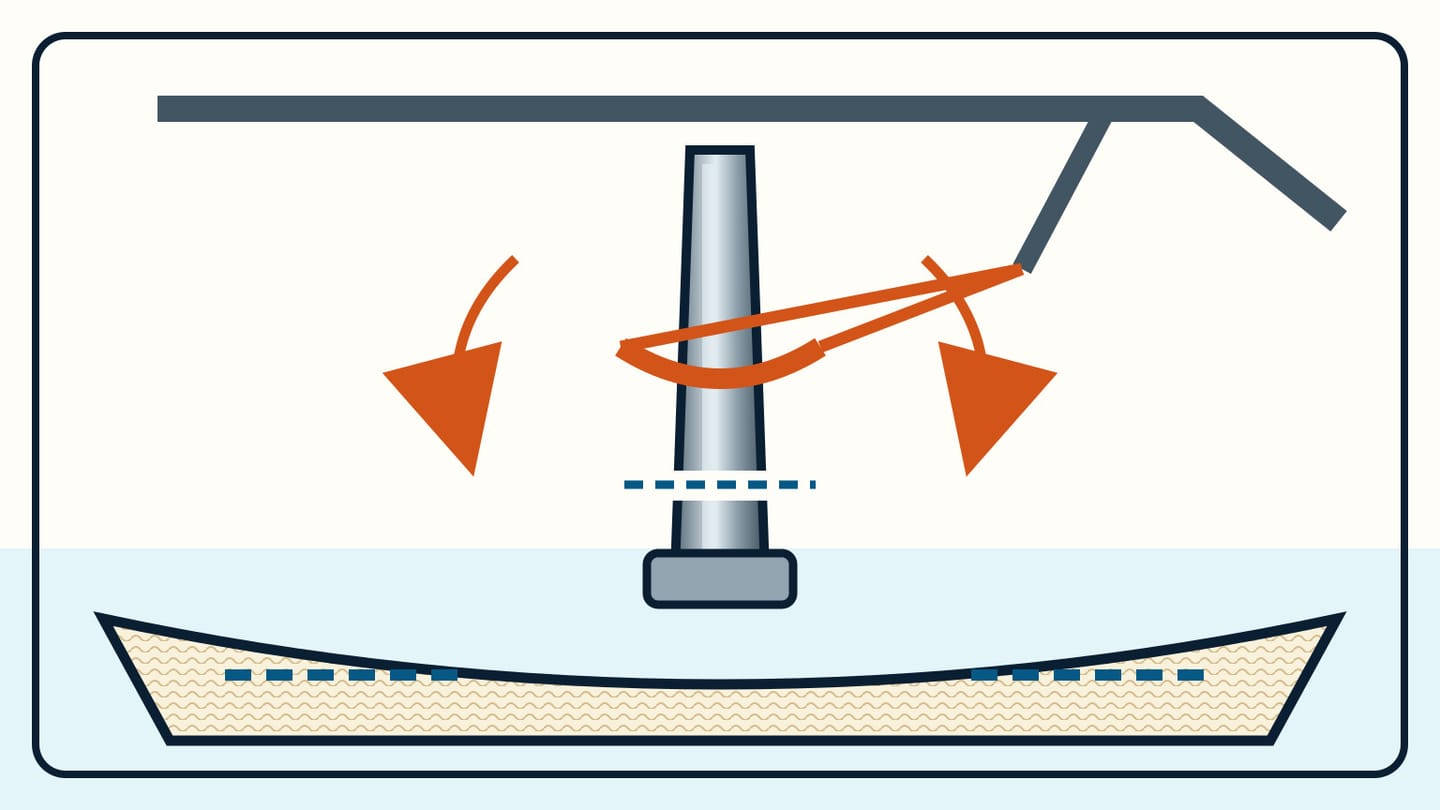
Start by identifying whether the mast is deck-stepped or keel-stepped. A deck-stepped mast ends at a fitting on top of the deck. The downward load continues through whatever the designer placed below: perhaps a transverse beam, a bulkhead, a vertical post, or a combination of them. The bottom of a compression post then bears on another structural member rather than simply on cabin furniture or a thin sole panel.
A keel-stepped mast continues through the deck to a step lower in the hull. The opening at deck level—the partners—supports and seals the mast where it passes through, while the heel bears at the internal step. That changes the inspection route. It does not make the deck opening, internal step, or neighbouring structure unimportant.
Remove only access panels the boat’s documentation treats as removable. Then follow the visible path from top to bottom. At the deck, look at the mast heel or partners and the surrounding laminate. Below, find the beam, bulkhead, post head, post body, and lower bearing. Some boats hide a critical joint behind trim or a headliner. An inaccessible connection is an inspection limit, not evidence that the joint is sound.
The US Coast Guard’s rig-survey guidance explicitly includes the way the rig integrates with the hull: mast steps, compression posts, beams, fastenings, and other anchoring points. That systems view matters because a sound-looking aluminium post cannot compensate for damaged structure above or below it. It also prevents a common mistake: staring at the most visible fitting while missing where its load actually goes.
Which changes deserve a closer look?
There is no universal millimetre limit for deck depression, no colour chart that grades every rust mark, and no crack pattern that can be interpreted without knowing the materials beneath it. A useful owner inspection is comparative. You are looking for a change from the boat’s documented condition and for different behaviour on opposite sides of a joint.
Clean the visible area gently enough that salt and grime do not conceal edges. In good light, inspect around the mast-step fasteners, the perimeter of the step, and the deck immediately around it. Below deck, view the post head from more than one side if access permits. Continue down the post to its foot and the structure under it. A mirror and a camera can reveal a hidden face, but they do not turn an enclosed joint into a complete inspection.
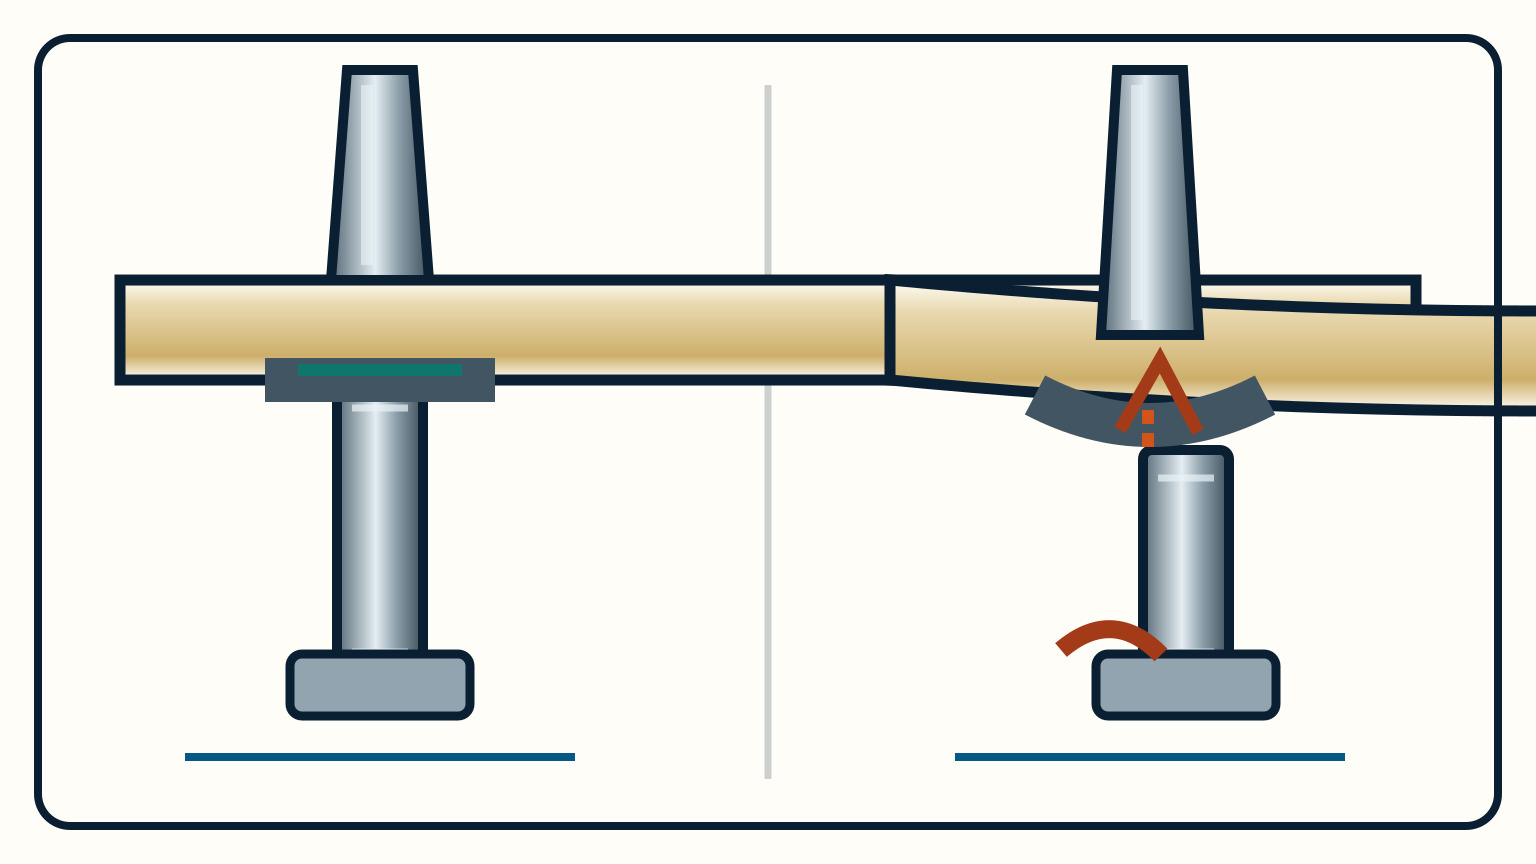
Record a new hollow or dip around a deck-stepped mast, a gap where two bearing faces once met, a post that no longer appears centred under its support, cracking beside a loaded corner, crushed or soft-looking material, flaking metal, or corrosion at either end of a post. Do not turn that list into a diagnosis. Paint cracks can be superficial; hidden laminate damage may have little surface expression. The value of the observation is that it gives a professional a location, date, and change to assess.
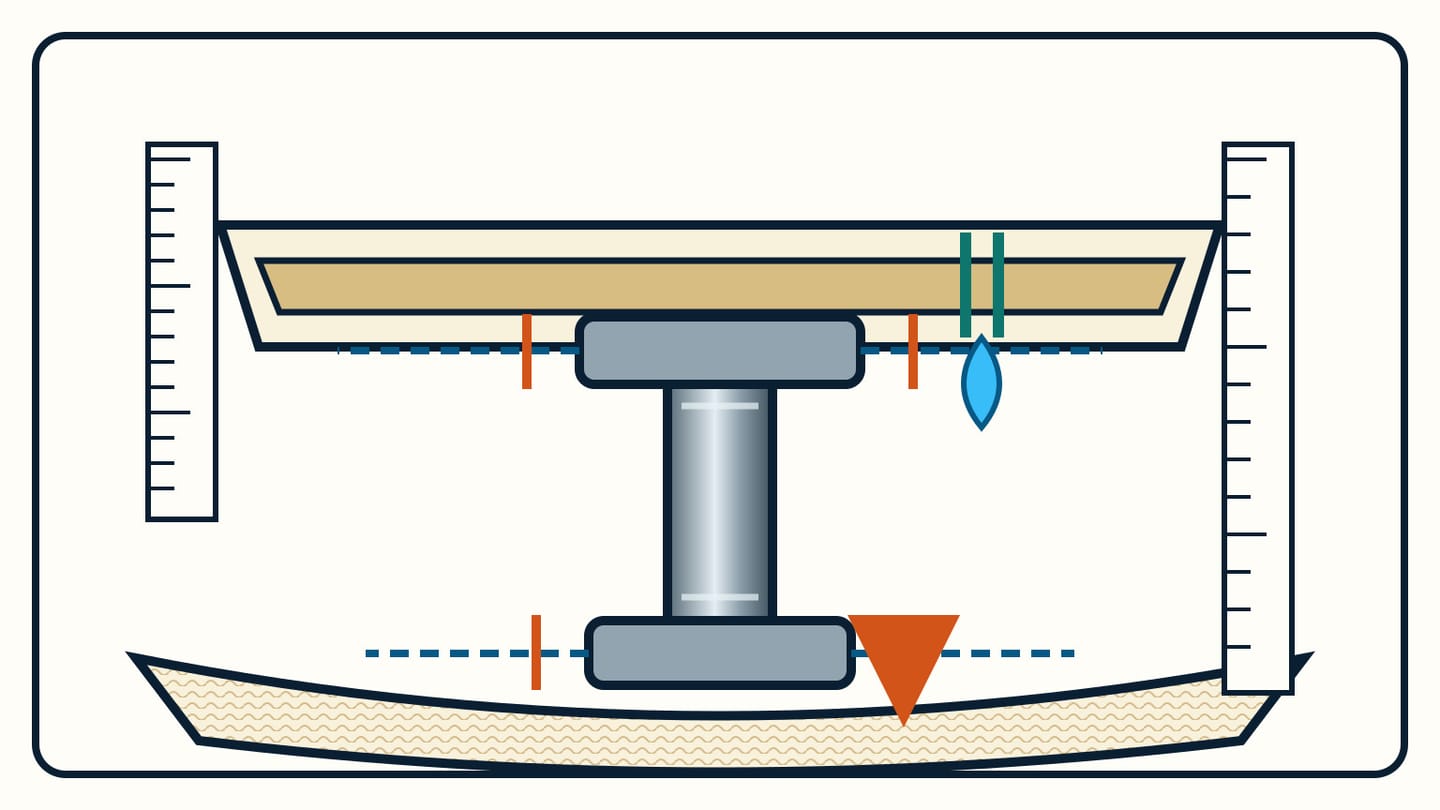
Take one wide photograph that shows where the feature sits in the boat, then close views square to each face. Include a ruler without covering the defect. Repeat from the same positions after a hard passage, an accidental grounding, a rigging change, or at the boat’s normal inspection interval. This follows the broader standing-rigging inspection principle: trends and service history are more useful than an isolated snapshot.
Is water reaching the mast support?
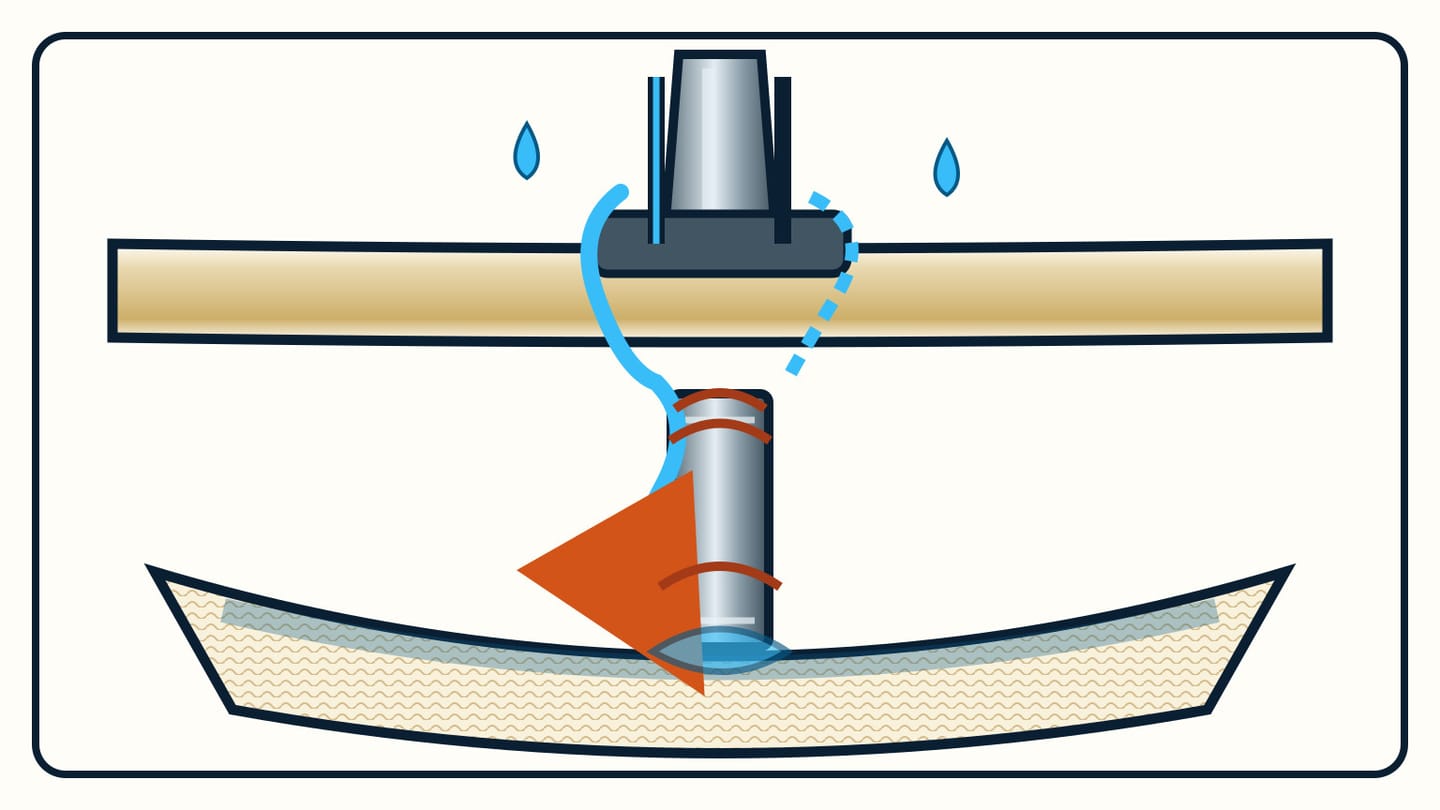
Water evidence deserves its own route through the inspection. At a deck-stepped mast, rain may enter at a cable penetration, failed seal, fastener, or nearby fitting. At a keel-stepped mast, water can travel down the mast or enter around the partners. Inside, it may follow wiring, trim, or a post cover before appearing far from the entry point. A wet post foot therefore does not identify the leak by itself.
Begin at the highest plausible entry and trace downward. Look for tide marks, discoloured dust, mineral trails, damp insulation, staining around cable exits, and water held against a metal base. Check whether drainage paths are clear and whether a cover is trapping moisture. If the surrounding deck is cored, surface dryness also cannot establish that the core is dry; the limits described in deck-core moisture testing still apply.
Builder instructions take priority because cable routing and concealed joints differ. Lagoon’s published guidance for one specific catamaran model is a useful cautionary example, not a rule for all boats: its post links mast, deck, hull, and bulkhead, and its campaign requires dealer access behind a ceiling and cover to inspect the post and mast-cable routing. Lagoon also identifies water exposure as a corrosion factor on that design. The universal lesson is narrower: find the route, expose only what the builder permits, and do not paint or sleeve over active corrosion before its cause and extent are known.
Dry the area only after documenting it. If water returns, a staged low-volume hose test with an observer below may help isolate an exterior path, provided water cannot enter electrical equipment or the cabin. Work from low to high and pause between zones. A broad blast from the top merely wets several possible entries at once.
When should the rig be unloaded?
Finding a structural change is not permission to improvise a cure. Shroud tension contributes mast compression, so adjusting one stay changes loads elsewhere. The US Coast Guard warns that disassembly can significantly alter rig tune and that improper tuning of one component can adversely affect other parts of the rig. The UK Maritime and Coastguard Agency likewise treats technical rig inspection, removal, installation, and tension advice as work for an experienced marine professional.
Stop the owner inspection if you find an open or growing crack in a load-bearing member, loss of contact at a bearing surface, obvious movement of the step or post, heavily wasted metal, broken fasteners, crushed support material, or rapidly changing deck shape. Avoid sailing loads until a competent person has assessed the condition. The exact restriction—whether the boat can remain rigged, move under engine, or must stay put—depends on the structure, the damage, and the builder’s instructions. A model-specific notice must not be borrowed as a universal operating rule.
Do not jack a sagging deck back into shape, wedge a gap, slacken shrouds by guesswork, or grind a crack open to “see how deep it goes.” Those actions can shift load, erase evidence, or create a new failure. Instead, send the assessor the boat model and year, rig type, drawings if available, photographs, measurements, relevant impact or refit history, and what changed. Ask who should control rig unloading and whether the mast must be removed. If removal is advised, mast stepping and unstepping costs can help frame the yard conversation, but the safe lifting plan still belongs to the yard and rigger.
Plan the repair around the boat’s design
A compression post is not interchangeable cabin joinery. Its material, end fittings, section, alignment, and bearing areas are part of a designed load path. The step itself may accommodate mast rake or spread load in a particular way. Seldén, for example, documents a convex heel-plug interface intended to distribute compression across its matching step. That is not a repair recipe for another mast; it demonstrates why apparently small interfaces matter.
Before work starts, obtain a written scope that identifies the damaged material, the intended load path, how the rig will be supported, and how hidden structure will be opened and restored. For wet core or laminate, the scope should define how the extent will be established and how the original thickness and bearing area will be recovered. For metalwork, it should specify compatible material, corrosion isolation, fastening, drainage, and finish. If a post is replaced, its ends must bear as the designer intended rather than on a convenient shim or cosmetic panel.
Photograph the structure after access is opened, before it is closed again, and after the rig is reloaded. Keep the repair specification, invoices, material records, and final rigging report with the boat. Then recreate the original reference photographs and measurements. A visually tidy cabin is not the acceptance test; restored alignment, continuous bearing, controlled water paths, and a professionally set rig are.
The best inspection record is modest and specific: “No change at these six photographed points” or “New 2 mm gap at the aft face; rig not loaded pending survey” is far more useful than “mast step checked.” Build that habit through the SailStarter beginner sailing guide, then bring the boat-specific decisions to the people qualified to make them.
Try it from the lesson
Can you spot the next move?
'Which supports the mast: the shrouds and stays, or the sheets?'
Why you can trust this guide
. We build each guide from public seamanship and safety sources, then teach the universal principle before any local difference.