Chart your course
Sailboat Navigation Basics for Beginners
Quick answer
The short version
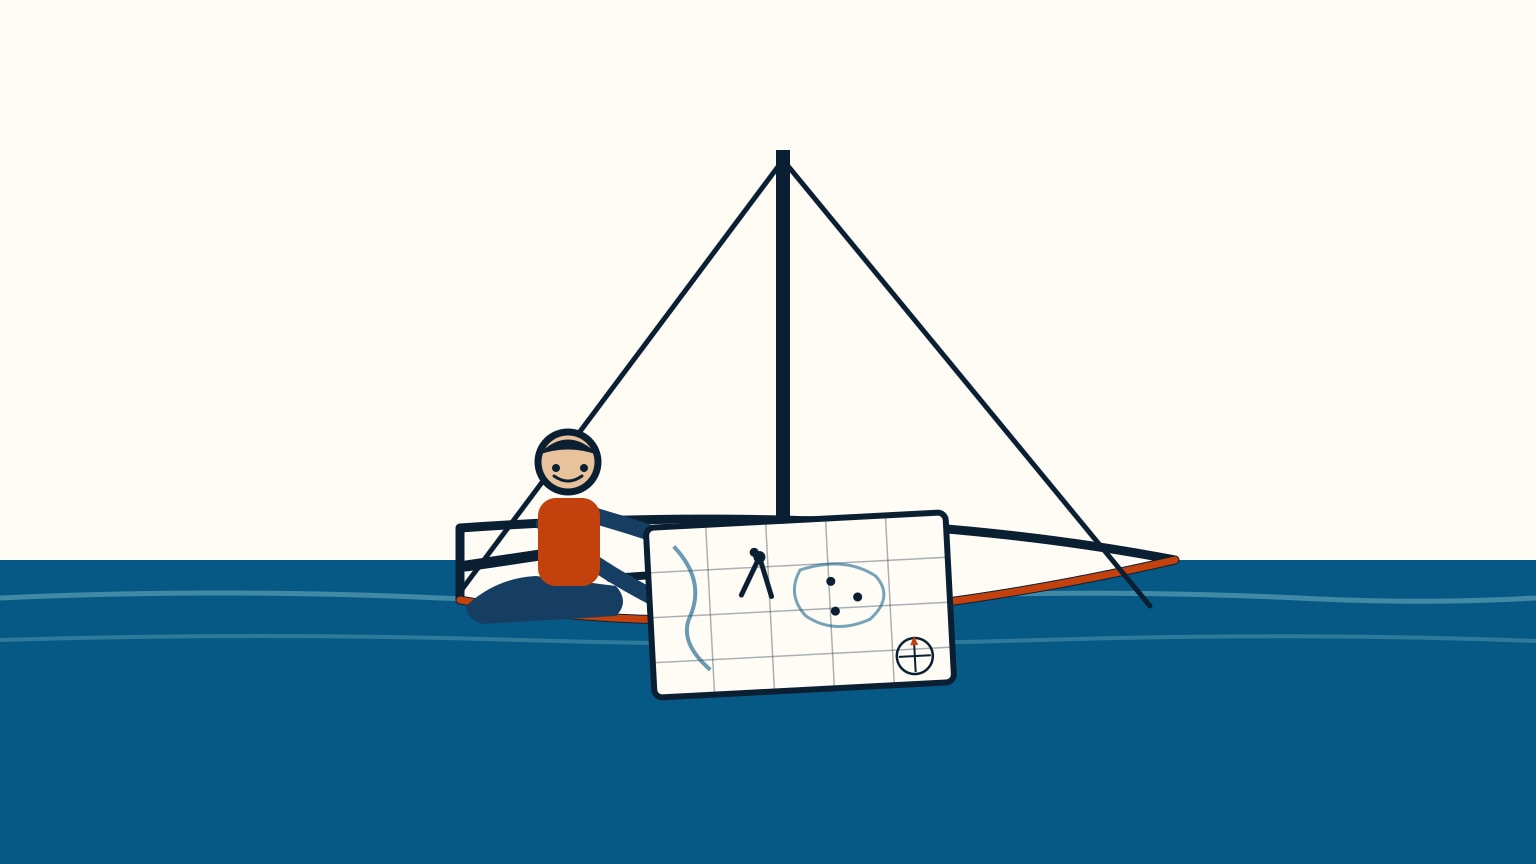
Beginner sailboat navigation rests on five habits. Read the chart's title, scale, units, datum, and cautions before using its symbols. Keep heading, track, and position separate: the bow can point one way while wind or current moves the boat along another path. Plan depth from chart datum, predicted tide, vessel draft, and a margin for uncertainty. Fix your position with independent observations such as bearings or a transit, not only a moving screen symbol. Finally, cross-check every electronic answer against the chart, depth, compass, and what you can see. Navigation is a continuing comparison between plan and reality. A short local sail still needs a route, hazards, weather, tide or current, daylight, and an alternative if conditions change.
Modern plotters make a boat icon easy to follow, but they do not remove the need to know what the icon means or whether the underlying chart suits the route. Navigation begins before departure with context. It continues on deck as you compare heading with track, planned depth with the sounder, and electronic position with visible features. A beginner does not need celestial navigation for a day sail. You need a small set of checks that catch simple mistakes early, while there is still room and time to correct them.
Read the Chart Before Drawing a Route
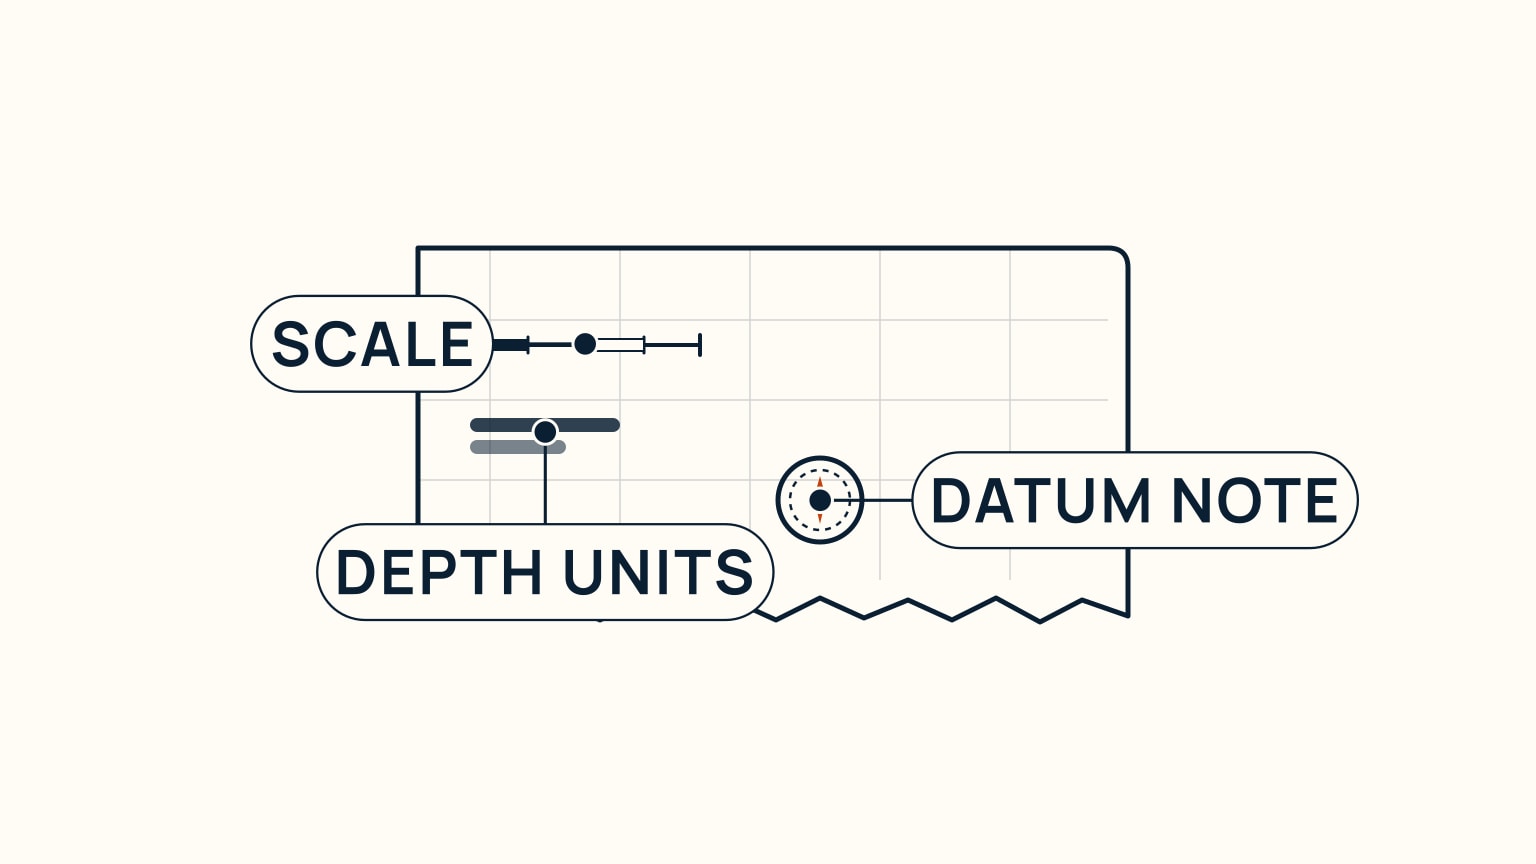
A nautical chart shows coastline, depth, hazards, aids to navigation, and selected shore features. Start with the title and notes. Confirm the geographic area, scale, depth units, horizontal datum, and any caution that affects how the chart should be used.
Scale matters. A large-scale harbour chart covers a smaller area with more detail than a small-scale coastal overview. Use the detailed chart when the route passes close to hazards. Symbols matter too. Read them through the chart producer's current reference rather than guessing from colour or shape.
Only then draw or inspect a route. Look beyond the centreline for shallow patches, obstructions, restricted room, and places where a turn or retreat would be difficult. The route is a corridor that accounts for uncertainty, not a hairline that the boat will follow perfectly.
Work Out a Distance on the Chart
Distance comes off the chart's own latitude scale, printed up the left and right edges. Span the two points you care about with dividers, or mark the gap on the straight edge of a piece of paper. Carry that same span to the latitude scale next to the area you are working in and count the minutes it covers. Each minute of latitude equals one nautical mile, so the count is your distance directly, no conversion needed.
Do not borrow the longitude scale along the top or bottom for this. Meridians of longitude squeeze closer together as they run toward the poles, so an inch of chart there stands for a different distance depending on where you are, while the latitude scale keeps an even distance-per-minute along the whole chart. If you read distance off the top edge out of habit, you will be quietly wrong on some charts, and the error grows the further you are from the equator. For a deeper walk through symbols, scale, and datum together, how to read a nautical chart works through a full chart page.
Separate Heading, Track, and Position
Heading is the direction the bow points. Track is the path the boat actually follows over the ground. Position is where the boat is at a particular time. These can all differ from the line drawn during planning.
Wind creates leeway, a sideways slip away from the wind. Current carries the whole boat through the water. The compass may show a steady heading while the wake and electronic track reveal a diagonal path. Aiming the bow at the destination does not guarantee the boat will arrive there.
Use a landmark or transit when one is available. A transit is a pair of fixed objects that line up. If their alignment changes, the boat has moved off that line of position. The observation is immediate and does not depend on a compass. Combine it with another bearing or position source and you gain a useful check on where the boat really is.
See the Gap With a Worked Example
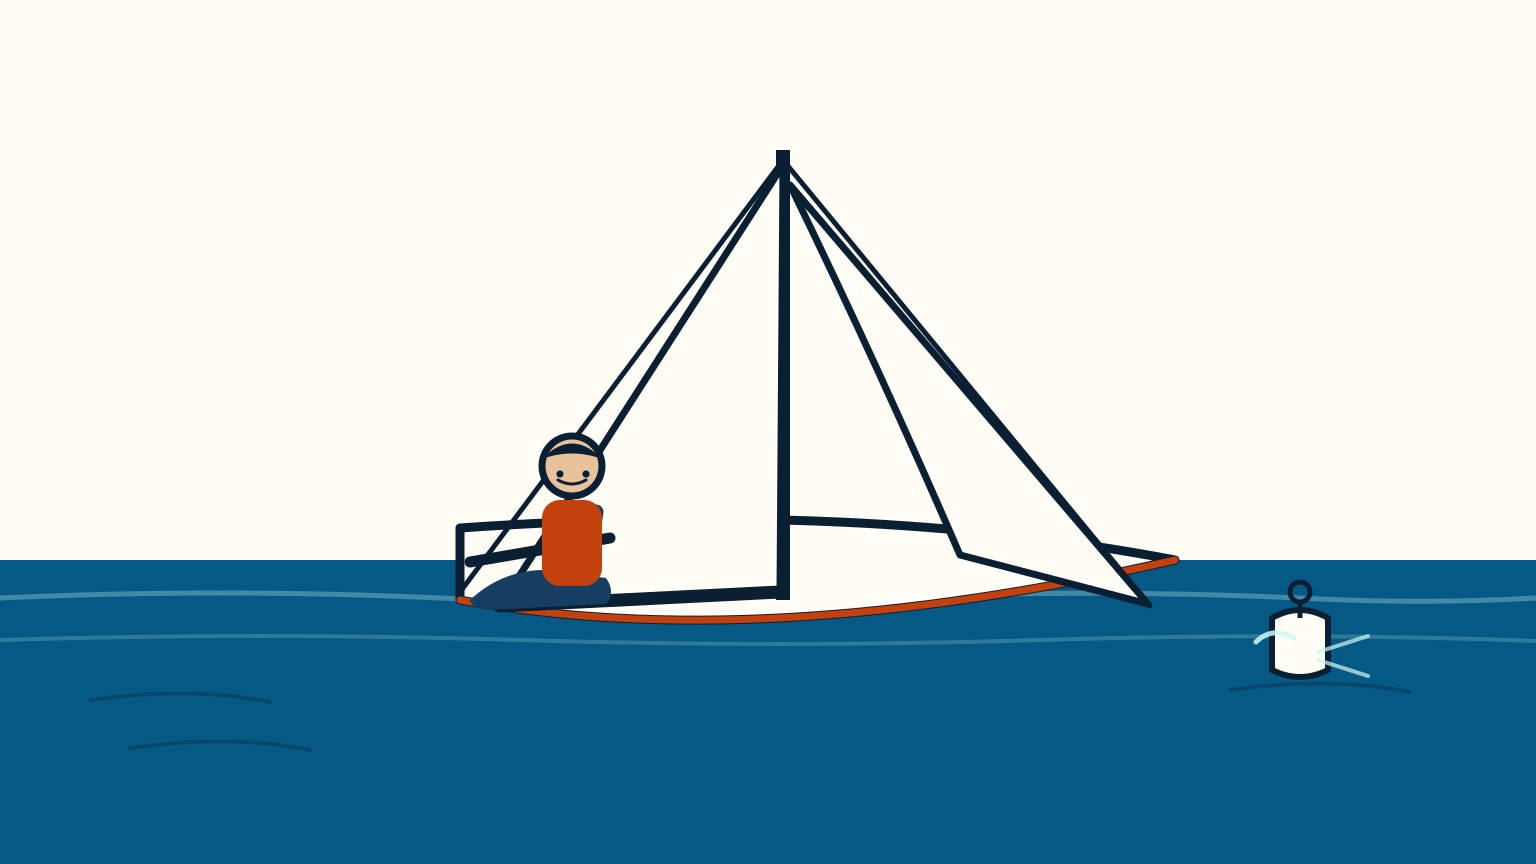
Suppose you steer a steady compass heading toward a mark you can see ahead. If wind and current were absent, the bow and the boat's actual path would trace the same line. Introduce a current setting across your course and a little leeway from the wind on the beam, and the two effects stack: the compass still reads the same heading, but the wake curls away to one side of it. Look back after several minutes and the mark that was dead ahead now sits off your bow, not in front of it, even though you never touched the wheel.
That gap between the line you steered and the line you actually travelled is exactly what a transit or a bearing catches early, before the mark has drifted far enough to worry you. Two fixed objects lining up tell you where you are without waiting for the destination to reveal it, and a second bearing crossed with that transit turns the observation into a proper fix. Current and leeway together are worth understanding as their own subject once this basic separation makes sense; set and drift explained goes through how to estimate and allow for both.
Plan Depth as a Changing Margin
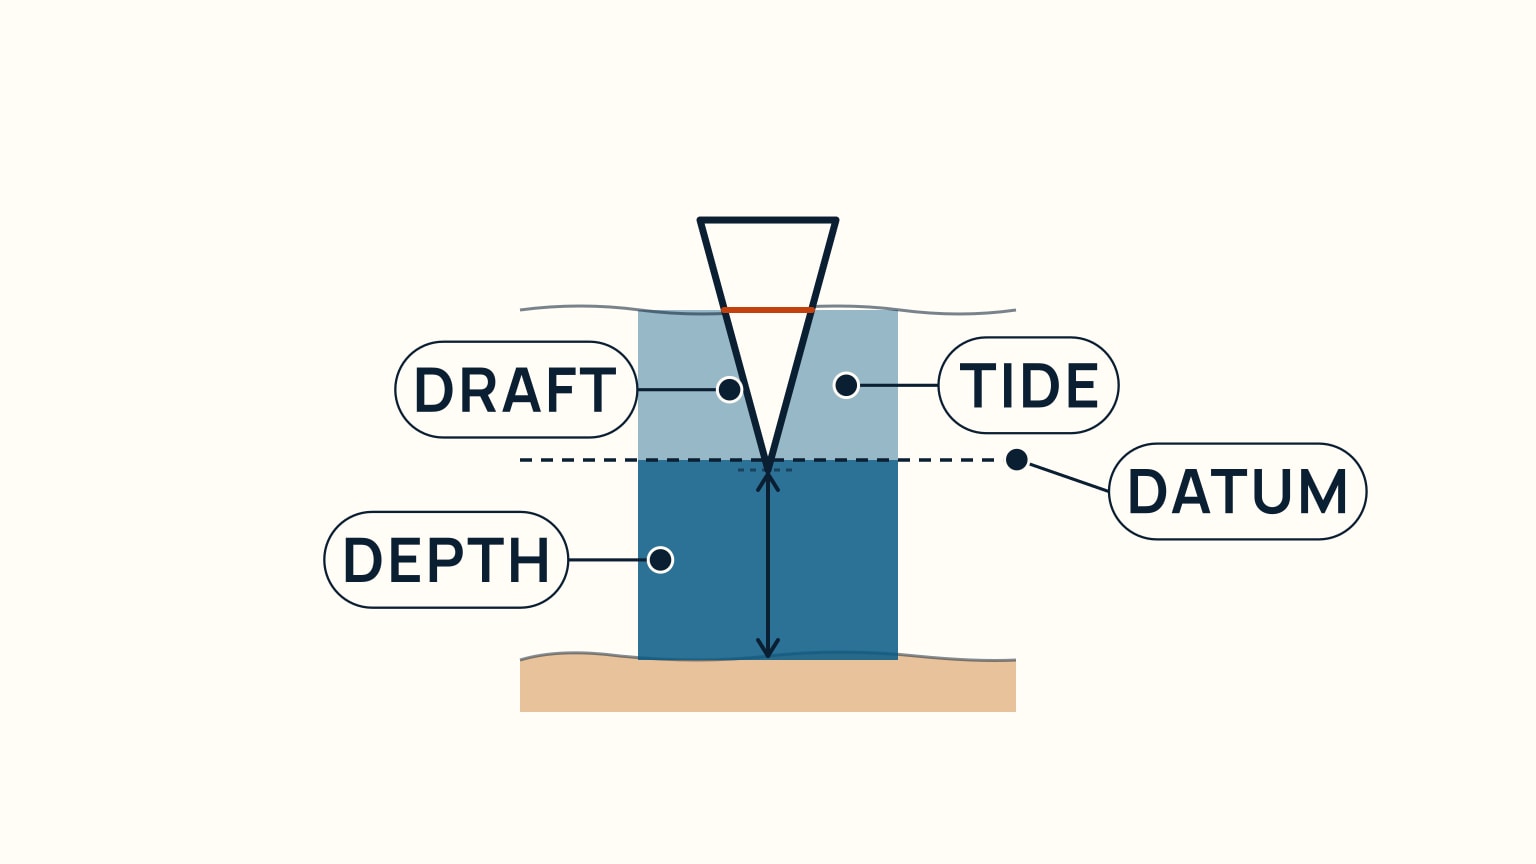
Charted depths are measured from a stated chart datum. The water above that reference changes with tide, weather, waves, and local effects. Your boat also needs room for its draft below the waterline, plus a margin for uncertainty.
Work from the shallowest relevant part of the route. Combine charted depth with the predicted height of tide for the time and place, then compare the result with draft and your chosen margin. Do not treat one marina depth or one sounder reading as proof for the whole passage.
While underway, compare the depth trend with the chart. A gradual shoaling that appears where expected supports your position. An unexpected change is a prompt to slow down, check the chart and position, and preserve room to turn away. Depth is both a clearance question and an independent navigation clue.
Work a Depth Margin by Hand
Try the arithmetic once with made-up but realistic numbers and it stops feeling abstract. Say the chart shows 2 metres over the shallowest patch on your route, measured from chart datum. The tide table predicts 1.1 metres of extra water above datum at the time you expect to pass. Your boat draws 1.4 metres, and you want to keep half a metre in hand for waves, squat, and the chance that your timing is off. Add the charted depth to the predicted tide: 2 plus 1.1 gives 3.1 metres of water. Subtract the draft and the margin, 1.4 metres and 0.5 metres, and you have 1.2 metres left to spare. That is the number worth knowing before you commit to the passage, not after.
Redo the sum for the shallowest point on the whole route, not the destination, since a mid-passage patch can be thinner than the berth you are heading for. Read the tide table carefully enough to confirm the predicted height for the time you expect to cross that point.
Common Depth-Planning Mistakes
A few habits undo careful planning. Checking only the depth at the marina and assuming the rest of the route is deeper is one; a route can shoal well before the destination does. Reading the tide height for the wrong time, rather than the time you will actually be over the shallow patch, is another. A third is treating a single sounder reading as proof rather than a trend: a number that keeps falling as you hold a steady course toward a charted hazard deserves your attention long before it reaches the margin you calculated ashore. If under-keel clearance is a recurring question for your boat, it is worth working the numbers for your own draft and typical margin before you need them under pressure.
Cross-Check Every Position Source
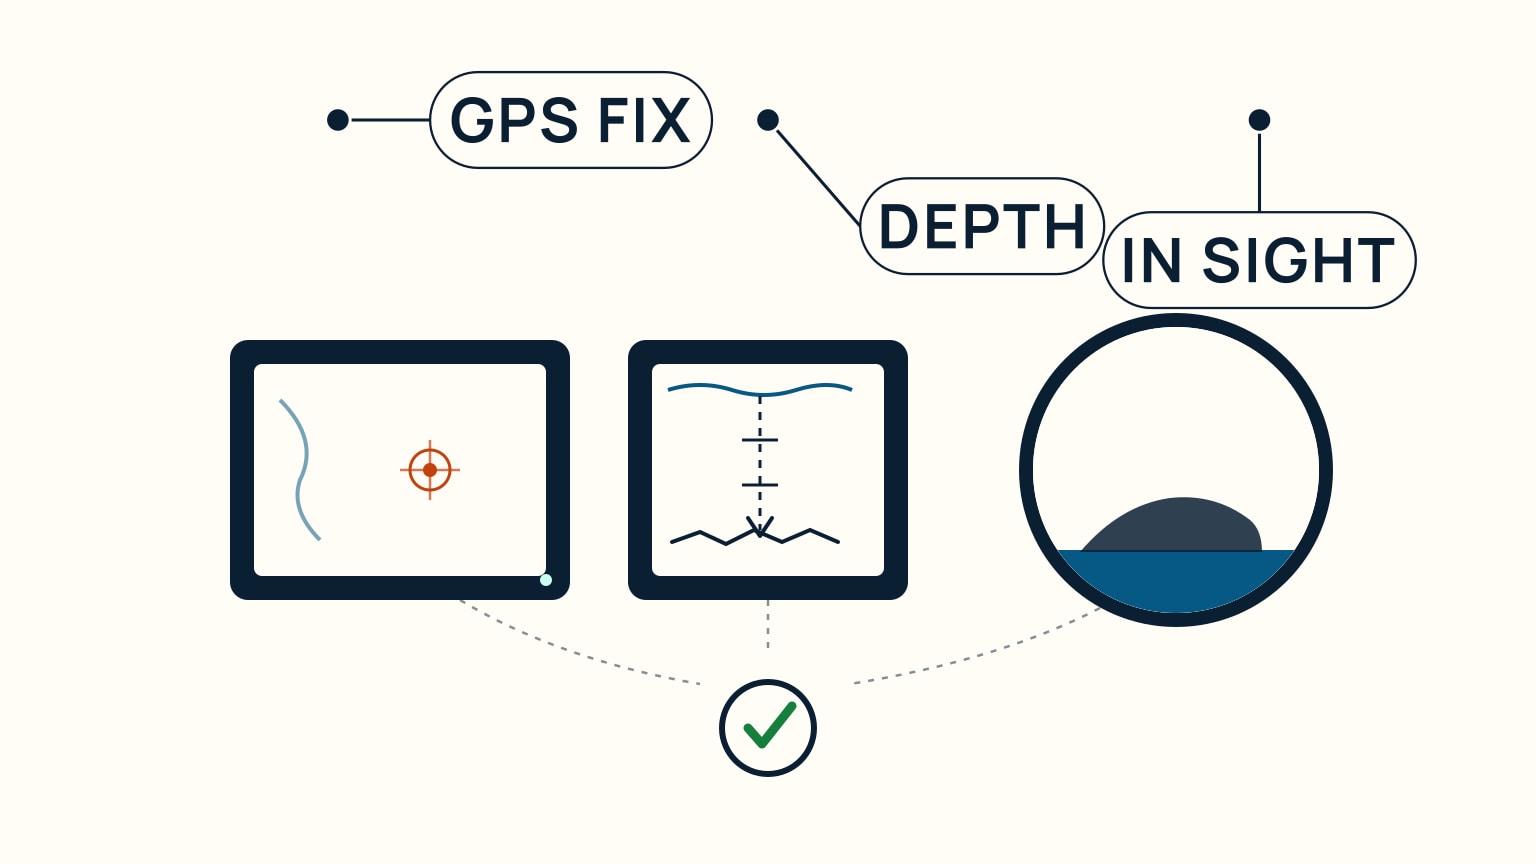
Electronic navigation is powerful because it combines position, chart, route, speed, and track. It can still be misread, use the wrong chart layer, or place a precise symbol over information that is old or insufficiently detailed. Precision on the screen is not the same as certainty in the world.
Build a cross-check from a different kind of evidence. Compare the plotted coastline with what you see. Check whether depth matches the chart. Use the compass heading, a bearing, or a transit. Take two or more lines of position close together when you need a visual fix. If three lines form a small triangle rather than one point, the cocked hat shows the uncertainty instead of hiding it.
When sources disagree, slow down and create room while you find the reason. The habit is simple: trust no single instrument more than the combined picture.
A Short FAQ on Fixing Your Position
How many lines of position make a reliable fix? Two independent lines crossing at a point give you a fix, but a third is worth taking whenever you can get it. Three lines rarely meet at one exact point. Instead, they form a small triangle, the cocked hat, and its size shows you how much uncertainty is really in the observations rather than hiding it behind a single confident-looking crossing point.
What should you do when the electronic position and the depth sounder tell different stories? Neither one is automatically right. Slow down, give yourself sea room away from anything charted nearby, and work through the possibilities: an outdated chart layer, a misread depth, a position that has not updated, or a genuine hazard the chart shows and the plotter has just walked you toward. How to take a position fix covers the practical steps for building that fix from bearings, transits, and soundings together.
SailStarter's navigation module builds these habits in a deliberate order: reading a chart, understanding buoyage differences, working with depth and tide, allowing for current, and fixing position. Start with the chart lesson, then practise on a familiar local chart before trying to manage several tools underway. Mark the title block, find the depth units, identify two visible charted features, and explain the difference between heading and track aloud. On the water, keep the checks short and repeat them. The aim is not to stare at navigation equipment. It is to look outward, compare independent evidence, and notice early when the boat's real path has begun to leave the plan.
Try it from the lesson
Can you spot the next move?
On a NOAA paper chart, you see buff, green, and blue close to shore. What does each colour mean?
Why you can trust this guide
. We build each guide from public seamanship and safety sources, then teach the universal principle before any local difference.