Chart your course
Emergency Sail Repair While Cruising
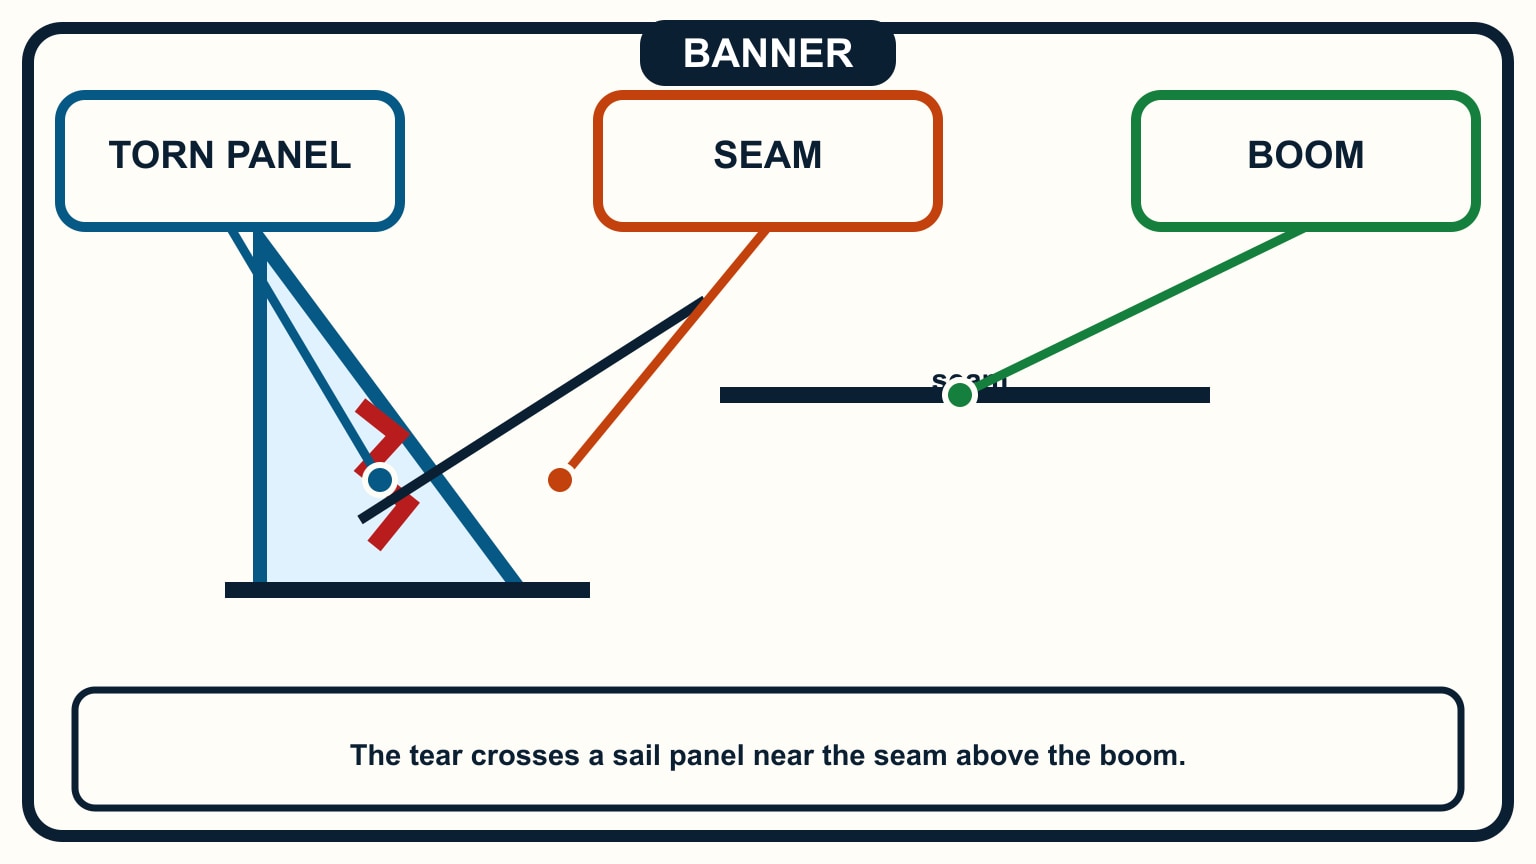
Quick answer
The short version
An emergency sail repair begins by taking load out of the cloth. Reduce or lower the damaged sail, settle the boat, and keep the tear from flogging while you inspect it. Clean and dry sound cloth around a small tear before applying compatible sail-repair tape to both sides. Round the patch corners so they are less likely to lift. Remove or pad the fitting that caused the damage, then use the repaired sail conservatively only long enough to reach a safer harbour. A torn seam, loaded corner, bolt rope, luff tape, or large damaged panel belongs with a sailmaker.
The best repair kit cannot make a loaded foredeck a good workbench. Start with control of the boat and a clear destination. If changing to a smaller sail or continuing under engine is the calmer option, do that before opening the tape. The goal is to prevent a small failure from spreading and to arrive with enough original cloth left for a proper repair. Review how to lower and flake a mainsail before a trip if lowering one cleanly is not yet routine.
Quiet the sail before you inspect it
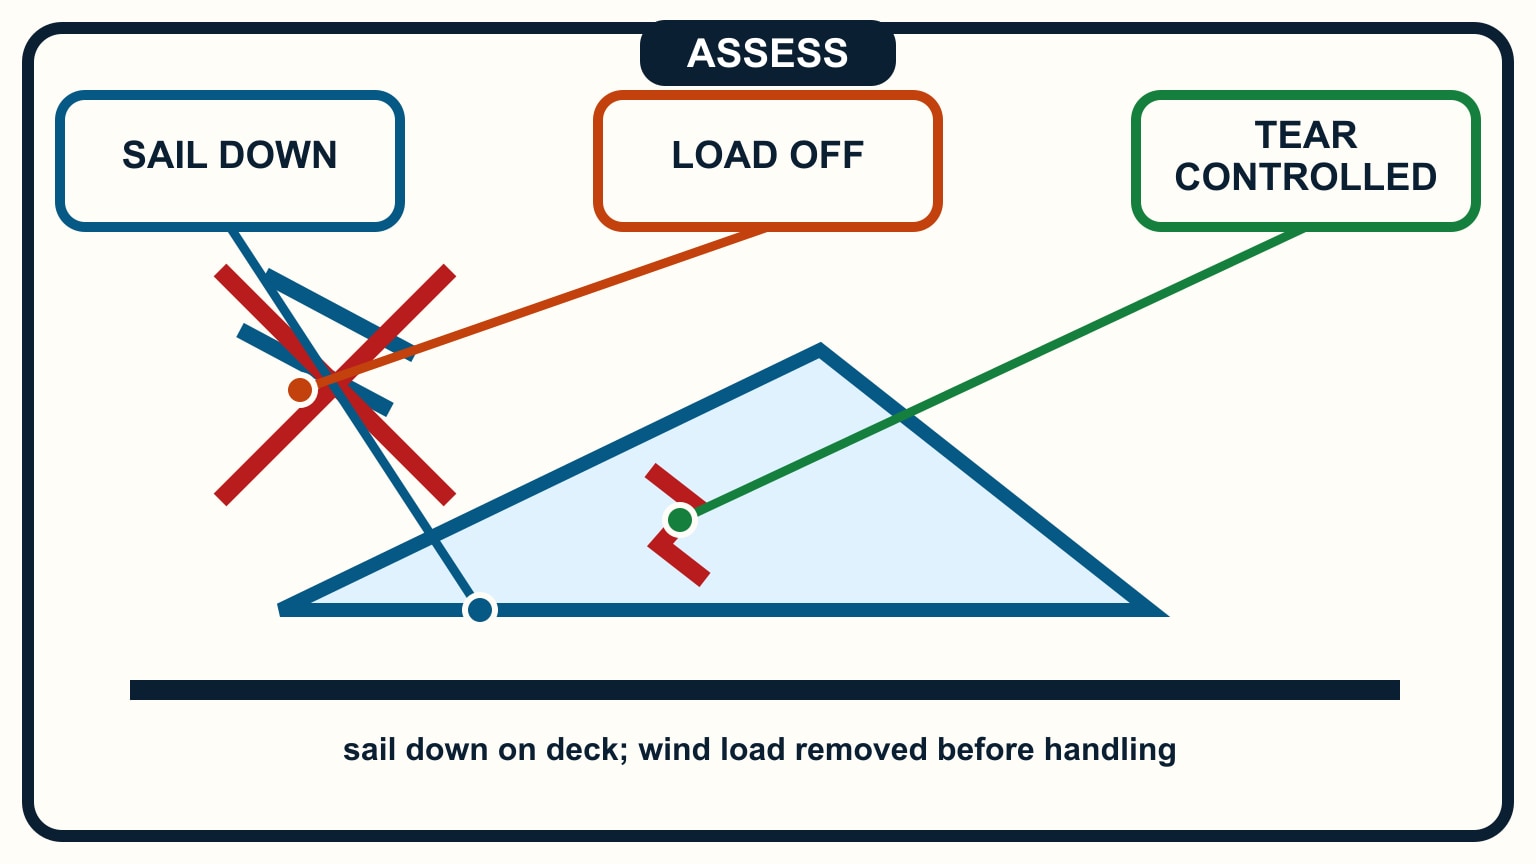
Flogging bends and snaps cloth, seams, and fittings through a wide range of motion. A tear that looks manageable for one instant can keep running while the sail thrashes. Ease the load, change course if needed, and reduce sail. Lower the damaged sail when the boat and rig allow it. Keep one person responsible for the boat while another handles the cloth; everyone should know which lines remain loaded.
Do not stand under a swinging boom or wrap a working line around a hand. If the sail has fallen over the side, control the boat before trying to retrieve it. Cloth in the water can load heavily and drift toward the propeller. A loose halyard can also escape aloft while attention is fixed on the tear, so secure the sail and its control lines as a complete job.
Choose a dry, supported place for the inspection. On many cruising boats that means the cabin top, cockpit, or below deck, depending on the sail's size and the sea state. Fold or roll undamaged cloth loosely rather than walking over it. If the boat will not stay quiet enough for careful work, postpone the patch and make for shelter with another sail plan.
The same early reduction principle appears in reefing a mainsail: the comfortable time to reduce load is before the boat and crew are pressed.
Read where the damage started
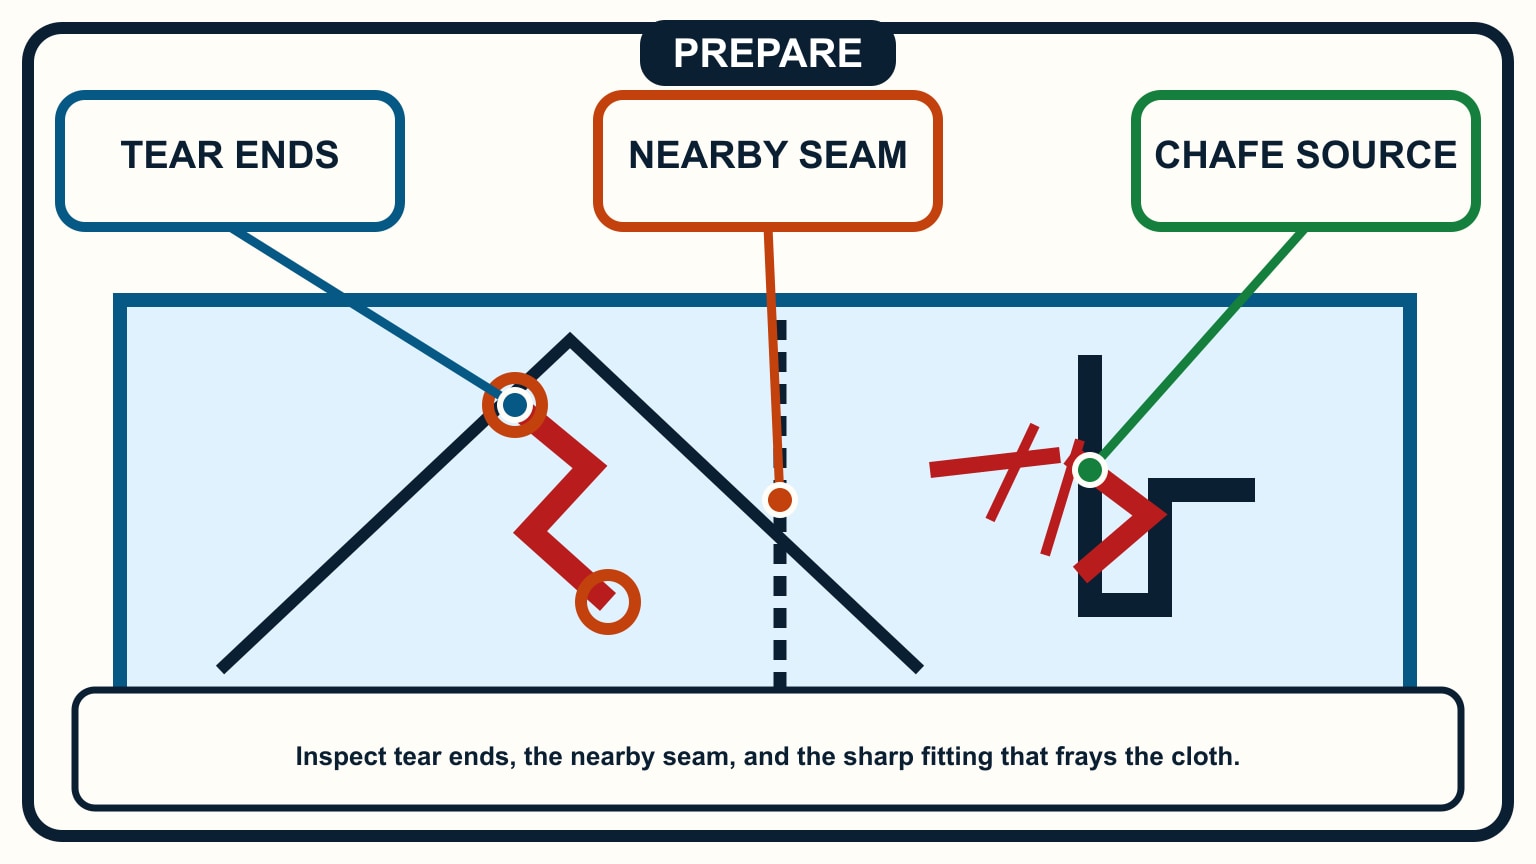
Lay out enough cloth to see the whole failure. Mark the ends of the tear lightly so you can tell whether it grows after the sail is reset. Then look beyond the split. A sharp edge, exposed cotter pin, rough spreader patch, damaged track, chafing lifeline, or loose fitting may have started the problem. If that contact remains, a new patch will meet the same edge.
The location tells you how cautious to be. Damage in the open middle of a panel has sound cloth around it. Damage beside a seam, reef point, batten pocket, luff tape, leech line, or reinforced corner enters a part of the sail designed to carry or transfer load. Tape can cover the visible split without restoring that construction. Separate cloth damage from hardware damage and record both for the sailmaker.
Check both faces. Delamination in a laminated sail may extend beyond the visible opening. Woven cloth can show stretched yarns, pinholes, and abrasion around the tear. Seams may have broken thread while the cloth remains intact. A close photograph with a ruler or known object beside the damage gives a shore-based sailmaker more useful scale than a wide shot of the whole sail.
If you cannot find sound cloth around the tear, cannot remove its cause, or cannot keep the area unloaded, stop treating it as a tape repair.
Make a temporary patch on clean cloth
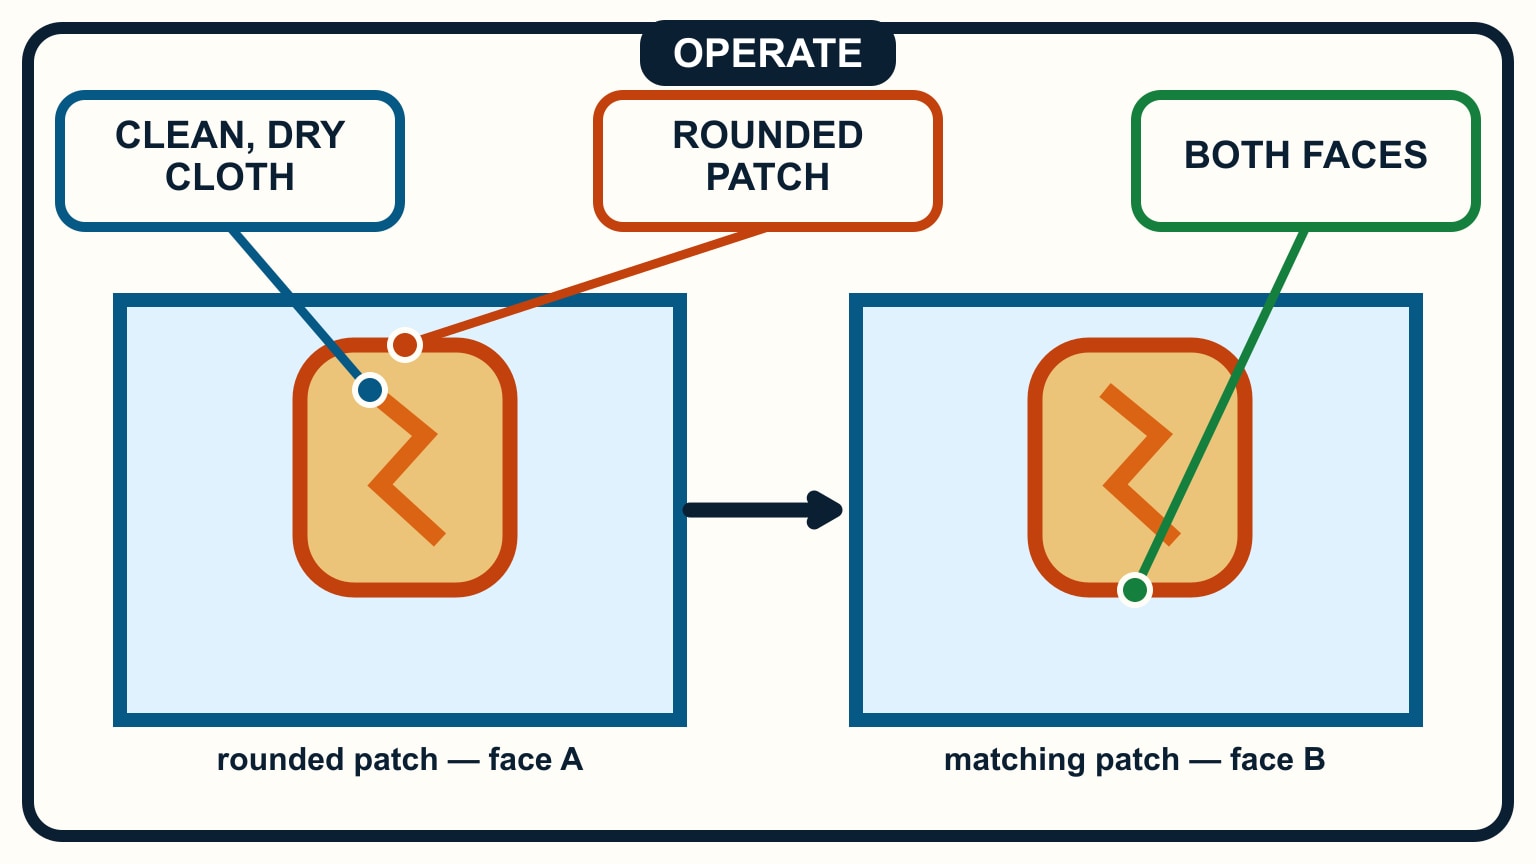
Use repair material made for the sail construction. Adhesive-backed Dacron or other compatible sail tape is intended for temporary repairs; ordinary household tape may leave residue, lift in damp conditions, or complicate later work. Follow the tape maker's directions. Clean away salt and dirt, let the area dry, flatten wrinkles, and bring the torn edges together without overlapping or shortening the sail.
Cut a patch that extends onto sound cloth all around the damage. Rounded corners have no sharp point for wind or handling to catch. Apply the first side on a flat surface and press it down from the centre outward. Turn the sail over, remove any new wrinkles, and cover the reverse side. Patching both faces keeps loose edges contained and shares the temporary bond across the cloth.
Do not pull the tape so tightly that it puckers the panel. A hard ridge changes how load reaches the surrounding cloth. Avoid stitching through a heavily loaded sail while it is set, and do not improvise a row of holes without knowing the material and stitch pattern a lasting repair requires.
Small pinholes and a short clean tear are different from a split seam or a corner pulling apart. If the repair would need to recreate webbing, bolt rope, luff tape, a batten-pocket end, or several layers of reinforcement, stop at stabilizing the damage for transport.
Remove the cause before resetting
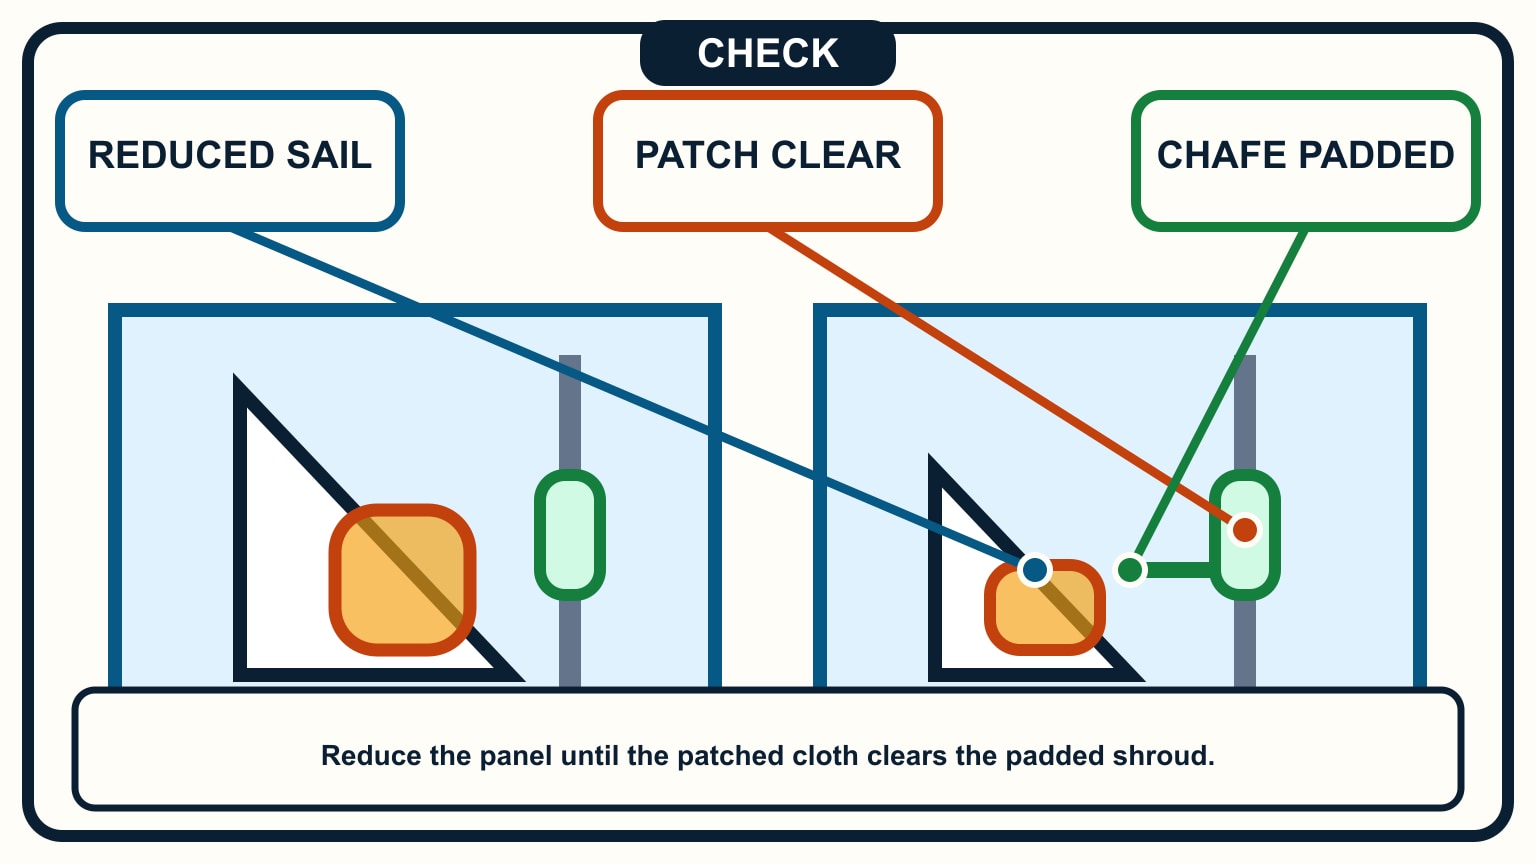
A good-looking patch can fail within minutes if it returns to the same rough fitting. Cover the sharp point, secure the loose hardware, or choose a sail configuration that keeps the repaired cloth clear. A temporary chafe guard must stay in place without creating another hard edge. If a spreader, stay, track, or fitting is damaged, the rig problem may set the limit rather than the sail.
Reset with less load than before. A smaller headsail, a deeper reef, or a course that does not press the repaired area may be appropriate, but the boat's sail plan and the location of the damage control that choice. Hoist slowly while one person watches the patch. Stop if the edges lift, the tear lengthens beyond your marks, the panel develops a new crease, or the sail no longer sets without distortion.
Watch after the first few minutes and after every change of course or wind. The patch is evidence you can monitor, not permission to forget the damage. Keep the repaired zone out of contact with spreaders, shrouds, pulpits, and deck hardware. If the wind rises, reduce the sail before the temporary bond is tested by a larger load.
For prevention, combine this check with sail storage practice: dry cloth, protected folds, and repaired chafe points give small defects fewer chances to grow between trips.
Sail to a repair, not through the schedule
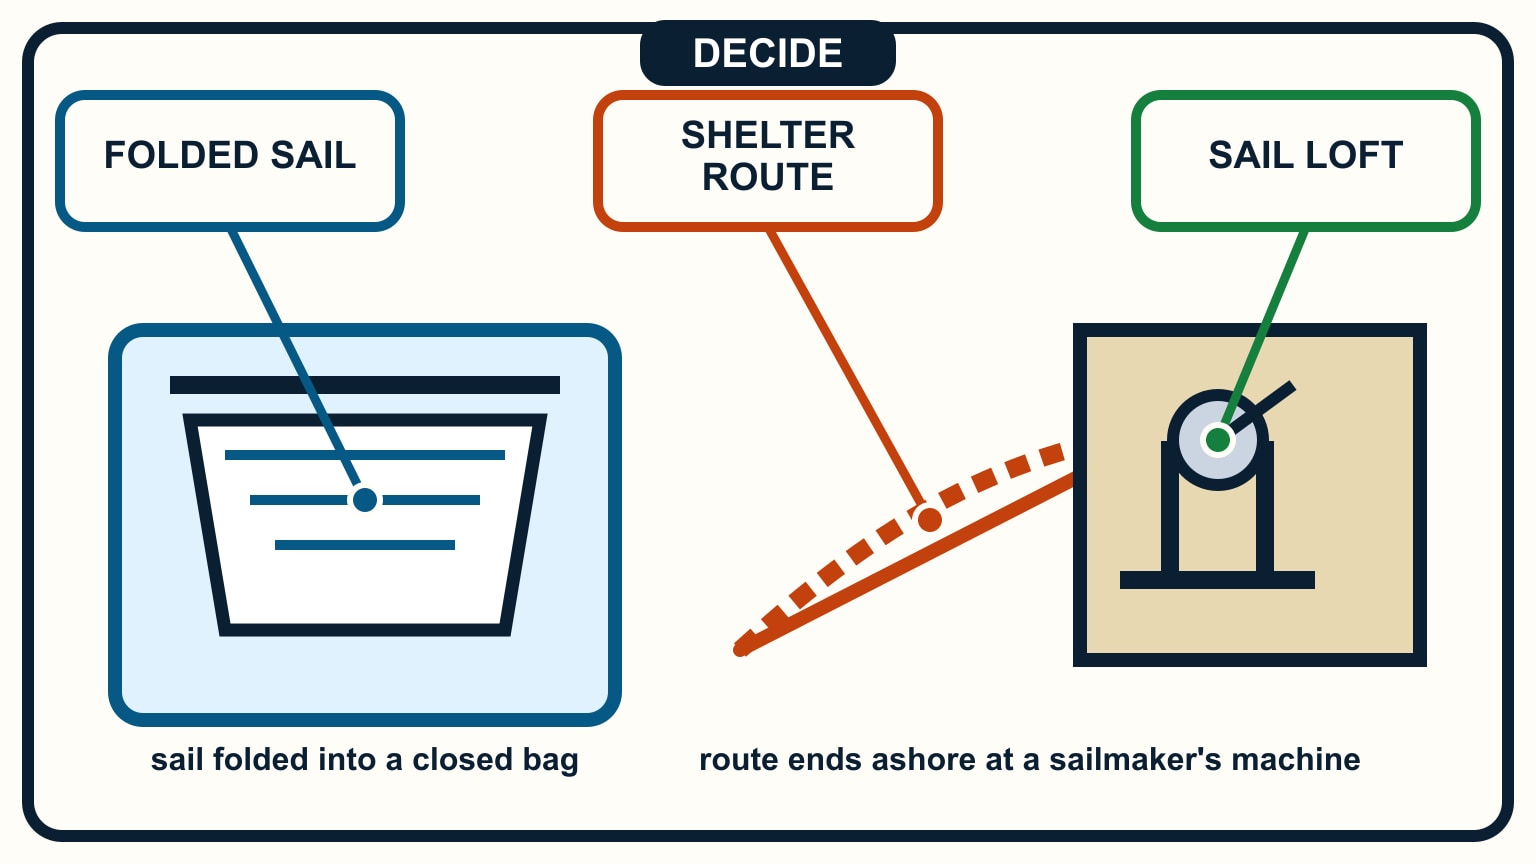
Choose the nearest suitable place where the sail can be removed, dried, and assessed. That may mean changing the day's destination or waiting for conditions that let you arrive without loading the repair. A temporary patch is successful when it protects the sail until proper work can begin. Distance completed is a poor measure.
Before handing the sail over, note the wind and course when it failed, whether it was reefed, the tack and sheet arrangement, and what the cloth contacted. Include photographs from both sides and the marks showing the original tear length. Do not peel a holding patch merely to make the damage easier to photograph unless the sailmaker asks; it may pull fibres or lose the only stable reference.
A sailmaker can decide whether the job needs a sewn patch, a replaced panel, seam work, new edge tape, or reinforcement around the load path. Ask how the suspected chafe source should be changed before the repaired sail returns aboard. Inspect the matching point on the opposite side of the rig as well, since a symmetrical fitting may be developing the same rough edge.
Until then, label the sail as temporarily repaired and keep the crew from hoisting it by habit. That simple note prevents the next watch from treating an emergency measure as normal inventory.
SailStarter's lessons teach the sail controls and crew communication that make this response calmer. Build those habits before you need them: know how each sail comes down, carry compatible repair tape, and give one person the job of sailing the boat while the cloth is handled. If a patch cannot be made on clean, dry, unloaded material, protect the damaged sail and change the passage plan. The safest emergency repair may be the decision not to hoist it again.
Try it from the lesson
Can you spot the next move?
Your wheel suddenly goes slack and the boat won't answer the helm. What's worth checking before assuming the rudder itself is gone, and what should already be true about your emergency tiller?
Why you can trust this guide
. We build each guide from public seamanship and safety sources, then teach the universal principle before any local difference.