Chart your course
Steering Cable, Chain, and Quadrant Inspection

Quick answer
The short version
A wheel can feel normal even though most of its steering gear is hidden under the cockpit. The useful inspection begins when you stop treating the pedestal, cable run, and rudder connection as separate objects. They are one load path. A worn sheave can damage sound wire; poor alignment at the quadrant can undo careful work elsewhere.
Quick answer: Secure the boat, remove the key, and keep the rudder free from outside loads. Find the builder's steering drawing and the manual for the installed gear. Trace the system from the wheel sprocket and chain through both wire runs, every sheave or conduit, the terminals, quadrant or radial, rudder-stock attachment, and physical stops. Look for corrosion, broken strands, kinks, metal dust, loose parts, off-centre tracking, damaged fasteners, and water entry. Do not copy tension or lubricant instructions from another make. After correct reassembly, one person turns the wheel slowly while another watches the accessible machinery. Stop for binding, derailment, unexpected movement, or doubtful assembly.
This guide is for a chain-and-wire system, sometimes called cable steering. Hydraulic, geared, rod-linked, and twin-rudder installations need their own documents. If the wheel has already become stiff, loose, noisy, or disconnected, use the immediate priorities in the steering-failure guide before opening machinery at sea.
Map what the wheel actually moves
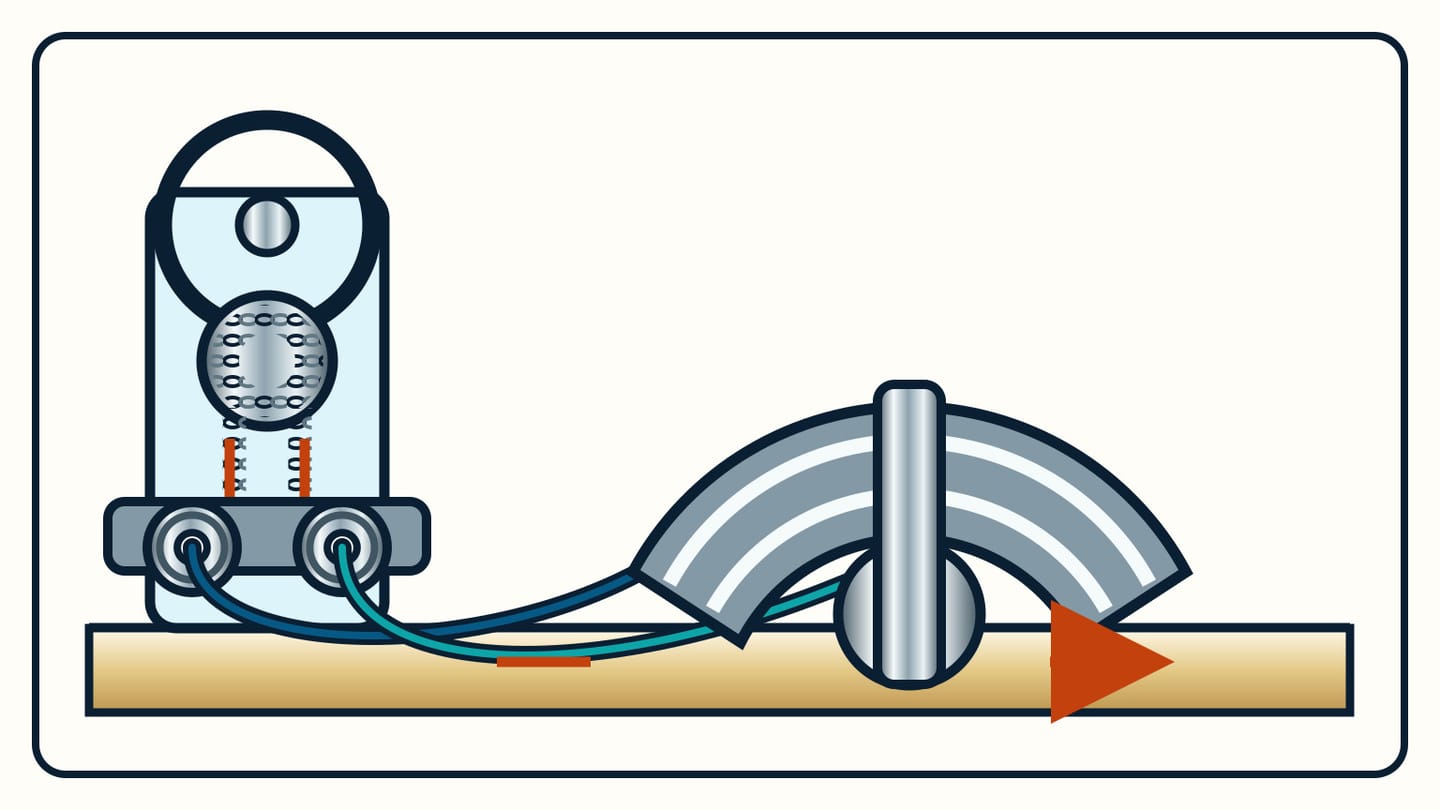
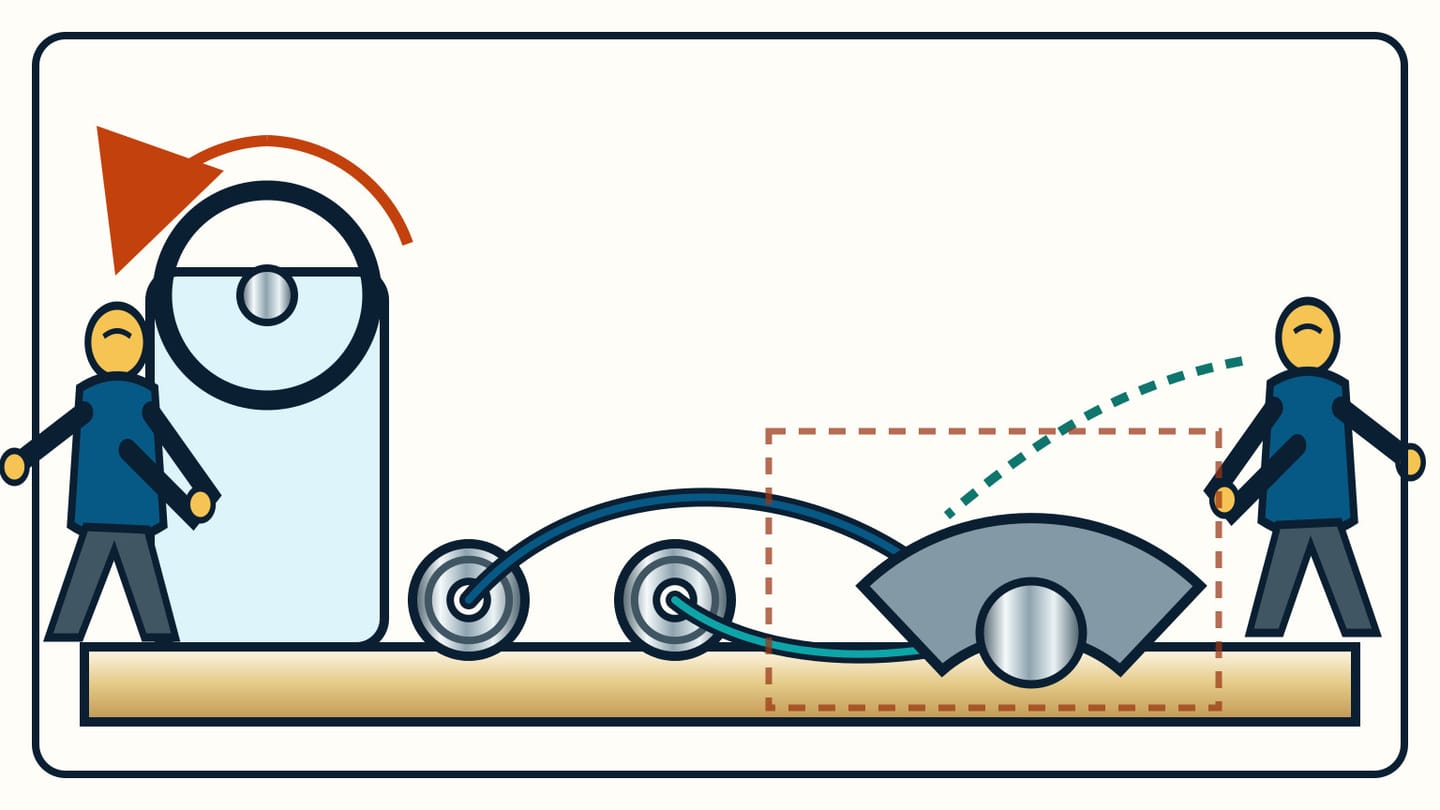
Begin with the boat's drawing, not an assumption based on another pedestal. In a common arrangement, the wheel turns a sprocket inside the pedestal. A short chain passes around that sprocket and joins two wire ends. The wires descend to an idler assembly, change direction around sheaves (grooved pulleys), and pull opposite sides of a quadrant or radial fixed to the rudder stock. Some boats use conduits; some cross the cables; some place extra sheaves between the pedestal and rudder.
Draw the route you can see. Mark every access panel and every place where the cable disappears. Photograph both sides of each connection before touching anything. If trim hides a section, record that limit. A smooth wheel cannot certify wire inside a conduit or hardware behind a sealed panel.
Now compare the real installation with the maker's drawing. Follow port and starboard runs separately. Note which groove each wire uses, how a cable terminates, where clamps and locknuts sit, and whether an autopilot arm or other steering device shares the rudder stock. The goal is not to reverse-engineer an unknown system. It is to learn what must stay in the same relationship when access covers go back on.
Edson's chain-and-wire guide shows why the drawing matters: quadrant and radial systems can use different cable paths, including crossed runs. A wire that looks "wrong" by intuition may be correct for that installation. A route that differs from its own drawing needs professional explanation before adjustment.
What can the cable and sheaves tell you?
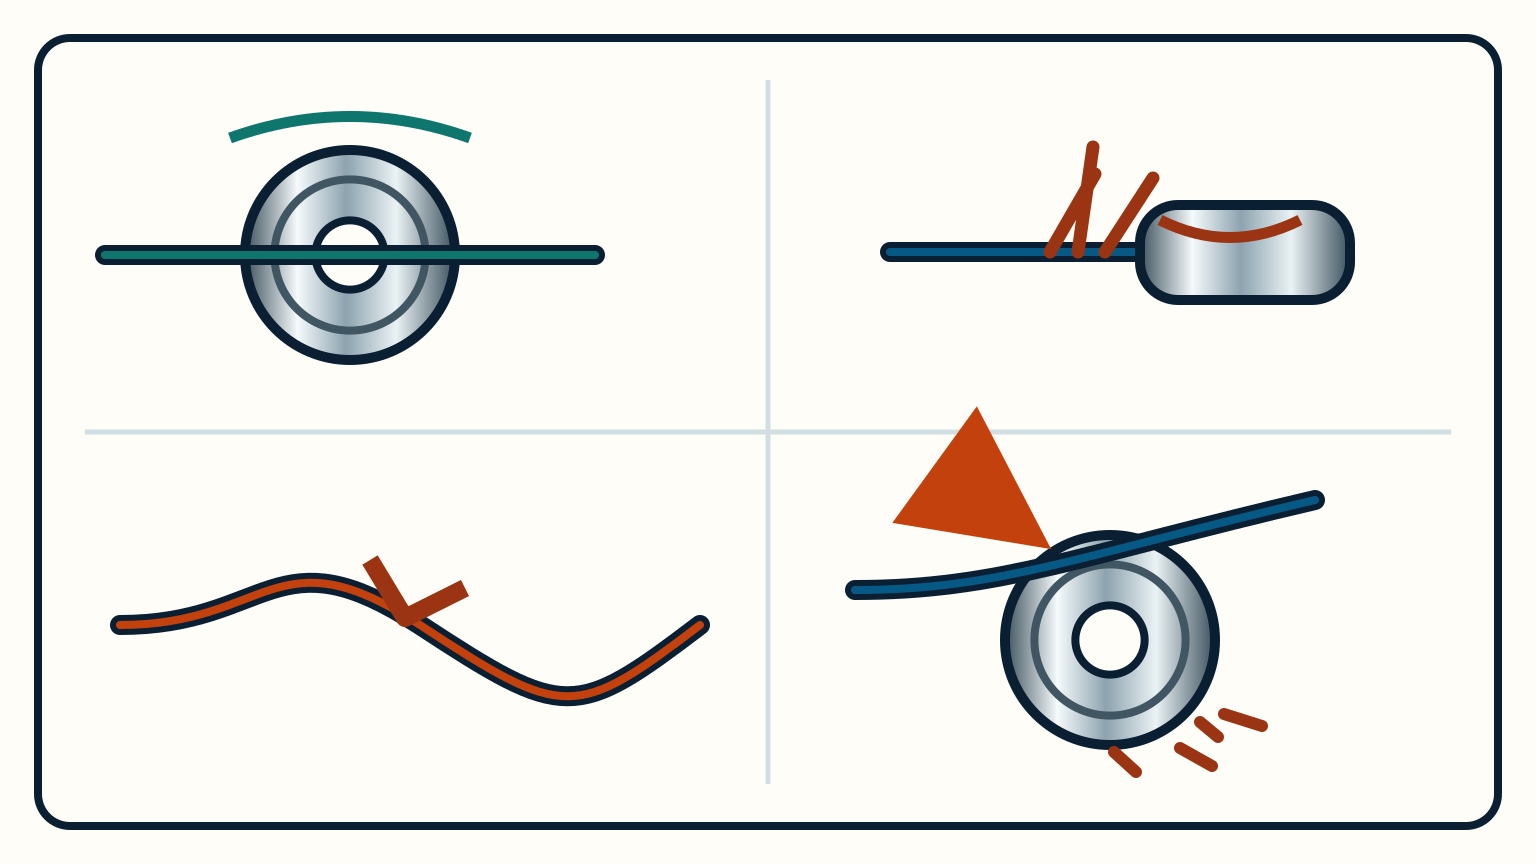
They show both their own condition and whether the route is working fairly. Inspect the full accessible length of each wire under bright light. Look for a sharp kink, flattened section, corrosion, broken strand, or polished patch where the wire rubs something outside its intended groove. Keep bare fingers away from the lay of the wire. Jefa's inspection guide suggests running a lightly oiled cloth along its wire to catch a frayed strand; use that method only if it matches the installed maker's care instructions.
At every sheave, look squarely into the groove. The wire should track through the intended centre rather than climb a rim or approach at an angle. Check the wheel, pin or bearing, housing, mounting bracket, and backing. Edson specifically calls out play, corrosion, wear from misalignment, and metal dust below a sheave. Dust is evidence of contact, not a cleaning problem to erase before you find its source.
Compare the two sides. One bright groove beside one heavily worn groove can point to unequal tracking. A loose mounting plate can change alignment under load even when the wheel is still. Do not put a hand beside a sheave while someone turns the helm. Photograph first, then have the helm moved only during the controlled observation at the end.
Cable tension also affects what you see, but there is no safe generic number for this article to give. Too little tension can leave slack and let a cable leave a sheave or quadrant; too much can make the system stiff and load parts unnecessarily. Makers use different checks and values. Record visible sag, unequal take-up hardware, or a cable that can leave its groove, and take those observations to the correct manual or technician.
Open the pedestal with the model instructions beside you
Identify the pedestal and steering maker before removing its head or compass. Fastener order, brake parts, shaft retainers, wiring, and engine controls vary. Protect the compass and electrical leads as the manual directs, and place small parts where none can fall down the pedestal. If the maker cannot be identified, inspection can stop at the accessible openings until a qualified technician establishes the arrangement.
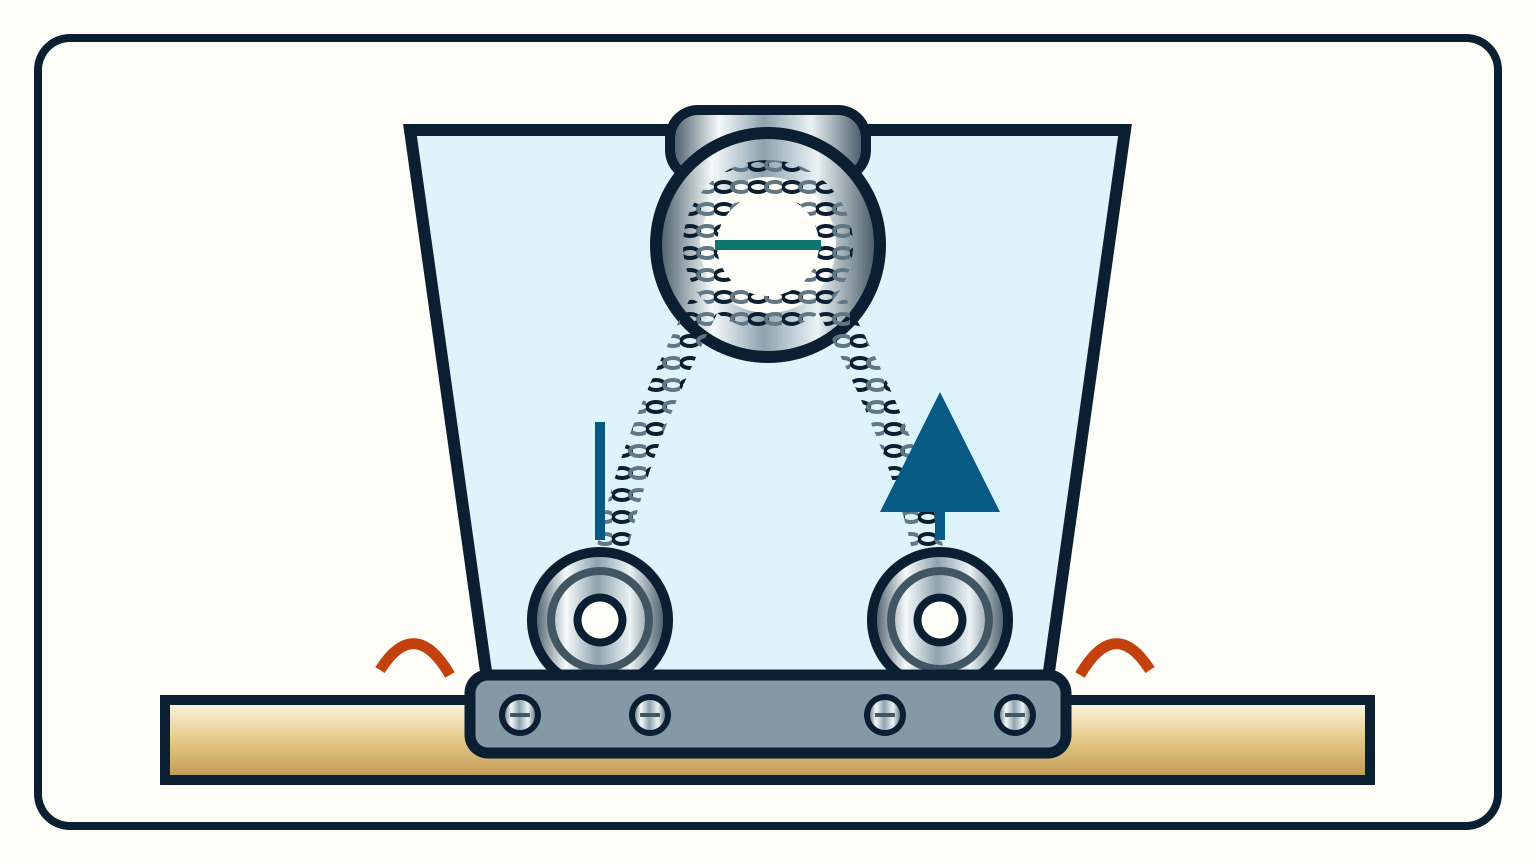
Once the correct access is open, inspect rather than dismantle. The chain should sit on the sprocket, and each link should articulate without an obvious stiff joint, crack, heavy corrosion, or distorted side plate. Look at the transition between chain and wire, the sprocket teeth, shaft support, retaining parts, and any sign that the chain has been rubbing the pedestal wall. Compare the amount of chain on either side only against the maker's centred arrangement.
Below the pedestal, inspect the idler plate as structure. Its bolts connect the steering load to the cockpit floor; its sheave pins keep the cable path in place. Look for corrosion, movement, cracked coating, loose or missing retention, and water entry around the pedestal base. Photograph stains before cleaning so the source remains visible. The wider sailboat maintenance schedule can hold these dated images and access notes alongside the next inspection.
Lubrication is where borrowed advice becomes risky. Edson assigns different products to its chain, wire, sheave pins, bearings, and conduits. Jefa says its sheaves and wire need no grease and specifies Teflon oil for its conduit cable. Identify the exact component and follow its current instructions. Adding the wrong grease can conceal debris without correcting wear or alignment.
How should the quadrant and stops line up?
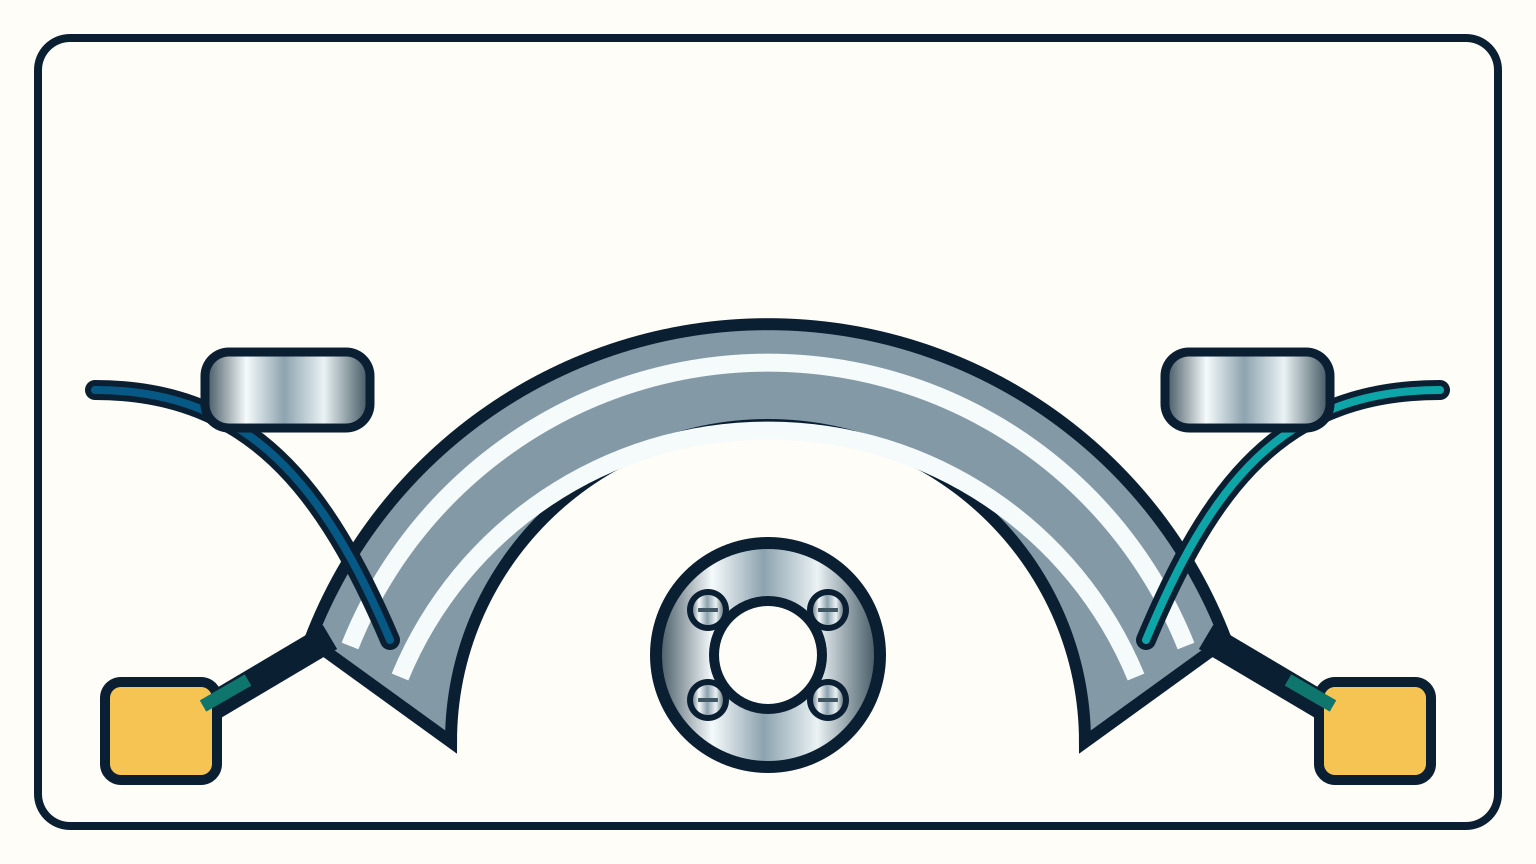
The two cables should reach the tracks intended for them and remain seated as the quadrant or radial turns. Start with the rudder near centre and compare each run with the builder's plan. Look for wire climbing a flange, crossing where it should not, rubbing an obstruction, or entering a track at a visible angle. Inspect terminals, clamps, take-up eyes, nuts, locking arrangements, and the casting itself for corrosion, cracks, distortion, and unusual wear.
Next, examine how the quadrant or radial attaches to the rudder stock. The exact keys, clamping bolts, through-bolts, and retainers are design-specific. None should be guessed from a generic picture. Record corrosion, a shifted witness mark, an elongated hole, a loose fastener, or movement between the driver and stock. A compromised rudder-stock area also belongs in the rudder inspection checklist, because the visible steering driver is only one part of that assembly.
Find the physical stops before turning the wheel hard over. Edson's checklist asks whether the rudder stop reaches its support on both sides and whether its rubber bumper is present where fitted. The stop is meant to define the end of travel in that system. The cable, terminal, quadrant edge, autopilot ram, or pedestal chain should not become the improvised stop.
Inspect the support that receives each stop, not just the contact face. A sound-looking bumper on a loose bracket does not provide a dependable limit. If one side contacts early, another component binds first, or the quadrant has struck surrounding structure, leave the steering out of service until the cause and any hidden damage are assessed.
What makes the final travel check trustworthy?
It starts with correct reassembly and two people who know the plan. Account for tools and loose hardware. Restore every guard, access cover, retainer, locknut, and pedestal part required by the maker. Keep hands, clothing, and loose lines clear of the chain, sheaves, cables, quadrant, and stop arms. One person stays at the wheel; the other watches from a safe position with a clear view of the accessible linkage.
Move the wheel slowly from centre toward one side, back through centre, and toward the other side. The observer watches the chain and cable stay on their sprockets and grooves, the sheaves rotate without shifting, the terminals remain seated, the quadrant track the wire fairly, and the proper stops receive the end travel. Both people listen for a scrape, click, knock, or changing resistance. Do not force past a new hard point to "see if it clears."
Stop the check if a cable tries to climb out, a mounting plate moves, a clamp or terminal shifts, a stop misses its support, the wheel binds, or the reassembly cannot be confirmed. Those findings describe where the load path failed; they do not authorize a tension change. Save the before-and-after photographs, the manual revision used, what access remained closed, and the exact point in travel where the symptom appeared.
Finally, review the boat's alternative-steering procedure and make sure its equipment is accessible. Do that from the builder's instructions, not by improvising around the quadrant. Tiller and wheel steering feel different in normal use, but both depend on the crew recognizing lost control early and knowing the boat's intended backup.
SailStarter lessons build that same habit: trace what your hands are controlling, watch the boat's response, and describe a change before it becomes an emergency. Start with the free first module when you want to practise the observation and communication behind a careful helm check.
Try it from the lesson
Can you spot the next move?
Your wheel suddenly goes slack and the boat won't answer the helm. What's worth checking before assuming the rudder itself is gone, and what should already be true about your emergency tiller?
Why you can trust this guide
. We build each guide from public seamanship and safety sources, then teach the universal principle before any local difference.