Chart your course
How to Find Rainwater Leaks on a Sailboat

Quick answer
The short version
To find a sailboat rainwater leak, dry the interior, mark the highest fresh wet point, and inspect fittings above and around it. Then have one person apply a gentle hose flow to one small exterior zone while another watches inside. Start low, allow time for water to travel, and move upward only after the zone stays dry. Record each test. Do not blast several fittings at once or assume the place where water appears is where it entered.
That procedure is slow enough to isolate a path and simple enough to repeat after repair. It also avoids the common mistake of smearing sealant around every nearby fitting while the real joint remains open.
Pick a day when natural rain and heavy wind will not interfere with the result. Ask the inside observer to call “wet” immediately and name the exact marker, while the outside tester calls each change of zone. A phone or handheld radio can help on a larger boat, but the hose should be stopped before either person moves position.
Confirm Rainwater and Map the Clues
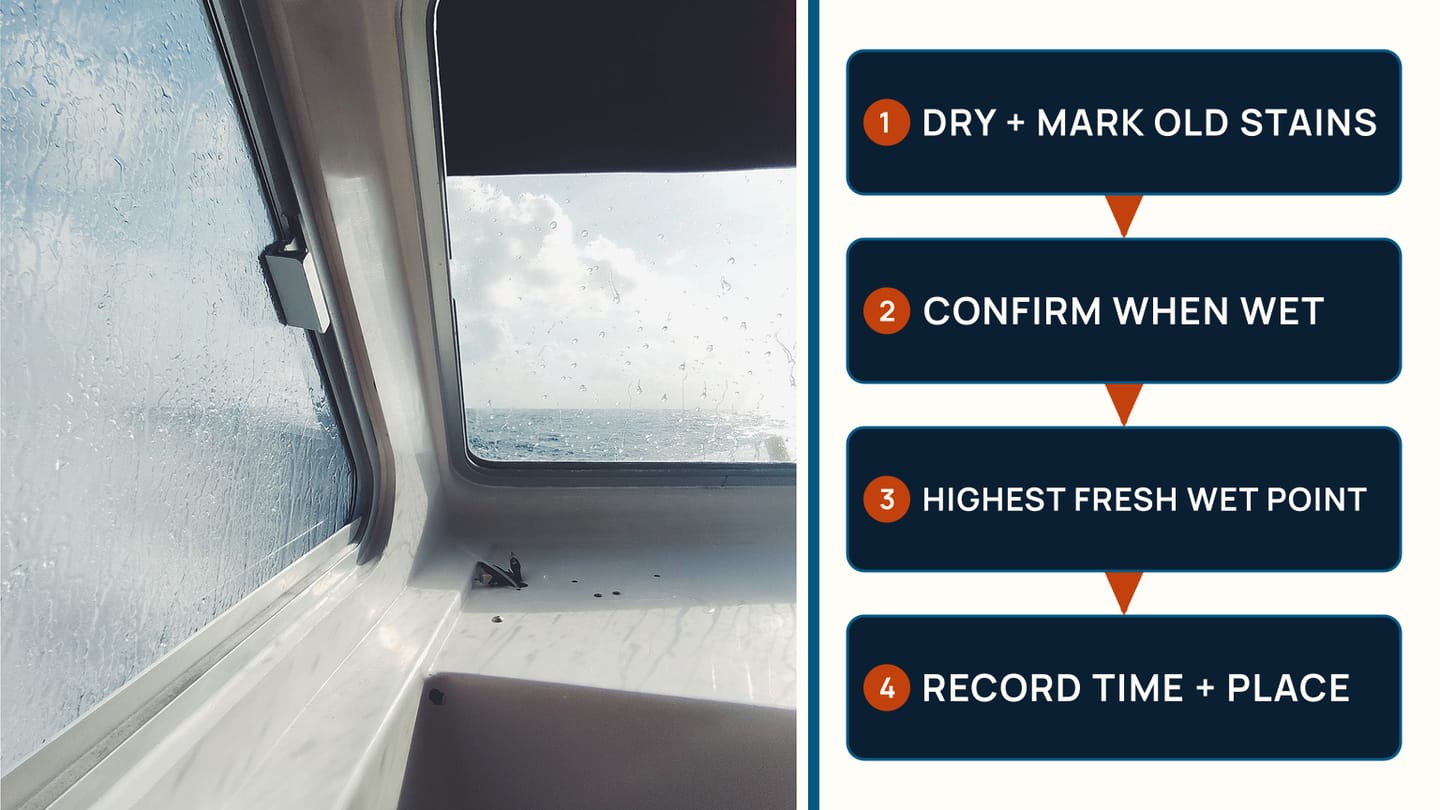
Remove stored gear from the affected area and dry accessible surfaces. Use clean absorbent paper or cloth at likely arrival points and mark existing stains with removable tape so old evidence is not confused with a new test. Photograph the area before removing trim. Water tracks, fastener staining, swollen veneer, corrosion, and damp cushion edges all help reconstruct the path.
Confirm the timing. Does water appear only in rain, during deck washing, after sailing heeled, or after operating plumbing? Does wind direction change the leak? A portlight may stay dry in vertical rain but leak when wind drives water under a flange. A deck fitting may leak only when a loaded line flexes it. A freshwater hose can drip into the same locker and imitate an exterior leak.
Find the highest fresh wet point you can reach, not merely the lowest puddle. Water can run along a headliner, cable, deck beam, hull liner, or fastener before dropping far from its entry. Trace upward and outward while respecting the boat’s structure. Do not pull bonded liners or dismantle loaded fittings without the correct procedure.
Keep a test sheet with date, weather, boat trim, first wet location, suspected exterior zone, and result. If moisture has left a persistent odour, the musty-cabin guide covers cleaning and drying after the path is stopped. If the water reaches the bilge, also inspect other sources described in why water is in the bilge.
Treat soft deck, moving hardware, cracked structure, discoloured core, or a leak around a high-load fitting as more than a sealant problem. Mark the area, reduce loading where safe, and arrange a surveyor or suitable repair professional. Water entry can be visible long before the full extent of trapped moisture is known.
Inspect Likely Entry Points From Outside and In
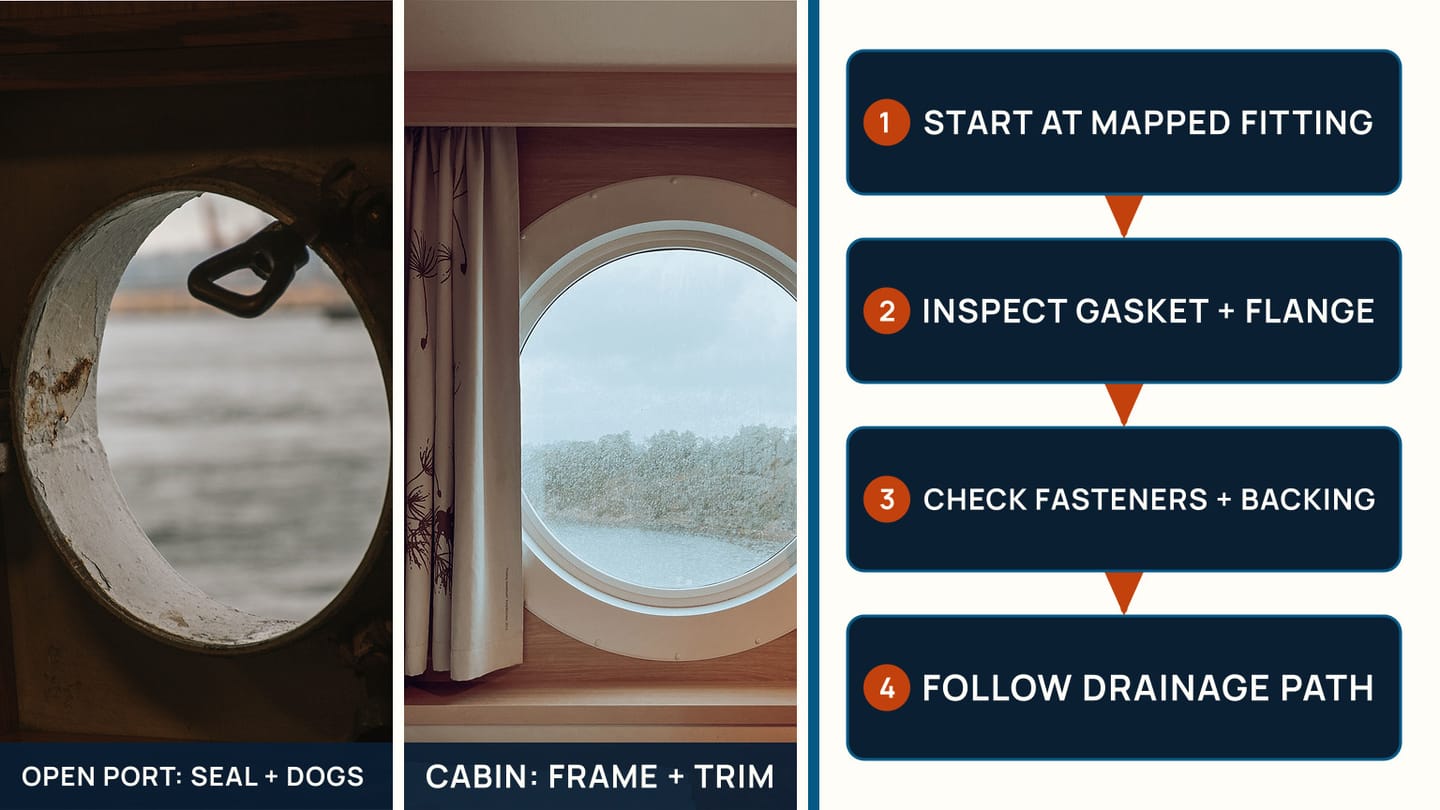
Begin with a dry visual inspection. Look at hatches, portlights, companionway parts, vents, chainplates, stanchion bases, genoa tracks, cleats, winches, deck fills, cable glands, mast penetrations, handrails, fasteners, and hull-deck joints near the mapped area. The nearest fitting is only a candidate. Follow seams and structures that could carry water toward the interior clue.
At each fitting, look for a split or compressed gasket, loose or missing fastener, lifted flange, cracked sealant, corrosion trail, impact damage, or movement under normal hand pressure. Do not force loaded hardware. Inspect the matching interior fasteners and backing where accessible. Rust or a salt-like trail beneath one bolt can be more informative than a broad old stain.
Clean dirt gently so the joint is visible, but do not scrape out sealant before testing. Changing several candidates destroys the evidence. Photograph identification marks on hatches and portlights because replacement seals and adjustment procedures are model-specific. A generic strip that looks close may prevent proper closure or place the wrong load on acrylic.
Check drainage before blaming a seal. Blocked hatch channels, cockpit drains, scuppers, or deck paths can hold water against joints that normally shed it. Clear only by the builder’s safe method. Never use high-pressure air or a rigid rod where it could separate a hose or damage a fitting.
Plan the test zones on paper, usually beginning at the lowest candidate and moving upward. Cover unrelated openings only if doing so will not redirect water artificially. The goal is to reproduce rain, not create pressure the joint never sees. Choose a calm berth, secure the hose, and prevent water from entering vents, shore-power equipment, or open machinery spaces.
Hose-Test One Small Zone at a Time
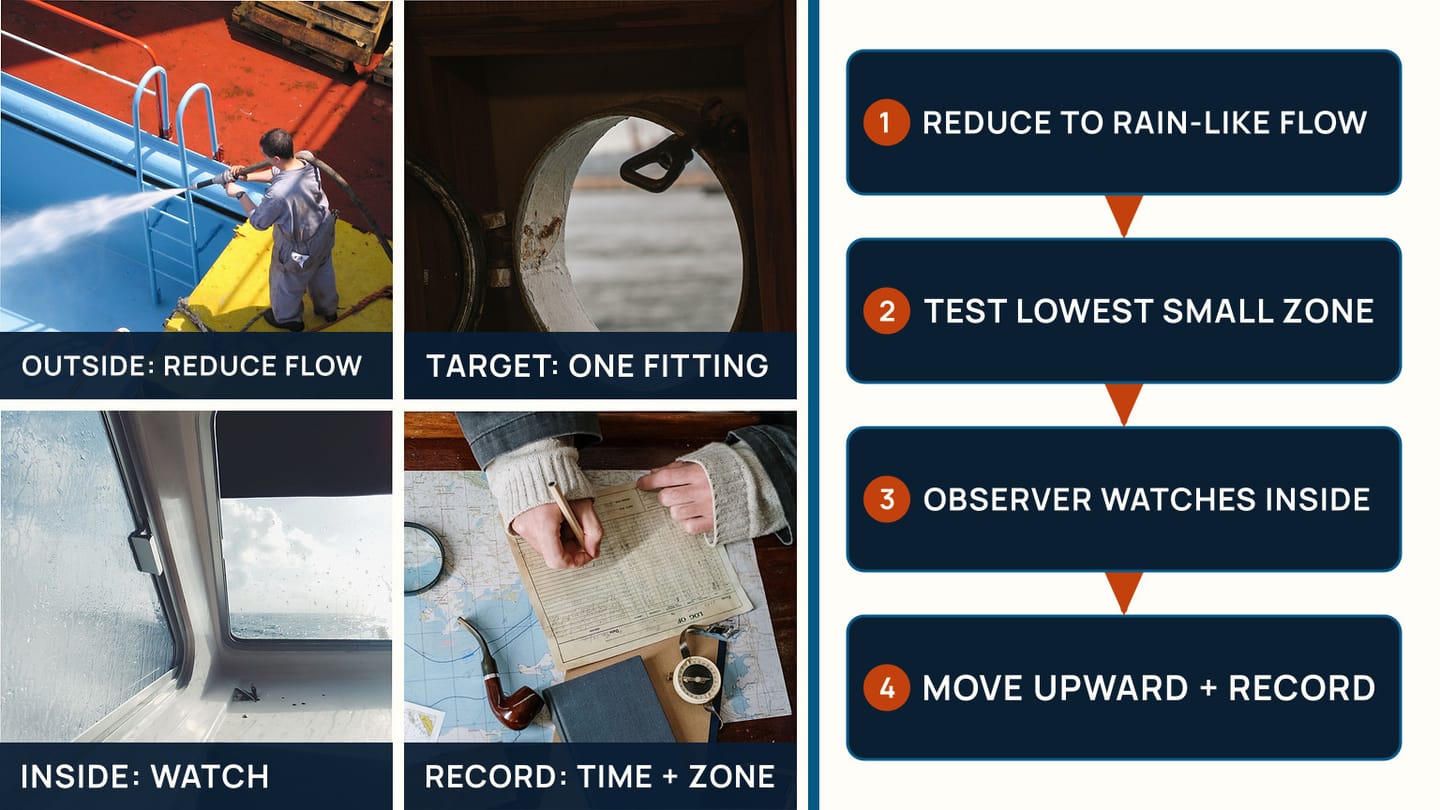
Use two people and clear communication. The outside person applies a gentle, rain-like flow to a small zone. The inside person watches dry absorbent markers with a bright light and reports the first new moisture. Start below the suspected joint so water travelling upward or sideways does not confuse the result. Wait long enough for water to move through a liner or core path before shifting the hose.
Test one feature at a time: the lower frame, one side, upper corners, then the joint above. Record start time and result for each. If a leak appears, stop the water, mark the first wet point, and allow the area to dry before confirming. Repeat the same zone to prove the response. A single uncontrolled soaking can show that the cabin leaks while revealing nothing about which fitting failed.
Keep hose pressure modest. A concentrated nozzle can force water past a sound rain seal and produce a false diagnosis. It can also damage aged sealant or drive water deeper into core. Do not spray directly into dorade openings, engine vents, electrical inlets, or companionway gaps unless the maker’s design and test specifically call for it.
If no candidate leaks, reconsider the conditions rather than increasing pressure. Boat heel, wind direction, thermal movement, a loaded fitting, or water arriving from farther away may matter. Repeat during natural rain with markers in place, or ask a surveyor about moisture measurements and controlled testing. Avoid drilling exploratory holes merely to chase a stain.
Once a zone is confirmed, stop broad testing and plan the repair around that joint. Protect the interior from further water and dry it. If the leak is close to electrical equipment, isolate affected circuits safely and have them inspected. If significant water has reached a cored deck, structure, or machinery, professional assessment should precede cosmetic closure.
Retain one dry control marker outside the suspected path. If that marker becomes wet during the test, water may be spreading through the cabin from the hose or a second leak. Dry and reset the test rather than forcing an interpretation. Two small confirmed leaks are easier to repair than one imagined broad failure.
Match the Repair to the Failed Joint
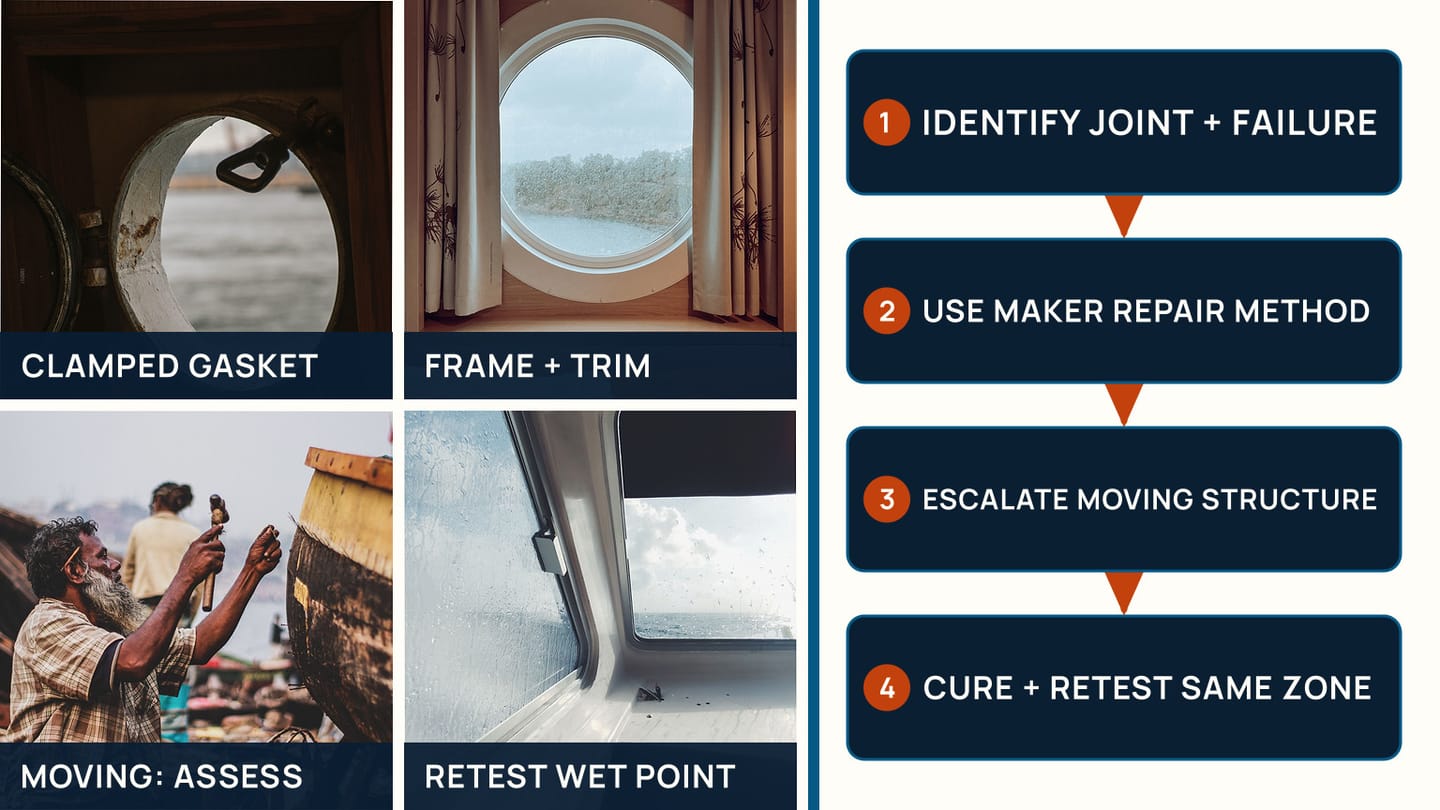
A gasket, adjustable hatch, mechanically fastened deck fitting, bonded window, and structural crack do not receive the same repair. Identify the manufacturer and model where possible and use its seal, adhesive, preparation, fastener, torque, and cure instructions. Confirm the chosen product is compatible with acrylic, metal, laminate, timber, paint, and the old material that remains.
Do not treat a bead placed around the edge as a universal cure. Proper rebedding may require unloading and removing the fitting, inspecting the fasteners and substrate, drying and repairing damaged core, preparing surfaces, applying the specified bedding, and tightening in the correct sequence. High-load hardware needs a mechanically sound installation as well as a watertight one.
Window bonding is specialist work when the pane, adhesive geometry, frame, or structural movement is uncertain. Soft core, cracked laminate, moving stanchions or chainplates, widespread moisture, and repeated failure after sealing need qualified assessment. Trapping water beneath a fresh cosmetic bead can make later damage harder to see.
Respect cure time and environmental limits. Protect the joint from rain and movement while it cures. Then repeat the exact successful hose-test zone at gentle flow and inspect again after natural rain. Check interior fasteners, liners, and absorbent markers over the following days because retained water can emerge after the exterior is sealed.
Record the source, test zones, product, batch or part, preparation, cure conditions, and retest result. Add other deck fittings to the next inspection rather than rebedding all of them without evidence. When the repair involves timber trim or deck finish, the sailboat teak-care guide helps keep cleaning and coating work separate from sealing the joint itself.
The reliable method is evidence in small steps: dry, map, inspect, test one zone, match the repair, and repeat the same test. It takes longer than a tube of sealant around every fitting, but it gives you a result you can verify.
Use SailStarter’s onboard-systems lesson to draw one interior leak path and the exterior fittings that could feed it. Place absorbent markers, test the lowest small zone first with a helper, and record each result before moving the hose. Stop if you find movement, softness, or structural damage.
Try it from the lesson
Can you spot the next move?
Water is rising and several crew can act. How should the first jobs be shared?
Why you can trust this guide
. We build each guide from public seamanship and safety sources, then teach the universal principle before any local difference.