Chart your course
Why Does My Sailboat Smell Musty?
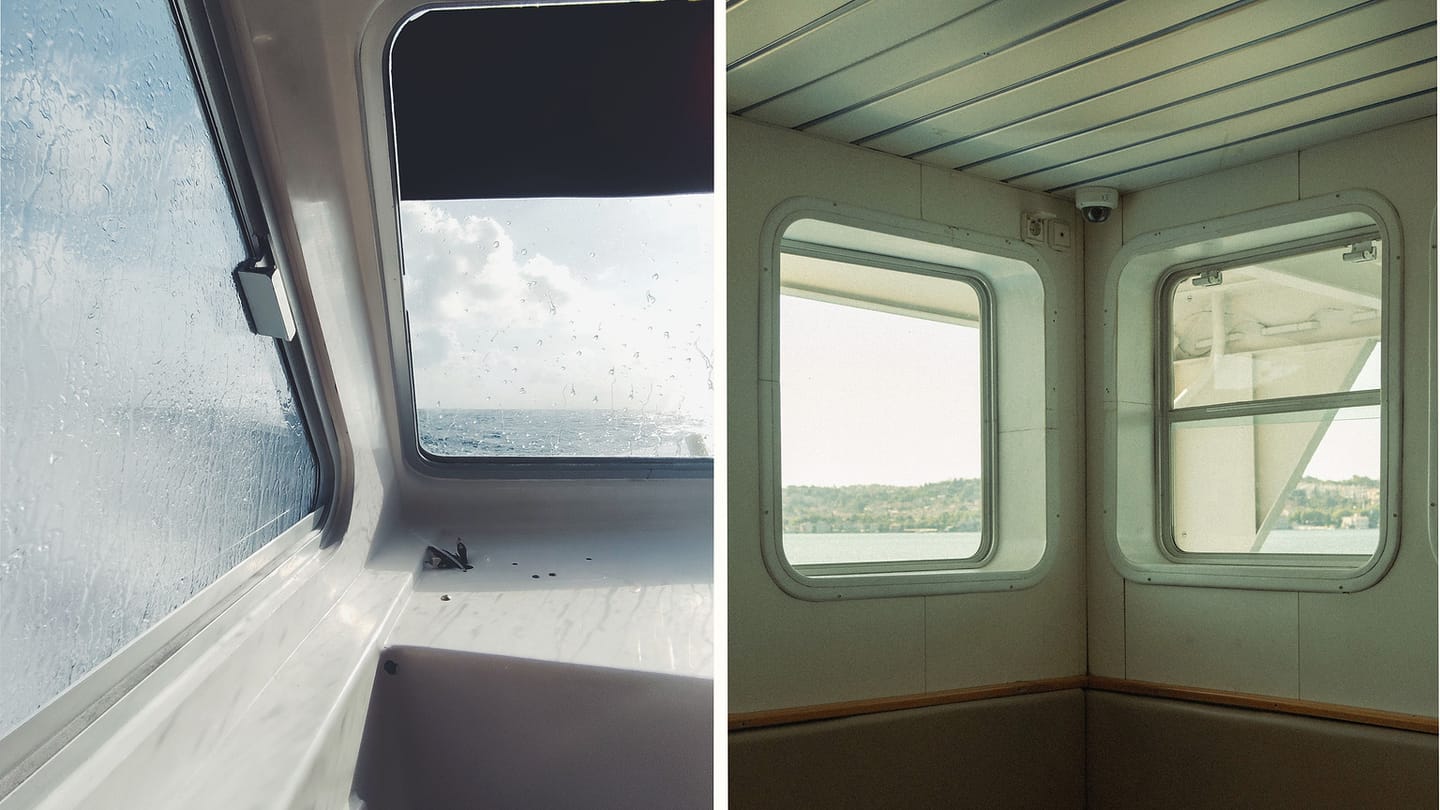
Quick answer
The short version
A musty sailboat smell usually means moisture is lingering where air does not move. Find and correct the water source before using fragrance or cleaning the same surface again. Inspect the bilge, lockers, cushion backs, berth bases, headliner, portlights, plumbing, wet gear, and cold surfaces where condensation forms. Dry materials completely and improve air movement into closed spaces. Large mould growth, major water damage, contaminated water, ventilation-system contamination, or health concerns deserve experienced professional help.
The hard part is often not cleaning. It is finding the damp pocket that keeps reseeding the cabin after every wipe-down. A methodical moisture map is faster than treating every locker with a different product.
Choose a dry baseline if you can. After several hours of ventilation, close the boat in its normal condition and return at a set interval. Note which compartment becomes stale first and whether its surfaces are damp. Repeat after rain or an occupied night. The comparison separates a constant hidden water source from moisture produced only by weather or people aboard.
Map the Smell and the Moisture
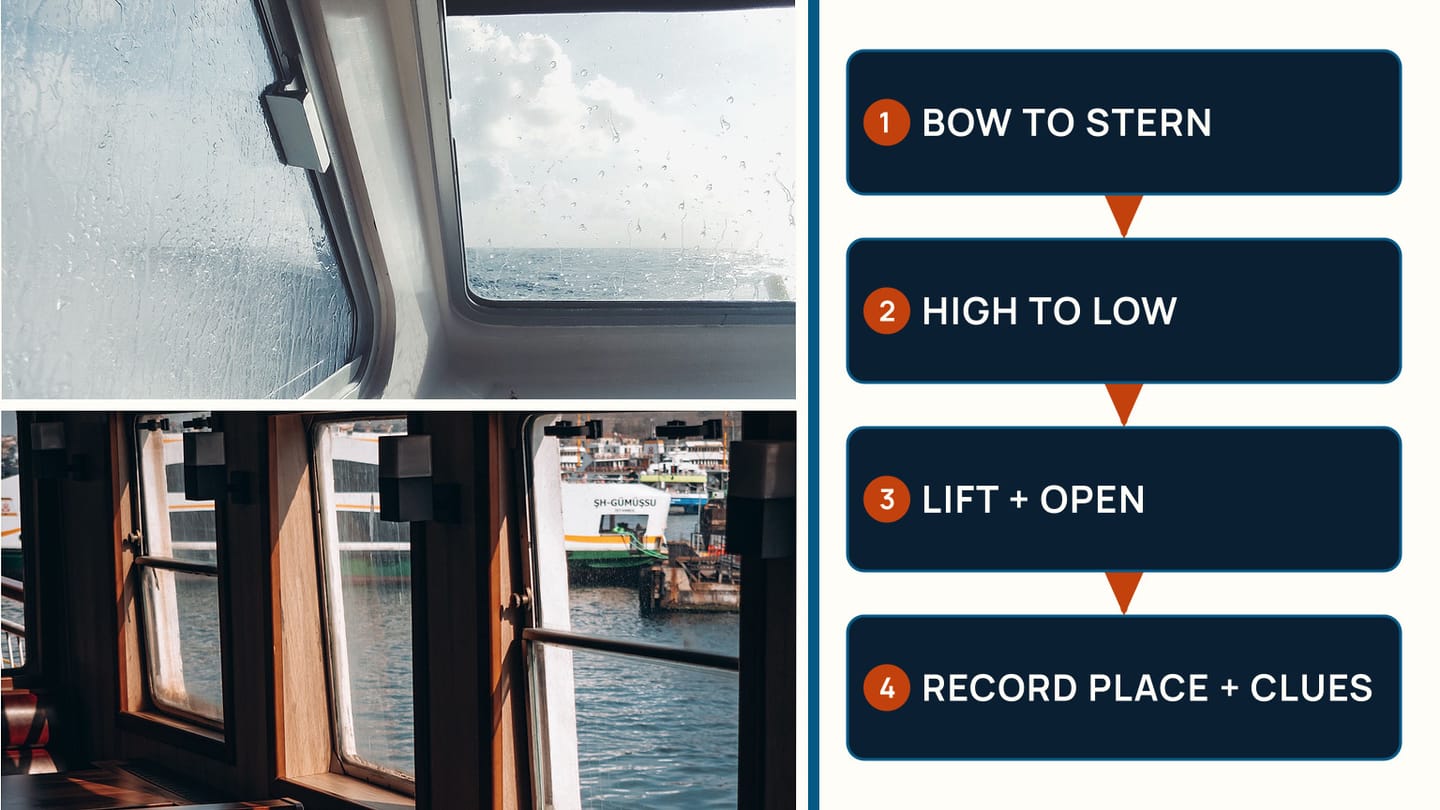
Air out the boat, remove obvious wet gear, and return with a notebook and good light. Work from bow to stern and high to low. Open each locker separately. Lift cushions and berth boards. Feel for dampness with a clean hand only where the material is safe, and look for staining, swollen wood, peeling finish, corrosion, water tracks, or growth.
Record three things for every finding: where the odour is strongest, what is visibly wet or damaged, and what water source could reach it. A musty forepeak after rain suggests a different investigation from a damp engine-space liner after motoring. Smell is a clue, not a safe way to identify fuel, sewage, coolant, or chemicals. If the odour is sharp, burnt, chemical, or linked to machinery, stop treating it as a housekeeping problem and inspect the relevant system safely.
Check the bilge even when the cabin sole looks dry. Small amounts of water, dirty pump wells, soaked debris, or inaccessible pockets can hold moisture. Investigate why water is there with the guide to water in the bilge. Do not mix cleaners in the bilge or discharge contaminated cleaning water overboard.
Look behind soft furnishings. Foam against a cold hull can be damp on the hidden face while the cover feels dry. Timber under a mattress may show condensation marks along its coolest edges. Bags, sails, lifejackets, and clothing put away wet can affect an entire locker. Remove items so the structure and each object can be assessed separately.
If people experience breathing difficulty, strong irritation, or other health concerns aboard, leave the affected space and seek appropriate medical and remediation advice. Cleaning recommendations depend on the material, extent, and contamination. A small washable patch is not the same problem as widespread growth behind joinery after a long leak.
Separate Leaks From Condensation
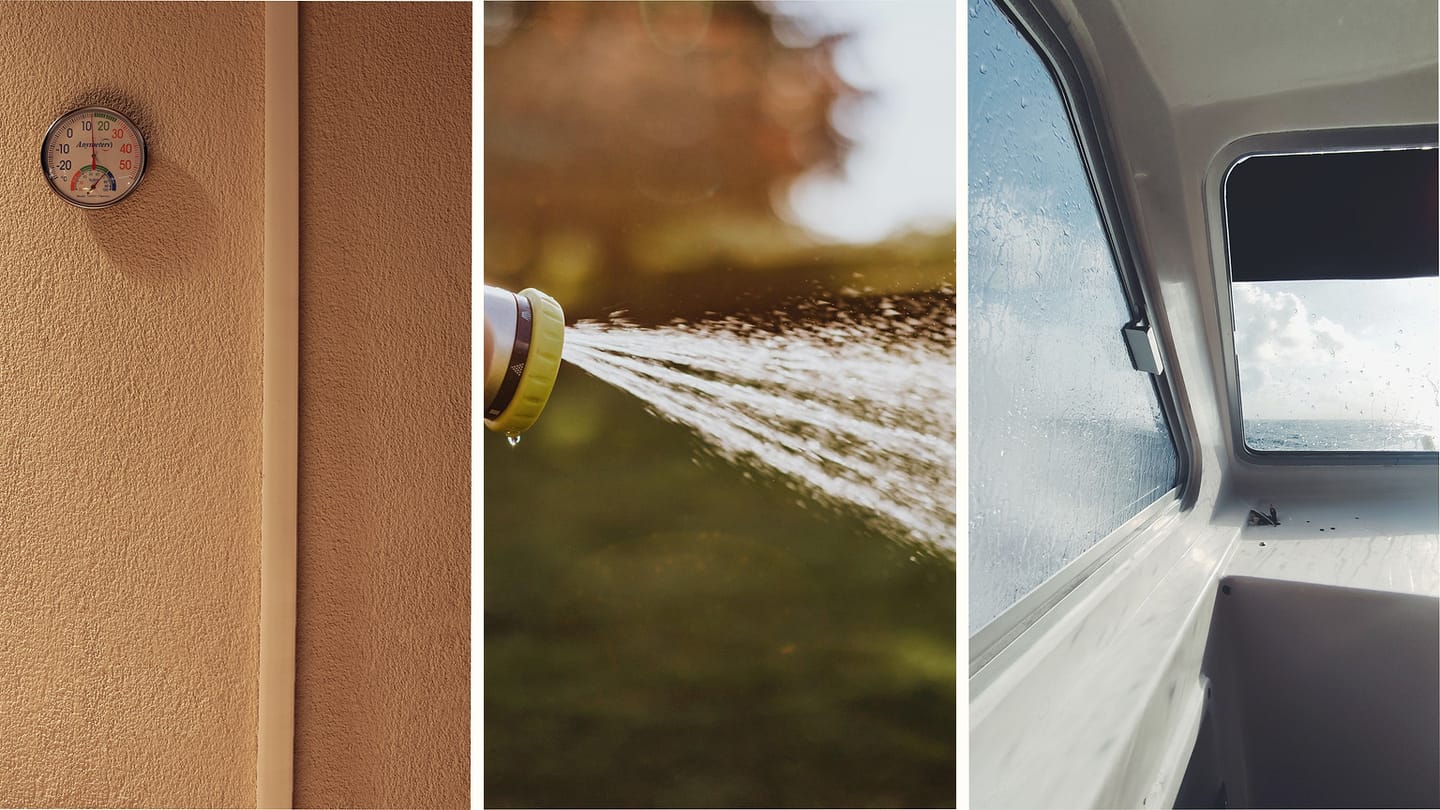
Rain leaks often leave a trail below a fitting, portlight, hatch, rail base, chainplate, vent, or deck penetration. The visible drip may travel along a liner or cable before appearing. Mark the highest fresh wet point, photograph it, and note the wind direction and rain intensity. The rainwater leak-finding procedure uses one-zone hose tests to avoid confusing several possible entry points.
Condensation behaves differently. Warm damp cabin air meets a cold hull, window, fastener, or uninsulated surface and leaves droplets without an exterior leak. It may be widespread on cold mornings, heavier behind cushions, and worse when cooking, drying clothing, or sleeping aboard. That pattern does not prove every wet spot is condensation; a leaking portlight can exist at the same time.
Plumbing and onboard systems need their own check. Inspect accessible freshwater connections, pump area, water heater, head, tank vents, and drains for evidence of leakage. Dry a suspect area and place a clean absorbent marker beneath it, then operate only that system while observing. Keep the test controlled so a hose leak is not mistaken for rainwater already trapped in insulation.
Record timing. Does the area become wet during rain, after washing the deck, after sailing heeled, after filling a tank, or only during cold occupied nights? A short log across several conditions can solve what a single inspection cannot. Avoid sealing a random exterior seam because it is close to the stain. Surface caulk may redirect water while leaving the failed joint or wet core hidden.
Check deck and hull structure where moisture persists around loaded fittings or where surfaces feel soft or move. Widespread moisture, damaged laminate or timber, moving hardware, and uncertain window bonding belong with a surveyor or suitable repair professional. Drying the cabin is important, but it cannot restore damaged structure.
Clean and Dry the Materials Safely
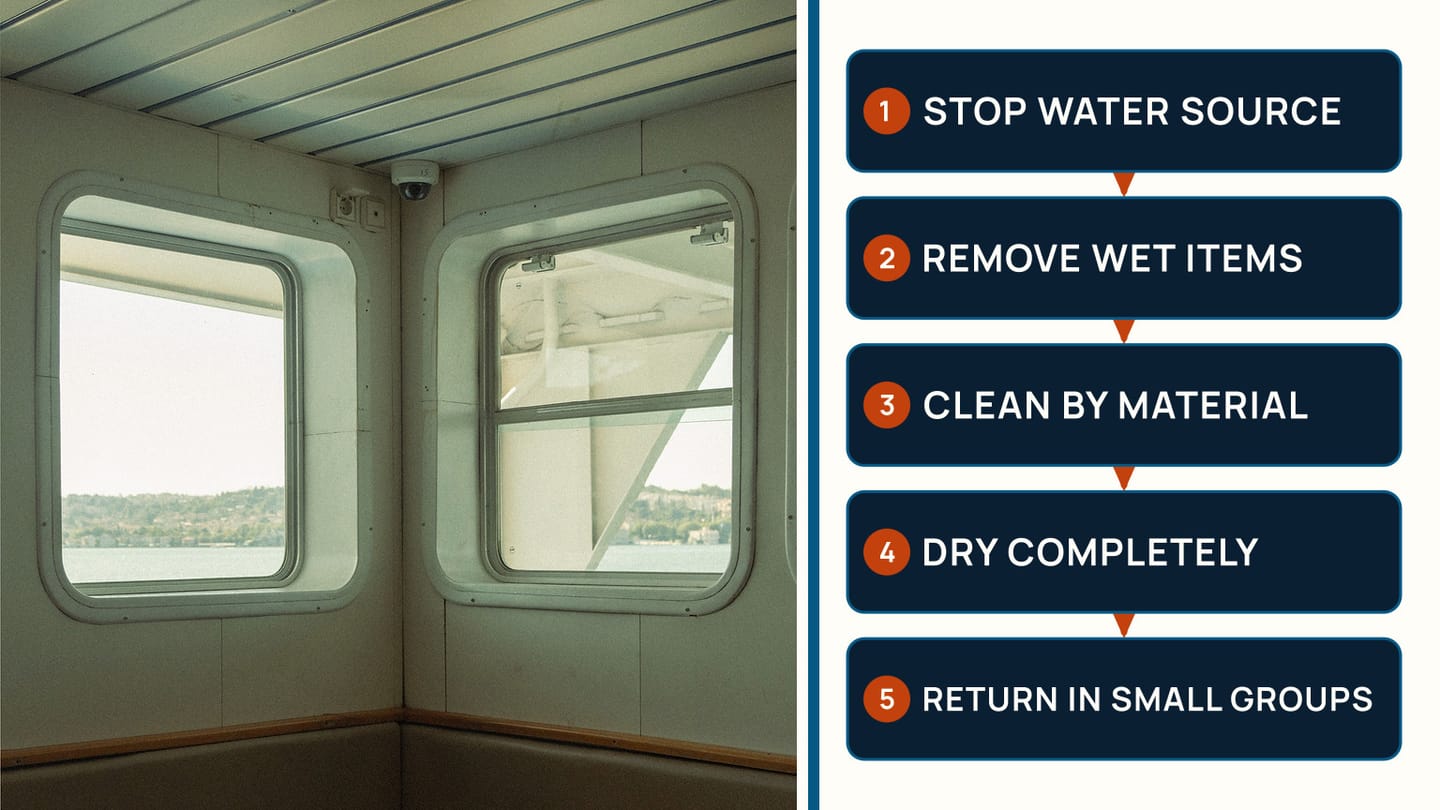
Correct the active leak, plumbing fault, or water accumulation before cleaning. Remove standing water and wet items. Follow local rules for contaminated bilge water and waste. Separate washable textiles from foam, timber, lining, and insulation because each material tolerates different treatment.
Use the material maker’s instructions and the cleaning-product label. Wear the stated protection and provide ventilation. Do not mix products, especially bleach with ammonia or acidic cleaners. Test finishes in an inconspicuous place. Aggressive scrubbing can damage coatings and drive moisture into seams without solving the source.
Wash and dry removable covers, clothing, and bedding as their labels permit. Foam that remains wet deep inside may need extended drying or replacement. Clean hard surfaces, then dry them fully. Porous material with extensive growth or water damage may not be recoverable through surface cleaning. When the affected area is large, hidden, repeatedly returns, involves contaminated water, or reaches ventilation equipment, use experienced remediation help.
Create drying access. Stand cushions on edge with space between them. Open berth boards and locker lids. Remove a small number of panels only when designed for access, label them, and do not expose unsafe wiring or machinery. Move air across hidden faces rather than directing heat at one visible patch. Portable electrical equipment must be suitable for the environment, securely supplied, and kept away from water.
Inspect removed objects before they return. One damp sail bag or foam cushion can reintroduce the odour to a cleaned locker. Dry both the object and the compartment, then return items in small groups. If the smell returns, that sequence identifies the source more reliably than another whole-cabin treatment.
Do not declare success because the smell improves for a day. Use dry weather or controlled heating and ventilation to bring the boat back to a stable condition, then close it normally and inspect again. Recheck repaired joints after rain and plumbing after use. Document affected materials and the correction, especially if the boat had prolonged water ingress.
Keep Air Moving Into Closed Spaces
Ventilation works only when air reaches the damp surfaces. A hatch cracked open above the saloon may do little for a closed forepeak locker. Leave safe ventilation paths around cushion backs and berth bases. Use ventilated matting or battens where appropriate so bedding is not pressed directly against a cold surface. Keep locker contents off known wet corners.
Reduce moisture at the source. Dry foul-weather gear before stowing it, cover wet cooking, use lids, and vent steam. Wipe condensation when it forms rather than letting it drain behind trim. Keep the bilge clean and investigate pump cycling. Repair hatch and portlight seals by their maker’s method rather than adding layers of temporary sealant.
When shore power is available, any dehumidifier, heater, fan, or extension arrangement must suit the marine installation and be used according to its instructions. Do not create an unattended electrical or fire hazard to solve humidity. Empty collected water safely and clean the unit. Moisture absorbers can help a small closed volume but do not repair leaks or move damp air out of foam and timber.
Add a cabin check to departure and lay-up routines. The spring commissioning checklist is a good place to include opening lockers, inspecting berth bases, cleaning the bilge, testing plumbing, and checking seals. During the season, note any smell that returns after a specific weather event.
Common mistakes are masking odour, cleaning only the visible face, packing damp gear away, assuming every drip is condensation, and closing the boat before materials are dry. The lasting fix is less dramatic: identify the water path, remove affected moisture, clean the right material safely, prove it stays dry, and maintain ventilation where the cabin normally traps air.

Use SailStarter’s onboard-systems lesson to make a moisture map of your boat. Mark the bilge, tanks, plumbing, portlights, hatches, vents, cushion backs, and least-aired lockers. Check them after rain and after an occupied night, then record which condition produces moisture before choosing a repair.
Try it from the lesson
Can you spot the next move?
Water is rising and several crew can act. How should the first jobs be shared?
Why you can trust this guide
. We build each guide from public seamanship and safety sources, then teach the universal principle before any local difference.