Chart your course
Why Does My Sailboat Freshwater Pump Keep Cycling?
Quick answer
The short version
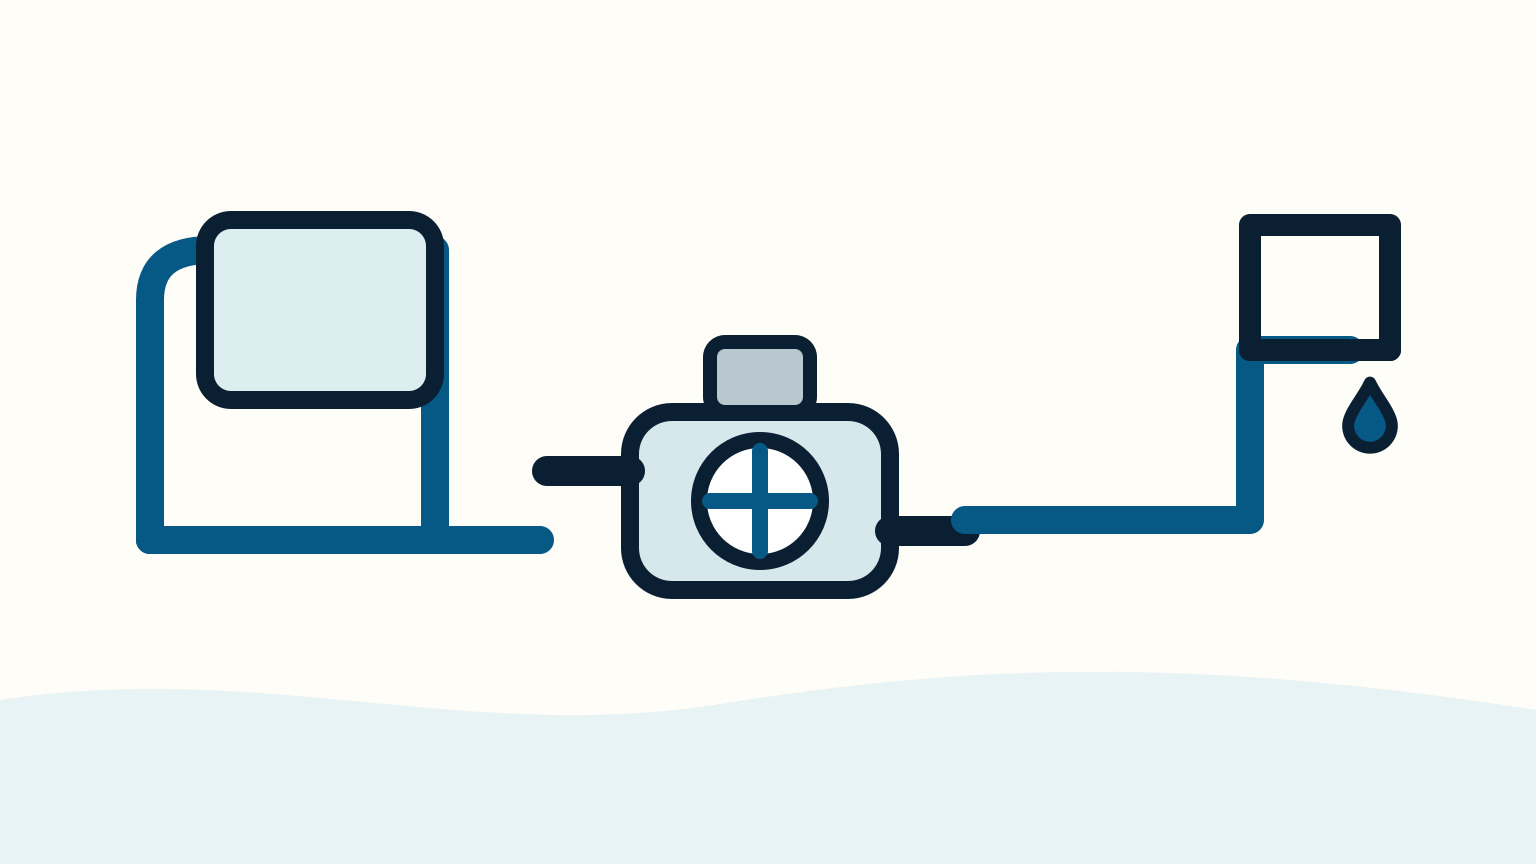
A sailboat freshwater pressure pump normally starts when you open a tap, then stops after the last tap closes and pressure returns. If it wakes up again while every outlet is shut, water or pressure is being lost somewhere, or the pump is not sensing pressure as it should. Start by treating the sound as a useful clue, not a cue to adjust a screw or buy a replacement pump. Check the tank, look for visible water, and note the timing of each restart. Your pump manual and the actual plumbing route decide what you can safely test next.
An occasional short run after using water may be normal. Repeated starts with no one using water are different. They can waste battery power and freshwater, and a hidden leak can wet lockers or equipment long before it reaches the bilge. You do not need to solve every possible fault at the first visit. A calm observation can separate a whole-system pressure loss from one suspect branch and gives a technician far better information than "the pump sounded odd."
Confirm What The Pump Is Doing
Begin with every known freshwater outlet closed. Include the galley and head taps, shower controls, deck wash, and any appliance or toilet that uses the boat's freshwater supply. Do not assume a familiar fitting is on this pump. Your route drawing and installed manual are the authority.
Switch the pump on only long enough to observe it under normal berth conditions. A healthy pressure system should run while a tap is open, then stop after the water is shut off and pressure has recovered. Listen from nearby. Does it run continuously, stop and restart after a few minutes, or chatter on and off rapidly? These are different symptoms. Record the tank level, battery condition if displayed, and the interval before each restart.
Make the observation repeatable. Pick a quiet moment, avoid running other equipment, and take a short video that includes the sound. If the pump cycles once every few minutes, leave the system unchanged long enough to confirm the pattern. If it chatters rapidly, gets unusually hot, smells electrical, or water reaches electrical equipment, switch it off and stop the test. Very rapid cycling near shut-off pressure can stress a pressure switch.
Do not try to silence the symptom by changing the pressure switch. Some pumps have factory-set controls, and an unfamiliar adjustment can hide the evidence or make the system behave less predictably. The useful first result is simply this: taps closed, pump on, then either a clean stop or a recorded return to running.

Look For Pressure Escaping
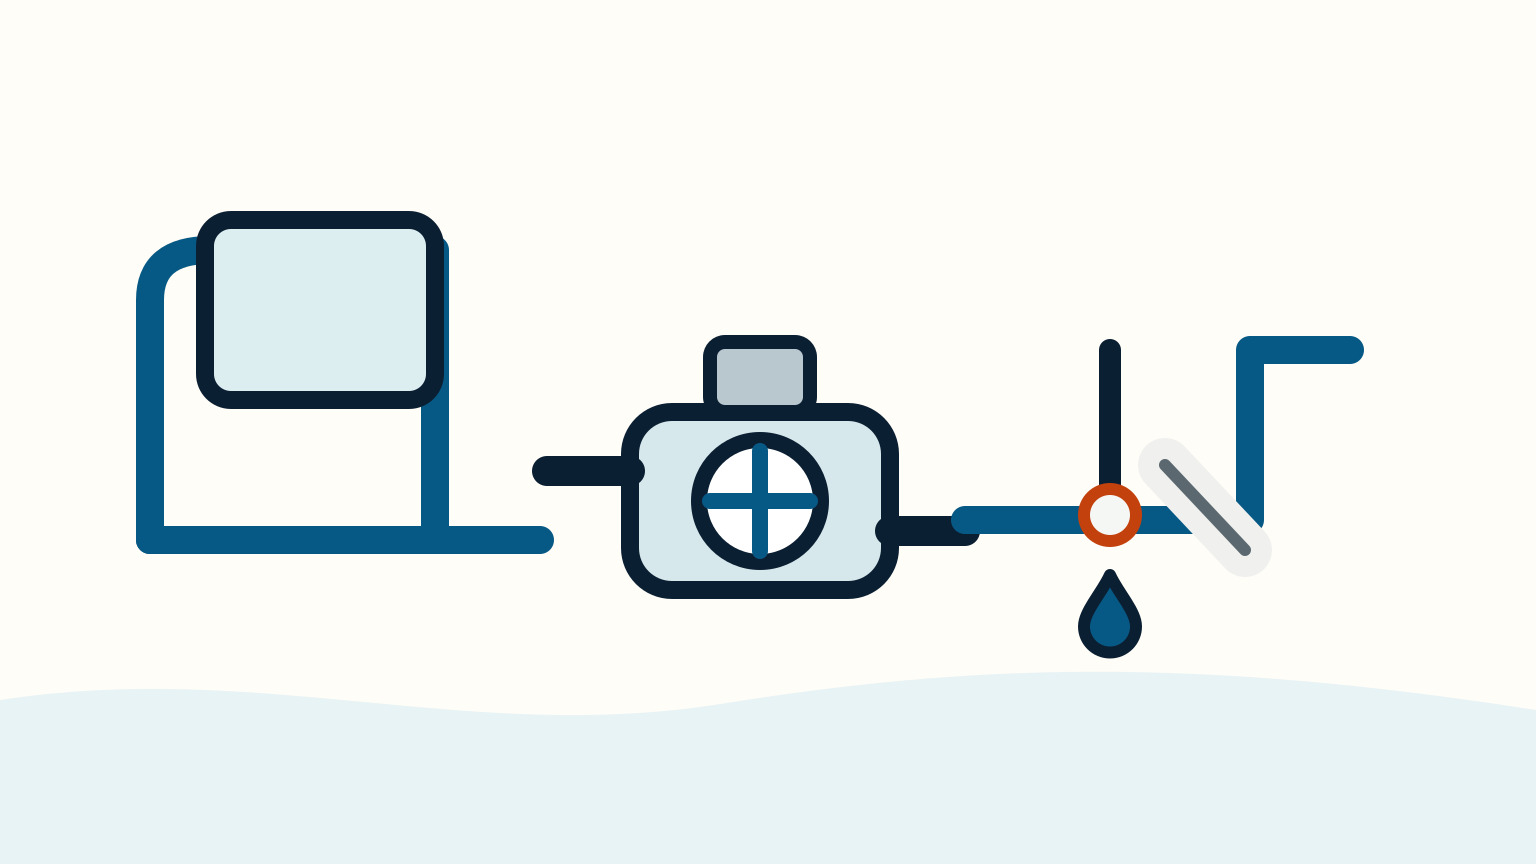
A closed-tap cycle often means water has a path out of the pressurized side of the system. Start with places you can see without dismantling anything: pump fittings, strainer bowl, hose clamps, accessible tank connections, water-heater fittings, and the areas beneath each faucet. Use a dry paper towel around a suspected joint rather than relying on an old stain. A fresh wet mark is stronger evidence.
Check the toilet separately when it is supplied by freshwater. A flush valve that does not seal can lose pressure without making an obvious puddle, and manufacturers list it among possible causes of cycling with faucets closed. Look for a visible trickle only if the installed instructions make that observation safe. Do not open sanitation plumbing or alter unfamiliar valves for a freshwater-pump test.
Trace the route from pump discharge toward branches. A leak close to the pump can affect every outlet. A fault at one fixture may leave the rest of the boat dry and quiet. Label your findings by location and time: "dry before pump ran; damp at galley hose after two cycles" is useful. "Probably a hose" is not yet a diagnosis.
If water is entering the boat, turn the pump off and contain what you safely can. Drying a locker does not repair the leak, but it makes new water easier to spot later. Avoid repeatedly pressurizing a system that is visibly leaking. Water can travel along hoses, frames, and wiring before it drips where you expect.
Check The Supply Side Before The Pump
Confirm there is water in the selected tank. An empty tank can leave a pressure pump unable to build the pressure needed to shut off. Check only the valves and tank-selection controls that you can identify from the boat's diagram. More than one tank can make a simple symptom confusing, especially when a selector has been moved during cleaning or a previous trip.
Next, inspect the accessible inlet strainer by the pump maker's stated method. A strainer is commonly fitted between tank and pump to keep debris away from the pump valves. Look for obvious contamination, a distorted seal, or water around the bowl. Refit it exactly as the instructions require. A loose seal after an inspection can create a new air or water path and turns a useful check into another variable.
Kinked or restricted hoses, blocked screens, valves, and restrictive filters can change flow and cause pulsating operation. That does not mean every slow tap needs a new pump. Compare one outlet with another. A single poor outlet is different from a whole-boat flow change. Keep notes on what happened before the symptom appeared, such as tank filling, filter service, winter lay-up, or moving gear into the pump locker.
Some systems use an accumulator, a small pressure reservoir that can smooth flow and reduce rapid starts. It is not an automatic fix for a leak or faulty pump. Do not add, recharge, or identify one by appearance alone. Find the component model and follow the installation documentation for your particular system.

Separate A Plumbing Fault From A Pump Fault
The same noise can have several causes. A discharge-line leak, an internal outlet-valve leak, debris under pump valves, a punctured diaphragm, a faulty pressure switch, low voltage, or an empty tank can all prevent a pump from behaving normally. That is why a replacement pump is usually a conclusion, not a first test.
Use the evidence you have gathered to narrow the next manual-guided step. Visible water after the pump cycles points toward a plumbing path. A pump that cannot build pressure with a full tank and dry accessible plumbing needs the installed pump's troubleshooting section. Low voltage and wiring faults also belong in that section, because the pump's model label specifies its circuit protection and electrical requirements.
Do not open an energized electrical panel, substitute a larger fuse, bypass a breaker, or work on wiring from a generic diagram. If a fuse has opened, a thermal overload has stopped the motor, or wiring is wet, leave the circuit safe and use a qualified marine electrician or technician where the manual calls for it. Circuit protection exists to protect the wiring and equipment, not to be overcome so the pump can keep running.
Internal pump service is also model-specific. Manufacturer troubleshooting may identify serviceable valves, diaphragms, or a pressure switch, but the parts and procedure vary. Bring the pump model, the symptom record, the tank state, and photographs of accessible plumbing to the service decision. This protects you from replacing a sound pump while the actual leak remains in a hidden branch.

Leave A Useful Record And Restore Carefully
Before turning the pump back on after any documented inspection or repair, check that every disturbed fitting is restored and every outlet is closed. Pressurize the system only as the installed instructions allow. Stay nearby for the first run. Watch the repaired area and the surrounding locker rather than declaring success because the first cycle sounded quieter.
Test one outlet at a time. Open it until flow is steady, close it, and observe whether the pump stops cleanly. Repeat at a second outlet if the system design allows. If the original cycling returns, stop guessing. Your earlier notes can now show whether the problem is unchanged, moved, or joined by a new symptom.
Keep a short record with the pump make and model, tank selected, date, symptom interval, outlets checked, visible moisture, and every action taken. Add photographs with enough context to identify the locker and hose route later. This matters when the boat changes hands or the issue returns after a season, because pressure systems are rarely arranged exactly like a generic drawing.
Turn the pump off when the boat is unattended if the installed manual directs that practice, and follow the maker's storage guidance. A pressure pump is part of a water system, electrical circuit, and boat interior all at once. The best owner-level result is often a dry, documented system and a clear handoff when the fault exceeds the checks your manual permits.

SailStarter's systems lessons can help you trace the tank-to-tap route and identify common components. See sailboat plumbing and holding-tank systems, marine toilet troubleshooting, and sailboat water-tank cleaning for related paths. For a persistent cycling fault, keep the installed manual and your observations together, then use the pump maker or a qualified marine technician for the repair.
Try it from the lesson
Can you spot the next move?
The engine is idling, the boat is safely secured and the propeller area is clear. What should you confirm before departure?