Chart your course
How Does a Sailboat Toilet Work?
Quick answer
The short version
A common manual sailboat toilet uses a hand pump for two linked jobs: bringing flush water into the bowl and pushing the bowl's contents through a discharge hose. That hose often leads to a holding tank, although installations can include other routes where current local rules allow them. The toilet is only one part of the system. Seacocks, vented loops, hoses, valves, a tank, a tank vent, and a deck pump-out fitting may sit around it. Controls and sequences differ by model, so read the installed manual and the boat's labels before use. Smooth full strokes, enough rinse water, and a properly emptied discharge line reduce blockages and odour.
Marine toilets are called heads, but the nickname tells you nothing about the plumbing. Learn the actual path on your boat. Start at the flush-water source, follow it to the bowl, then trace the discharge toward the tank or other installed destination. Find the relevant seacocks without changing their position. Ask the owner, charter operator, or skipper to demonstrate the exact sequence. A generic explanation helps you understand what is happening; the onboard instructions tell you what to move.
Where Does the Water and Waste Go?
In a typical seawater-flush installation, an intake seacock admits water through a hose to the toilet pump. The pump sends that water into the bowl while also moving the bowl contents through a larger discharge hose. A vented loop may rise above the waterline to interrupt siphoning. The arrangement depends on where the toilet sits and on the manufacturer's installation requirements.
The discharge commonly reaches a holding tank. The tank has a vent and can have a deck fitting for shoreside pump-out. Some boats have additional valves or discharge equipment, but waste rules vary by location. Never infer the active route from one valve handle. Trace and label the system, verify current local rules, and follow the boat's operating instructions. An unexplained hose or valve is a reason to stop and ask.
How Do You Use a Manual Marine Toilet?
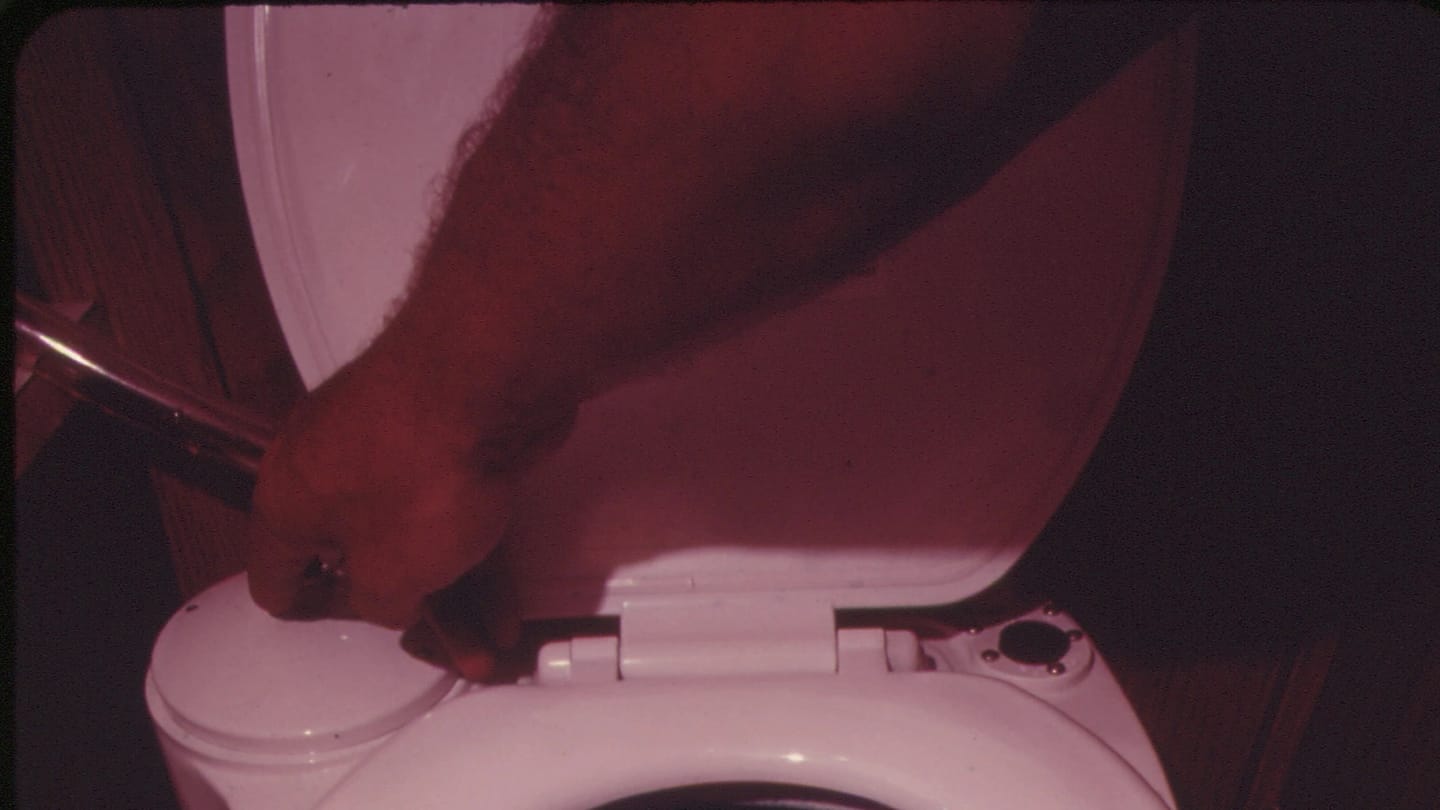
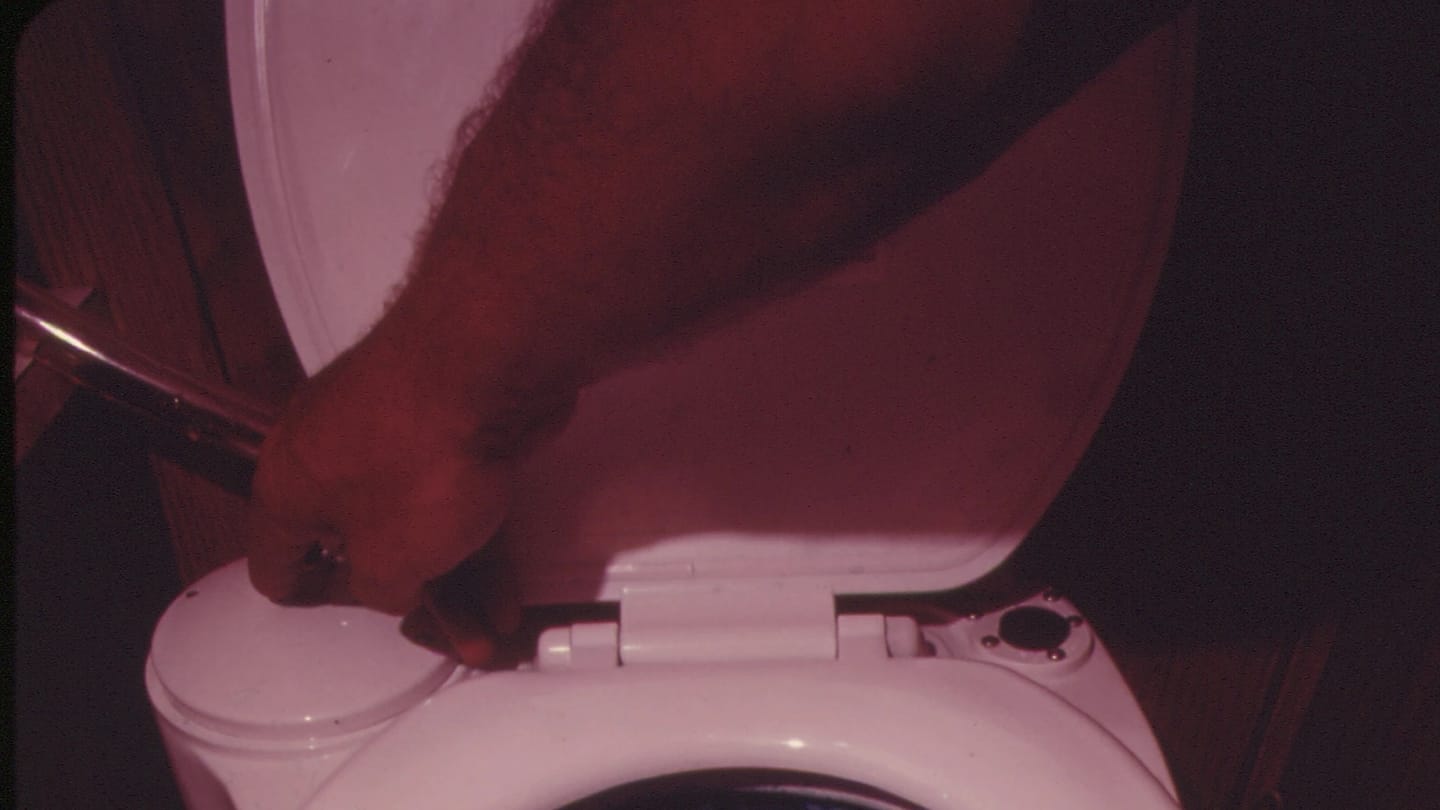
Check the model instructions first. On a common hand-pumped unit, one control selects a wet mode that admits flush water and a dry mode that removes bowl contents without adding more. You begin with enough water in the bowl, use the toilet, then pump with long, smooth strokes. Continue rinsing according to the manual so waste travels through the discharge hose rather than staying inside it.
Finish with the control and pump sequence specified for that toilet. Some units have a locking handle or other shutdown step. The correct number of strokes depends on hose length and installation, so a memorized number from another boat may be wrong. Explain the sequence to every guest before departure and post a short boat-specific card nearby. Clear instructions are kinder to the pump than an embarrassed guess.
What Prevents Odour and Blockage?
Put only the material approved by the toilet and sanitation-system manufacturer through the bowl. Use modest amounts of suitable toilet paper and enough flush water to carry waste through the hose. Leaving material in a long discharge run encourages blockage and odour. A tank vent also needs to remain clear because the tank must move air as it fills and empties.
Odour can come from stale flush water, permeated hoses, a poor tank vent, a leaking connection, or waste left in the line. Clean first and inspect rather than masking the smell. Lubrication and seal service are model-specific. Use only products approved by the manufacturer because household chemicals can damage components or interfere with a treatment system. Keep a service kit and manual aboard if the boat travels beyond easy shore support.
When Should You Stop Pumping?
Learn the route before using the toilet
Trace the system with the owner or manual while it is working. Identify the inlet seacock, pump, bowl, discharge hose, anti-siphon or vented-loop arrangements where fitted, holding tank, tank vent, deck pump-out fitting, and any selector valves. Do not move a valve until you understand where it sends waste and what local discharge rules require.
A manual toilet normally has a wet or flush setting that admits water and a dry setting that pumps without adding more. The exact lever positions and number of strokes come from the toilet's instructions. Pump enough clean water through to move waste along the hose, then use dry pumping as directed so excess water is not left in the bowl or tank. Do not invent a universal stroke count.
Only human waste and the toilet paper accepted by the system should enter. Wipes, sanitary products, paper towels, grease, and other objects can block a narrow hose or damage pump valves. Tell every guest before first use. A small written reminder near the head is easier than repairing a blockage during a trip.
Diagnose the symptom without forcing the pump
Stop when the handle becomes unusually hard, the bowl rises instead of clearing, water returns after pumping, the pump will not prime, or sewage appears where it should not. More force can damage the pump or push a blockage farther into the system. Close or isolate seacocks as the boat's procedure requires and avoid opening contaminated plumbing under pressure.
A bowl that will not take flush water points toward the inlet side, its seacock, hose, vented arrangement, or pump. A bowl that fills but will not empty points toward the discharge path, joker valve, selector valve, holding tank, vent, or hose. Odour without a visible blockage can come from stagnant flush water, permeated hose, leaks, a dirty vent, or waste left in the line. The detailed marine-toilet troubleshooting guide walks through that symptom-first order.
Use gloves, eye protection, ventilation, and controlled cleanup when inspecting sanitation equipment. Follow the maker's service procedure and use the correct replacement parts. If a seacock, through-hull, inaccessible hose, pressurized blockage, or full tank is involved, stop and get experienced help. The goal is to restore a contained flow path without creating flooding or sewage exposure.
A guest briefing that prevents most misuse
Show the wet and dry control, state what may enter the bowl, and demonstrate the normal pump sequence from the exact toilet instructions. Point out the seacock only if guests are expected to operate it, and explain who to call when the pump feels wrong. Ask them to stop before adding more paper or water.
Keep a waste bin and accepted toilet paper where they are obvious. Label any selector valve that a guest must not move. Tell the crew how to recognize a nearly full tank and where the tank-level information comes from. A short briefing avoids embarrassed silence after the first hard pump.
At the end of a trip, flush and leave the system in the state required by its maker and the boat's procedure. Check the bowl, pump, hose connections, tank level, and compartment for leaks or smell. Record a change while it is small.
Add the sanitation check to the boat's spring commissioning list after any winter storage or plumbing work.
If the boat will be left unattended, confirm seacock and valve positions with the responsible skipper. Never assume the previous crew left the sanitation system in the required state.
Stop if the handle suddenly becomes hard, the bowl level rises unexpectedly, liquid appears around a hose or fitting, or the tank may be full. More force can turn a manageable restriction into a broken part or spill. Check the control position and read the troubleshooting procedure before dismantling anything. Close relevant seacocks only if you know which they are and can reach them safely.
Water entering a bowl when the toilet is idle can indicate a siphon or valve problem. Treat that as a fault, not a quirky feature. Keep the toilet out of service until the installation is checked. If any hose connected below the waterline fails, water can enter the boat. That is why sound hoses, clamps, vented loops, seacocks, and correct shutdown matter beyond comfort.

Use SailStarter's boat-anatomy lesson to place the sanitation system within the rest of the hull. Draw a simple private map for your own boat with the bowl, pump, intake, relevant seacocks, vented loop, discharge hose, holding tank, vent, and deck pump-out. This is an operating aid, not a plumbing plan. Verify it physically with someone who knows the installation and compare it with the manufacturer's manual. Then write a five-line guest card using the actual control names on the unit. Include what may enter the bowl, the wet and dry sequence, the final shutdown, and who to call if the pump feels wrong. A well-understood head is ordinary equipment. Mystery is what turns a small mistake into an unpleasant repair.
Try it from the lesson
Can you spot the next move?
What cushions the gap between the boat and dock before they touch?
Why you can trust this guide
. We build each guide from public seamanship and safety sources, then teach the universal principle before any local difference.