Chart your course
How to Coil a Line So It Runs Free (Not Into a Tangle)
Quick answer
The short version
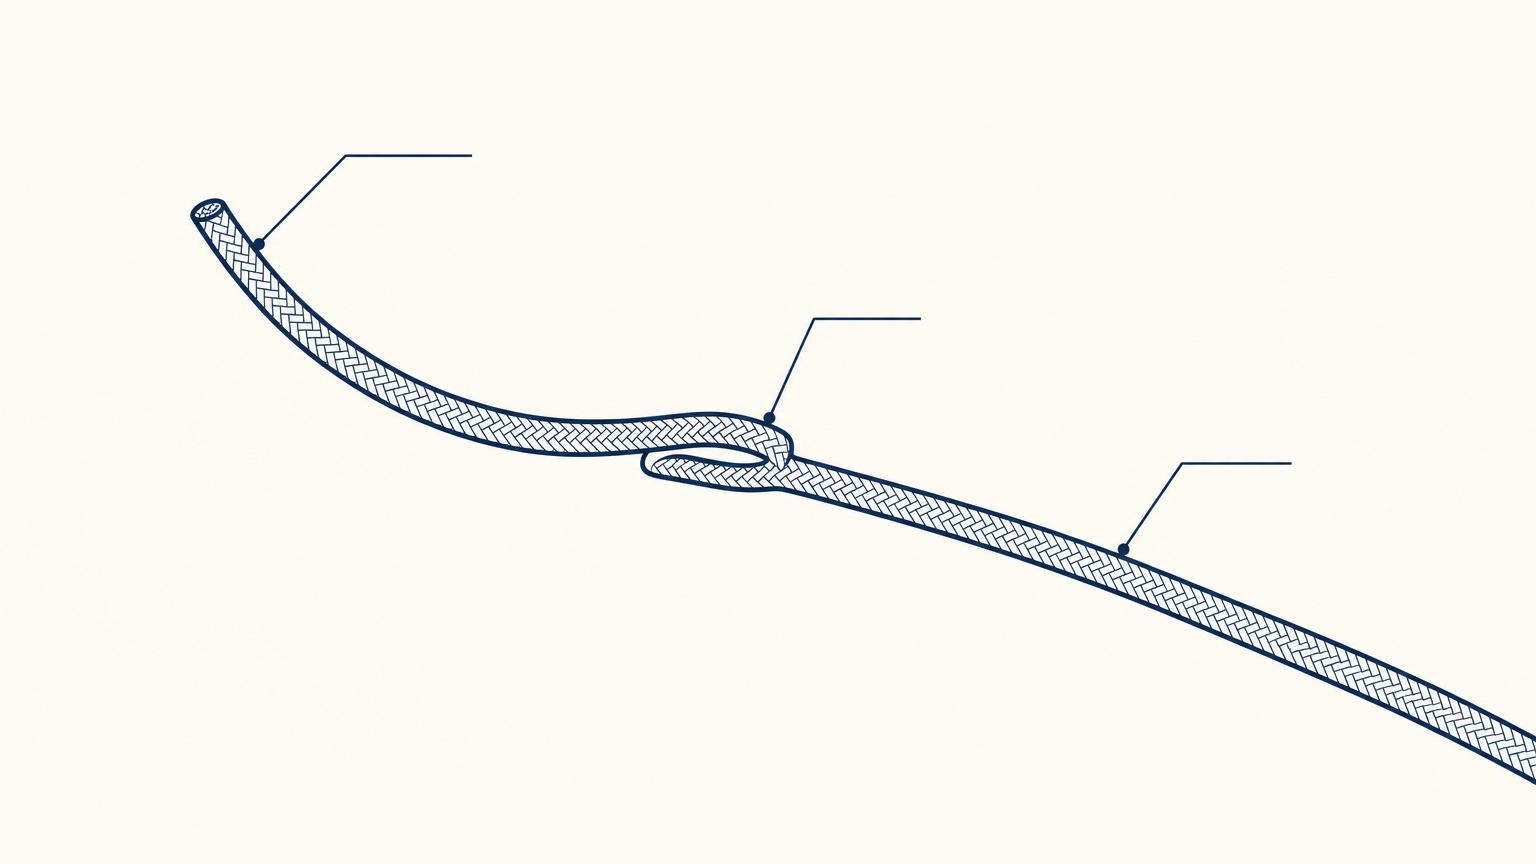
Learning how to coil a line starts with three simple names. The working end is the free end you handle. The standing part is the rest of the line: the part you are not working with. A bight is a bend where the line doubles back, with the two parts lying side by side rather than crossing. To make a line fast means to secure it, for example to a cleat; how to tie the cleat hitch comes in a later lesson. For stowing, let the line settle into even, natural loops. If you force every loop around in the same way, you tighten the twist already in the line, and that twist must go somewhere as the line runs out. A neat coil pays out (runs out freely when you let go). A loose heap tangles.
A line dropped in a loose heap seems to tie itself in knots, then jams just when you want it to move. Sailors call this whole skill set marlinespike seamanship, the traditional term for handling and working with line and rope, and it starts with knowing what to call each part of the line in front of you.
You will meet the working end, the free end you handle; the standing part, the long remainder; and a bight, a fold where two parts lie beside each other without crossing. You will also learn what it means to make a line fast, to secure it, for example to a cleat, and why letting the extra length settle into even, natural coils keeps it ready to run instead of turning into a tangle underfoot.
Meet the Working End, Standing Part and Bight
Before you learn how to coil a line, it helps to know three simple names. They let you describe which part you are handling and how the line is lying.
One naming habit is worth knowing before the three terms below. Aboard a boat, fiber rope becomes line once it is cut and put to a specific job, such as a halyard, a mooring line or a heaving line. Coiled rope straight off the reel is still rope; the moment you rig it for a purpose, sailors call it line. Every term in this article, working end, standing part, bight, describes a line, not a length of rope in general.
The working end is the end you work with. It is the short end in your hand when you arrange or secure the line.
The standing part is the rest of the line. It is the long section that you are not working with.
A bight is a bend made by folding the line back on itself. Two parts lie beside each other without crossing. In this article, that smooth doubled-back shape is a bight; if the parts cross, they form a loop instead.
Follow one length of line and you can spot all three shapes: the working end, the standing part and a bight. You will use these names to understand how a neat coil is arranged so the line runs out freely.
What It Means to Make a Line Fast
On a boat, to make a line fast means to secure it so it stays in place instead of slipping or coming loose when you are no longer holding it. A cleat, a fitting used as an attachment point, is one common place to make a line fast. It is one of three basic deck fittings sailors rely on for handling and securing line, alongside bitts (sturdy posts) and chocks (guides that reduce chafe where a line passes over the rail); all three exist to make line easier to handle and to reduce wear on it.
At the cleat, you handle the working end to secure the line. Once the line is fast, you deal with the leftover length of the standing part. You stow that extra line: put it away neatly so it is ready to use again. The usual way is to coil it rather than leave it in a loose heap.
While you are handling a line under load, on the way to the cleat or coming off it, keep clear of the line itself. Never stand in the bight of a line or in line with its direction of pull, and never stand behind a line under strain: a line that lets go snaps back hard enough to hurt. Once the coil is down, stay out of it too, since a coil underfoot can catch a boot or run out around it the moment the line is needed again.
If you are learning how to coil a line, keep these two jobs separate in your mind: first secure the line, then stow the extra length. Tying a cleat hitch, covered in its own how-to guide, is a separate skill; you will meet the knot itself in a later lesson.

Why a Neat Coil Runs Free
A loose heap has no useful order. Parts of the line cross over one another, so pulling one section can bring other sections with it and form a tangle.
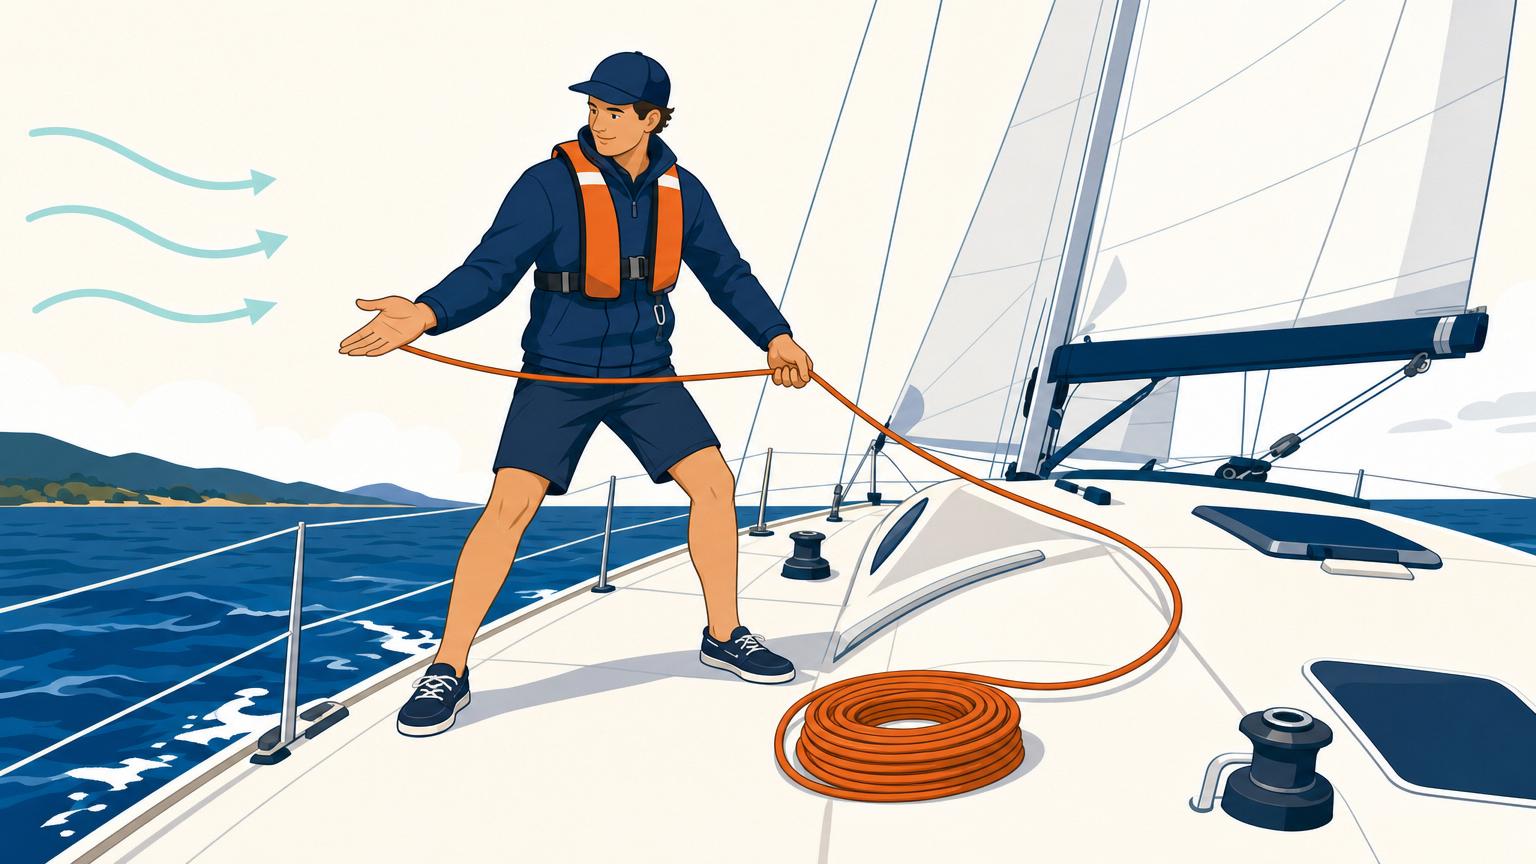
To build a neat coil, grab the line near the working end and stretch your arms out to about a full wingspan, then bring your hands back together without letting the line twist in your grip. Let each loop settle however it naturally wants to lie. Many modern ropes lay themselves into a smooth figure eight as you coil, and that is fine; smaller or softer line often settles into a plain loop instead, and that is just as fine. Once the last loop is down, cinch the coil snug so it holds its shape, and leave the tail long enough to hang the coil from a cleat or rail.
A neat coil keeps the line arranged in even, natural loops. The end laid down last rests on top, ready to pay out (run out freely when you let go). Instead of dragging through a pile of crossings, the line leaves the coil one loop at a time, provided you open it from the correct end. Open a coil backward, from the bottom instead of the top, and you build a kink into every single turn; walk one of those kinks out from the middle and it pulls the next kink with it, and then the next, until the whole line is one large tangle.
The aim is not to make every loop look rigidly identical. Coiling every loop in the same forced direction tightens the twist already in the line, and that twist has to go somewhere when the line runs out. A kink, a twist or curl where the line has doubled back on itself, should never be put under load: the strain sets a permanent distortion into the fiber, so clear any kink before you use the line, not after. Braided line resists this problem better than three-strand, or twisted, line, since braided construction does not kink or cockle the same way. Careless handling causes the same damage a bad coil does: never throw twisted line off a reel, since that alone can tangle and kink it before you have coiled a single loop.
Coiling is not the only way to stow line, and knowing the alternatives helps you pick the right one for the job. A line that needs to run off especially fast is often flaked or faked instead: laid down in long, flat bights side by side rather than round loops, so it lifts clear without a single twist to slow it. A line that stays permanently attached at one end, such as a halyard, is often coiled with alternating over and under turns for the same reason: alternating the turns cancels the twist that a one-direction coil would build up over months of reuse. A line you want flat and out of the way on deck, with no coil hanging anywhere, can be Flemished instead: laid down in a tight, flat spiral against the deck itself.
Traditional three-strand rope is usually coiled clockwise, right-handed, to match the direction its strands are laid; braided and plaited line has no matching lay to follow, so it is flaked or faked rather than coiled the same way. If you are coiling a mooring line that has been in the water, flake it through your hands first before you start the coil. That strips out any twist it picked up and lets you feel for debris or fouling caught in the strands, useful groundwork whether you are stowing the line or about to hand it off while you pick up a mooring.
This is the real value of a tidy coil: it keeps the extra line ready for its next use. Neatness is not only about appearance. It helps the line run free instead of turning into the familiar heap that jams and tangles.
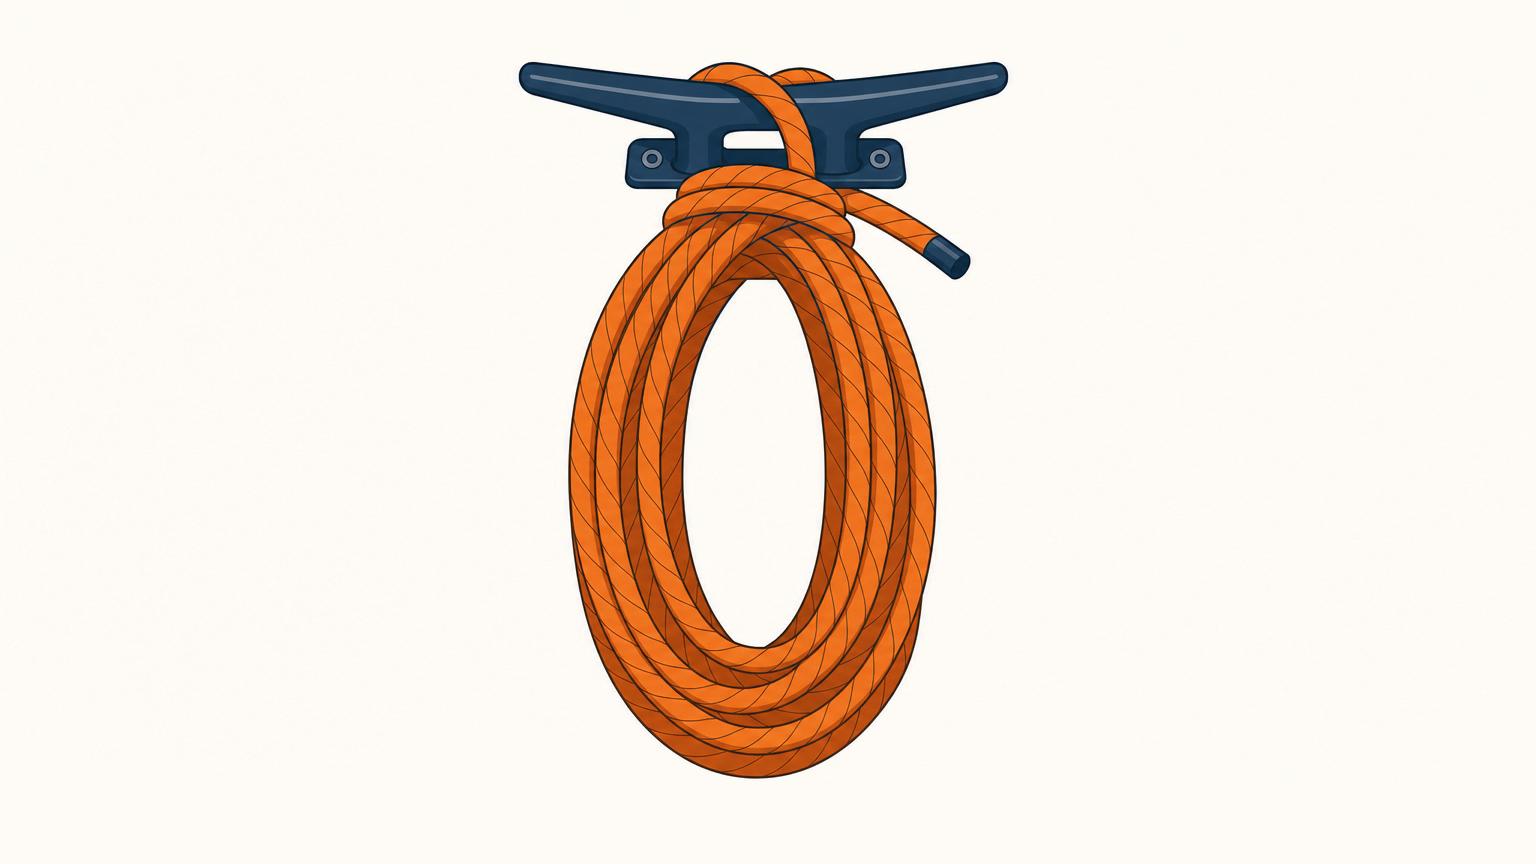
You can now read a line at a glance: the working end is the free end you use, the standing part is the long remainder, and a bight is a fold where two parts lie beside each other without crossing. To make a line fast means to secure it, for example to a cleat; the cleat hitch itself comes in a later lesson. When you stow the extra line, even, natural coils, or a flaked or Flemished alternative when the job calls for it, keep it orderly so it can pay out (run out freely when you let go) instead of tangling. These few names, plus a look at the knots every beginner should know, make line handling easier to explain, while one neat coiling habit keeps the line ready to run. To practise spotting each part, try SailStarter's three-minute beginner lesson Coils that don't tangle: handling lines aboard.
Try it from the lesson
Can you spot the next move?
You pick up a line to lead it to a cleat. The end in your hand, the one you're working with. What's it called?
Why you can trust this guide
. We build each guide from public seamanship and safety sources, then teach the universal principle before any local difference.