Chart your course
How to Inspect Sailboat Keel Bolts
Quick answer
The short version
A sailboat keel bolt inspection has two halves. Inside, expose the nuts and the structure around them. Look for water, corrosion, cracked laminate, distorted bearing areas, and evidence that the internal grid has moved. Ashore, inspect the entire keel-to-hull seam and the keel itself. Treat a grounding or a new crack as a reason to widen the inspection. Keep your tools off the nuts unless the boat's documented procedure and a qualified professional call for a torque check. The visible metal is only the top of the attachment, so a tidy bilge cannot prove that the hidden bolt shanks, keel casting, and bonded structure are sound.
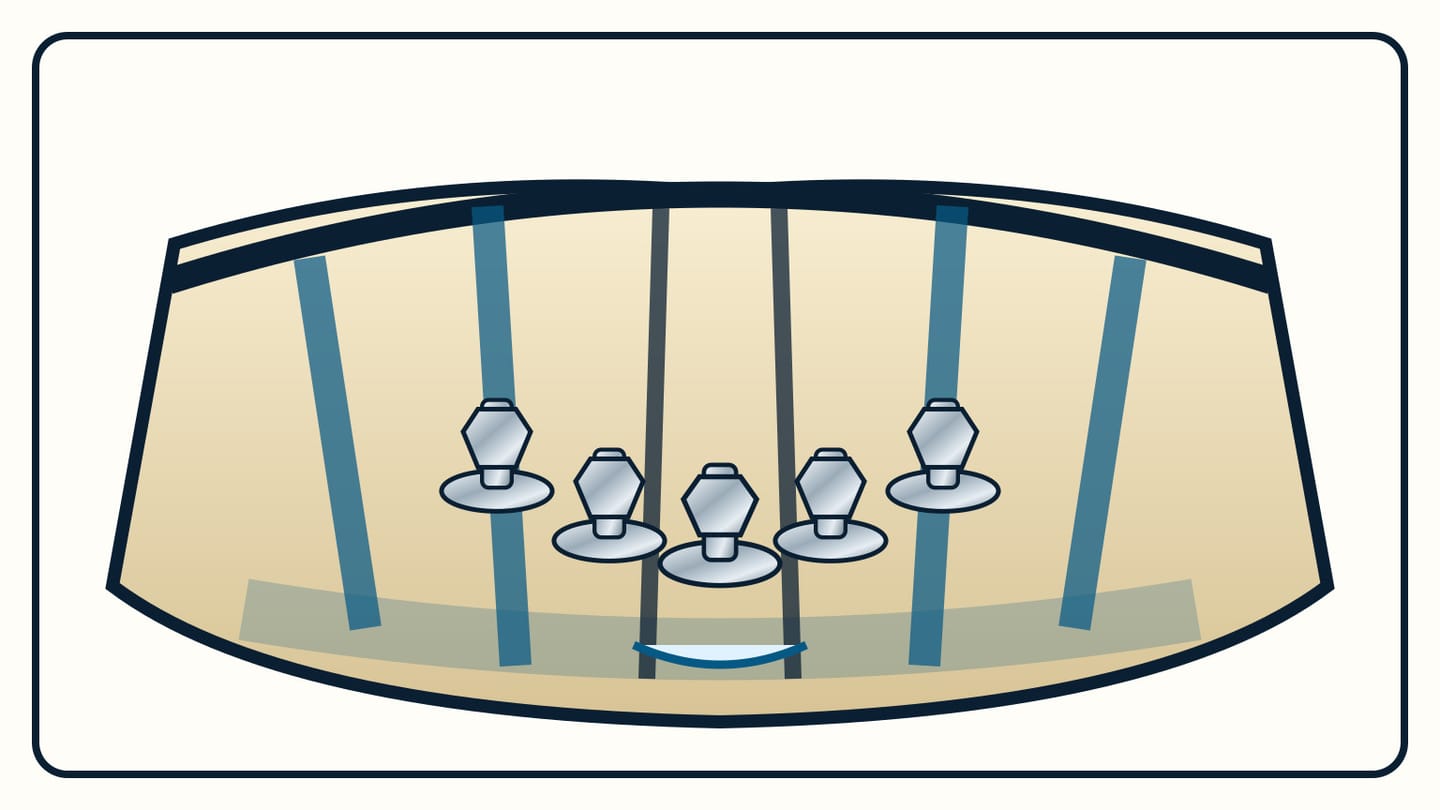
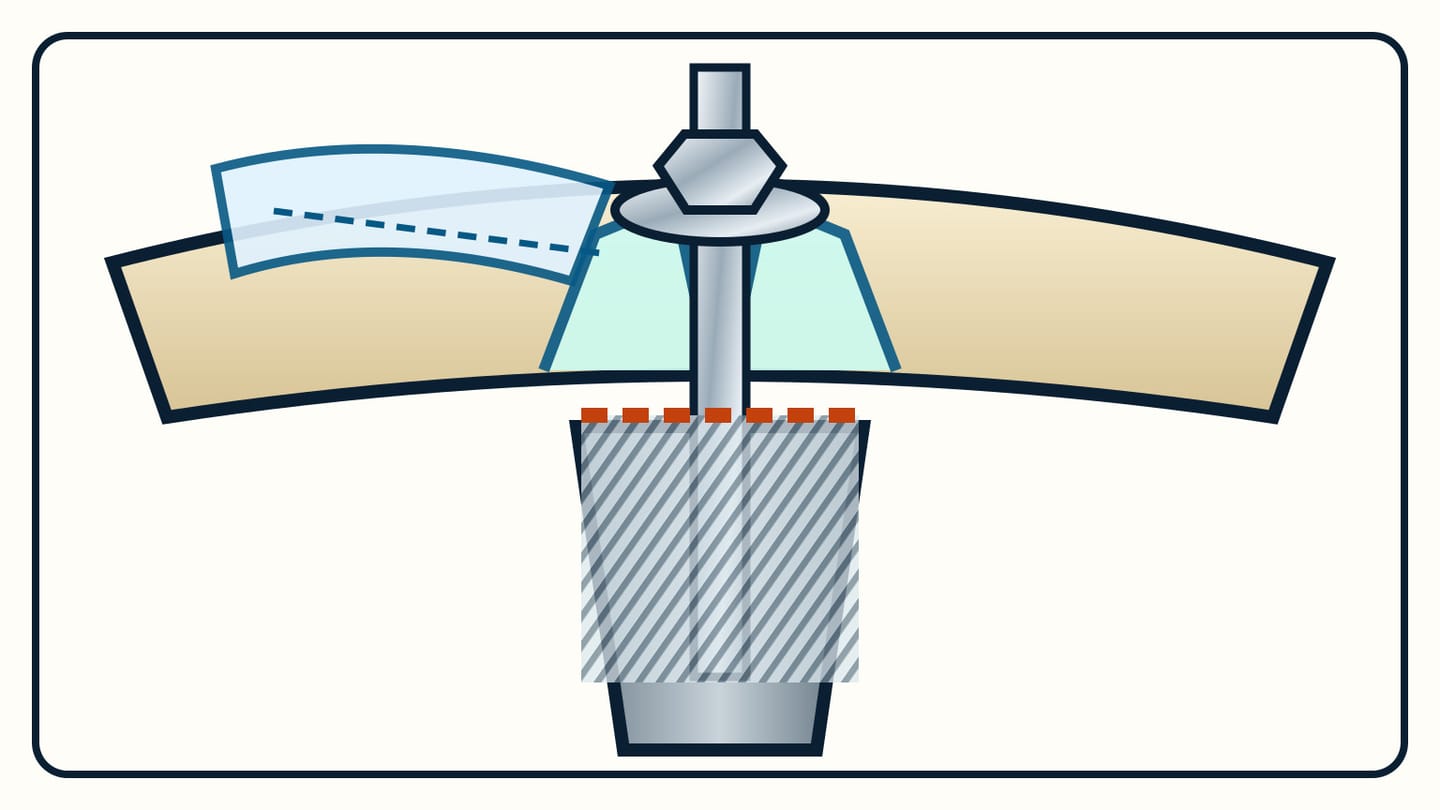
Keel bolts hold external ballast to the hull, but they do not work alone. The nuts and washers bear on internal structure that spreads sailing and grounding loads into the hull. Some boats use floors and girders; many moulded GRP hulls also have an internal grid or matrix bonded to the shell. That system is why an inspection needs more than a close-up of shiny nuts.
Before opening the cabin sole, find the builder's drawings, owner's manual, previous survey, repair invoices, and any grounding notes. Confirm that the boat actually has an externally bolted keel. Encapsulated ballast and lifting-keel arrangements call for different checks. If you are evaluating a purchase, use this inspection alongside the broader sailboat survey red flags, then let the appointed surveyor define any invasive work.
Start with a clean view of the whole attachment
Secure the boat and lift the sole boards without damaging their fasteners. Remove loose gear that blocks the keel area. You need to see each accessible nut and washer, the recess around it, and the structural members running across and along the hull. Shine a light across the surface rather than straight down. The sideways light makes a ridge, crack, or lifted edge easier to see.
Do not begin by polishing the metal or painting the bilge. First photograph the area as found. Record standing water, damp residue, staining, flaking coatings, sealant patches, and debris. Then clean and dry the bilge so a later return of moisture will be visible. Keep that observation separate from any guess about where the water began.
Extend your view beyond the bolt row. The Maritime and Coastguard Agency's keel guidance explains that damage to a bonded inner matrix may show forward or aft of the immediate attachment area. Follow floors, girders, and matrix flanges as far as access allows. Look around bulkheads and nearby fixed equipment for a newly opened bond line or displaced tabbing. Note inaccessible areas plainly. A complete photo of one easy bolt is less useful than an honest map of what you could and could not see.
What can the exposed nuts and washers tell you?
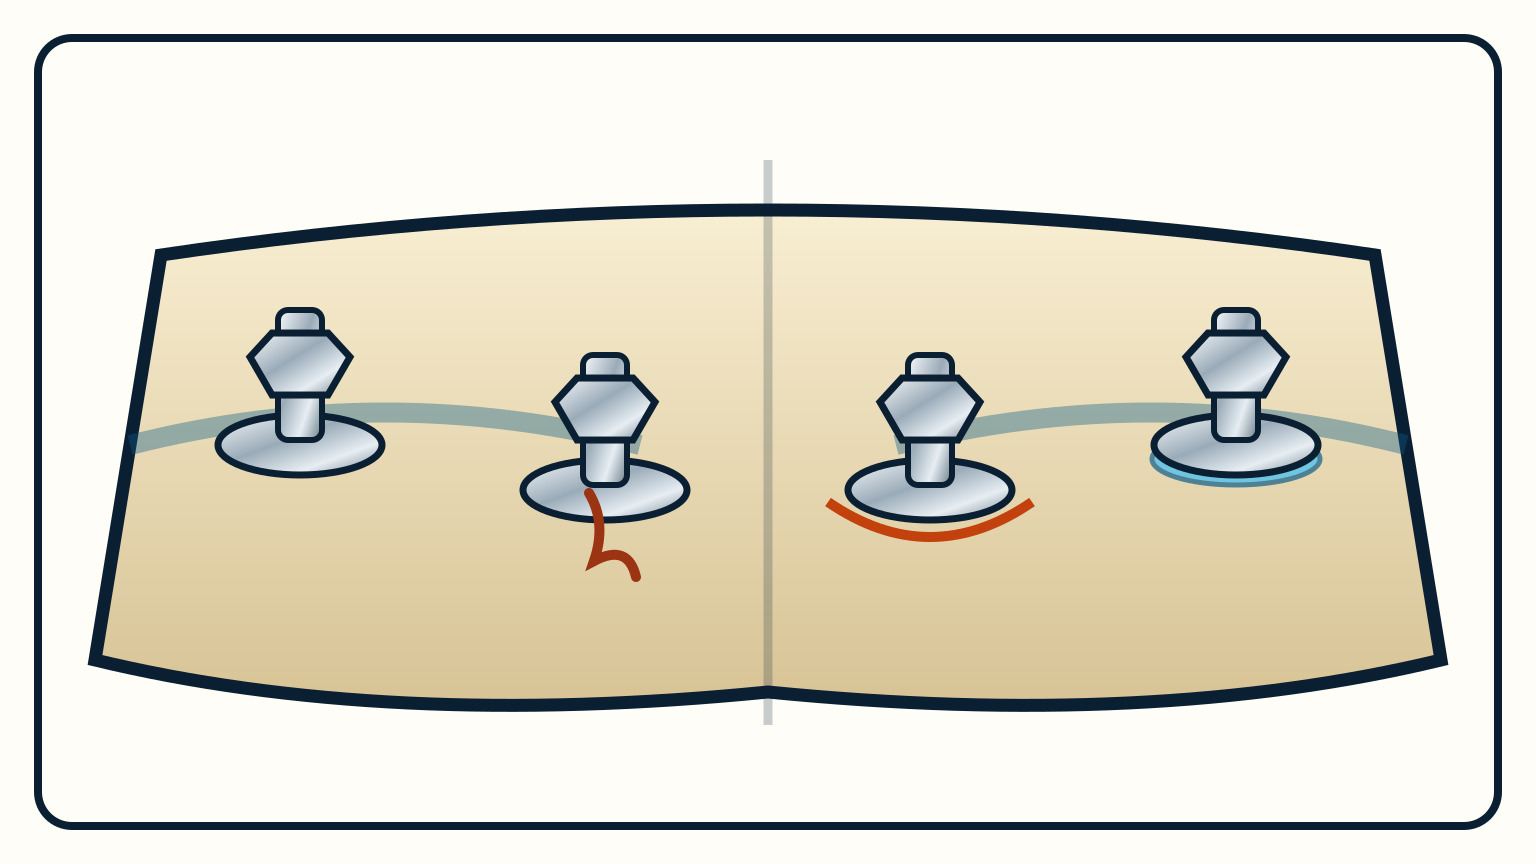
They can show surface condition and how the visible end bears on the boat. Examine every nut, exposed thread, washer, backing plate, and the laminate immediately around it. Compare them with one another. One damp recess in an otherwise dry bilge, a rust-coloured trail below one washer, a washer that no longer sits flat, or cracking that radiates from one bearing area deserves a written note and a closer professional look. Broad corrosion over everything may tell a different story from a local stain, but neither pattern identifies the hidden metal's remaining strength.
The washer or backing plate matters because it spreads load into the surrounding structure. US Coast Guard guidance pairs bolt inspection with adequate bearing surface for this reason. Look for a plate edge pressing into laminate, a depression around a washer, broken filler, or a nut sitting at an angle. Do not probe a suspect laminate aggressively. The visible symptom is enough to preserve and show to the surveyor.
Resist the satisfying urge to put a spanner on each nut. Movement under a hand tool does not safely establish the designed preload, and a generic torque table does not know the bolt material, thread, lubricant, backing arrangement, or builder's specification. MCA guidance reserves torque checking for an experienced marine professional using the correct tools and the designed value. The same caution applies to removing a nut for a better look. It changes the clamped structure you are trying to assess.
Read the keel-to-hull seam ashore
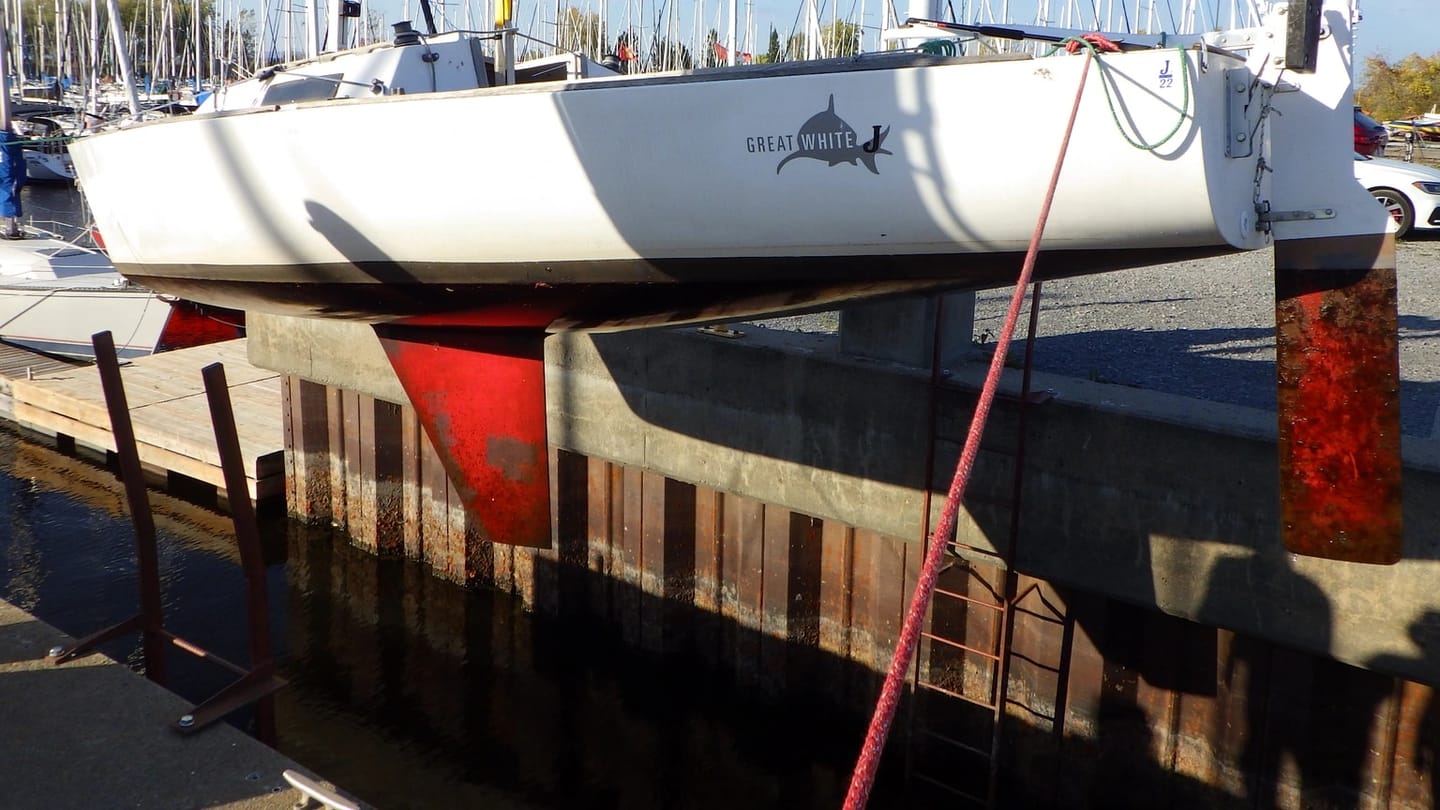
Arrange a haul-out when the inspection follows a grounding, when the internal view raises concern, or when the external joint has not been properly seen. A boat floating at the dock hides the seam and loads the attachment differently. In the yard, confirm that the boat is supported by competent staff before approaching it. Never move shores, blocks, or stands to improve a camera angle.
Trace the whole junction where keel meets hull. A fair, continuous seam gives you a baseline; an opening, local crack, displaced filler, weeping stain, or change in alignment is evidence to document. Clean only enough marine growth or loose coating to see the surface, and coordinate that work with the yard. A cosmetic band of filler can conceal the shape of the actual joint, so compare both sides and inspect the forward and aft ends where a change may be easiest to spot.
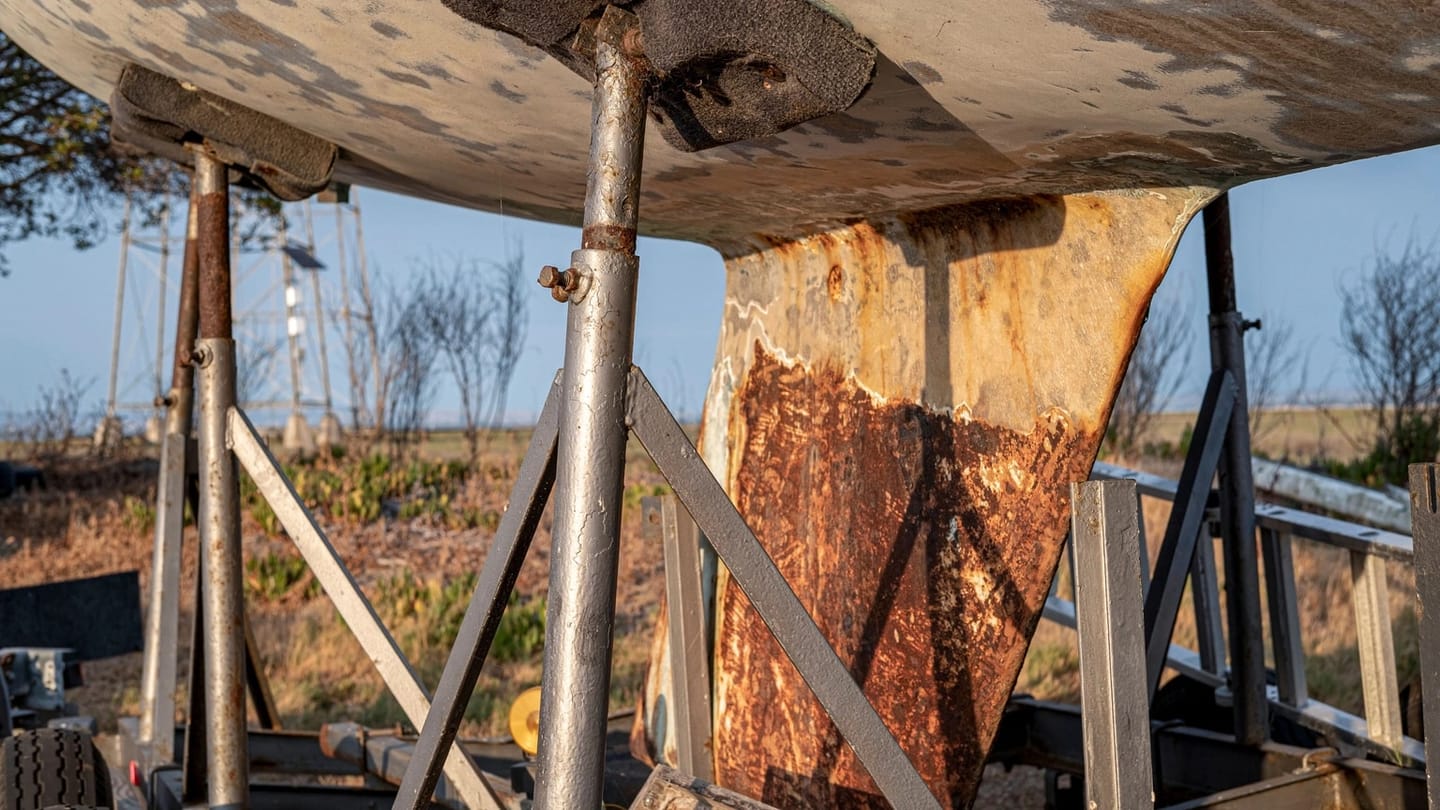
Also scan the keel surface for impact marks and deformation. Inside, return to the structure opposite any external mark rather than assuming the damage stops at the paint. MCA guidance notes that grounding forces can be associated with elongated bolt holes, hull-shell cracking, and movement of fixed internal components. The haul-out planning guide can help you arrange access and yard time, but the surveyor should choose any destructive preparation needed to expose a suspect seam.
When does a surveyor need to go further?
Bring in a suitably qualified yacht surveyor after any grounding, whenever the seam has opened, when internal cracks or debonding appear, when bearing areas are distorted, or when corrosion and moisture cannot be explained. A missing history is also relevant. Tell the surveyor what contact occurred, which direction the boat was moving, where the external marks lie, and whether the evidence changed while the boat was lifted or dried. Those details are more useful than deciding in advance that the incident was minor.
A professional inspection may include methods that an owner cannot interpret reliably. Percussion or "tap" testing compares the sound of suspect composite with a known sound area, but MCA guidance warns that the clamping effect of installed keel bolts can make the result inconclusive near the attachment. More revealing work may require unloading the keel, removing nuts, separating the keel, or exposing laminate. The surveyor, designer, builder, and repair yard decide which step fits the boat and the evidence.
Visible fasteners also have a hard limit. The MAIB investigation of Tyger of London found that tight securing bolts inside the bilge did not reveal defects in the keel's hidden fabricated frame. That was a design-specific failure, yet the practical lesson travels well: accessible hardware describes only what is accessible. Ask the surveyor to state the inspection limits in the report. "No defect seen" and "the hidden structure is sound" are not the same conclusion.
How should you record the inspection?
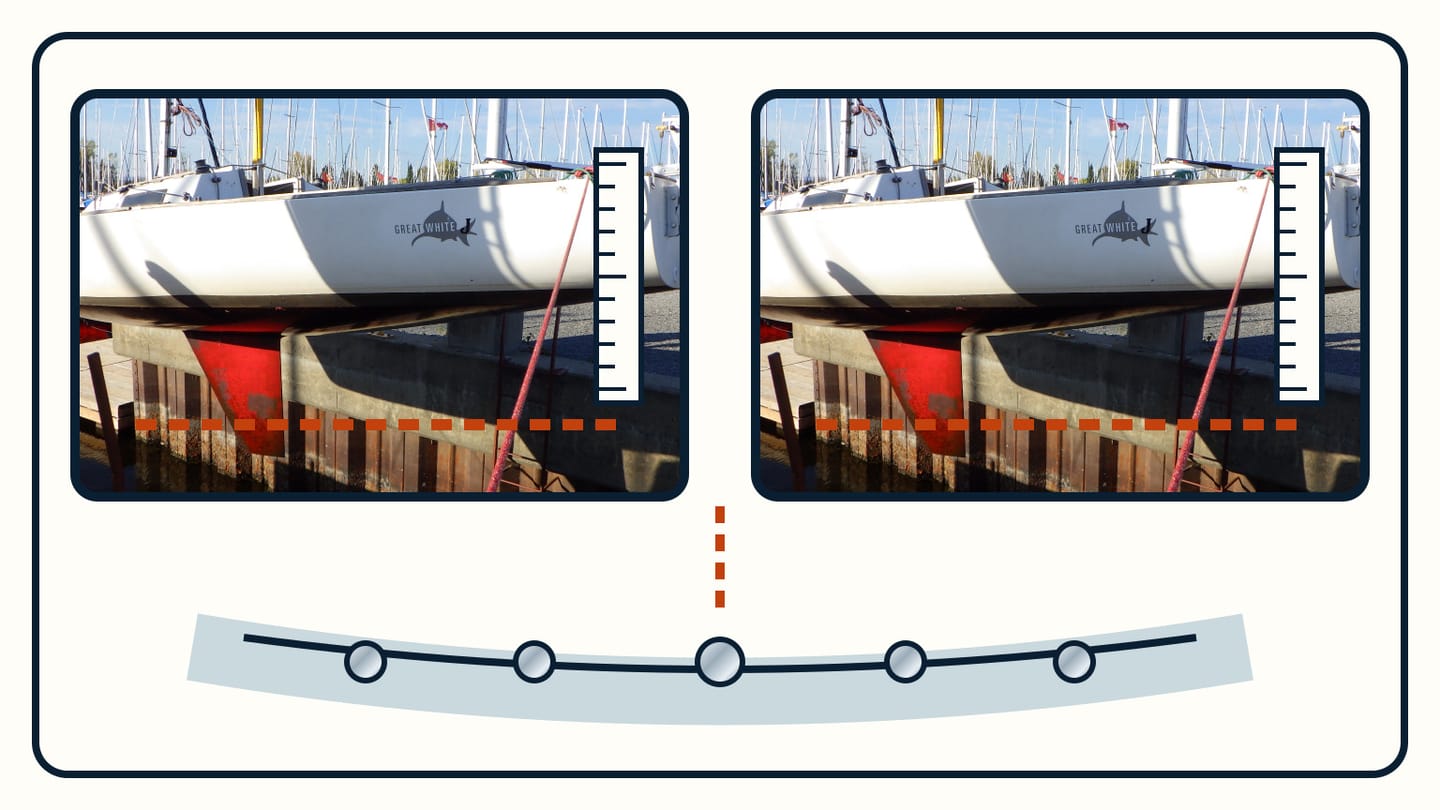
Make a simple plan of the bolt row and number positions from bow to stern. For each one, keep an overview photograph and a close view taken square to the surface. Add the date, whether the bilge was wet or dry, the boat's state afloat or ashore, and a short description of any stain, crack, depression, or inaccessible edge. Place a ruler beside a crack for scale without covering it. Use the same camera positions during the next inspection so that a change in length or shape is easier to judge.
Record the external seam the same way: full port and starboard views, then the forward end, aft end, and any local feature. Keep the original images rather than only annotated copies. Add survey findings, yard work, parts information, and the builder's instructions to the same file. If the keel has been removed or the matrix repaired, retain the before, during, and after photographs with the repair specification.
History turns an isolated mark into useful evidence. A known grounding, hard racing use, repeated seam repair, or unexplained bilge water changes the questions a surveyor will ask. Conversely, an old photograph showing that a harmless moulding edge has not changed can prevent guesswork. Do not write "passed" beside an owner inspection. State what was visible, what was not accessible, and who decided the next step.
A careful keel-bolt check ends with a decision, not a wrench. If the attachment is clean, dry, unchanged, fully documented, and consistent with the builder's information, keep the record for comparison. If a mark is new, access is poor, or the boat has grounded, pause the launch or passage plan until a qualified person resolves the uncertainty. SailStarter lessons can strengthen the observation and communication habits behind this work: separate what you saw from what you inferred, mark the limits of your inspection, and hand the next person a record they can use.
Try it from the lesson
Can you spot the next move?
The keel just touched bottom and the boat is still under power. What's the very first thing to do?
Why you can trust this guide
. We build each guide from public seamanship and safety sources, then teach the universal principle before any local difference.