Chart your course
How to Inspect Sailing Lines for Chafe
Quick answer
The short version
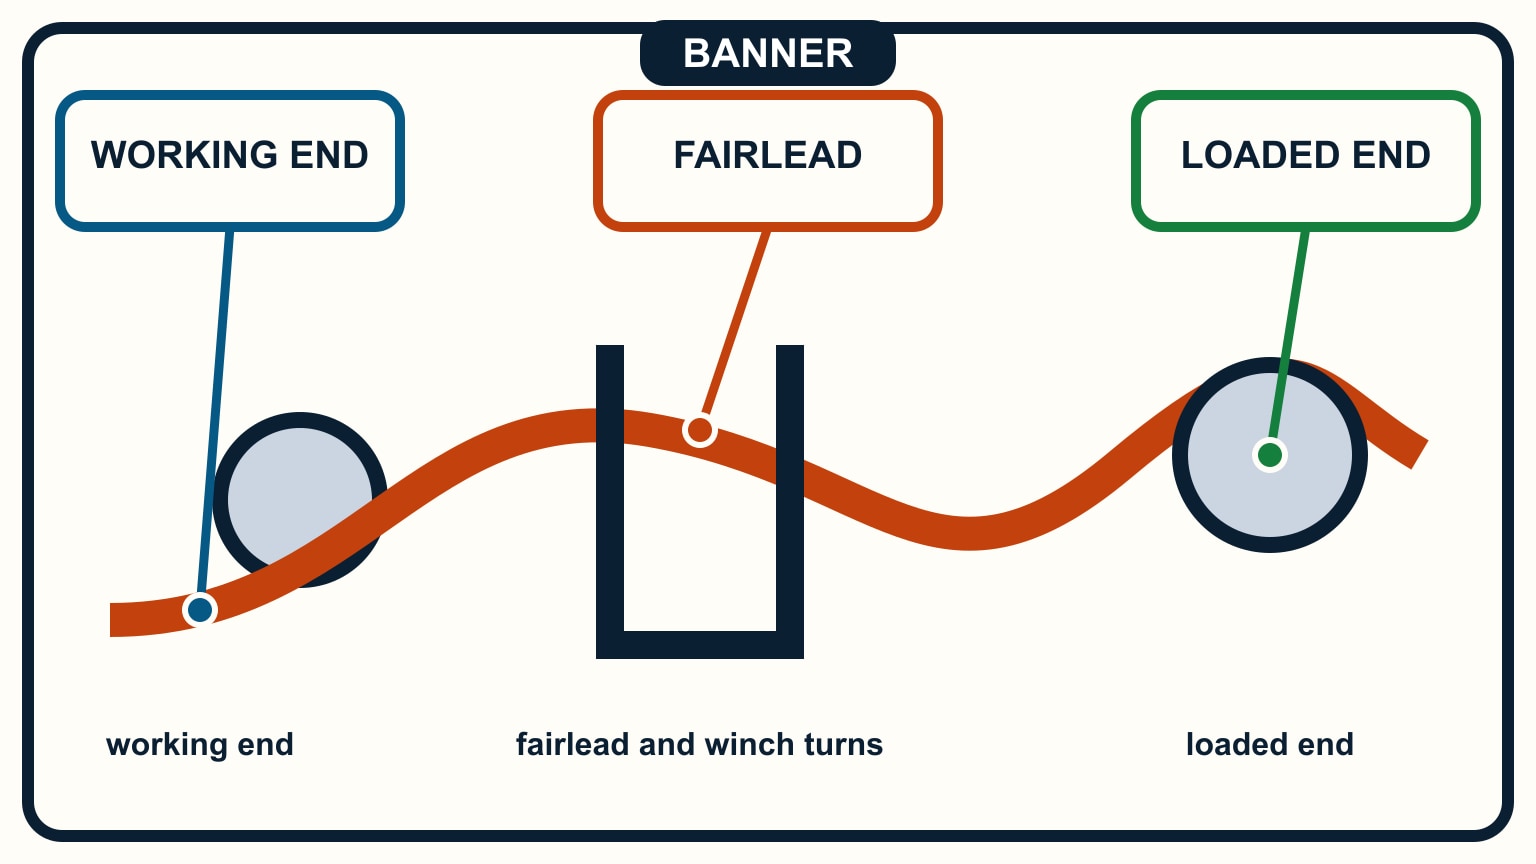
Inspect a sailing line along its entire working route, with the rope unloaded and clean enough to see. Pay closest attention where it bends around a sheave, enters a clutch, wraps a winch, passes a fairlead, rubs another line, or forms a splice. Look for broken or fuzzy fibres, glazing, discoloration, cuts, hard or flat areas, inconsistent diameter, and movement between cover and core. Open strands or the splice enough to examine what the construction allows. Judge the line by its most damaged section, and remove an uncertain halyard, sheet, control line, or safety-related rope from critical service.
Chafe is a system clue. The worn patch names the place where rope, load, angle, and hardware disagree. Replacing the line without correcting that place starts the same damage again. You need two linked inspections: the rope itself and every surface it touches. If line handling is new to you, how to coil a line gives you a chance to handle each metre without adding twists or hiding the damaged part in a knot.
Follow the line through its real route
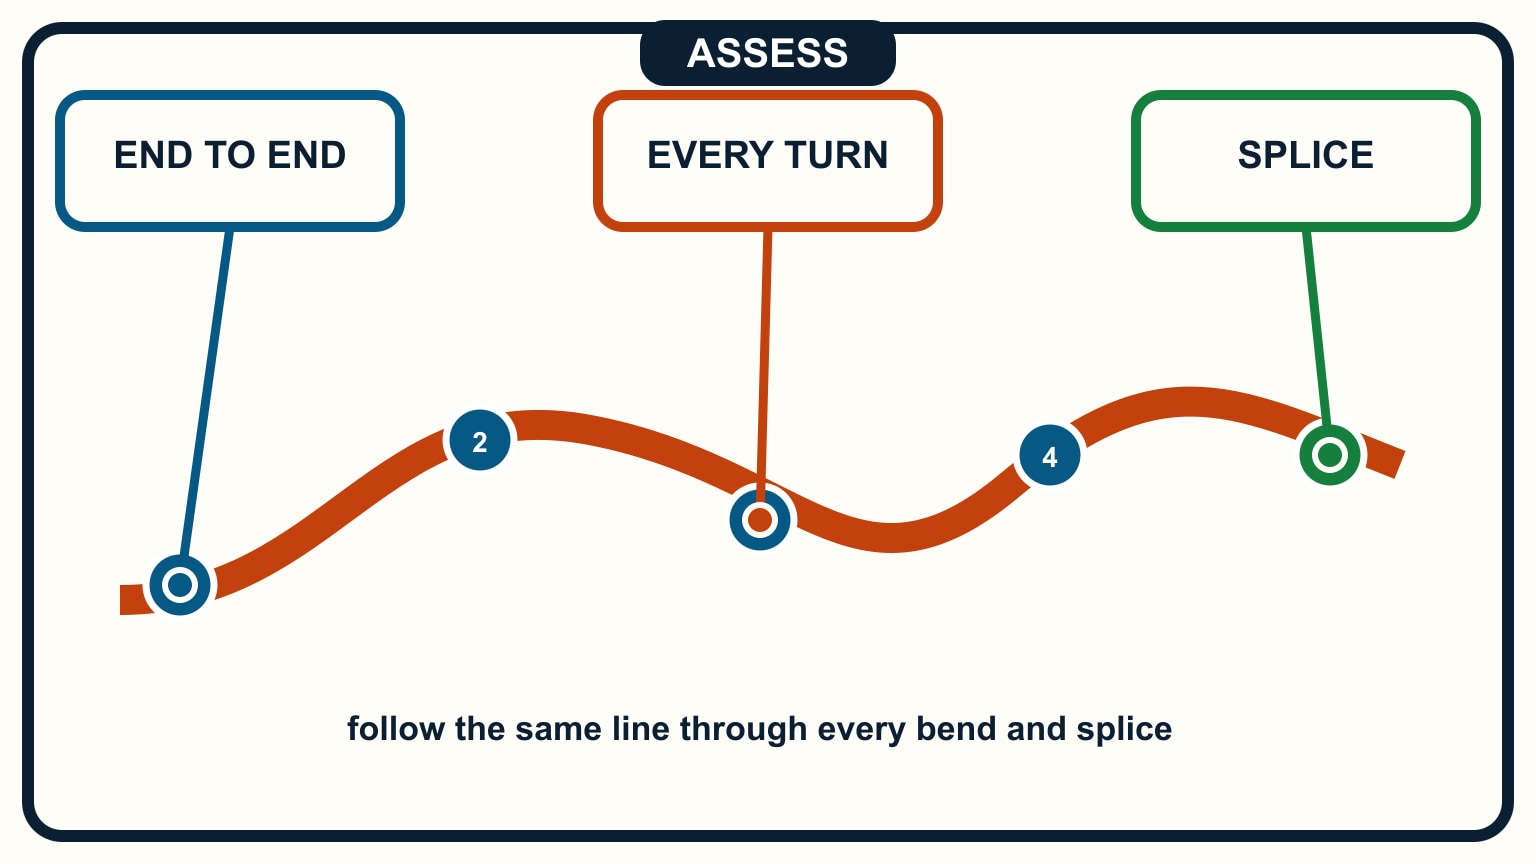
Start by naming the line and its job. A jib sheet, reefing line, furling line, halyard, traveller control, and dock line see different loads and travel through different hardware. Photograph or sketch the route before removing anything, especially if several similar lines disappear into the mast or a bank of clutches.
Unload the rope and isolate any equipment that could move it. Feed the line slowly through clean hands while keeping it off dirty ground. Turn it as you go so the full circumference becomes visible. Feel for a stiff patch, a sudden thin section, a lump, a flat area, or a change that the eye misses. Mark each finding with removable tape placed beside the damage rather than over it.
Do not inspect only the part lying in the cockpit. Working sections often live out of sight: the length around a winch, the segment inside a clutch, the masthead turn of a halyard, or the short piece that rests against a guardwire on one point of sail. Move the line through its usual range so those hidden lengths appear.
If removing the line would let an internal halyard disappear, attach a messenger line first. Record which end is which and how the replacement must be reeved. A careful condition check should not create a rigging problem.
Slow down at every turn and grip
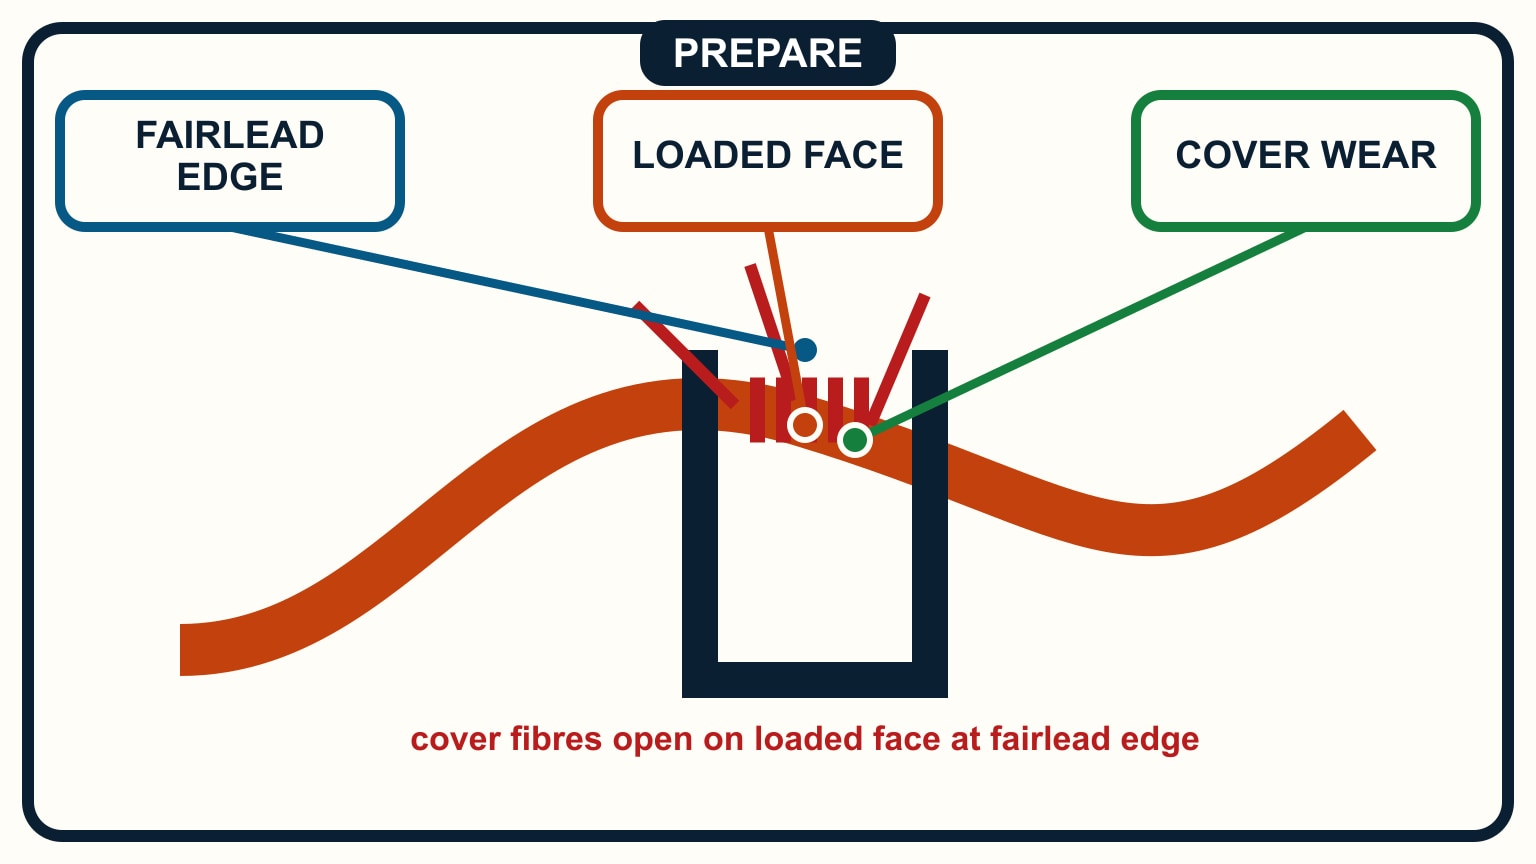
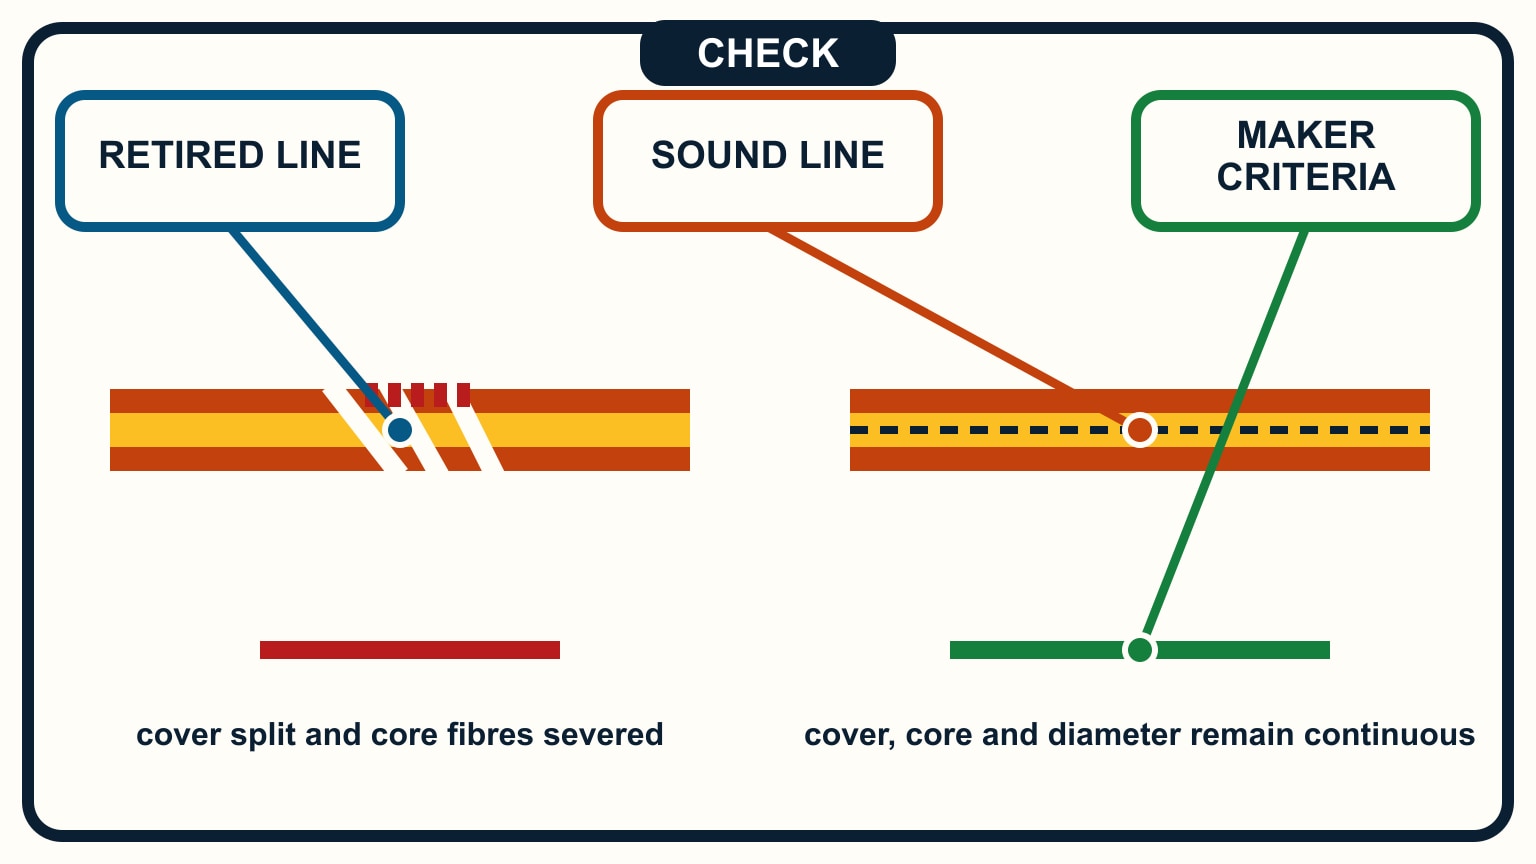
External abrasion appears where fibres rub a rough surface or cycle under tension. Broken filaments may be spread across a broad fuzzy patch or concentrated into a cut. Samson's inspection guidance distinguishes surface abrasion from damage inside the rope and says the most damaged section controls the assessment. That is why a clean-looking tail cannot excuse a worn turn around a fitting.
Inspect sheaves for free movement, correct alignment, and a smooth groove. A seized or chipped sheave makes the rope slide instead of roll. Check fairleads and deck holes for burrs, cracked inserts, and edges polished sharp by use. Open rope clutches according to their instructions and look for concentrated tooth marks or crushed cover. Check the lead into a winch; a poor angle can make turns climb, cross, or rub a guard.
Heat leaves different evidence. Glazed or melted-looking fibres, a hardened patch, or discoloration can follow fast easing under load or friction through a slipping device. Do not soften that area with a bend and put it back to work. The fibres may have changed even when the rope still looks continuous.
Run a cloth over suspect metal edges. Snagged fibres reveal a burr that fingers may miss, but keep the test gentle and unloaded. Correct the hardware fault before installing new rope. Sailboat deck hardware explained can help identify each part of the lead.
Inspect cover, core, and splice separately
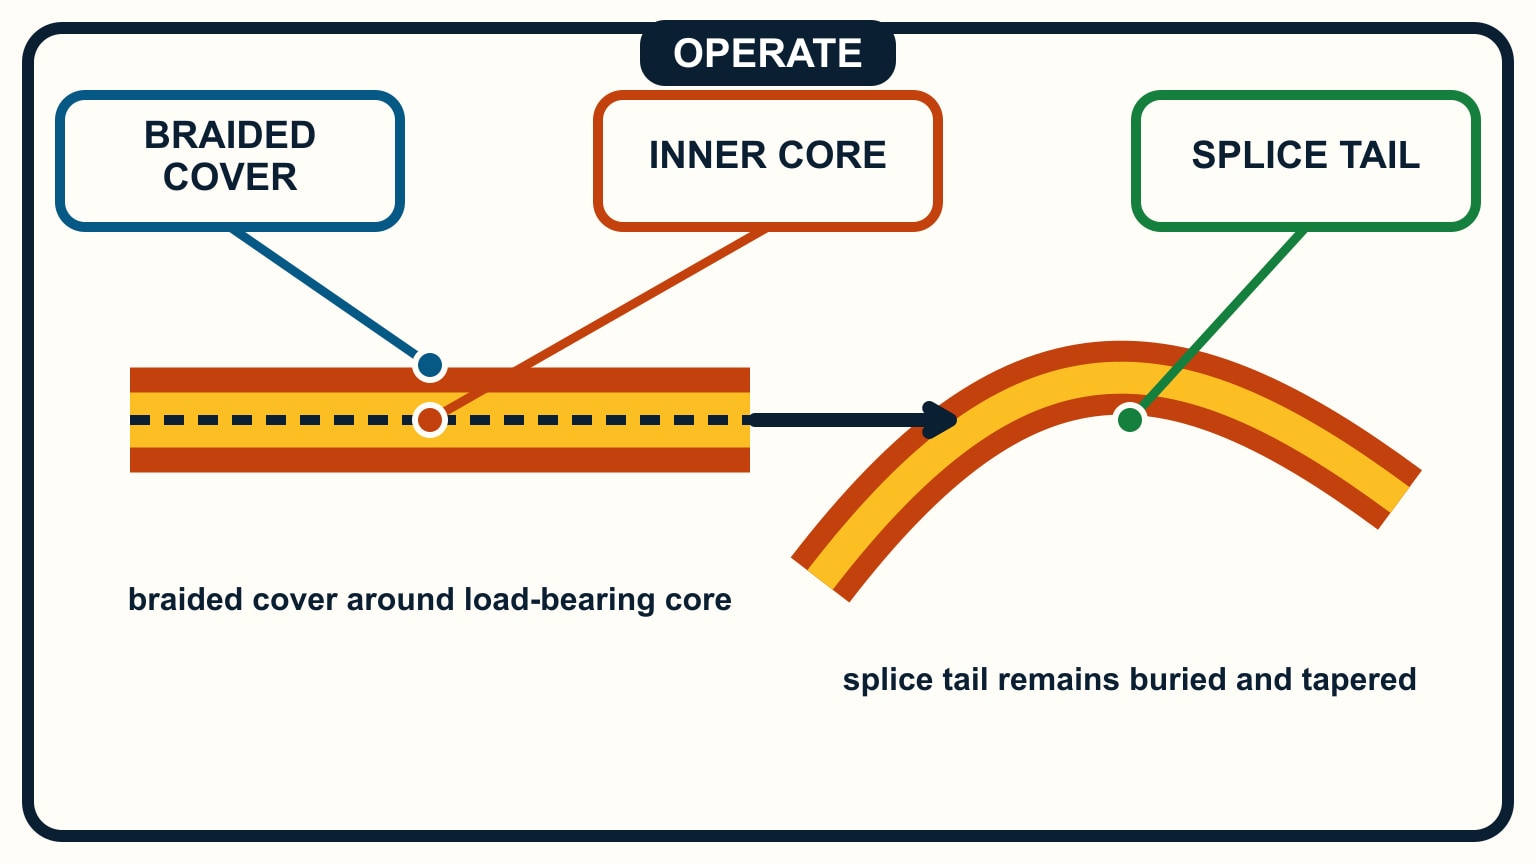
Double-braid rope can hide a core beneath a relatively tidy cover. Where the construction permits, bunch the cover to expose the fibres below and compare them with an undamaged section. Look for powdered fibre, broken yarns, dirt worked deep into the rope, and changes in colour or texture. A cover that slides independently, forms a hernia, or leaves the core exposed needs assessment using the rope maker's criteria.
Single-braid and laid rope reveal damage differently. Open the strands only as far as the manufacturer's inspection method allows. Search the valleys for internal abrasion and hard contamination. Avoid picking at individual yarns or pulling the rope apart so aggressively that the inspection becomes the damage.
Give splices their own pass. Check the eye where it bears on a shackle or fitting, the throat where load enters the splice, and the taper where the rope returns to full diameter. Stitching, whipping, or a cover should be intact and in the position specified by the maker. Movement, pulled strands, severe fuzzing, or an exposed core at the eye matters because the end termination carries the whole working load.
Knots also create tight bends and local wear. Untie them when practical and inspect the buried rope. If a knot has jammed so hard that you cannot examine the line without tools or cutting, do not assume the hidden section is healthy.
Match the finding to the line's job
Rope retirement is not decided by fuzz count alone. Fibre, construction, age, chemical exposure, heat, loading history, and the consequence of failure all matter. Use the line manufacturer's inspection and retirement guide whenever the rope can be identified. A photograph from a different fibre is a poor standard for your own line.
Treat cuts, severe abrasion, melted fibres, major diameter change, exposed or damaged core, and splice movement as stop signs on a critical line. Samson's guide places severe abrasion in the retire category and sends uncertain strength loss for consultation. A halyard that holds a sail aloft, a reefing line needed in rising wind, or a line used in a person-overboard system has little room for optimistic interpretation.
A mildly fuzzy dock line and a damaged steering-control line do not carry the same consequence, but reassignment is not a way to avoid retirement. A rope judged unfit for its design load should not quietly migrate to another high-load job. Cut or clearly label retired material so a future crew member does not return it to service.
If the line's identity or history is unknown, record that uncertainty. Diameter and colour cannot reveal fibre, construction, or working-load history. Replacement should match the boat maker's or rope maker's specification, the hardware, and the required splice, not merely the old rope's apparent size.
Turn the inspection into a wear record
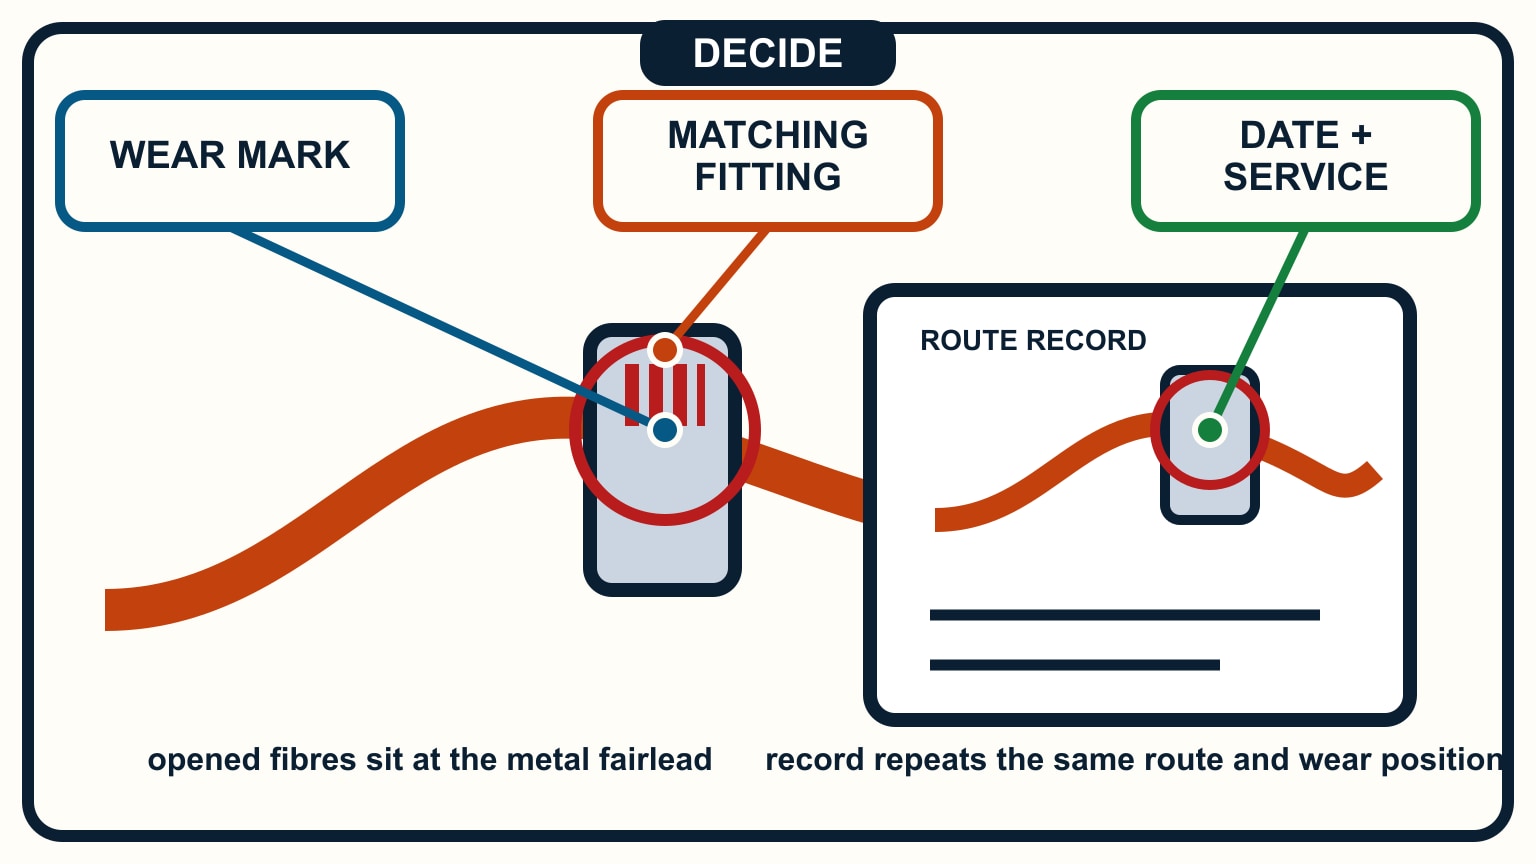
Take one overall photograph of the line route and close views of every marked patch. Record the date, line job, approximate position measured from one end, the hardware at that point, and what changed since the last check. This makes a repeat pattern visible. If a new halyard develops wear at the same masthead distance, the sheave or alignment deserves attention.
Wash and dry rope only as its maker directs. Clean fibres are easier to assess, but harsh chemicals, heat, aggressive pressure washing, and poor drying can add damage. Keep oil, battery acid, solvents, and unknown cleaners away. Note any contamination rather than guessing that rinsing restored the original strength.
Inspect replacement lines soon after installation. Confirm they run through the intended groove, fit the clutch and self-tailer, and do not cross another line through the full range of motion. Watch them under normal load from a safe position. A correct route should not develop a hot spot or fresh fuzz after a short period.
Add the check to the broader sailboat maintenance routine. High-use lines deserve a quick look whenever they are handled, plus an end-to-end inspection at a sensible interval for the boat's use. The record, rather than a generic calendar, shows where inspection needs to become more frequent.
SailStarter teaches line names, deck hardware, and controlled handling so you can see where each rope works. Apply that knowledge with the line unloaded: trace the route, inspect the worst contact points, open the construction only as instructed, and correct the edge that caused the wear. When the remaining strength is uncertain, the next useful action is replacement or advice from the rope maker or a rigger. A critical line is the wrong place to test a hopeful guess.
Add the inspection date and the line's service to the maintenance log. A short history makes gradual cover movement, glazing, and recurring damage at the same fitting much easier to recognise.
Try it from the lesson
Can you spot the next move?
The mainsail is down and you need to raise it to the top of the mast. Which line do you pull?
Why you can trust this guide
. We build each guide from public seamanship and safety sources, then teach the universal principle before any local difference.