Chart your course
Running Rigging Inspection and Replacement
Quick answer
The short version
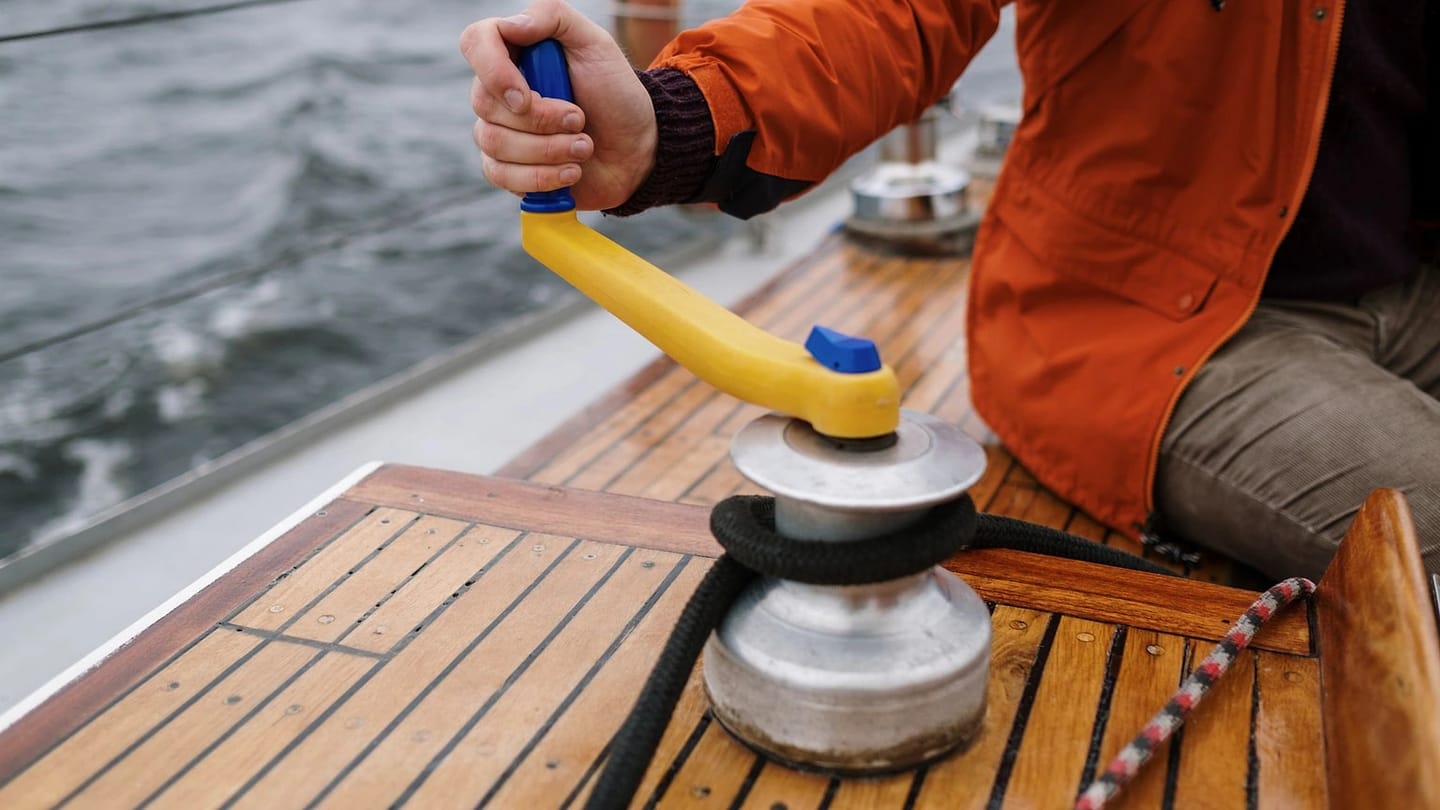
Running rigging is the working rope that raises, lowers, shapes, and controls sails. It includes lines such as halyards, sheets, and control lines. Inspect it by following each line through its whole run, with attention to places that rub, bend, grip, or disappear inside the mast. Replace a line when its condition or history gives you reason to doubt it, then fix the chafe cause before the new rope repeats the damage.
The aim is not to replace every rope on a calendar date. Boats use different rope, hardware, loads, climates, and sailing patterns. A useful inspection produces a clear record: what the line does, its current diameter and length, its path, its condition, and the fitting or edge that needs attention. That record turns a confusing deck of similar-looking lines into a manageable maintenance job.
Separate running rigging from the rest of the rig
Start with the job, not the colour of the rope. A halyard raises a sail. A sheet controls a sail's angle. A vang, traveller control, reef line, or outhaul changes sail shape or position. Those are running rigging because they move in regular use. Standing rigging, by contrast, supports the mast and needs its own inspection method.
Make a simple line list before you touch anything. Write the name, function, origin, route, termination, and winch or cleat used. Photograph unusual reeving, especially inside a boom or mast. If a line is removed without a record, threading its replacement can become the harder task.
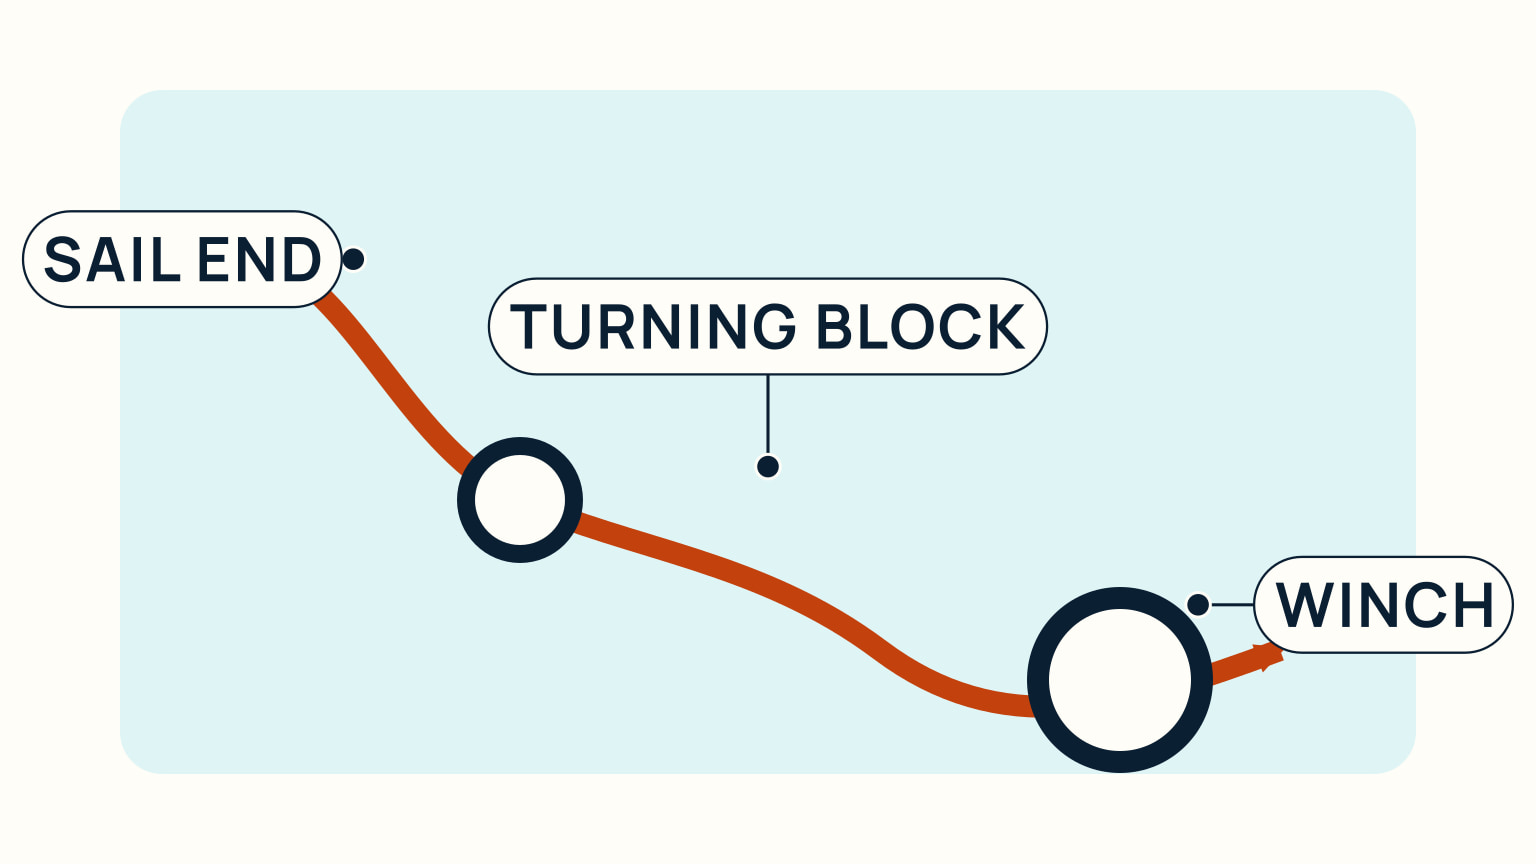
Then move the line through its full travel where safe. A rope that looks fine at the cockpit may have a damaged section at a masthead sheave, a clutch, a turning block, or the part that spends most of its time inside a fitting. Mark the suspect point with tape and compare it with the contact surface.
This is a good time to refresh the basics in sailboat deck hardware explained. Knowing what each block, clutch, cleat, and winch does makes it easier to spot a lead that is rubbing where it should not.
Look for wear where the rope works hardest
Run the rope slowly through your hand and eyes. Look for fuzzy cover, flat spots, hard glazed areas, discoloration, pulled cover, broken stitching at a splice, and damage close to a knot or termination. Compare one side of a line with the other when it has been used asymmetrically. A working section can wear long before the tail in the cockpit looks tired.
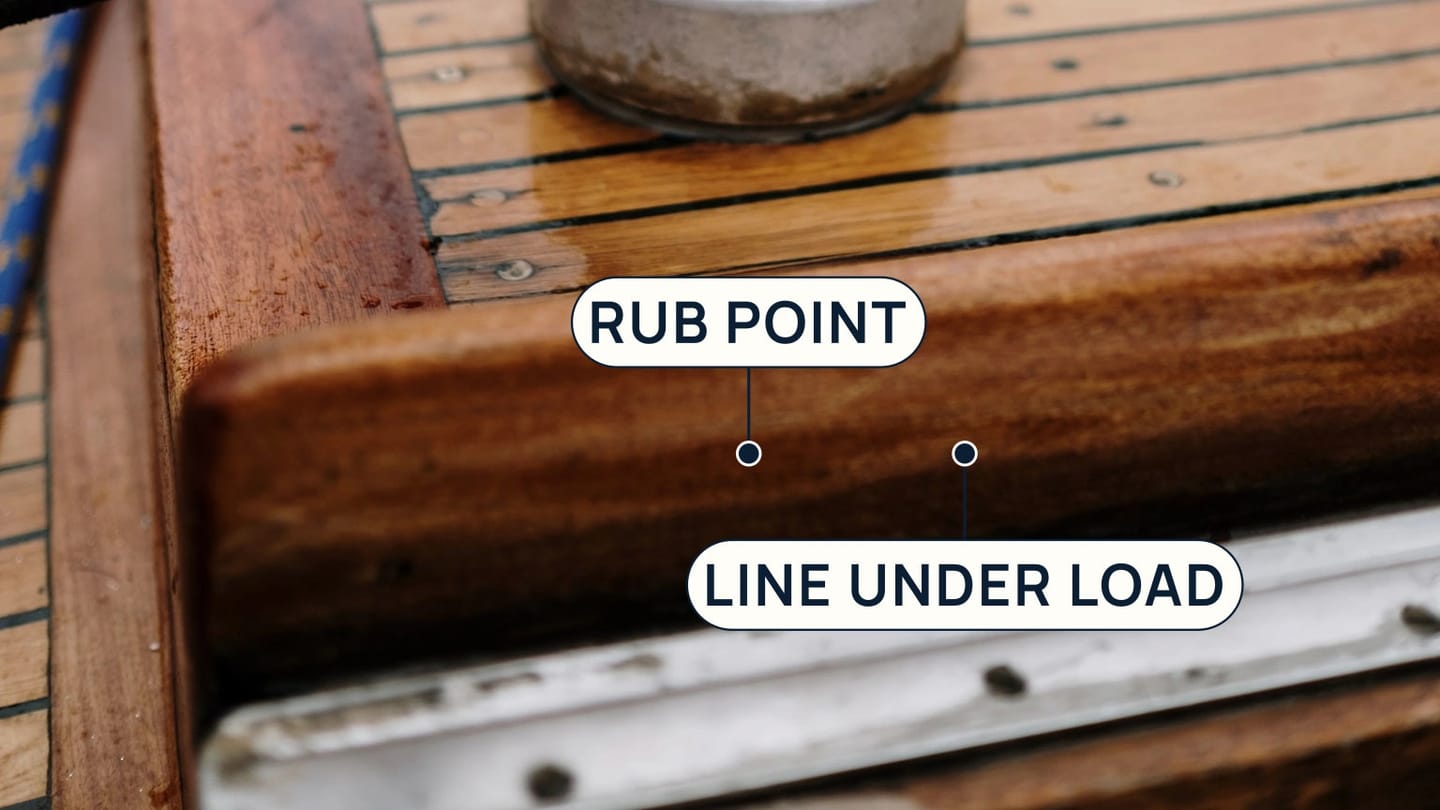
Chafe is often a clue about the system rather than a fault in the rope alone. Check fairleads, sheaves, clutch jaws, blocks, spreader contact, sharp edges, and any point where a line changes direction under load. Dirt, salt, a seized sheave, or a poor lead can turn normal use into concentrated abrasion.
Do not pull hard on a suspicious line to see whether it fails. If you find damage, reduce the load and get the line assessed or replaced before the next demanding sail. A sudden failure can leave a sail loose or a control unavailable at the wrong time. The calm choice is to act while you still have a dockside option.
Rinse and dry lines as your boat's care routine allows, but do not use cleaning as proof of strength. A line can look cleaner without becoming sounder. The information you need comes from the rope's full path, its cover and core condition, its terminations, and the hardware it works through.
Measure before you order replacement rope
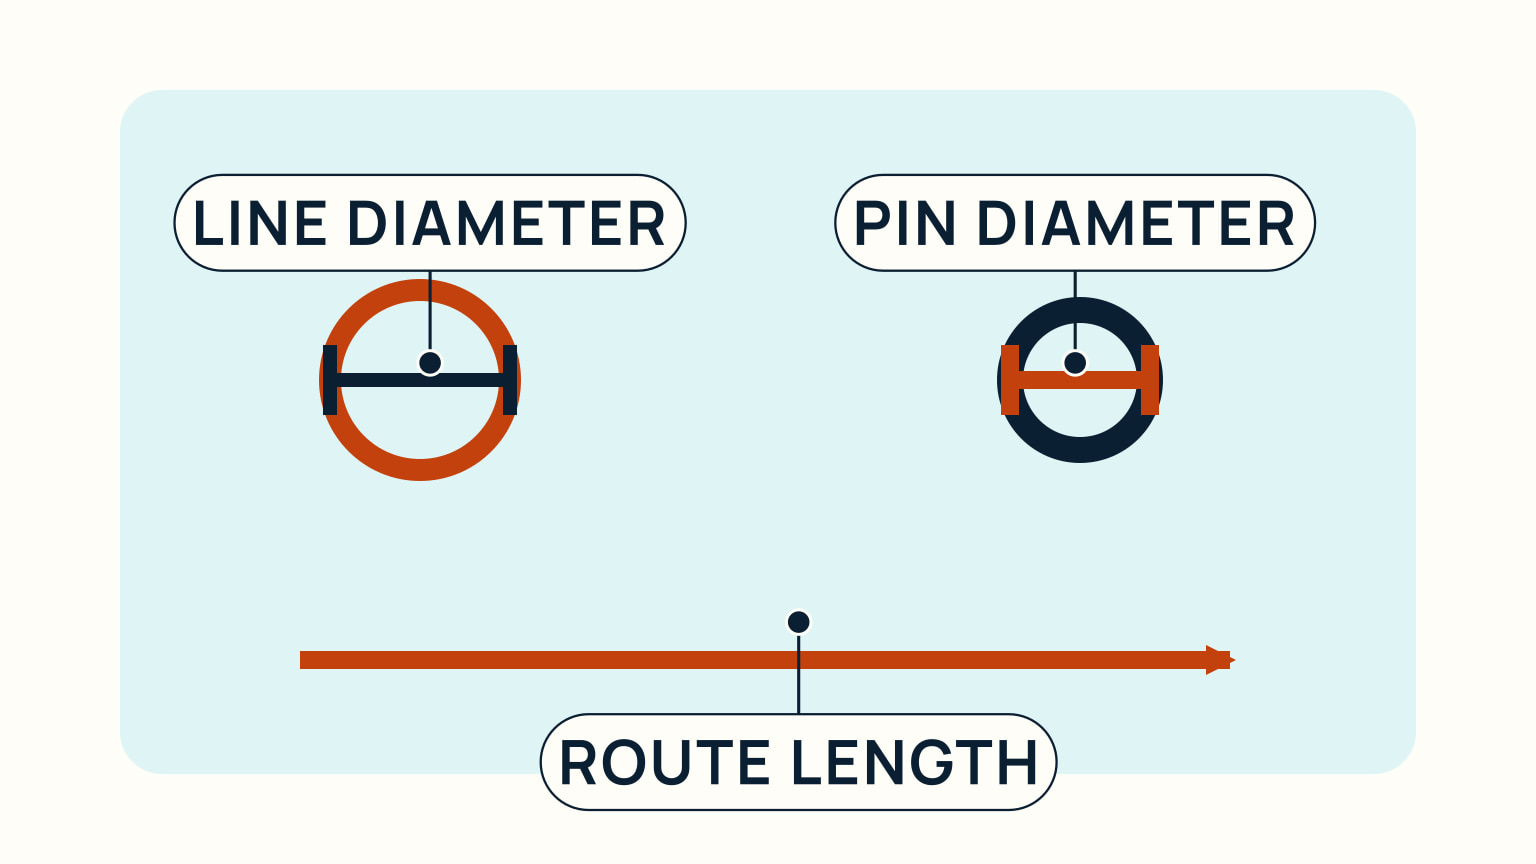
When a line needs replacement, use the old line as information. Measure its diameter and useful length, including the route it must travel. Note its construction, colour if that helps crew identify it, splices, shackle style, stopper knot, and any cover taper. Record the boat, sail, and hardware it serves.
The replacement is a choice among handling, stretch, abrasion resistance, strength, diameter, and compatibility with the hardware. A rope that is too large may not run through a clutch or sheave correctly. One that is too small may handle poorly or be unsuitable for the intended load. A line that is wonderfully low-stretch may be a poor fit for a job where easy handling matters more.
Ask a rigger or rope supplier to work from the actual application, not from the word "halyard" alone. The same label can describe lines on very different boats. Give them your measurements, photographs, and any known load or manufacturer guidance. That is more useful than choosing by colour or a general online size chart.
If the old line must stay in place until the new one arrives, do not lose its path. Use a suitable messenger line only when you understand the route and can recover it safely. For a complicated internal run, professional help can be cheaper than retrieving a lost messenger from inside a mast or boom.
Replace the cause as well as the line
New rope is only half the job. Before loading it, clean the route and inspect the hardware at the marked damage point. A sheave that will not turn, a chipped fairlead, a sharp casting edge, or a badly aligned lead can eat the new cover quickly. Correct that cause, then reeve the replacement and check its travel without load.
Set up the line so it can run freely through the entire working range. Check that it reaches the intended cleat, clutch, or winch without a harmful turn. Confirm the sail can be raised, reefed, or adjusted as intended. Do the first loaded test in controlled conditions, not at the start of a passage when the line is suddenly critical.
Add the new line to your maintenance record with the date, specification, supplier, and reason for replacement. Keep a short note about the chafe point you corrected. That makes the next inspection faster and helps a future owner understand why a line differs from the rest.
Running rigging is part of the boat's working system, so inspect it with the same curiosity you use for sailboat maintenance and deck hardware. Each line has a purpose, a path, and a place where it is most likely to show trouble.
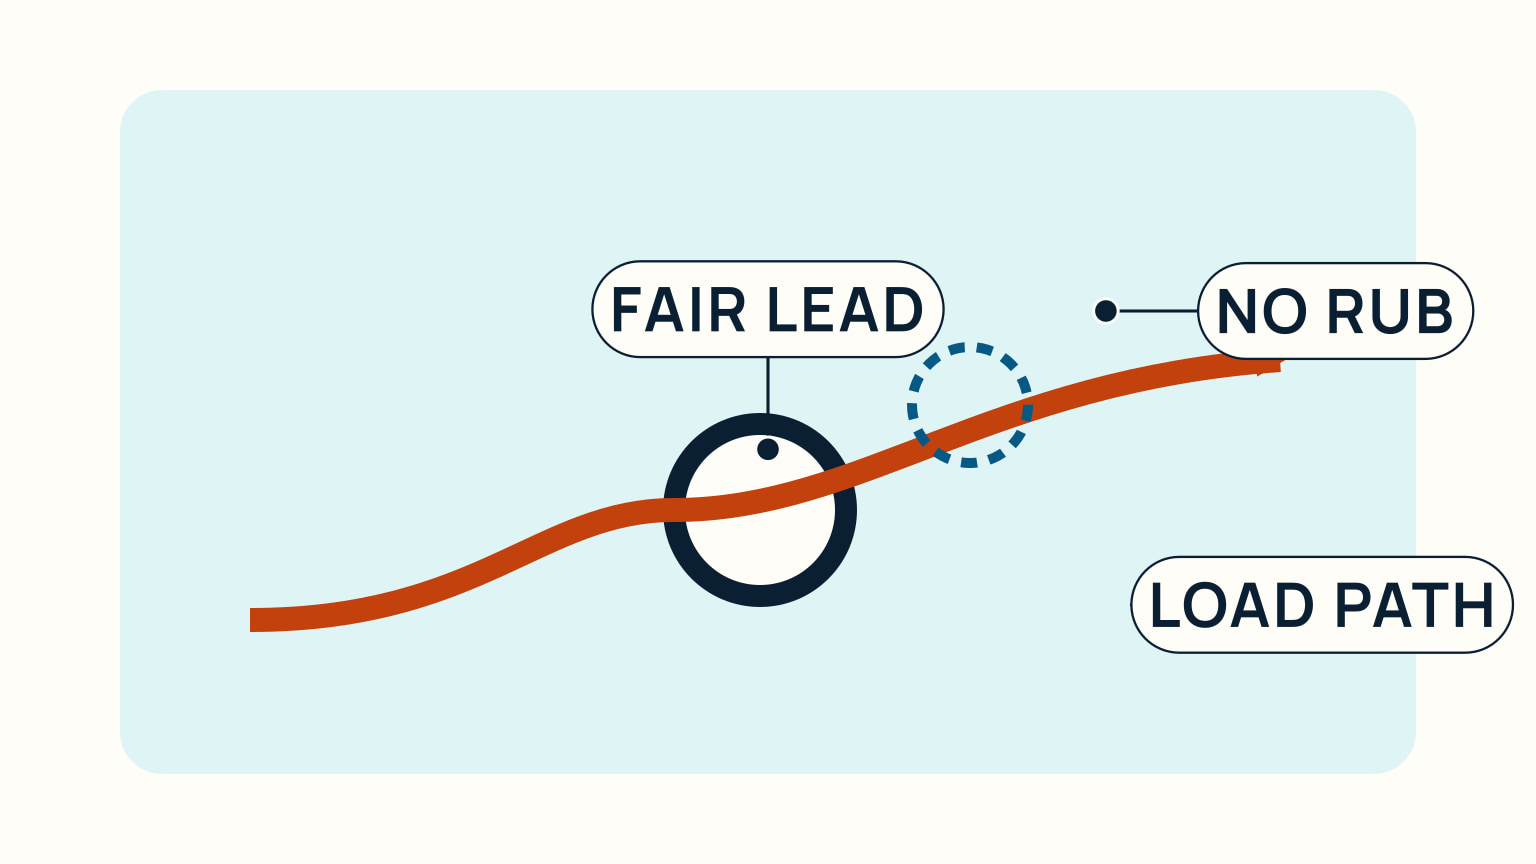
The safest replacement plan is simple: identify the line, inspect every metre that matters, find the reason for damage, measure the whole system, then test the new lead before relying on it. That is careful maintenance, not guesswork.
Keep the inspection practical by doing one system at a time. Start at the sail, follow the line to the cockpit, and write down every fitting it touches. With the sail down, you can often move the line slowly and inspect sections that disappear during normal sailing. If you cannot see a part of the route or are unsure about an internal reeving path, stop and ask for help. A working line is inexpensive compared with the trouble caused by removing the wrong one or losing its route inside the rig.
Make inspection a pre-sail habit as well as a winter job. Before raising sail, look at the exposed working sections and the places a line will load first. After a hard day, rinse salt where practical and note any new rub. That short check does not replace a full inspection, yet it means a developing problem is more likely to be found at the dock than while a sail is halfway up the mast.
When a line is removed, label both the old line and any messenger before the work starts. A simple tag that names the run and direction can prevent an avoidable mistake. Take a final photograph of the full lead before pulling it free. This is particularly useful where several coloured tails enter the same organiser or clutch bank.
When you inspect a line, include the places where it is tied off or secured for storage. A loose tail can be stepped on, jam a companionway, or find its way into machinery, while a line stored too tightly can hide a damaged working section. Coil or flake it so the next use starts cleanly. Good housekeeping does not add strength to rope, but it makes abnormal wear easier to see and stops a simple line from becoming a deck hazard.
If several lines are due for attention, prioritise by consequence. A line that controls a primary sail or is already chafed at a loaded turning point deserves attention before a lightly used adjustment tail. That is not an excuse to ignore the rest. It is a way to make a maintenance list useful when time is limited, while keeping the full inspection record for the next opportunity.
Try it from the lesson
Can you spot the next move?
The mainsail is down and you need to raise it to the top of the mast. Which line do you pull?
Why you can trust this guide
. We build each guide from public seamanship and safety sources, then teach the universal principle before any local difference.