Chart your course
Standing Rigging Inspection Checklist
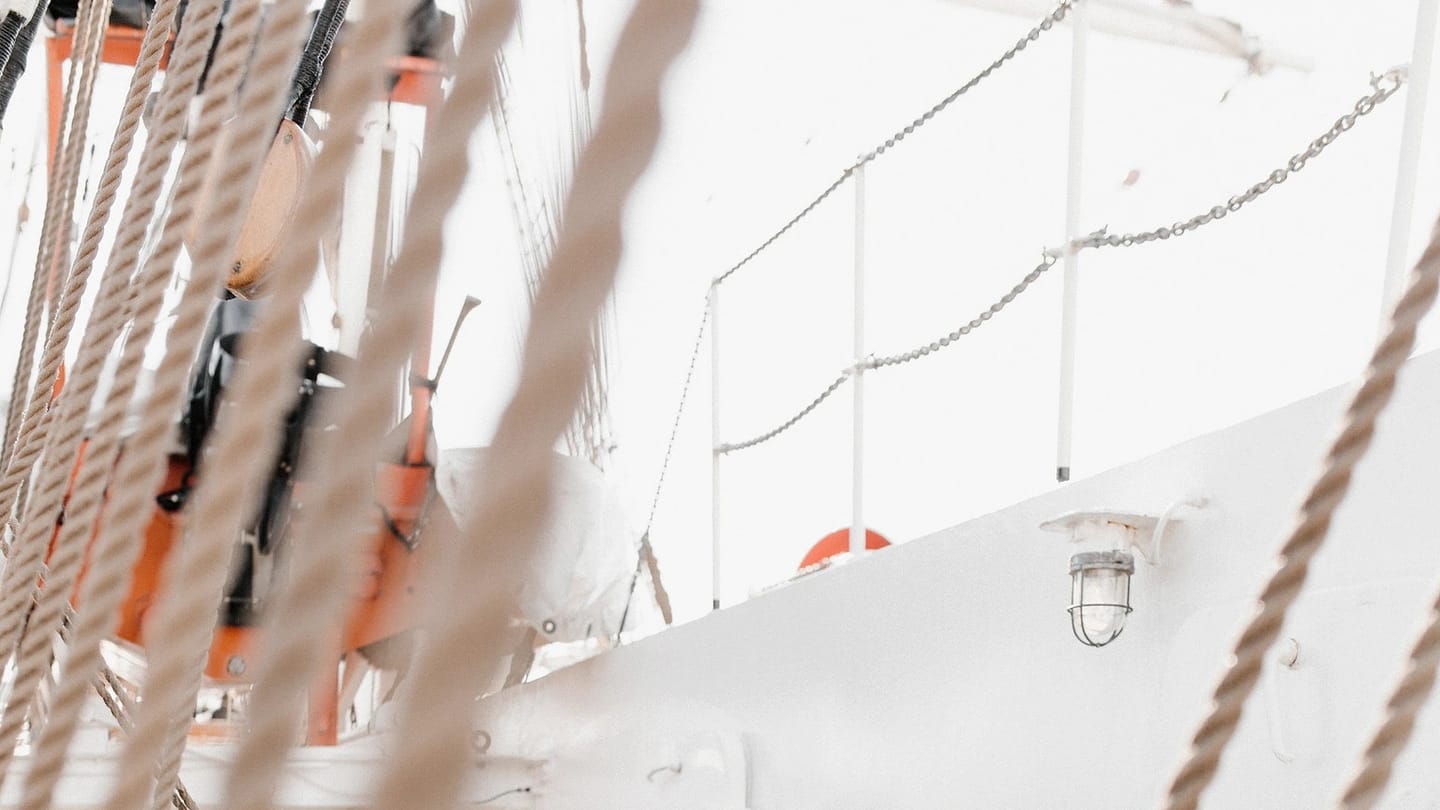
Quick answer
The short version
A standing rigging inspection starts at deck level and follows every load path that supports the mast. Check chainplates and their deck entries, clevis pins, split pins or other retainers, toggles, turnbuckles, terminals, wire or rod, spreader areas, mast fittings, and forestay or furler parts that are visible. Look for change: cracks, broken strands, distortion, loose or missing retainers, corrosion products, movement, chafe, damaged covers, or new water staining. Do not give every boat the same replacement age. Material, design, environment, use, loading, history, and hidden condition differ. Photograph findings, avoid disturbing suspect fittings, and ask a competent rigger to assess damage, unknown history, tuning problems, collision or grounding loads, and anything aloft you cannot inspect safely.
The standing rig holds the mast in position under changing load. Many failures begin in small areas around terminals, pins, bends, dissimilar metals, or water entry. A quick glance at shiny wire is not enough, yet an owner check is still valuable because you see the boat repeatedly. Establish a baseline and notice change between professional inspections. If the mast has been unstepped, the boat has suffered a knockdown or impact, or the rig's history is missing, make professional assessment part of the sailing plan.
Where Should the Deck-Level Check Begin?
Start where each stay or shroud transfers load into the hull. Inspect chainplates above deck for cracking, distortion, corrosion products, loose fasteners, and sealant failure. Below deck, where accessible, look for movement, staining, dampness, soft structure, or damaged fasteners. Water trails matter because hidden chainplate sections can sit in damp material.
At the turnbuckle, confirm that pins and retainers are present and properly secured for that fitting. Look for bent toggles, thread damage, split bodies, seized adjustment, or a turnbuckle sitting at an extreme. Covers can hide corrosion and retain moisture, so have them removed as the manufacturer or rigger recommends. Do not tune the rig merely because one side looks different at the dock.
What Should You Look for on Wire and Terminals?
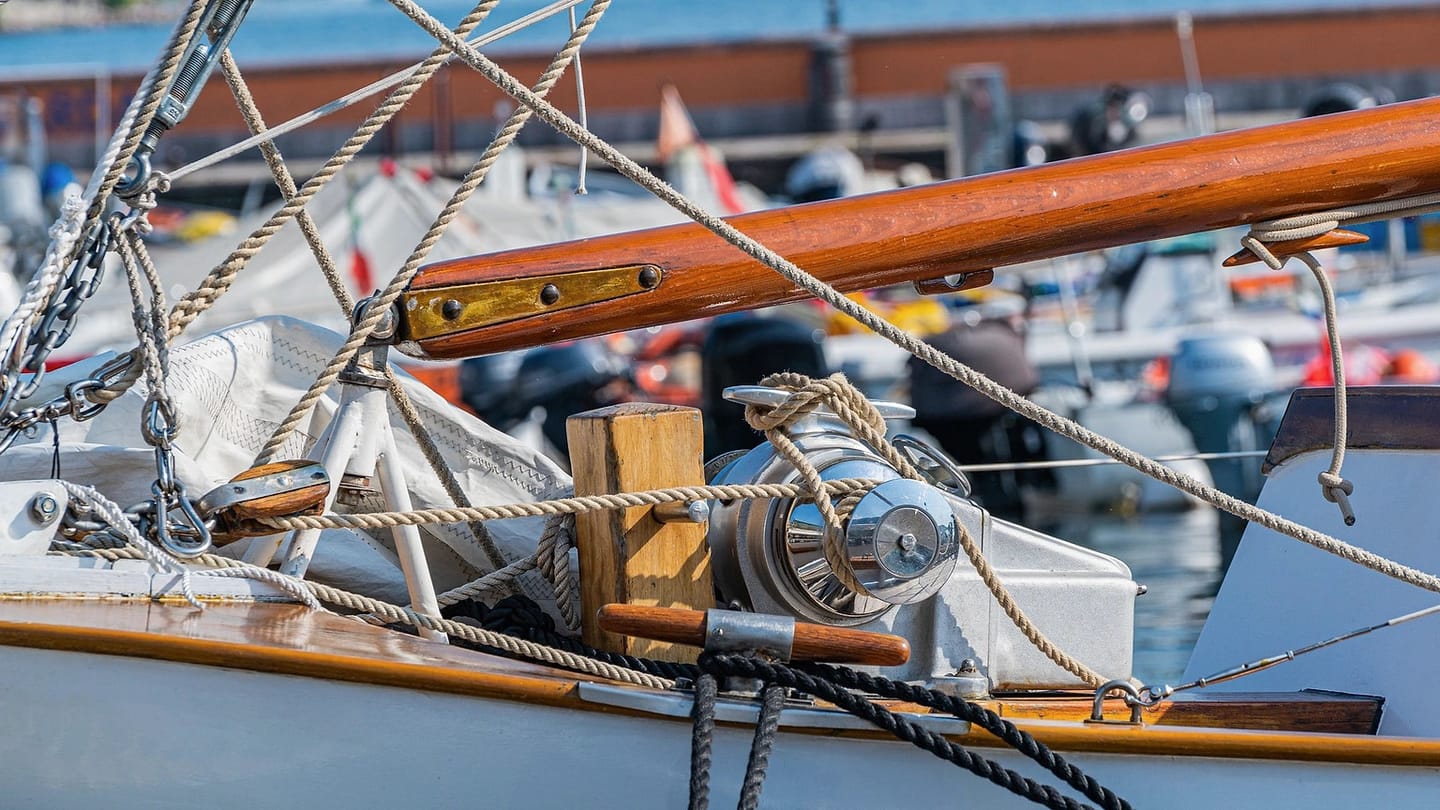
Run your eyes along the wire without sliding a bare hand over it. Broken strands can be sharp. Pay close attention where wire enters a swage or mechanical terminal, where it bends, and where it may rub against spreaders, sails, or guards. Rust staining, cracks, swelling, displaced strands, or a change in lay calls for a rigger's assessment. Rod rigging has different fittings and failure clues; follow its manufacturer guidance.
Inspect terminal alignment. A stay should not be forced to bend across a fitting that cannot articulate with the load. Check clevis pins for secure retention and fittings for wear or oval holes where visible. Surface staining alone does not reveal depth, and a clean exterior does not prove the internal condition of a terminal. Record the location precisely instead of describing a fault as "somewhere on the port side."
How Do You Inspect Aloft Safely?
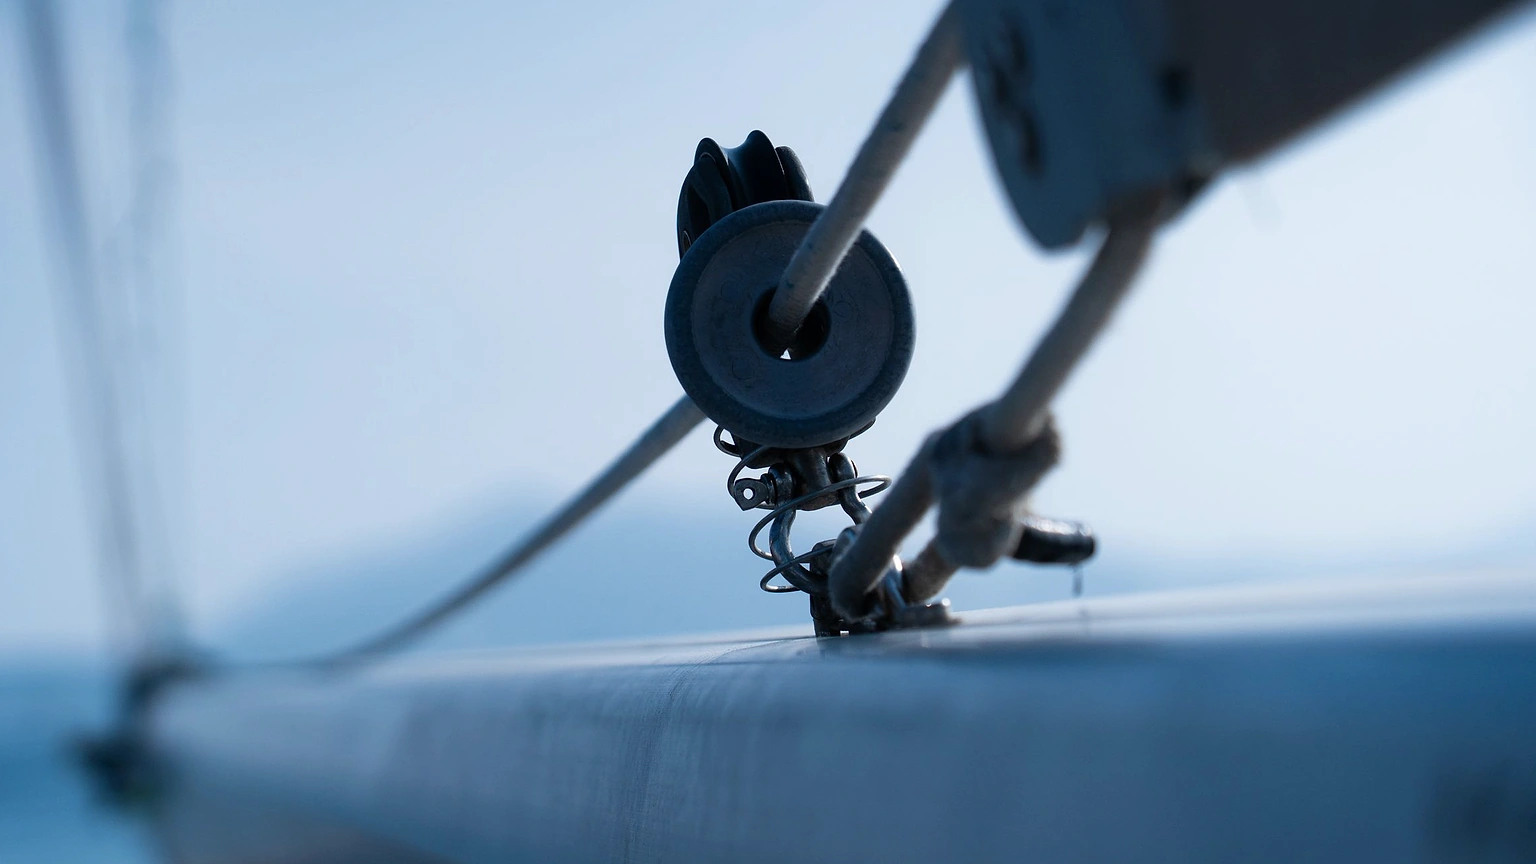
Use a competent person and a proven access method. Bosun's chairs, halyards, mast steps, cranes, and unstepped-mast inspection each have equipment-specific procedures and hazards. Do not go aloft alone or trust a single unknown halyard. A professional rigger can inspect spreader roots and tips, tangs, masthead fittings, sheaves, forestay connections, lights, and furler components while controlling access.
From deck level, use binoculars and photographs to look for obvious movement, loose fittings, damaged spreaders, or halyard chafe. This is a screen, not a substitute for close inspection. If a fitting is suspect, avoid loading the rig until it is assessed. Never climb to confirm a serious defect on a rig that may not safely support the climbing system.
When Should You Escalate the Finding?
Call a rigger for any crack, broken strand, distorted fitting, missing retainer, significant corrosion, unexplained loss of tension, mast movement, chainplate leak with structural concern, furler fault affecting the forestay, or damage after impact, grounding, or severe loading. Unknown age and service history also justify a fuller assessment. Do not ask a calendar alone to decide whether the rig is sound.
Keep a rig file with design details, material, dates, tuning and inspection reports, photographs, replacements, and incidents. Record both sides and exact locations. After professional work, ask what changed, what remains, and when the next check is due. Replacement decisions should reflect the actual rig and manufacturer's guidance. A universal age posted online cannot see crevice corrosion, fatigue, poor alignment, tropical exposure, winter storage, or a lightly used well-documented fitting.

Follow each load path
Start at one chainplate and follow the stay or shroud upward as far as you can inspect safely, then connect it to the mast and the matching structure below deck. Look for corrosion, cracking, broken wire, distortion, loose or missing fasteners, movement, staining, leaks, damaged terminals, and chafe. Repeat in a fixed order so no side is skipped.
Do not climb or load suspect rigging. Binoculars and photographs can help identify an area for professional inspection, but they do not replace close access by a competent rigger. Keep feet and tools away from loaded turnbuckles and terminals.
Check deck and interior evidence together
A stain below a chainplate, cracked sealant above it, and movement at the attachment may be parts of one water and load path. Inspect the deck surface, fasteners, backing structure, bulkhead or hull connection, and nearby interior where accessible. Record the exact location and conditions.
The survey red-flags guide explains why structure, water pathways, rig, and steering findings should be read as connected systems. A cosmetic repair should not hide the evidence before the cause is understood.
Compare with a known baseline
Photograph terminals, turnbuckles, chainplates, spreaders, and mast fittings from repeatable angles. Record dates, mast work, tuning, groundings, heavy-weather events, and changes in sail shape or mast position. A baseline makes new movement or corrosion easier to identify.
Do not use a photograph to measure safety-critical dimensions unless the method is designed for it. Use the boat and rig maker's instructions and professional measurements for tuning or replacement decisions.
Know what stops the sail
Stop using the boat and obtain qualified advice when you find broken wire strands, cracking, severe corrosion, a distorted fitting, loose structural attachment, unexpected movement, or damage after an impact. If you cannot identify the consequence of a finding, treat the uncertainty as a reason for inspection rather than continued loading.
Age alone does not describe condition, and a clean surface does not reveal every internal defect. Ask a rigger to consider material, environment, use, inspection history, fittings, and maker guidance. Avoid turning a general replacement interval into a universal promise.
Close the loop in the maintenance log
Give every finding a photo, location, date, action, owner, and return-to-service decision. Record professional reports, parts, torque or tuning data where supplied, and follow-up dates. The maintenance checklist helps keep this work beside engine, electrical, hull, and safety tasks.
After any adjustment or repair, inspect the complete path again. Confirm pins, locking devices, covers, cotters, and line clearance as specified. A rigging check is complete when the evidence has been resolved and documented, not when the visible symptom has been polished away.
Use SailStarter's rig lesson to name the load path before inspecting it. Stand at the bow and trace the forestay, cap shrouds, lower shrouds, and backstay or other supports fitted to your boat. Work from the hull attachment upward, taking the same set of photographs each time. Add a diagram with numbered locations so a note such as "terminal 4, lower end" means one thing to you and the rigger. Review the manufacturer's manuals and the last professional report, then list unknown history as an open finding rather than filling the gap with an estimate. Repeat the owner check after hard sailing, impact, mast work, or any visible change. Your job is to notice and communicate. The rigger's job is to assess the system and specify safe work.
Include running rigging where it touches the standing rig. A halyard rubbing a spreader, a sail cover trapping water at a terminal, or a line striking the mast can hide or accelerate wear. Record the contact and correct the routing under suitable guidance.
Ask the rigger what the crew should monitor between professional inspections. Get plain descriptions and photographs of the specific areas. Add them to the before-sail or seasonal checklist with a clear stop-use trigger.
After stepping or unstepping the mast, inspect electrical connections, lights, instruments, seals, pins, and locking devices as well as the wires and fittings. The work changes several systems at once, so the return-to-service check should do the same.
Try it from the lesson
Can you spot the next move?
The boom pivots at its mast joint. Does that make it a shroud or stay?
Why you can trust this guide
. We build each guide from public seamanship and safety sources, then teach the universal principle before any local difference.