Chart your course
How to Position Fenders When Docking
Quick answer
The short version
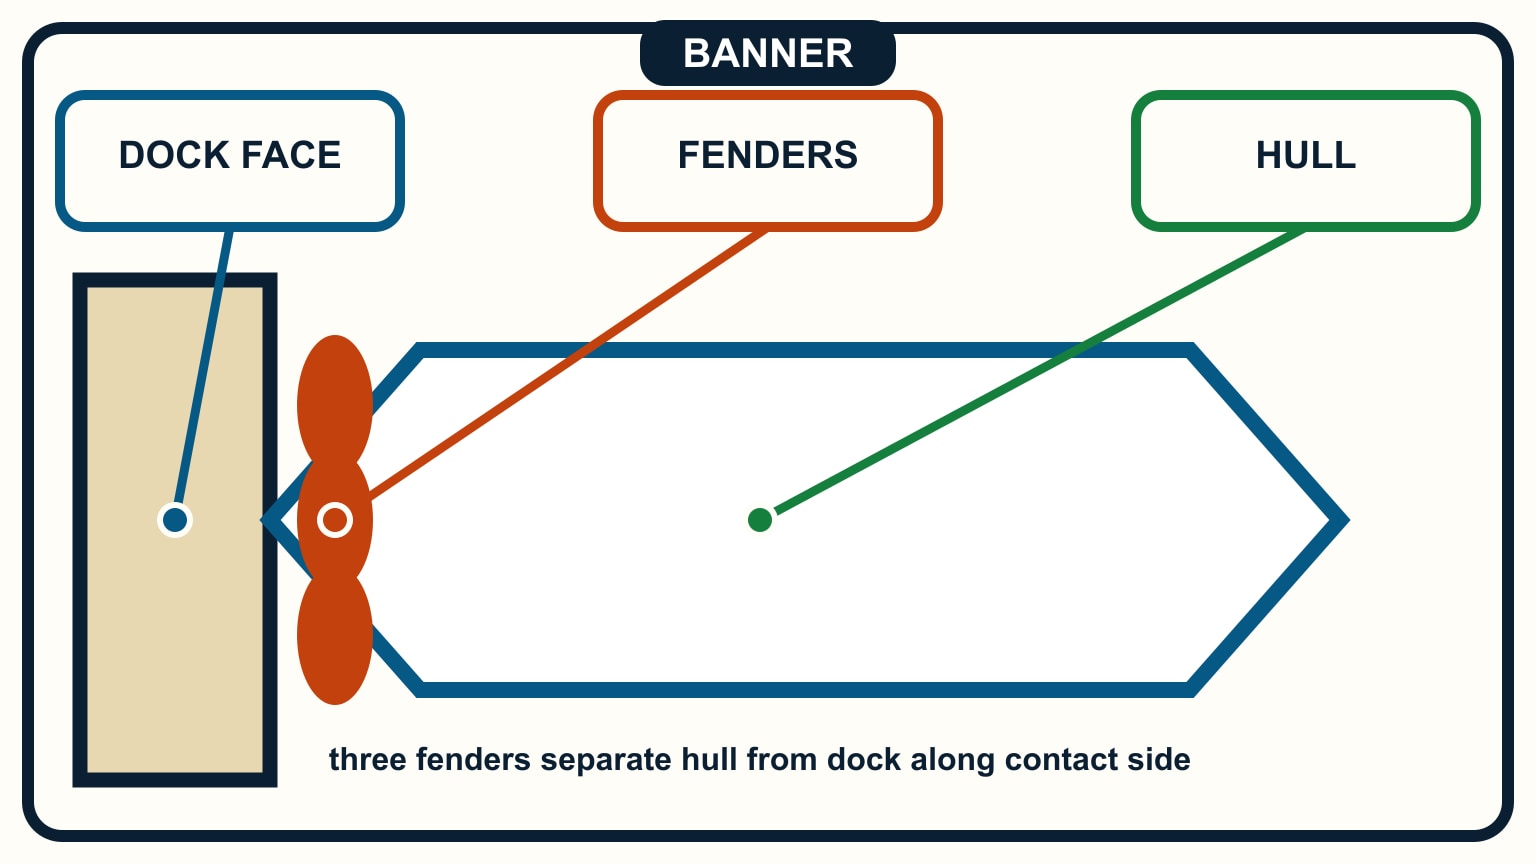
Rig fenders before the close approach, on the side that will meet the dock. Set their centres at the height of the actual contact surface, not at a memorized distance from the rail. Place several across the part of the hull most likely to touch, with extra protection near the widest beam or a known corner. A high fixed pier, low floating dock, piling, rafted boat, and stern-to berth need different heights and shapes. Tie each fender to a strong rail base or fitting, keep the adjustment end aboard, and move one only when the boat is stopped or controlled. Fenders protect contact; they do not rescue excess speed.
The useful question is “what can touch what?” Look at the dock face, tide range, pilings, neighbouring boat, wind, current, and planned first line. Then place the cushions between those surfaces. How to dock a sailboat covers the whole approach; fender placement is one preparation within it.
Read the berth before rigging
Approach slowly enough to inspect from outside the close-quarters zone or ask the marina for details before arrival. Is the dock floating with the boat, or fixed while the water moves? Does the hull meet a flat face, vertical piles, a concrete edge, or another vessel? Are cleats available where the planned lines need them? Note projections that could ride above or below a round fender.
Choose the docking side early and brief the crew. Rigging both sides may make sense when the assignment is uncertain, but loose fenders and lines should not fill every walkway. Keep the helm's sightline clear and preserve a safe route for crew to reach the first line.
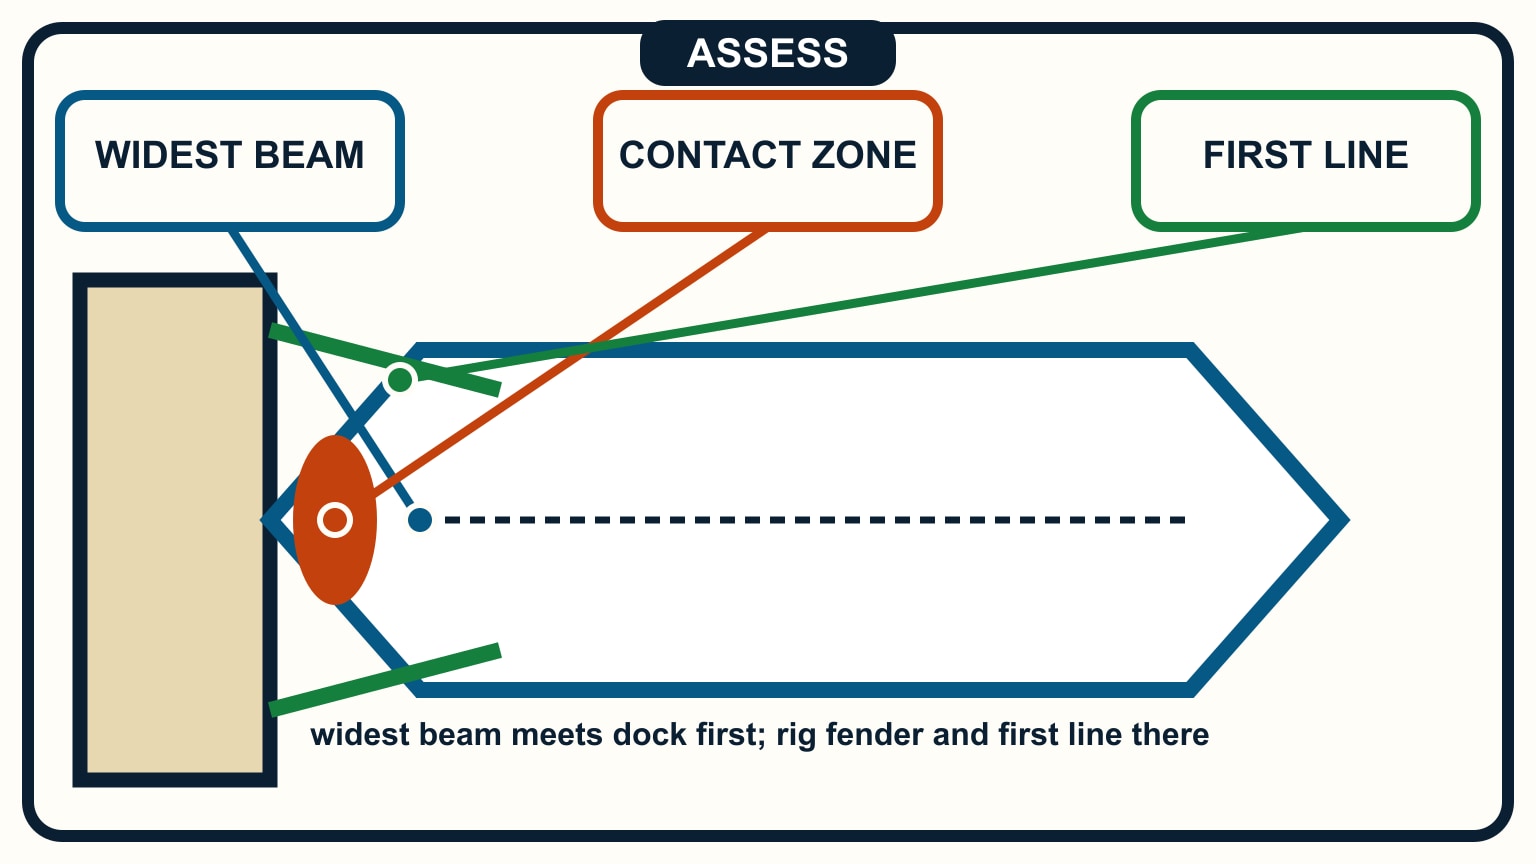
Estimate the likely contact zone from the hull shape and manoeuvre. The maximum beam often meets a flat dock first during a parallel approach. A bow or stern quarter may need extra protection if wind or current will rotate the boat after the first line lands. For a piling, a fender board or different fender shape may be needed to bridge the gaps; follow the equipment maker's use guidance.
Call out the abort condition before the last turn. If the boat is too fast, badly angled, or the berth differs from the plan, leave and reset. A fender should never be the reason to continue a poor approach.
Set height from the contact surface
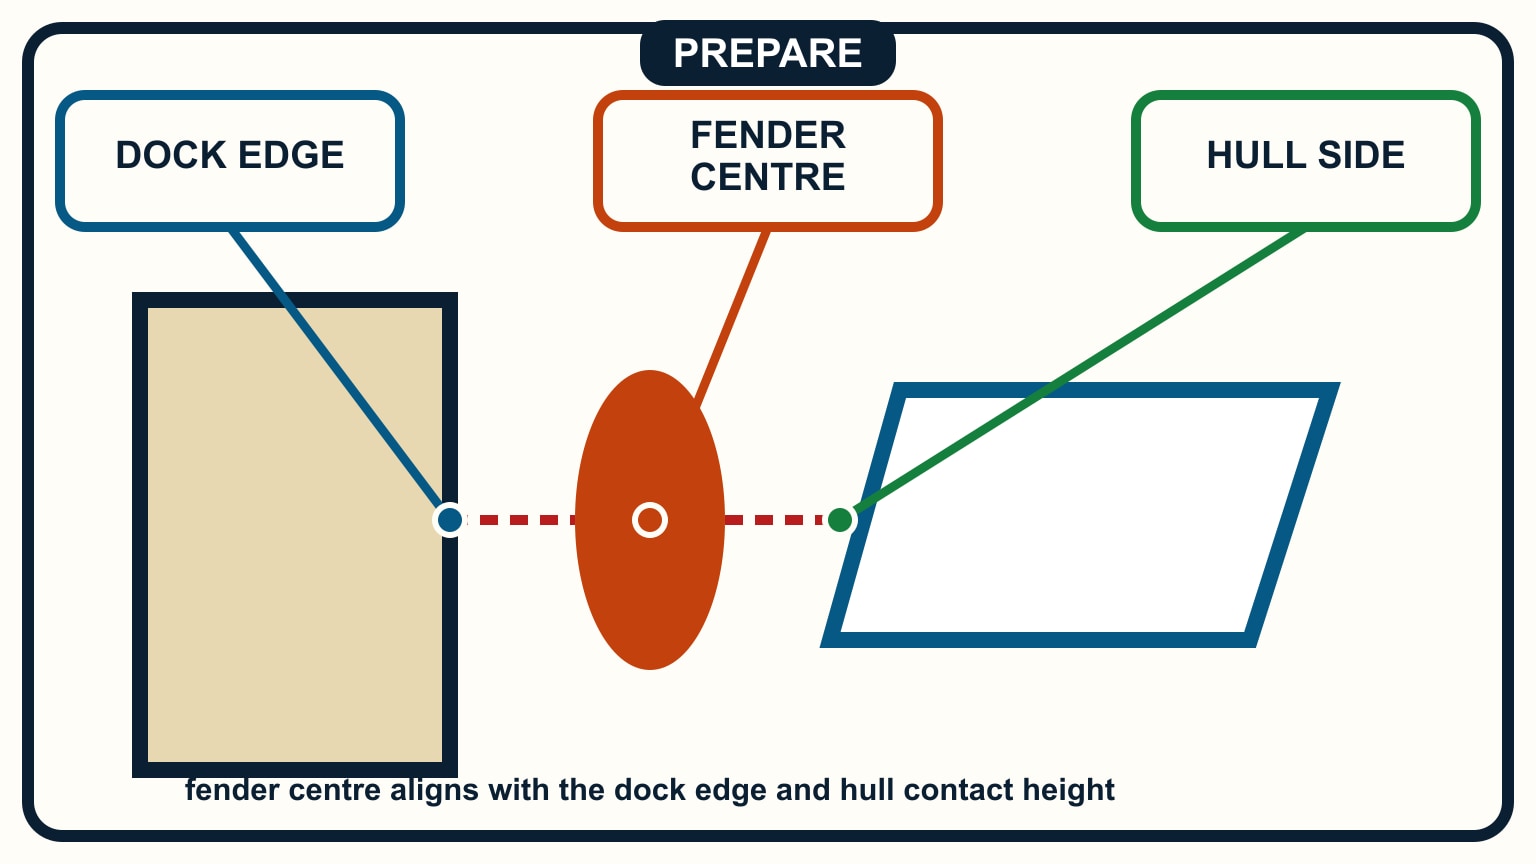
For a low floating dock, a vertical cylindrical fender may need its middle near the dock's outer edge so it cannot roll above or below the contact. A high fixed wall may need fenders horizontal or at several heights. Between boats, hang them where the two hulls can meet, allowing for different freeboard and movement. The correct picture comes from the berth, not a universal knot position.
Lower a fender while still in open water and sight along the hull. The crew can adjust it without reaching outside the lifelines. Tie to a structural rail base, stanchion base, cleat, or fitting approved for the purpose rather than a light lifeline wire or decorative part. Use a secure, adjustable hitch the crew can release under modest load.
Keep knots and tails aboard. A trailing line can enter the propeller, while a fender lost overboard creates a distraction during the manoeuvre. Check that the fender cannot swing forward into the bow or aft toward the propeller as the boat slows.
If tide will change the relative height at a fixed dock, plan for the range. One perfect arrival position may be wrong several hours later. Include rechecking fenders with the same schedule used for dock lines.
Cover a zone instead of one point
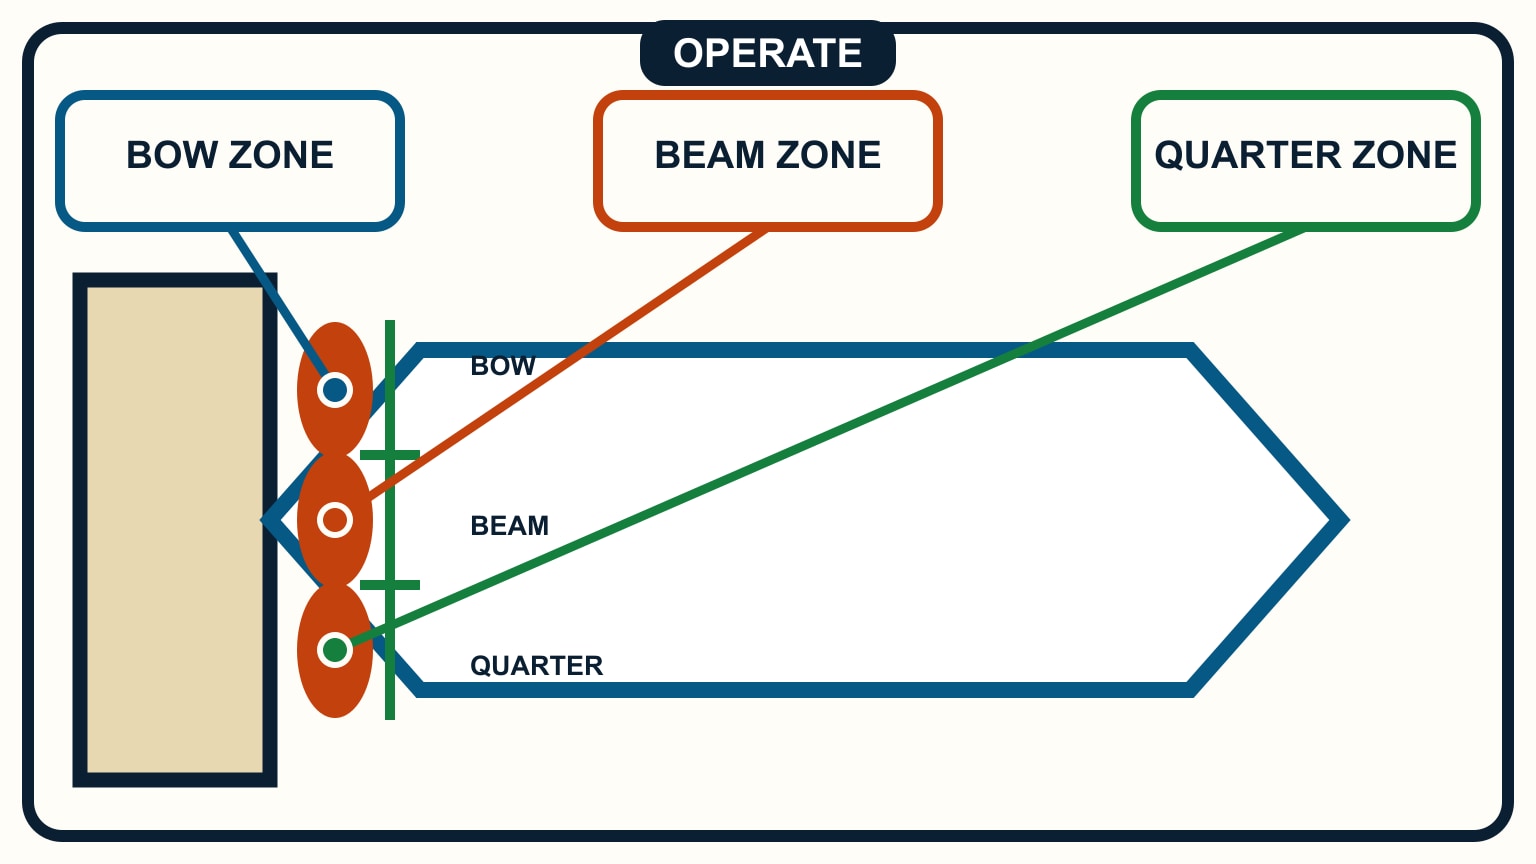
Use several fenders with overlapping protection across the likely contact area. Space them close enough that one remains between hull and dock as the boat moves fore and aft. Place the strongest protection at the maximum beam or the corner that will be pressed by the expected force. A single fender can squirt out, roll aside, or end up beside the contact.
Keep the layout connected to the line plan. A bow, stern, or spring line changes where the boat pivots. Once the first line is made, the opposite end may swing toward the dock. Position a fender there before the line is loaded. Spring lines explained shows how those lines control fore-and-aft motion rather than merely tying the boat in place.
Avoid creating new hazards. A large fender beside the crew's step point can block access. A horizontal fender may cover a cleat. A cluster at the bow can interfere with an anchor. Shift the plan on deck while the berth remains far away, not after a crew member needs the same space for a line.
For a raft-up, compare both hull shapes and fittings. Protect spreaders from overlap through the boat positioning and line arrangement; soft fenders at deck level cannot make crossed rigs safe.
Adjust only when the boat is controlled
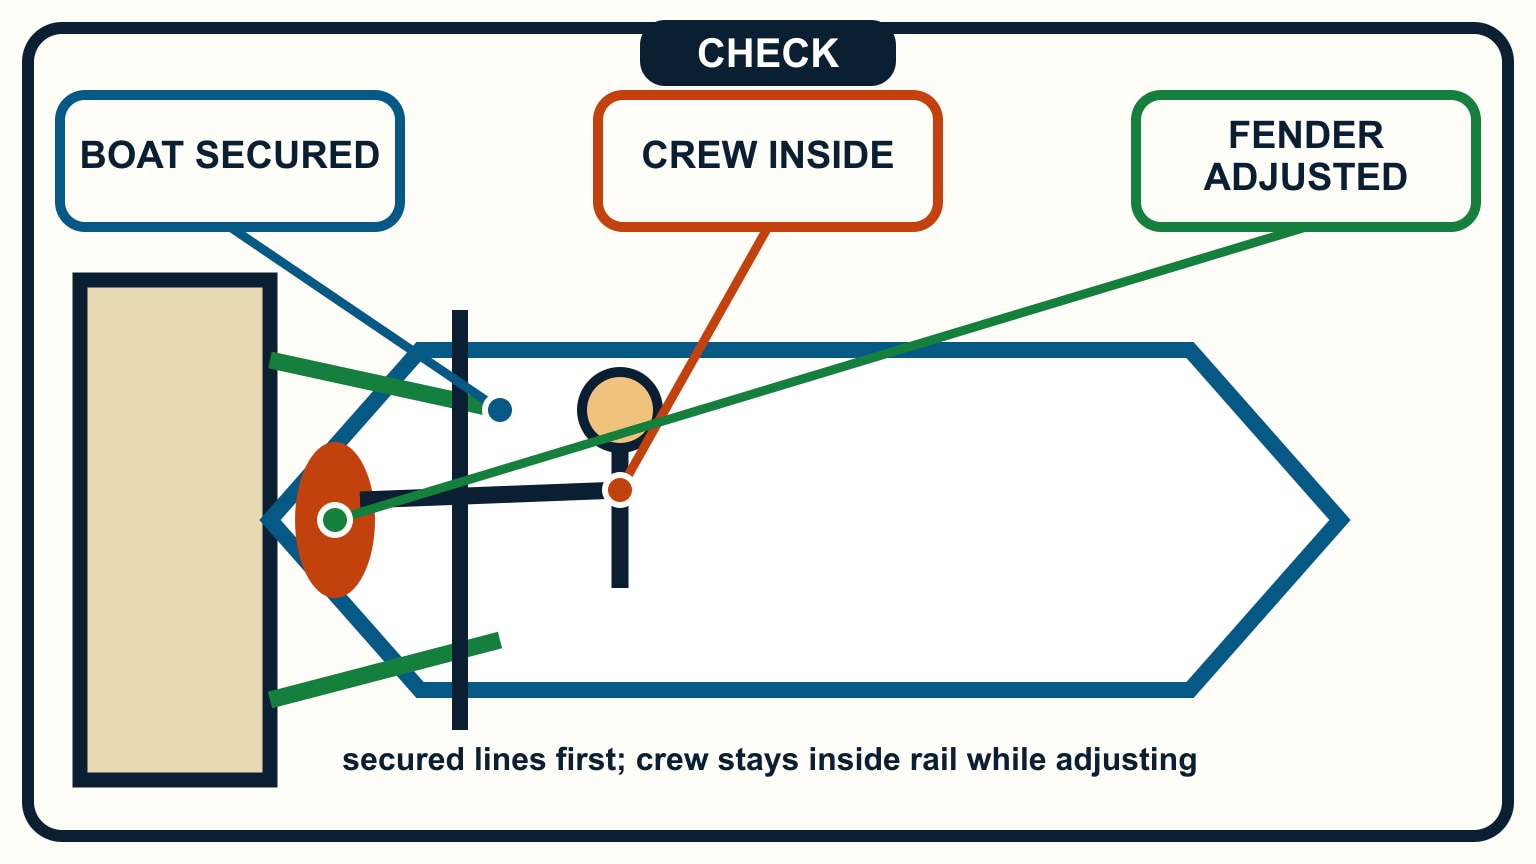
As the dock comes close, the crew reports fender height and contact without pushing with hands or feet. Nobody uses a limb as a fender. If the protection is misplaced, the helm stops the approach or leaves for another try. Reaching outside a moving boat to drag a loaded fender invites a crush injury.
Once a line is secured and the boat is under control, adjust one fender at a time. Ease its knot from aboard, move the body of the fender with its line, and retie before touching the next. If it is trapped hard between hull and dock, change the boat's load with lines rather than pulling the fender by hand.
Watch what wind and current do after the engine enters neutral. The hull may settle away from the dock, then return as a spring line takes load. Confirm the fenders remain at the real rubbing points through that motion. At a fixed wall, look again as tide changes.
Fenders work alongside a low-speed approach, prepared lines, and a clear exit. Docking in wind and current explains why the force picture should be read before the crew tries to correct it at arm's length.
Reset the boat for the next departure
After docking, clean up the temporary approach layout. Secure fender tails, keep walkways open, and set long-term positions for tide, wash, and neighbouring traffic. Inspect the contact faces for grit or damage that could abrade the hull. A dirty fender pressed for days can mark more than it protects.
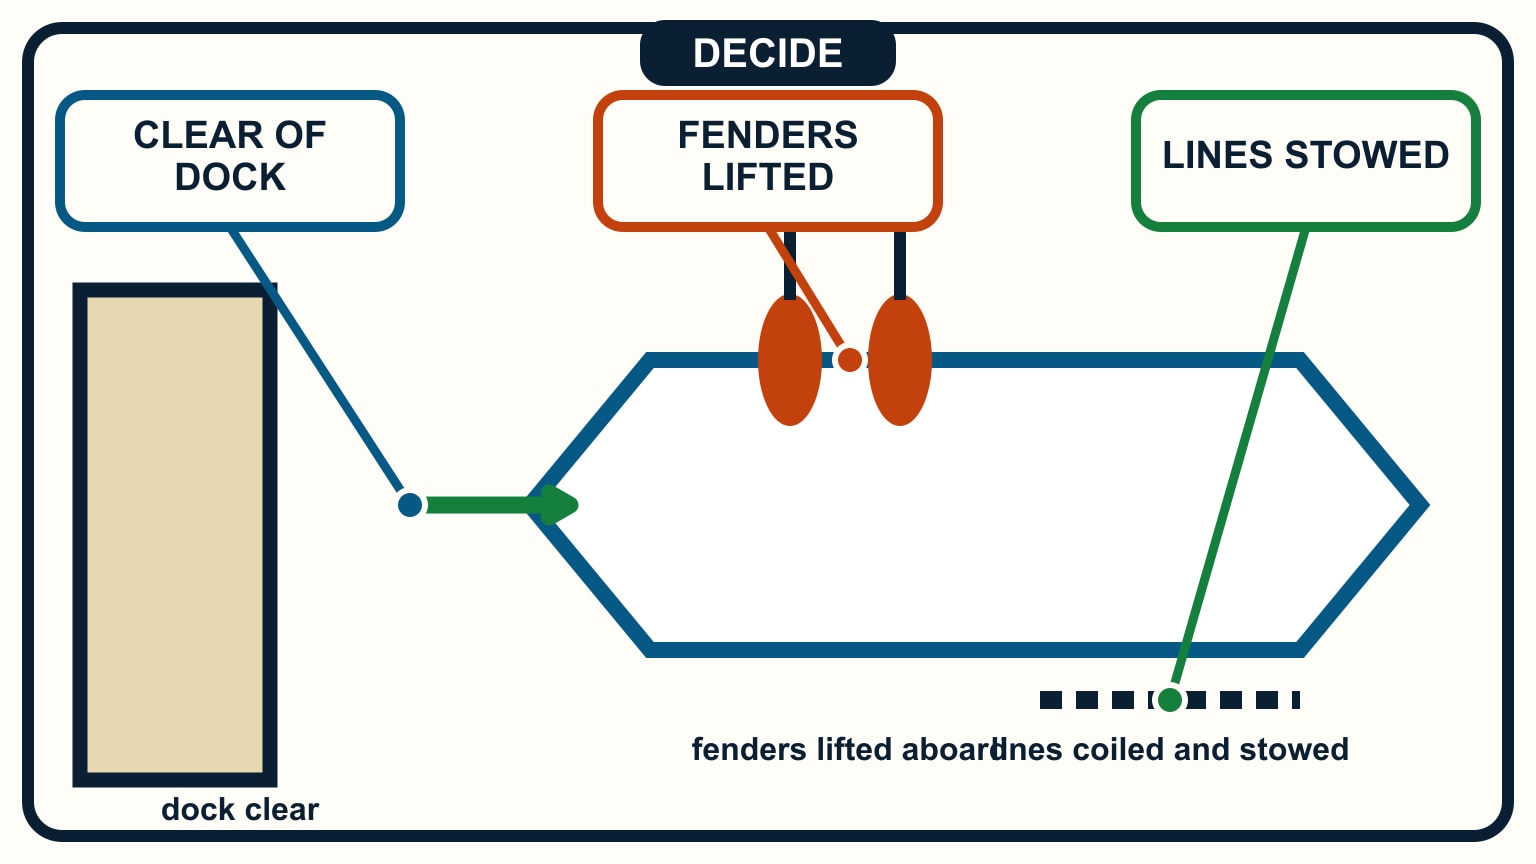
Before departure, decide when fenders come aboard. Leaving them down while clearing a tight berth may protect an unexpected touch. Once the boat is fully clear and the crew no longer needs docking lines, lift and stow them so they cannot swing, drag, or advertise an unfinished manoeuvre. Do not send a crew member forward solely to collect one while the boat is still in a difficult channel.
Inspect valves, eyes, covers, and lines. Replace a split eye, leaking body, worn cover, or chafed lanyard before the next arrival. Match size and inflation to the manufacturer's instructions; an overinflated hard cylinder and an underinflated collapsing one both lose useful cushioning.
Add berth details to the log when they will matter again: fixed or floating, useful fender height, awkward piling, cleat positions, and tide limits. The next approach can then begin with evidence instead of a hurried guess.
SailStarter's docking lessons help you read the boat's motion and give the crew one clear job at a time. Use that structure for fenders too: inspect the berth, choose the contact zone, rig before the gap closes, and stop if the actual geometry does not match. A well-placed fender is quiet evidence of a good plan. It should already be waiting where the hull can touch, with no last-second hands outside the rail.
After securing alongside, walk the full hull-to-dock relationship while the boat moves through several minutes of wake and tide. A fender that looked centred on arrival may roll out, climb above a low float, or sit between contact points as the lines settle. Re-rig it from the deck while the boat remains controlled, and add a board only when the crew understands its load and attachment.
Before departure, recover fenders from a safe position after the close-quarters risk has passed. Leaving them over the side can snag fittings and distract the crew; lifting them too early removes protection during the moment it is still useful. Coil each line and note any split cover, crushed body, or weak eye before the next approach.
Try it from the lesson
Can you spot the next move?
On your unloaded practice line, where do the two backup half hitches go, and how do you form them?
Why you can trust this guide
. We build each guide from public seamanship and safety sources, then teach the universal principle before any local difference.