Chart your course
How to Rebed Sailboat Deck Hardware
Quick answer
The short version
Re-bedding deck hardware means removing a fitting, cleaning and assessing the joint, applying a compatible sealant, refastening it correctly, allowing the product to cure, and testing the result. First prove where the water enters. Identify the fitting, fasteners, deck material and core, movement, load, previous sealant, and interior access. Soft core, cracked laminate, distorted or moving hardware, corrosion, or an uncertain high-load attachment needs structural assessment before fresh sealant. Choose the product for the substrates, location, movement, bond strength, and future removability. Follow its surface preparation, primer, application, tightening, cleanup, temperature, open-time, and cure instructions exactly.
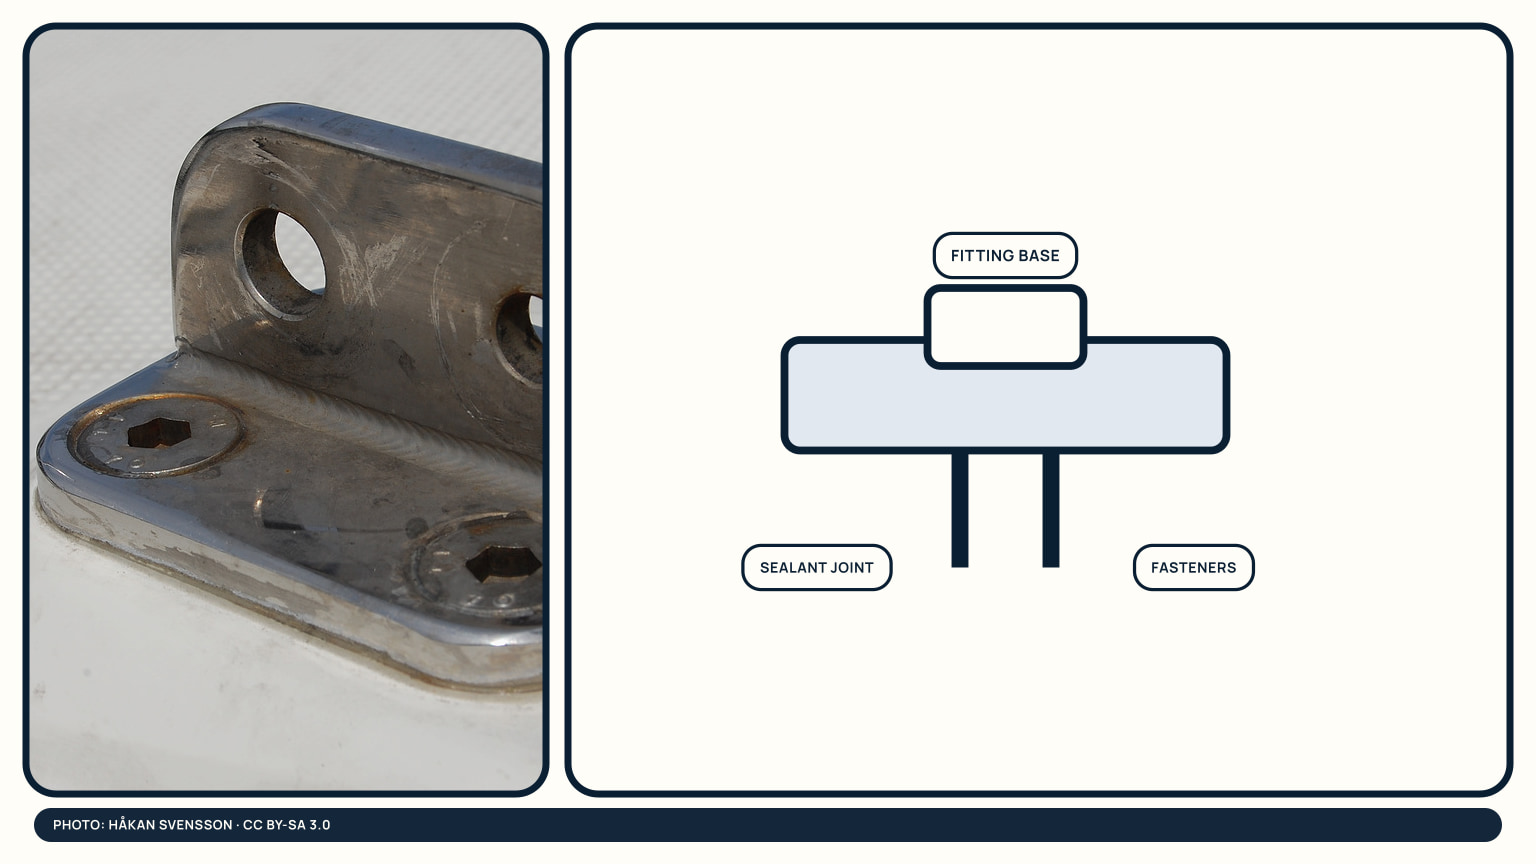
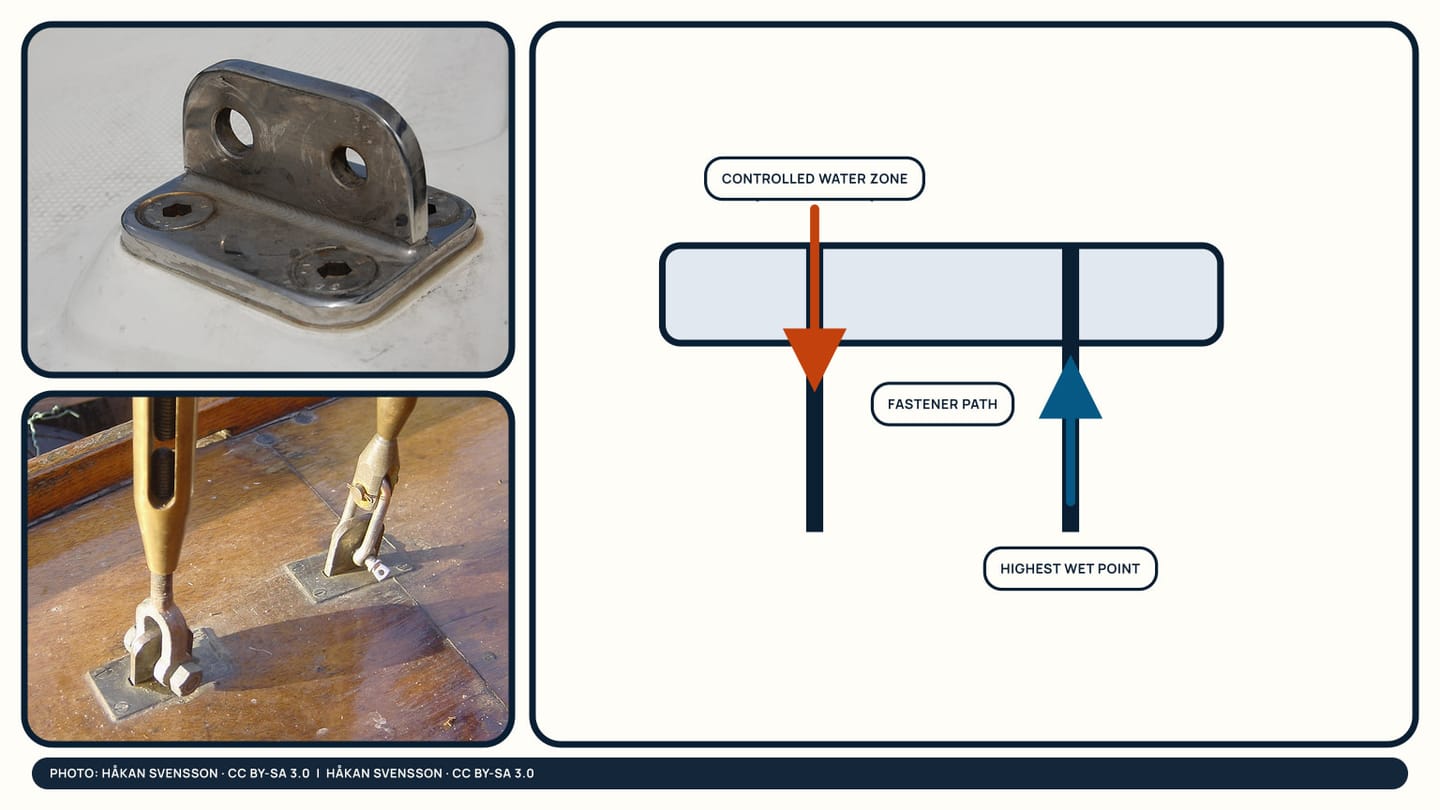
A bead around the outside may hide a leak without sealing the fastener path. Water can travel along bolts, under a base, through a nearby fitting, or inside a cored deck before appearing below. Work methodically and avoid turning a structural or fastening problem into a cosmetic caulking job. The rain-leak tracing guide helps locate the source; this article begins once the fitting is a supported suspect.
Identify the fitting and leak
Dry the interior and fitting area. Note the highest fresh wet point, staining, corrosion, cracked sealant, fastener movement, and when leakage occurs. Apply gentle water to one small exterior zone while a second person watches inside, allowing time before moving onward. Do not flood several fittings at once.
Identify the hardware's job. A vent, cleat, stanchion, track, chainplate cover, hatch, or organizer can carry very different load and movement. Find the backing plate, nuts, hidden wiring or hoses, deck core, and safe access. Photograph both sides and mark orientation.
Stop if the fitting moves in the deck, the core feels soft, laminate is cracked, fasteners are badly corroded, or the load path is unclear. Re-bedding does not restore damaged structure or inadequate fastening.
Check adjacent fittings before committing to removal. Water can enter uphill, follow a fastener or core boundary, and appear below another piece of hardware. Use masking tape to divide the deck into small test zones and record the order and waiting time. Avoid high-pressure spray, which can force water through joints that do not leak in rain and can damage finishes. If interior trim hides the highest wet point, remove it only through the boat's documented method. Preserve stained surfaces until the route is understood; cleaning too early erases evidence.
Prepare access and materials
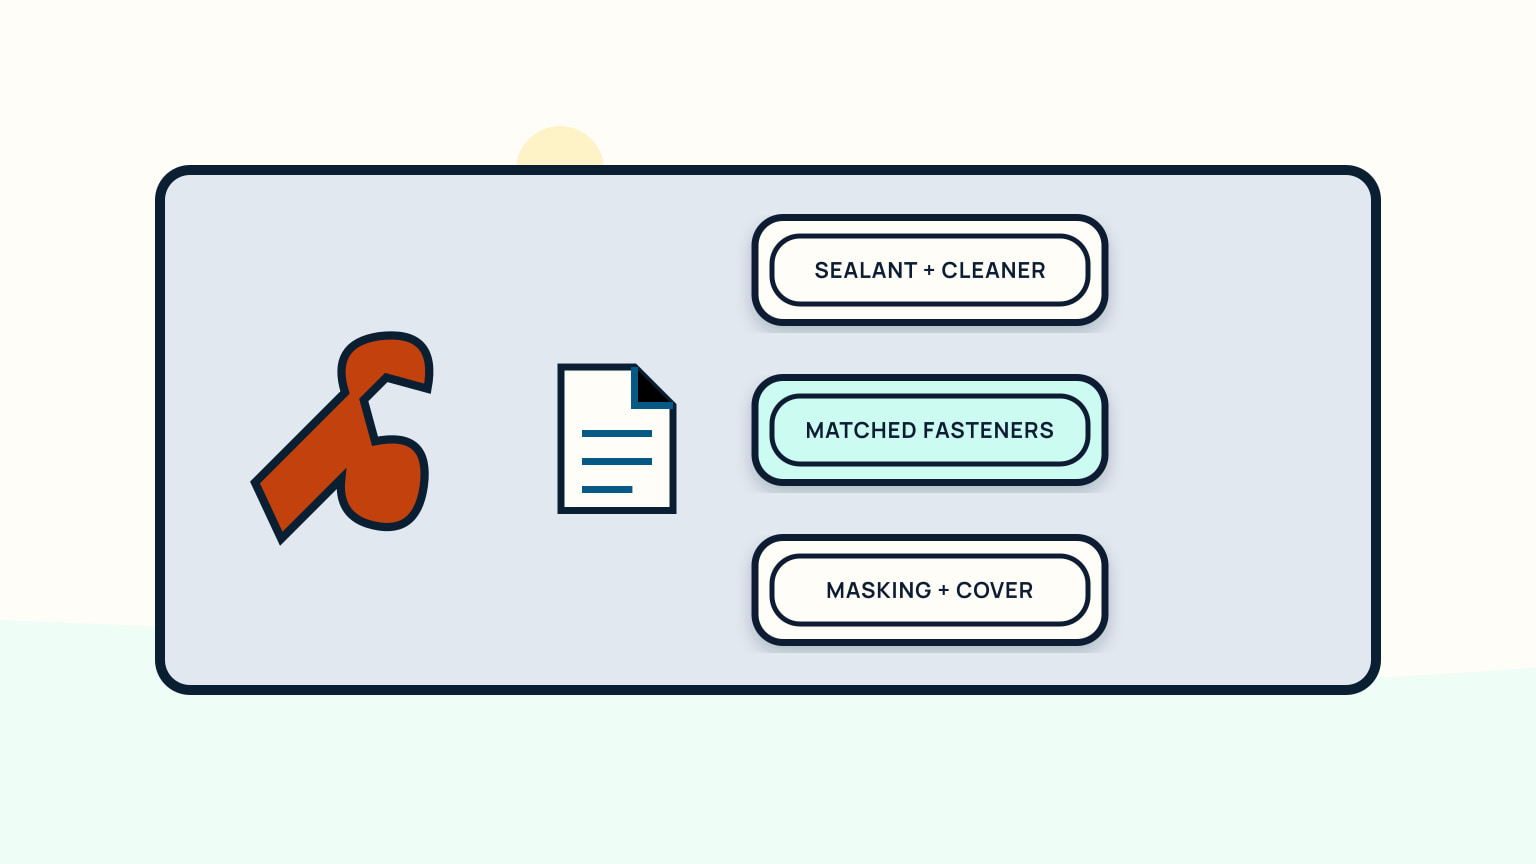
Read the hardware and sealant instructions before removal. Confirm substrate compatibility, required primer or abrasion, application temperature, open time, cleanup, cure, and whether the bond must allow future disassembly. A permanent high-strength adhesive is not an automatic choice for serviceable hardware.
Gather the exact fasteners, backing pieces, sealant, cleaner, abrasive, masking, gloves, eye protection, tools, containers, and temporary weather cover. Product instructions and safety data control ventilation and protective equipment. Do not substitute a solvent because it is already aboard; some products explicitly exclude certain cleaners.
Support or unload the fitting where needed. Arrange a second person for through-bolts. Protect the cabin and deck from debris and uncured sealant. Plan how the boat remains watertight if the joint reveals damage and cannot be reassembled that day.
Dry-fit replacement fasteners and backing pieces before opening sealant, but do not enlarge holes casually to make them fit. Confirm that threads, grip length, head, washers, nuts, and material match the approved fastening plan. Prepare temporary plugs or a weather sheet that will not trap water in exposed core. Check the forecast against surface temperature and cure conditions as well as rain. A cool deck overnight or strong sun can move the surface outside the product's stated range even when the air forecast looks suitable.
Protect the surrounding structure
Remove fasteners in a controlled sequence and lift the fitting without prying against fragile laminate. If it will not release with the approved method, stop before bending hardware or tearing the deck skin. Photograph the exposed joint immediately.
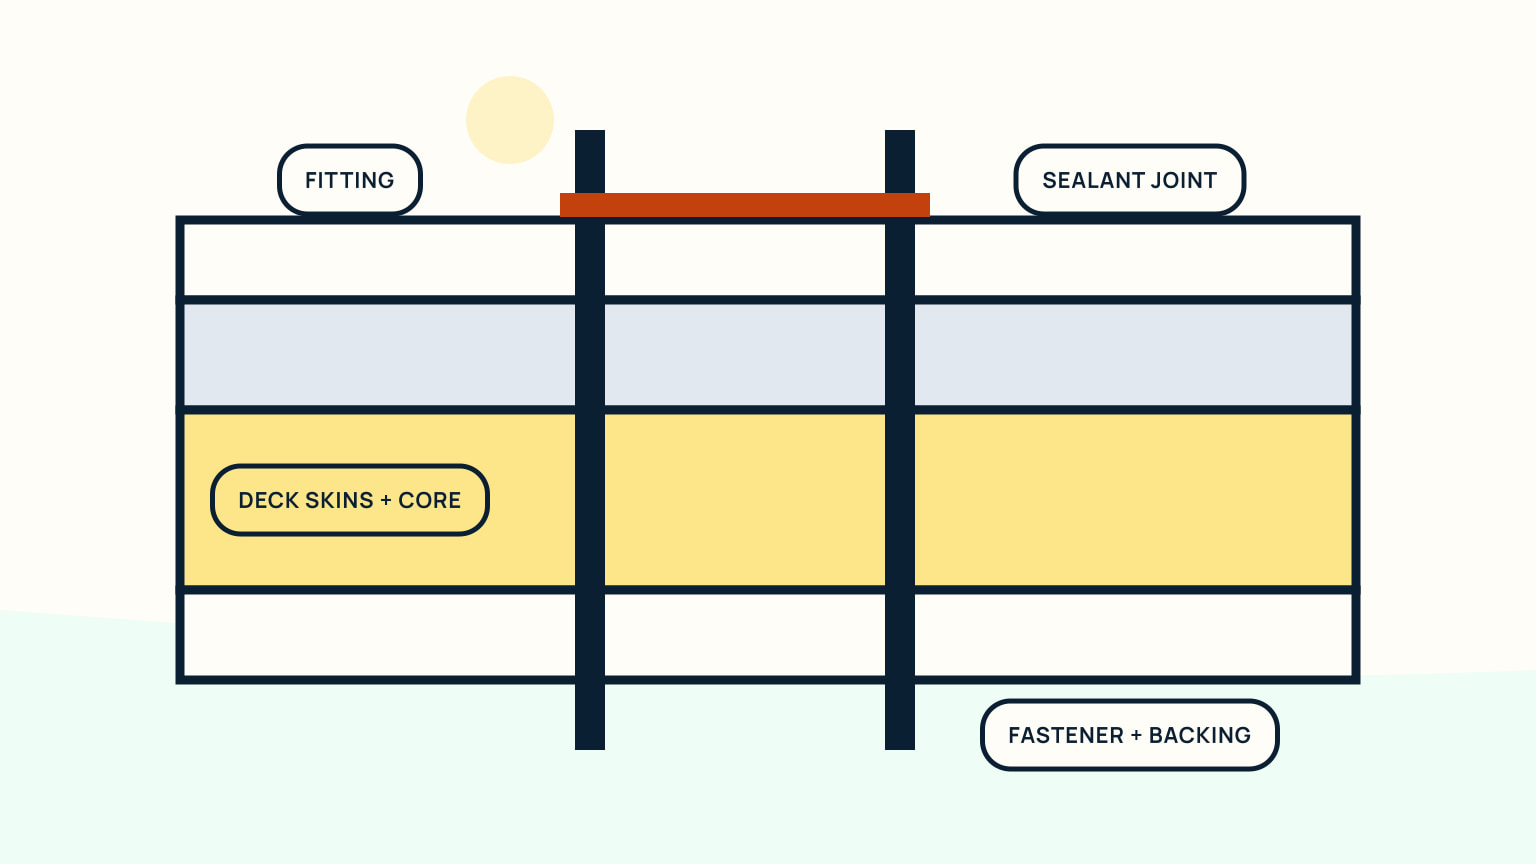
Remove old sealant using tools and products compatible with the deck and fitting. Inspect holes, fasteners, backing, laminate, and core. Dryness at the surface does not rule out deeper moisture. Discoloured, soft, crushed, or missing core and enlarged holes need a repair plan appropriate to the structure and load.
Keep debris and solvent out of the core and cabin. Do not enlarge, countersink, overdrill, or fill holes unless the repair design and product system call for it. High-load fittings such as chainplates, tracks, stanchions, and cleats deserve qualified assessment when structure or fastening is uncertain.
Examine the old joint for clues before scraping it clean. Gaps in the sealant, compression pattern, corrosion around one fastener, or a dry portion can show where contact was lost. Photograph both the fitting base and deck. Keep removed sealant away from new bonding surfaces. If bedding adheres strongly to one substrate and not the other, that may guide product and preparation questions, but it does not justify choosing a new system without checking compatibility. Let a repair specialist interpret structural damage or widespread moisture.
Follow the product instructions
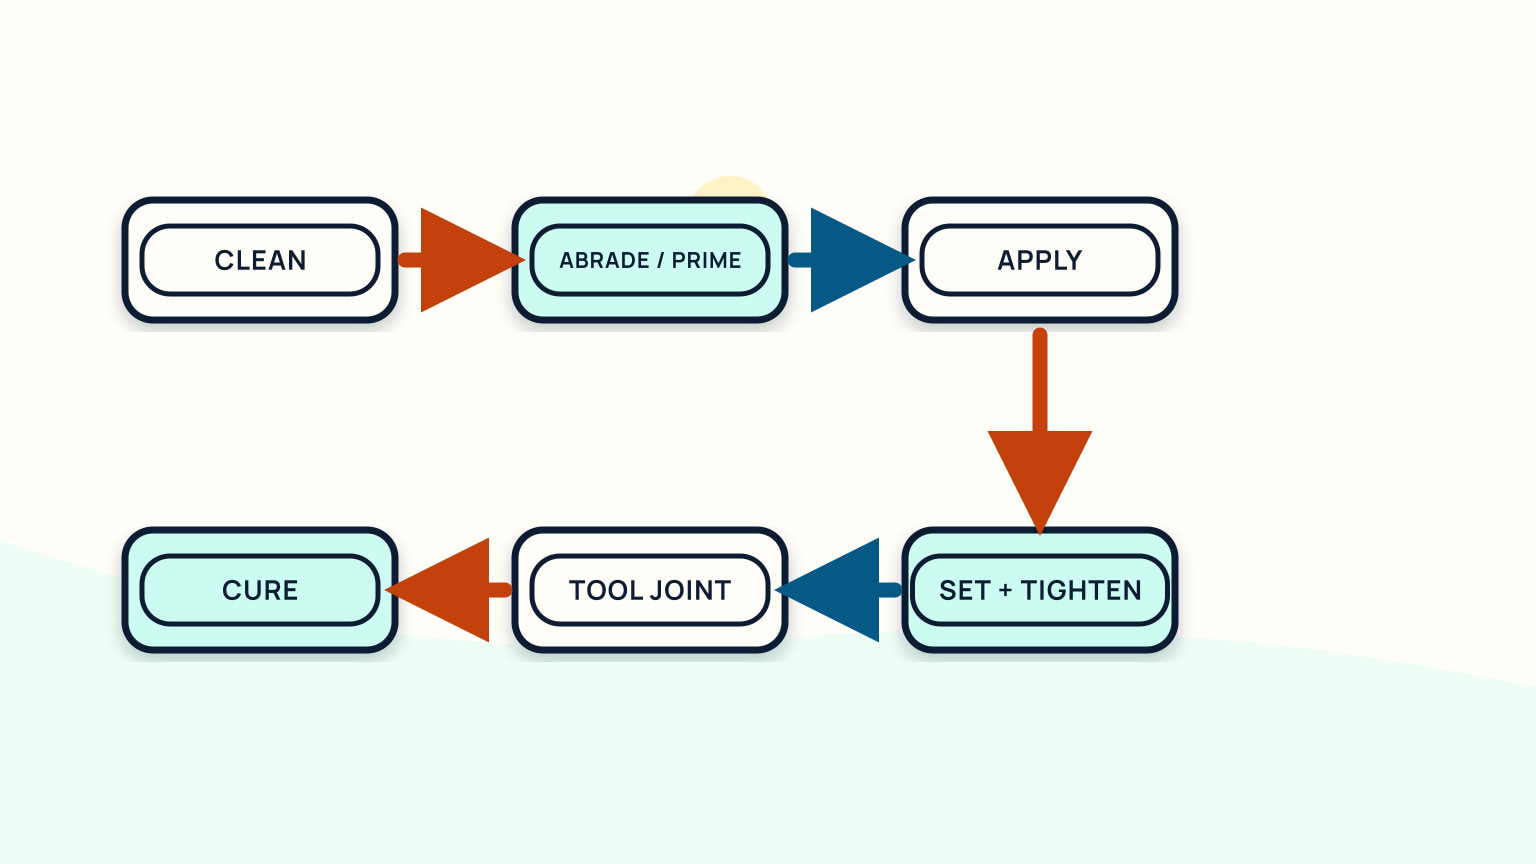
Prepare each substrate in the order the selected product specifies. That may include removal of contamination, controlled abrasion, another cleaning step, primer, and a limited time before application. Keep bare prepared surfaces clean and dry under the stated conditions.
Apply enough sealant to create a continuous joint around the intended water paths without blocking drains or filling places the hardware maker leaves open. Set the fitting in its original alignment. Install fasteners and backing as specified, then tighten in the required sequence. Some systems use an initial set and later final tightening; others do not. Follow the chosen instructions rather than a general trick.
Tool and remove excess within the product's working time. Respect temperature, humidity, and cure limits. Record batch or product details, application conditions, fasteners, and the time when testing or loading is permitted.
Assign roles before setting a through-bolted fitting. One person holds alignment and controls the fastener as required; the other manages backing and nut without spinning away the sealant path. Agree the tightening sequence and stop point. Keep a clock visible when open time matters. If the part must be lifted after contact, check whether the product permits it or whether surfaces need to be prepared again. Do not chase a neat cosmetic fillet at the expense of correct seating and fastener control.
Test before closing up
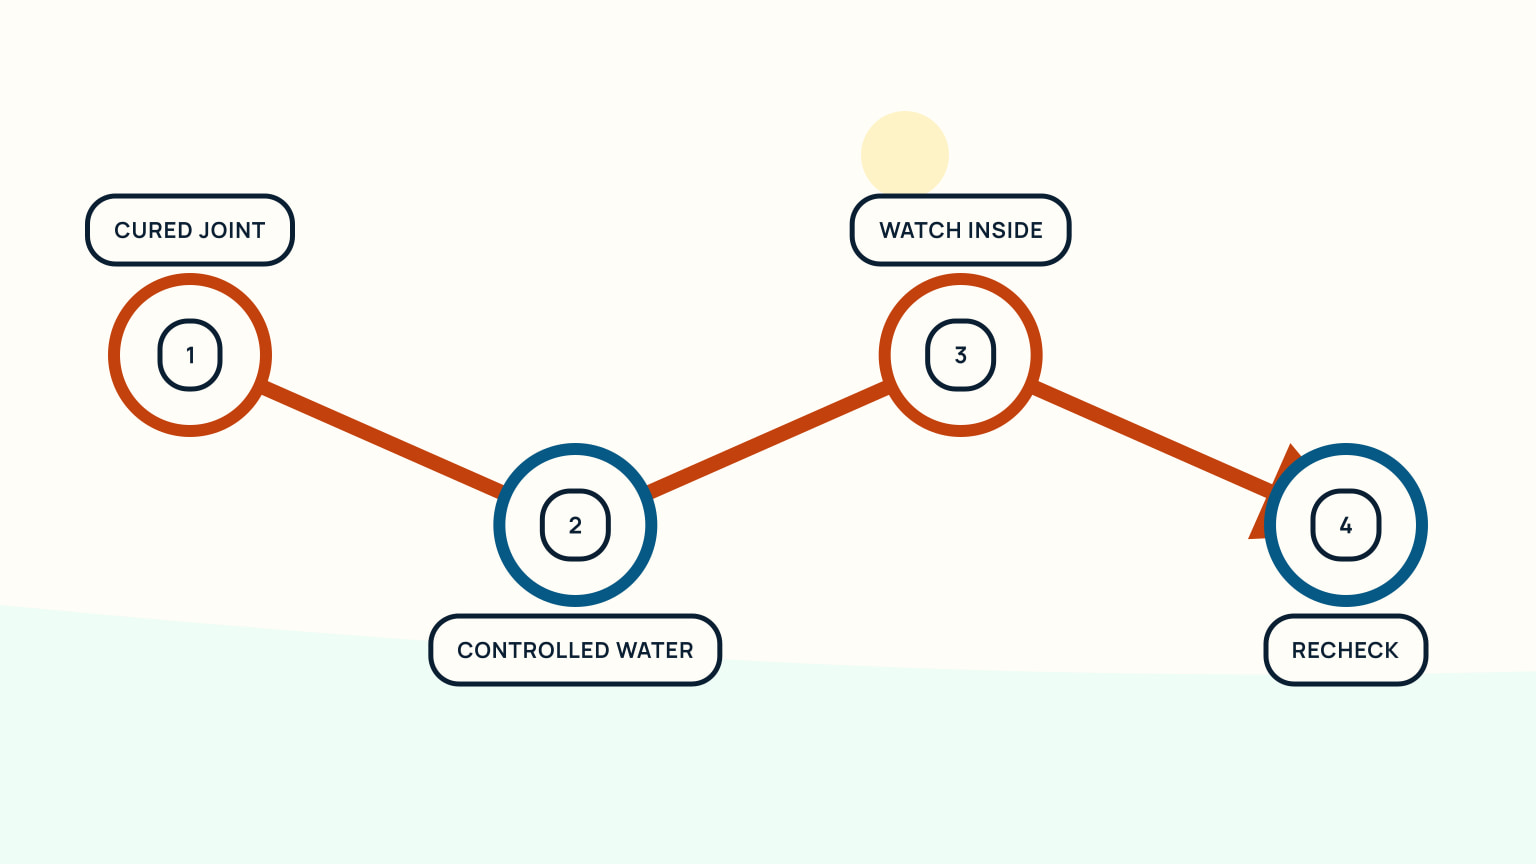
Leave interior access open and keep the fitting unloaded until the instructions permit testing. Inspect the cured joint and fasteners. Restore only the covers needed for a safe test, so the underside remains visible.
Use the same controlled-water method that located the leak. Wet one zone gently and watch inside, then allow enough time before expanding the area. A dry first minute is not proof when water previously travelled slowly through the deck. If the joint leaks, stop and investigate rather than adding an exterior smear.
After a dry test, restore trim, headliners, guards, and any hardware removed for access. Recheck the fitting after its first normal loading and after rain. Add photographs, product, cure, fastener work, and test result to the service record and deck-hardware inspection plan.
Record the test conditions so a later leak can be compared. Note cure time, temperature range, water source, test zones, duration, load state, and interior observations. Photograph the dry underside at the start and finish. If the fitting carries rig or deck load, follow the hardware or repair plan for returning that load and inspect again afterwards. Keep the first heavy-rain check on the calendar. A successful hose test under no load is useful evidence, but it is not the last observation the joint will ever need.
Inspect the rest of the fastening system before declaring success. A dry seal cannot compensate for loose backing, missing washers, distorted fasteners, or a load path that still moves. Confirm the hardware sits as designed and that interior access panels do not press on nuts or hide future movement. Replace any insulation, trim, or headliner only after photographs and fastener checks are complete. Leave a discreet service label with product and date where it will not obstruct inspection; the next rebedding decision should not begin by guessing what was used.
Treat the confirmed leak source, structure, fastening, sealant, and final test as one job. If any part is uncertain, keep the area protected and bring in a qualified repairer. SailStarter lessons can help you identify deck fittings and load paths, while the hardware and sealant makers control the exact materials and procedure.
Keep the repair record.
Try it from the lesson
Can you spot the next move?
What cushions the gap between the boat and dock before they touch?
Why you can trust this guide
. We build each guide from public seamanship and safety sources, then teach the universal principle before any local difference.