Chart your course
How to Sail for Beginners: Your First Outing
Quick answer
The short version
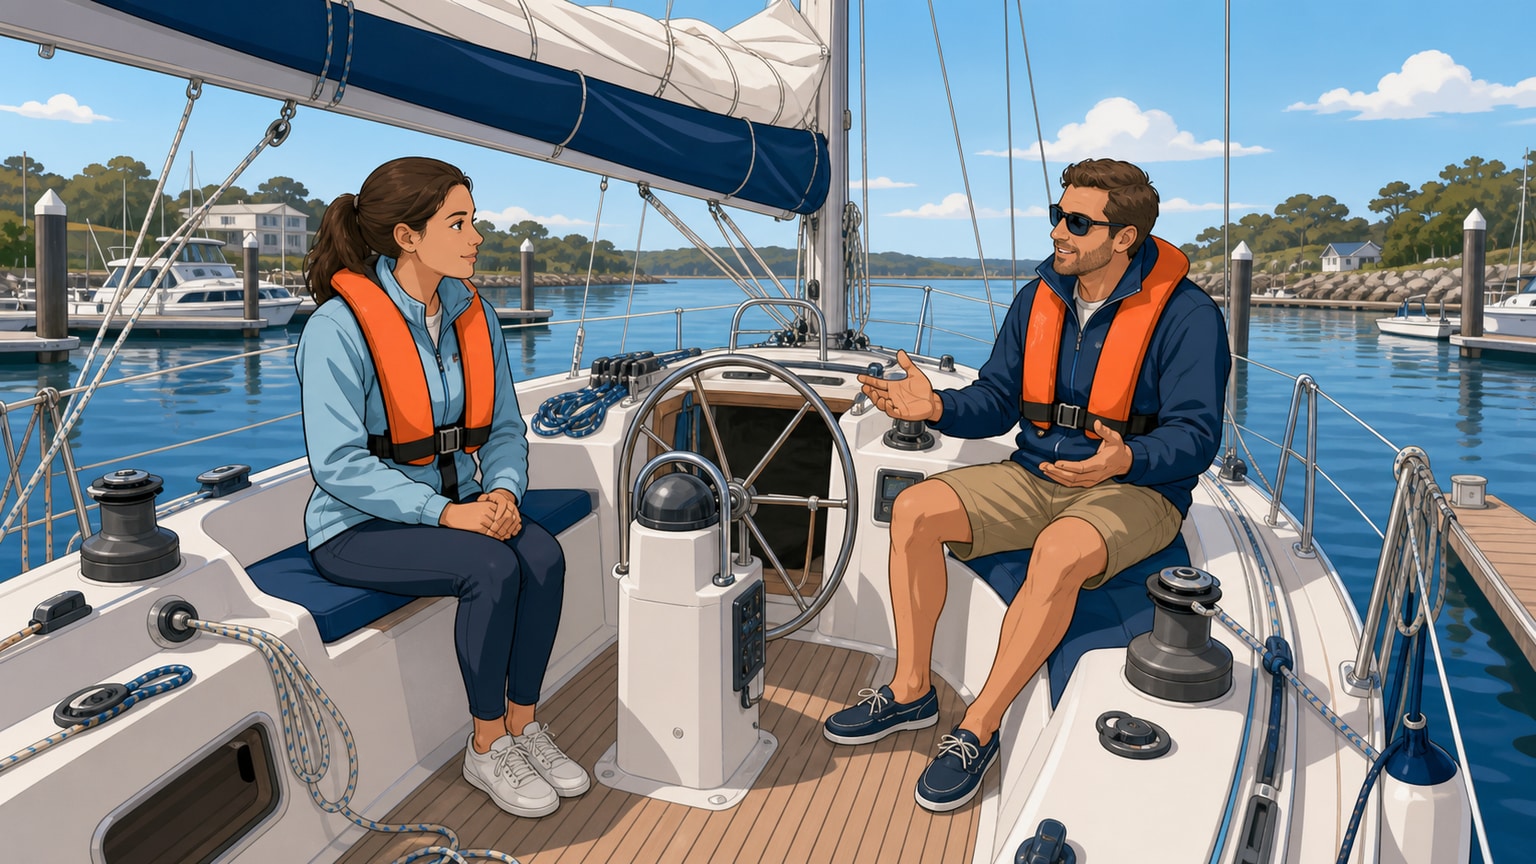
The best way to begin sailing is to go afloat with an instructor or experienced sailor and take one job at a time. Before leaving, learn where the bow and stern are, which side is port and starboard, where to hold on, and where the boom can move. On the water, find the wind, steer a steady heading, and adjust one sheet under guidance. The helm changes where the boat points; the sheets change the angle of the sails. As you turn toward the wind, the sails usually come in. As you turn away, they go out. You do not need to memorize the whole sport before your first outing. You need a safe briefing, a simple mental map, and enough hands-on time to connect what you see with what the boat does.
Sailing videos can make the first hour look like a rapid sequence of turns, ropes, and new words. A real beginner session is easier to understand when you shrink it to a few repeatable observations. You locate yourself on the boat, notice where the wind comes from, hold a heading, and watch what happens when a sail is eased or trimmed. An experienced person remains responsible for the boat while you try each piece. Online learning is useful before you go because the language will sound familiar, but steering, balance, timing, and line handling become real only when the boat moves beneath you.
Begin With a Guided Outing
Choose a taster session, club sail, or beginner course that expects no previous experience. You do not need to buy a boat first. Clubs and training centres commonly provide boats, and many offer a route into crewing after the first session.
Any of those three routes gets you afloat with someone experienced, so pick by convenience rather than worrying you have chosen the wrong one. A single taster session is the lowest-commitment way to find out whether you enjoy being on the water at all. A club sail usually repeats weekly and introduces you to the same small group of people, which helps if you want a standing invitation rather than a one-off. A structured beginner course adds a syllabus and a consistent progression, useful if you already know you want to keep going. None of the three requires owning any gear beforehand.
Listen closely to the departure briefing. It should identify reliable handholds, places to keep clear, and the arc where the boom may travel. Ask which line you will handle and what words the skipper will use. One clear job is enough. You might steer toward a landmark, ease a sheet when asked, or trim it until the sail stops flapping. That active role gives each new term a physical meaning. It also keeps the first session from becoming a long lecture delivered on a moving deck.
Do not assume your first outing means watching from the side. Most beginner sailing programs put a newcomer at the helm or on a line under direct supervision from the very first session, not after weeks of observing. If nobody has offered you a job by the time you are underway, ask for one. Handling even a single sheet turns the terminology from something you memorized into something your hands already recognize the next time you hear it.
Learn Four Reference Points
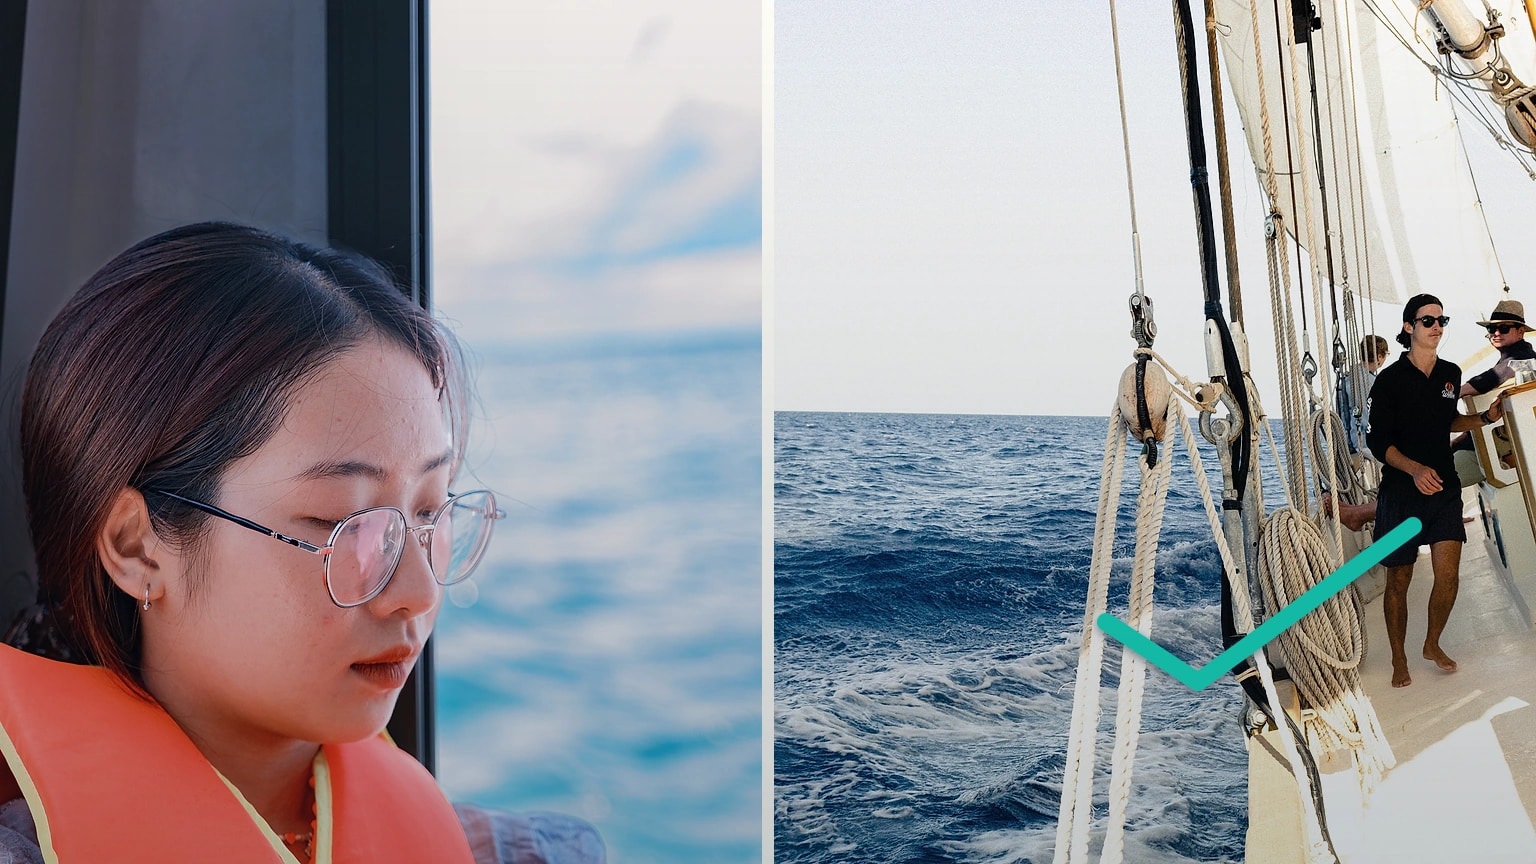
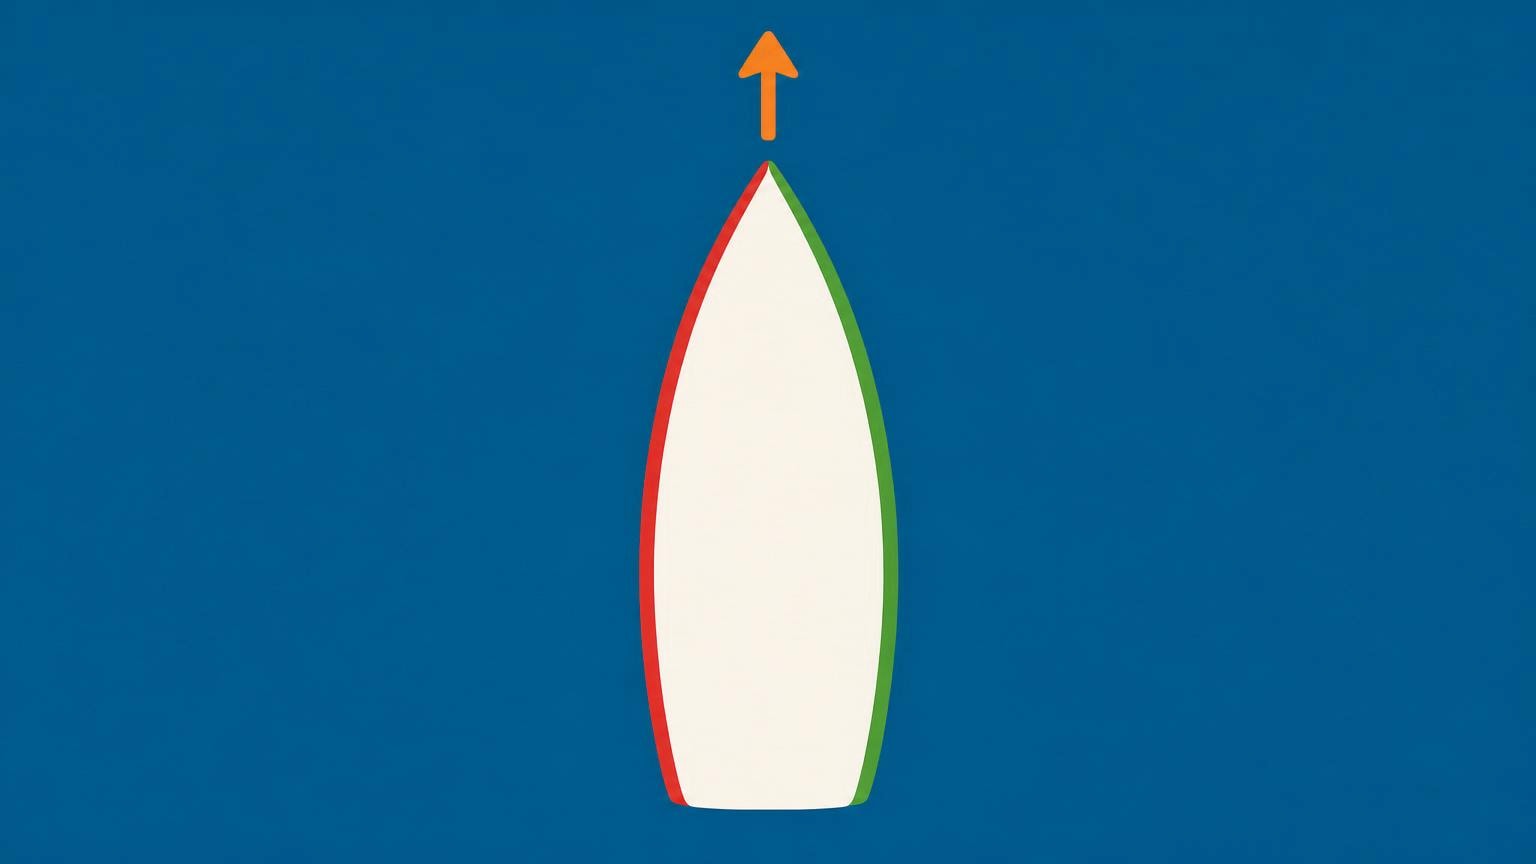
Start with the directions that never change. The bow is the front, the stern is the back, port is the boat's left side when you face the bow, and starboard is its right. These words stay fixed even when you turn around in the cockpit.
Then add the wind. Windward is the side the wind reaches first. Leeward is the sheltered side. Feel the breeze on your face, look at a flag or masthead indicator, and notice which side the boom occupies. The boom normally lies away from the wind, on the leeward side.
Those references let you understand useful instructions without translating everything into your own left and right. "Move to windward" now describes the side of the boat, while "look ahead of the bow" describes a fixed direction. Four boat words and two wind words carry a surprising amount of your first outing.
A common early mix-up is confusing which words are fixed and which change with the wind. Port and starboard never move: the left side stays port however the boat is pointed. Windward and leeward do move, because they describe a relationship to the wind rather than to the hull. If the skipper tacks and the wind now reaches the other side first, the side you were calling leeward a moment ago becomes windward. Practise naming both pairs out loud a few times early in the outing, and the switch stops being confusing.
Pair Steering With Sail Trim
The helm and the sheets solve different parts of the same problem. Moving the tiller or wheel changes the boat's heading. A sheet controls a sail's angle to the wind. A halyard raises or lowers a sail, so do not assume every line is for trimming.
When the bow turns toward the wind, the sails normally need to come closer to the centreline. When the bow turns away, the sails normally need more room to go out. The simplest trim check is to ease the working sheet slowly until the sail's forward edge begins to flutter, then pull in just enough to stop the flutter.
Try one change, wait, and look. The boat may accelerate, settle into a steadier lean, or feel lighter at the helm. If several controls move at once, you lose the connection between action and result. Your first useful skill is reading that connection, not chasing perfect speed.
Practise the ease-trim baseline as its own small drill. Ease the working sheet slowly and watch the front edge of the sail. The moment it starts to flutter, you have found the point where the sail stops driving. Trim back in just until the flutter disappears, and you are close to the efficient setting for that heading. Repeat it after every course change rather than trying to set the sail once and leave it, because the correct trim shifts as soon as the boat's heading or the wind's strength changes.
Complete One Small Sailing Loop
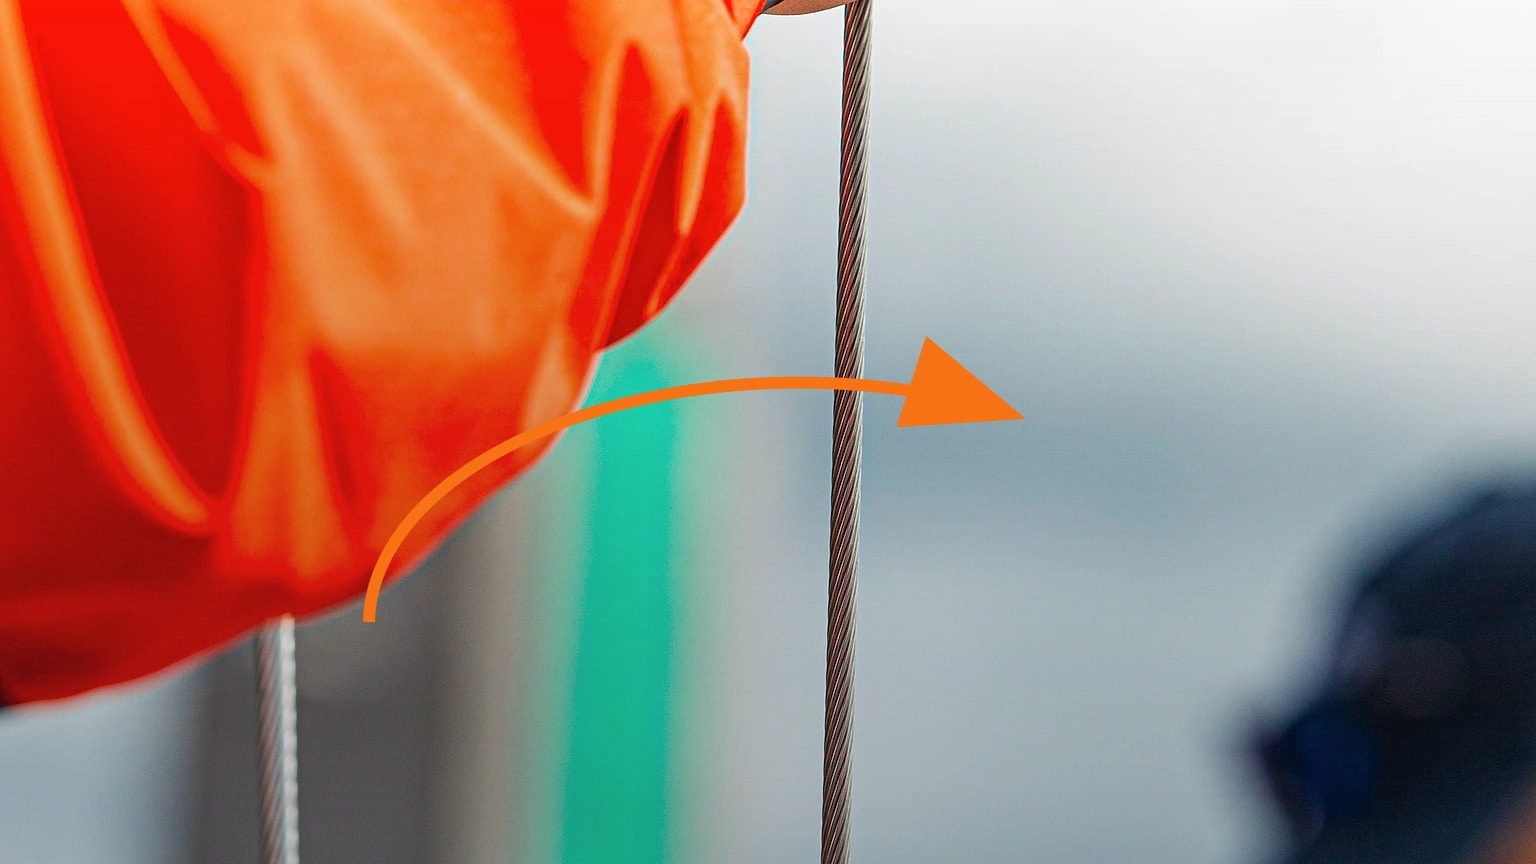
Ask to practise a complete, modest sequence: steer across the wind, turn toward it until the sails need trimming, then turn away and ease them again. You will feel the apparent wind change as the boat changes direction and speed. If the bow points too close to the wind, the sails luff and the boat loses drive. That is normal feedback, not a failed lesson.
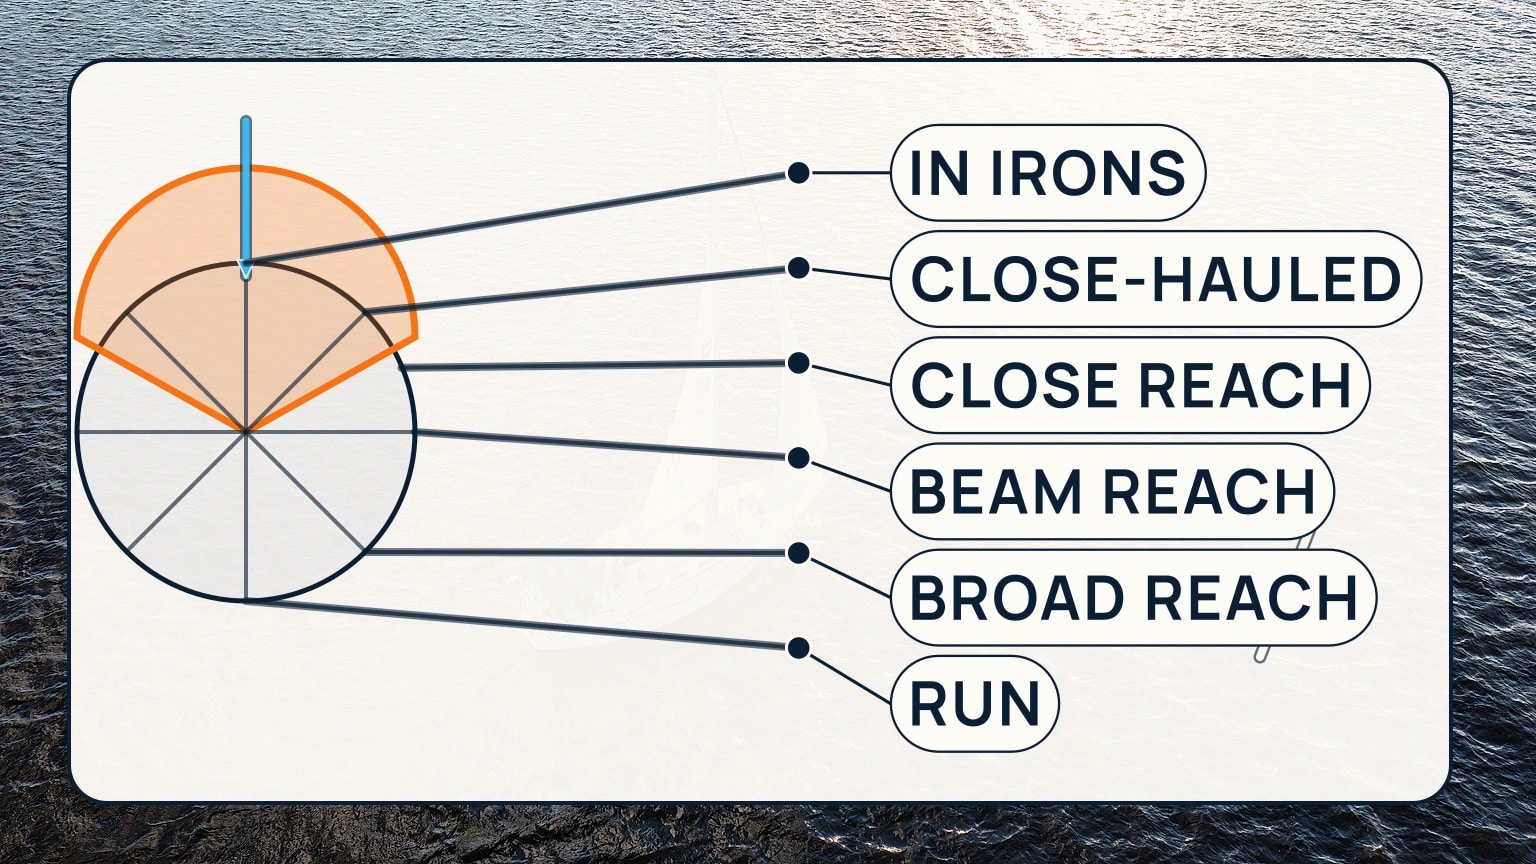
A sailboat cannot point directly at the wind. There is a wedge on either side of the wind direction, often called the no-go zone, where sails cannot generate drive. Close-hauled, angled just outside that wedge, is the closest a boat can steer toward the wind while still sailing. To make progress toward a destination that lies upwind, a boat zigzags there in a series of tacks, each one a controlled turn through the no-go zone onto a new close-hauled course. Your instructor may demonstrate one tack for you to feel rather than expecting you to steer it on your first outing, and that is enough exposure to recognize the manoeuvre next time. For the full picture of how a boat's behaviour changes at each angle to the wind, see points of sail.
Notice heel as well. Wind pressure can make a keelboat lean, while ballast below the water resists that lean, and that righting force is exactly what lets a keelboat carry sail confidently rather than tipping over. Your instructor may ask people to shift position or ease a sheet to keep the boat comfortable. Move when asked, hold on, and communicate before crossing the cockpit.
Finish by helping return one line to order and talking through what you noticed. A brief review closes the loop: wind direction, heading, sail response, and one action you can repeat next time. That is a solid first sail.
Your first outing does not need to prove that you can sail alone. It should make the boat's basic language and cause-and-effect feel less mysterious. SailStarter can prepare that knowledge layer before you step aboard. Start with the orientation lessons, learn the fixed directions and cockpit terms, then use your time afloat to feel how wind, helm, and sheets connect. The app will not replace an instructor or experienced skipper. It will help you arrive ready to listen, take a simple crew job, and understand why the boat responds. That makes each practical minute more useful and gives you a clear next question for your second sail.
Try it from the lesson
Can you spot the next move?
You turn to face the stern. A crewmate points at your right hand. Which side of the boat is that?
Why you can trust this guide
. We build each guide from public seamanship and safety sources, then teach the universal principle before any local difference.