Chart your course
How to Tie a Bowline: A Fixed Loop That Unties
Quick answer
The short version
To learn how to tie a bowline, make a small loop in the standing part (the long, loaded side). Pass the tail up through that loop, around the standing part, then back down. Set the eye, the finished loop, to size before tightening.
Dress the bowline by removing twists and slack. Check that the tail finishes inside the eye and that the two legs of the bight, the folded section around the standing part, lie parallel.
The eye stays the same size under a steady load, and the collar can be folded back to untie the knot afterward. Repeated loading and unloading can loosen a bowline, so add an overhand stopper knot on the tail where loosening matters. Pulling the eye apart sideways can make it slip or fail. Every knot weakens rope, and slippery high-tech line (Dyneema/Spectra-style) needs special care. Follow your skipper’s instructions for any critical attachment.
A bowline makes a fixed loop, called an eye, at the end of a rope. The eye keeps its size under a steady pull. After the knot has carried a load, it is usually still easy to untie. That combination makes the bowline useful to learn.
In this visual guide, you will learn how to tie a bowline step by step. You will then dress it (arrange each part neatly), inspect the finished shape, and see how the pull travels through the knot. You will also learn how to release it by folding back the collar.
A bowline has limits. Repeated slack-and-pull cycles can loosen it, and pulling the eye sideways can make it unstable. Every knot also weakens rope, while slippery high-tech line may not hold this knot reliably. For real attachments, follow your skipper’s instructions and the rope maker’s guidance.
Tie the Bowline Step by Step
To learn how to tie a bowline, start with a flexible practice line. The working end is the free end you move. The standing part is the long section leading away. The eye is the fixed loop you are making.
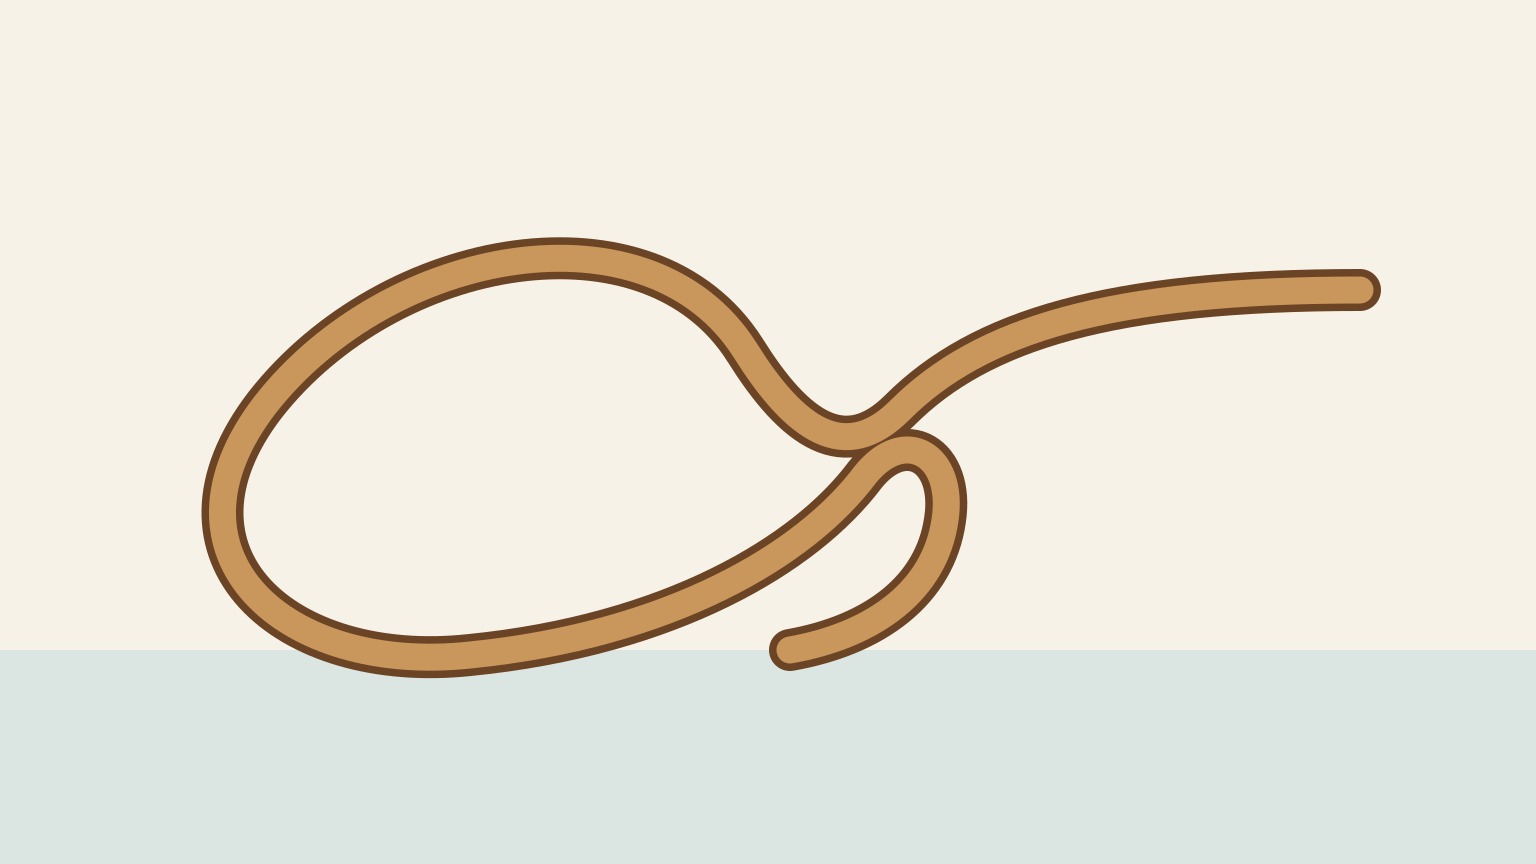
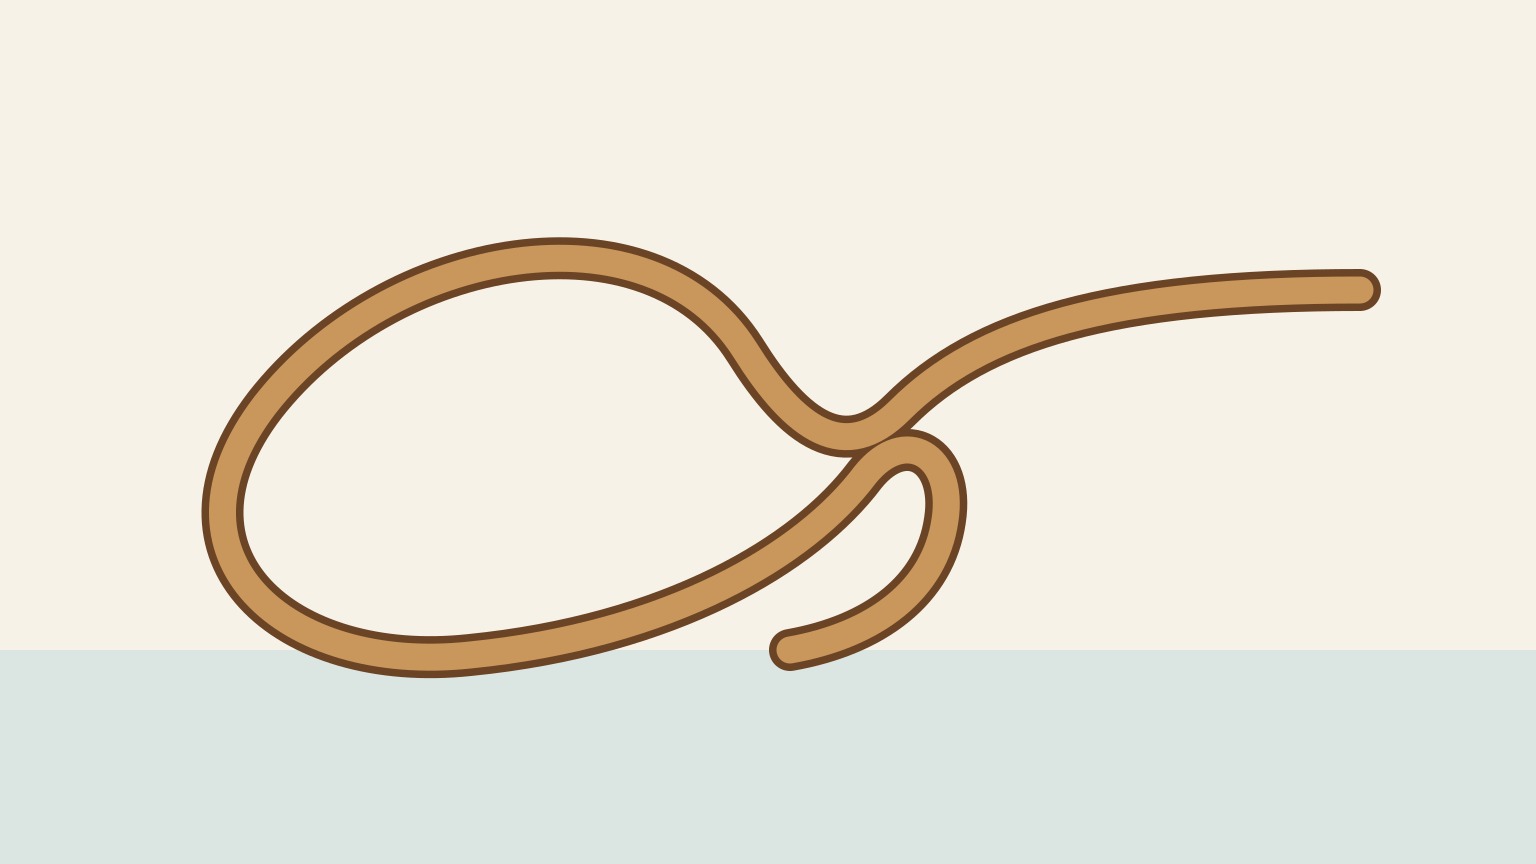
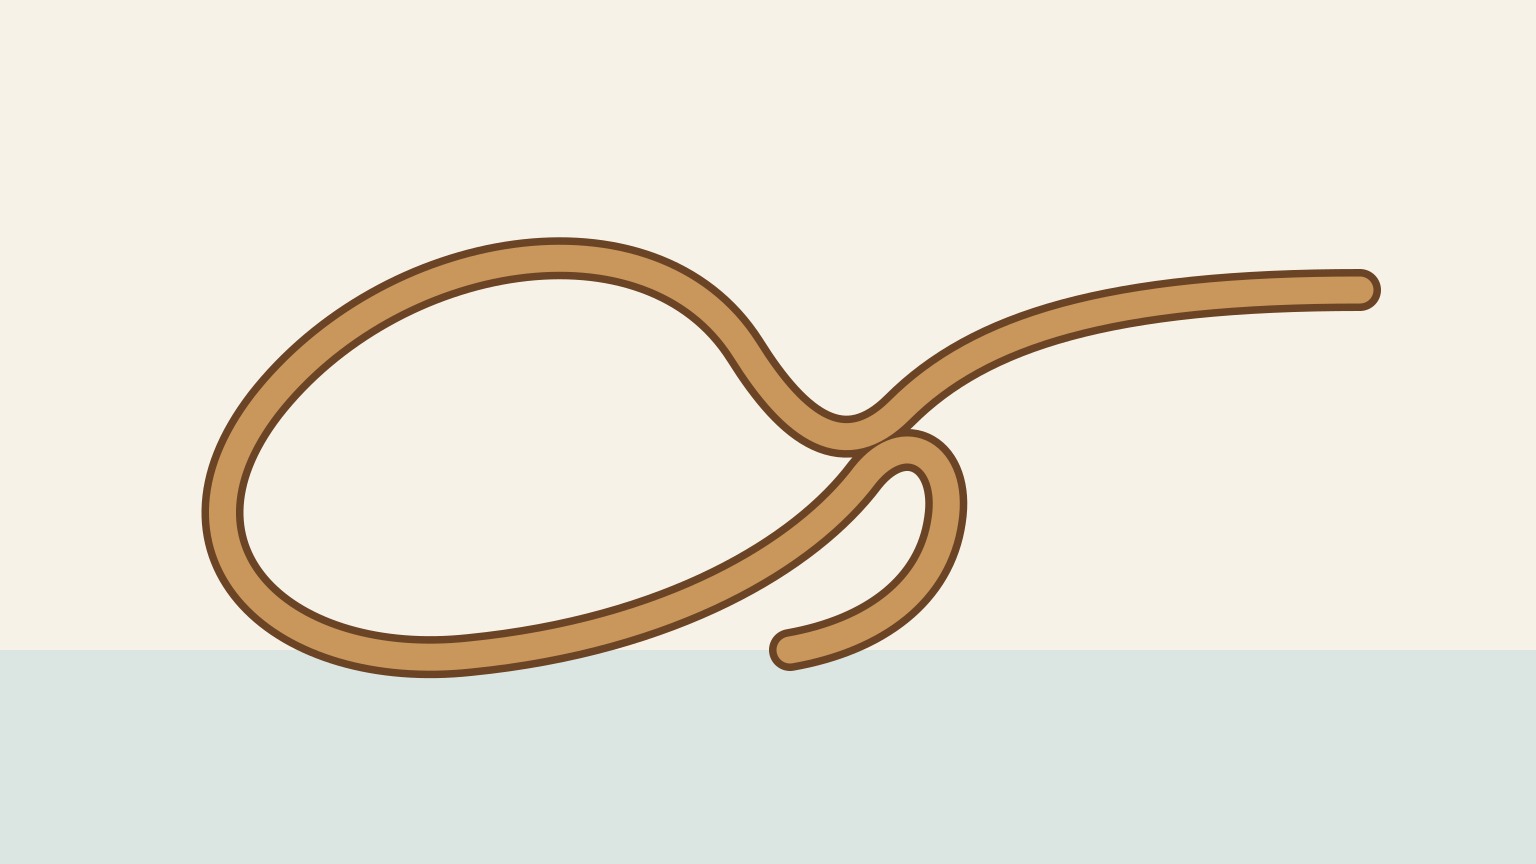
- Form a small loop in the standing part. Leave enough line for the eye you want. The strand leading to the working end should cross on top, not underneath.
- Bring the working end up through the small loop.
- Pass it behind and around the standing part.
- Bring it back down through the same small loop.
- Adjust the eye to the size you need before tightening. Once loaded, the eye keeps that size.
- Put each strand in its proper place, with no unnecessary twists or slack. Hold the eye, then pull the standing part until the knot is firm and tight.
Set the bowline deliberately. A carelessly tightened bowline can capsize, meaning its structure can turn into another form. Check that the tail finishes inside the eye. If it finishes outside, you have tied a different knot with different loading behaviour.
Dress and Inspect the Finished Bowline
Learning how to tie a bowline includes arranging it so you can check it clearly. This is called dressing the knot.
Remove twists and loose sections. Then snug each strand in turn. Do not leave one part tight while another part stays slack.
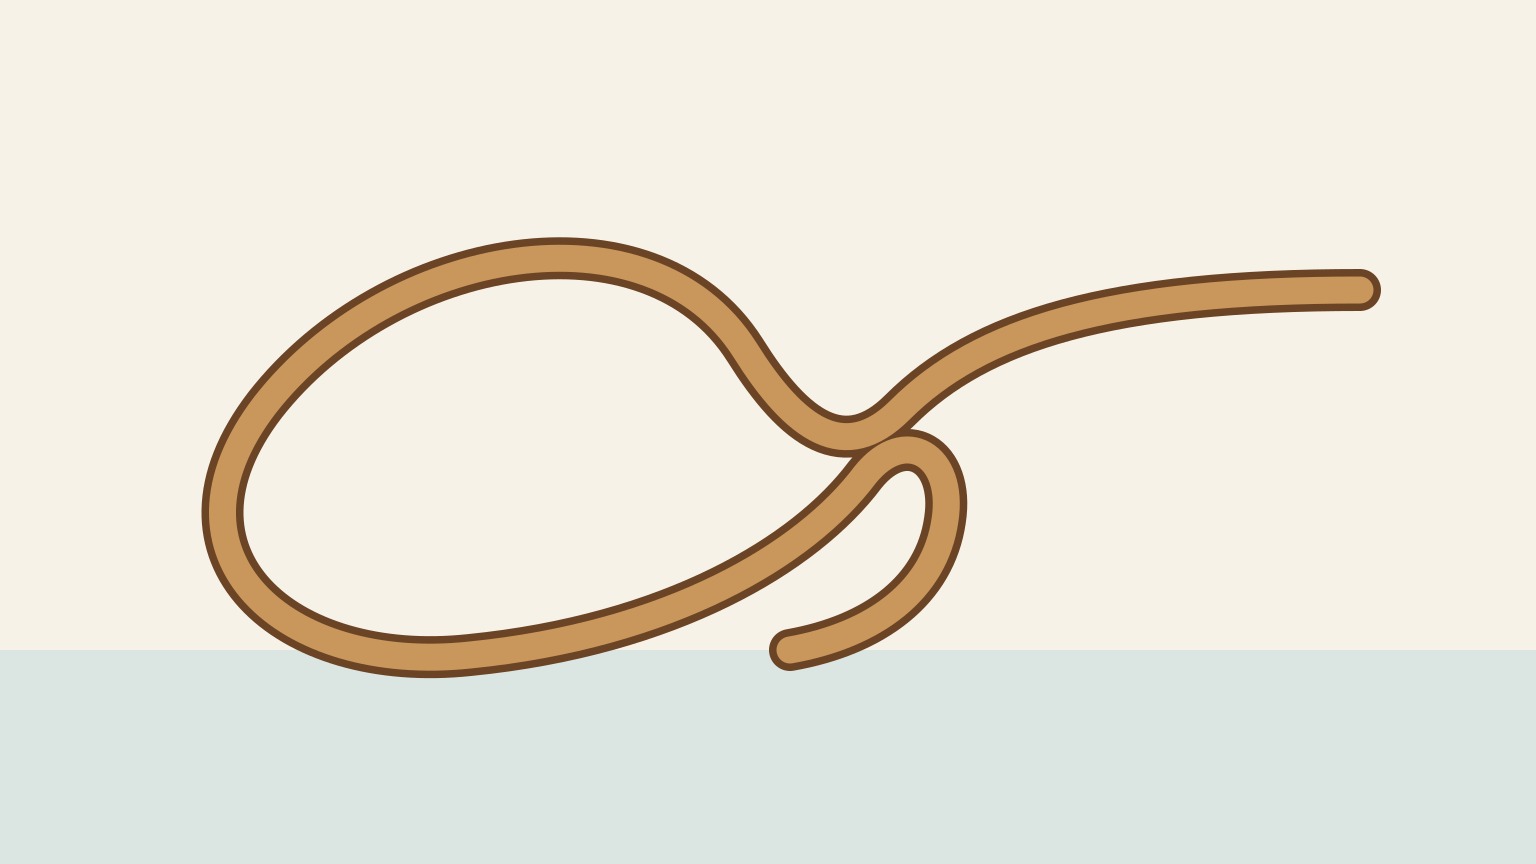
Check the finished shape:
- The tail ends inside the eye, the large fixed loop.
- The two folded strands of the bight lie side by side. They do not cross.
- The eye is the size you intended.
- The tail is deliberately generous, not barely long enough.
If the tail ends outside the eye, or the bight strands cross, you have tied a different knot rather than the standard bowline. Untie it and try again. If the tail looks short, retie the knot with more rope available.
Under a steady load, the eye keeps its size. A bowline left slack or repeatedly shaken can work loose, so inspect and snug it again after that movement.
How the Fixed Eye Behaves Under Load
When you learn how to tie a bowline, choose the eye size before you draw the knot snug. Once loaded, the eye keeps that size. It does not act like a running loop, a loop that tightens down on whatever it holds.
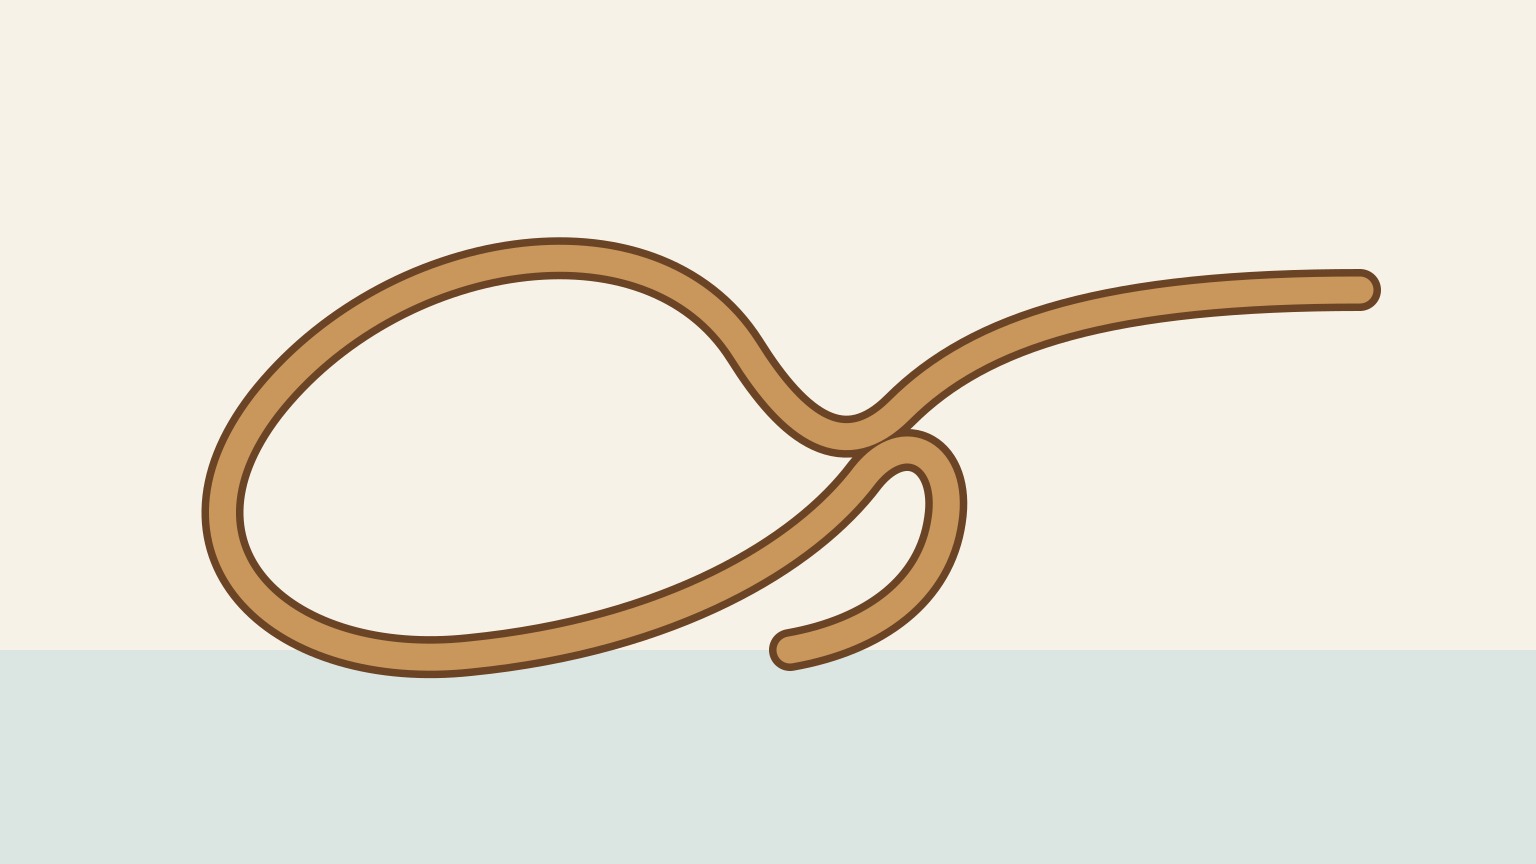
The pull enters through the standing part, which is the long section leading away from the knot. Inside the knot, the small nipping turn encircles and grips the two strands of the bight, the folded section formed by the working end. The bight’s collar wraps around the standing part. As the pull increases, this structure tightens and stabilises the knot.
The load then divides between the eye’s two legs, with each carrying about half. This is the bowline’s intended loading direction: a pull on the standing part against the joined eye legs.
Pulling the two eye legs apart sideways is different. This is called sideways or ring loading, and it can make a standard bowline unreliable. Treat it as a loading direction to recognise, not a dressing fault you can simply adjust away.
Untie the Bowline by Breaking the Collar
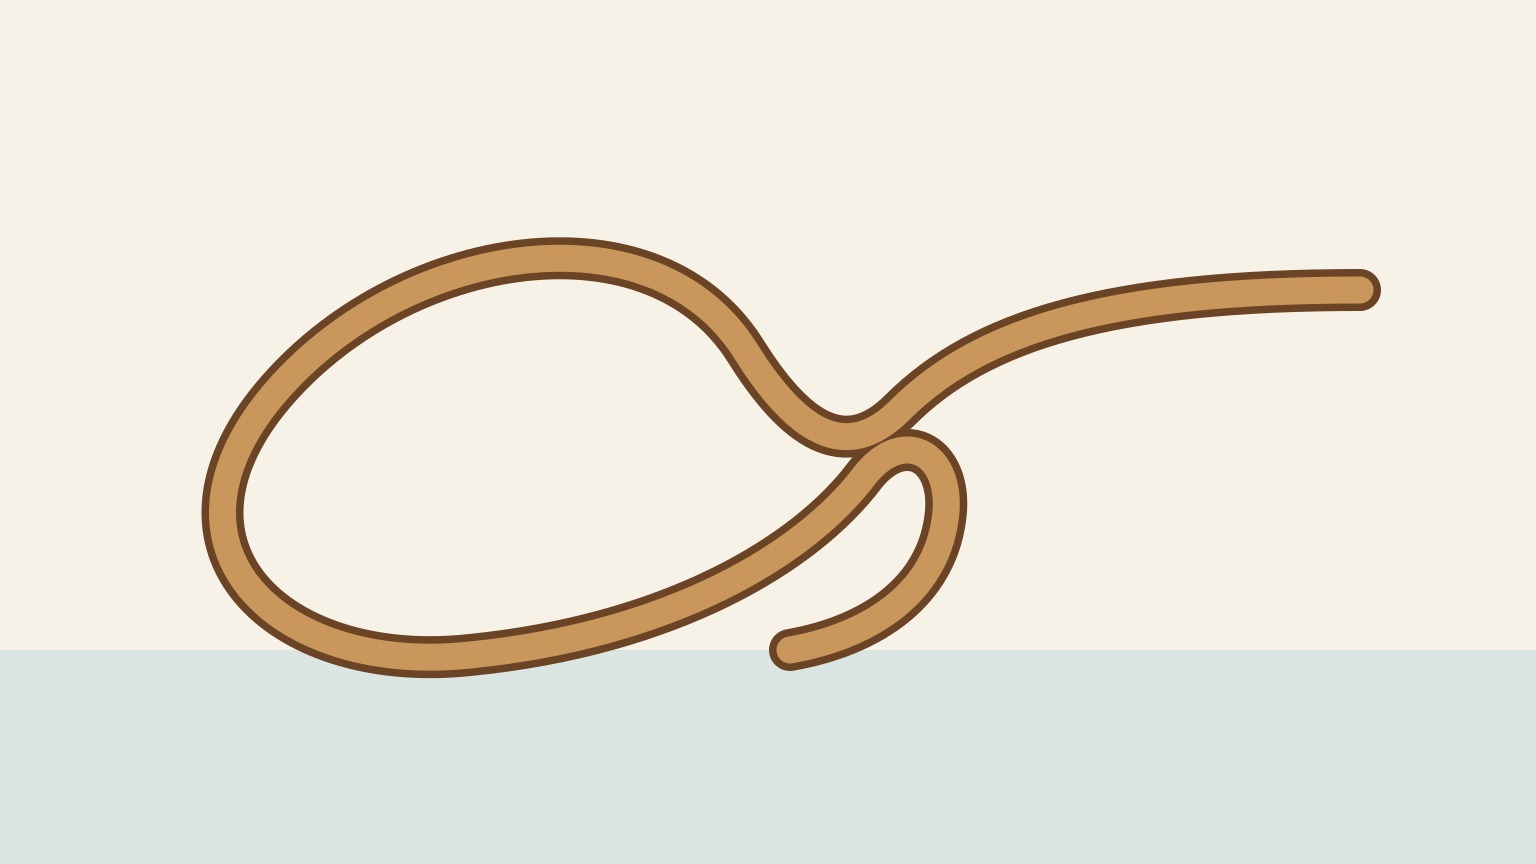
First, take the load off the rope so the strands can move. Then find the collar: the U-shaped turn that wraps around the standing part, which is the long section leading away from the knot.
Do not pull randomly on the tightened strands. You will only draw the knot together again. Instead, grip the collar and fold it backward over the nipping turn, the small turn that grips the knot. This movement is often called “breaking the collar.” Once the collar folds back, you can loosen the nipping turn and feed the tail out along the same path it entered.
This works because the collar begins with almost no tension and does not jam. It remains workable even after the bowline has carried a heavy load. That is the bowline’s key advantage: however tight it becomes under load, you can still untie it once the load is removed.
When you learn how to tie a bowline, practise this release too. Tying and untying are two parts of the same skill.
Know When a Bowline Can Work Loose
Once you know how to tie a bowline, know where it stops being the right knot. A standard bowline behaves well under a steady load. Repeated slack-and-tight movement can loosen it. So can flogging, when a line whips and snaps in the wind. Check and reset the knot after this movement.
A carelessly tightened bowline can also capsize: the folded section of rope can roll into a different shape. Dress the strands neatly and snug the knot before loading it.
The eye is designed to be pulled along its length. If the two sides of the eye are pulled apart sideways, the bowline may slip or fail.
Every knot weakens rope. A bowline retains roughly two-thirds of the rope’s strength, although the result varies with the rope, knot, and loading. Slick, low-stretch HMPE line, such as Dyneema- or Spectra-type rope, can let knots slip especially early.
For any safety-critical job, follow the skipper, equipment maker, and applicable procedures. They should determine the attachment and whether you need a backup, a small extra knot tied on the tail.
Build a useful practice check
Tie the bowline around a fixed object, dress the collar and nipping turn, and leave the tail required for the line and job. Ask a partner to trace the standing part through the knot without using your tying story. Then apply a modest controlled load and inspect it again after unloading.
Practise from different starting positions, but keep the finished structure the same. Speed matters less than being able to recognize a wrong turn before use. Compare the job with a figure-eight stopper, which limits a line's travel rather than forming a fixed eye.
Use another knot or attachment when the bowline's known limits do not fit the load, line, or pattern of repeated slack and shock. The correct choice comes from the boat's procedure and the physical job, not from choosing the knot you can tie fastest.
You now know how to tie a bowline, set its fixed eye, and untie it by folding back the collar. Before loading it, dress the knot (lay each strand flat and in its proper place), then snug it by pulling out loose space. Check that the tail finishes inside the eye and that the strands are not crossed.
Remember the limits. Repeated slack-and-pull movement can loosen a bowline. The standard form can also fail when the eye is pulled apart sideways. Every knot weakens rope, and slippery high-tech line may not hold a bowline reliably. Follow your skipper’s instruction when choosing an attachment.
Try SailStarter’s visual knot lessons next, then practise tying, dressing, inspecting, and untying a bowline with an unloaded practice rope.
The reef knot versus sheet bend guide reinforces the same job-first way of choosing a knot.
Try it from the lesson
Can you spot the next move?
What shape is the bowline intended to make at a rope's end?
Why you can trust this guide
. We build each guide from public seamanship and safety sources, then teach the universal principle before any local difference.