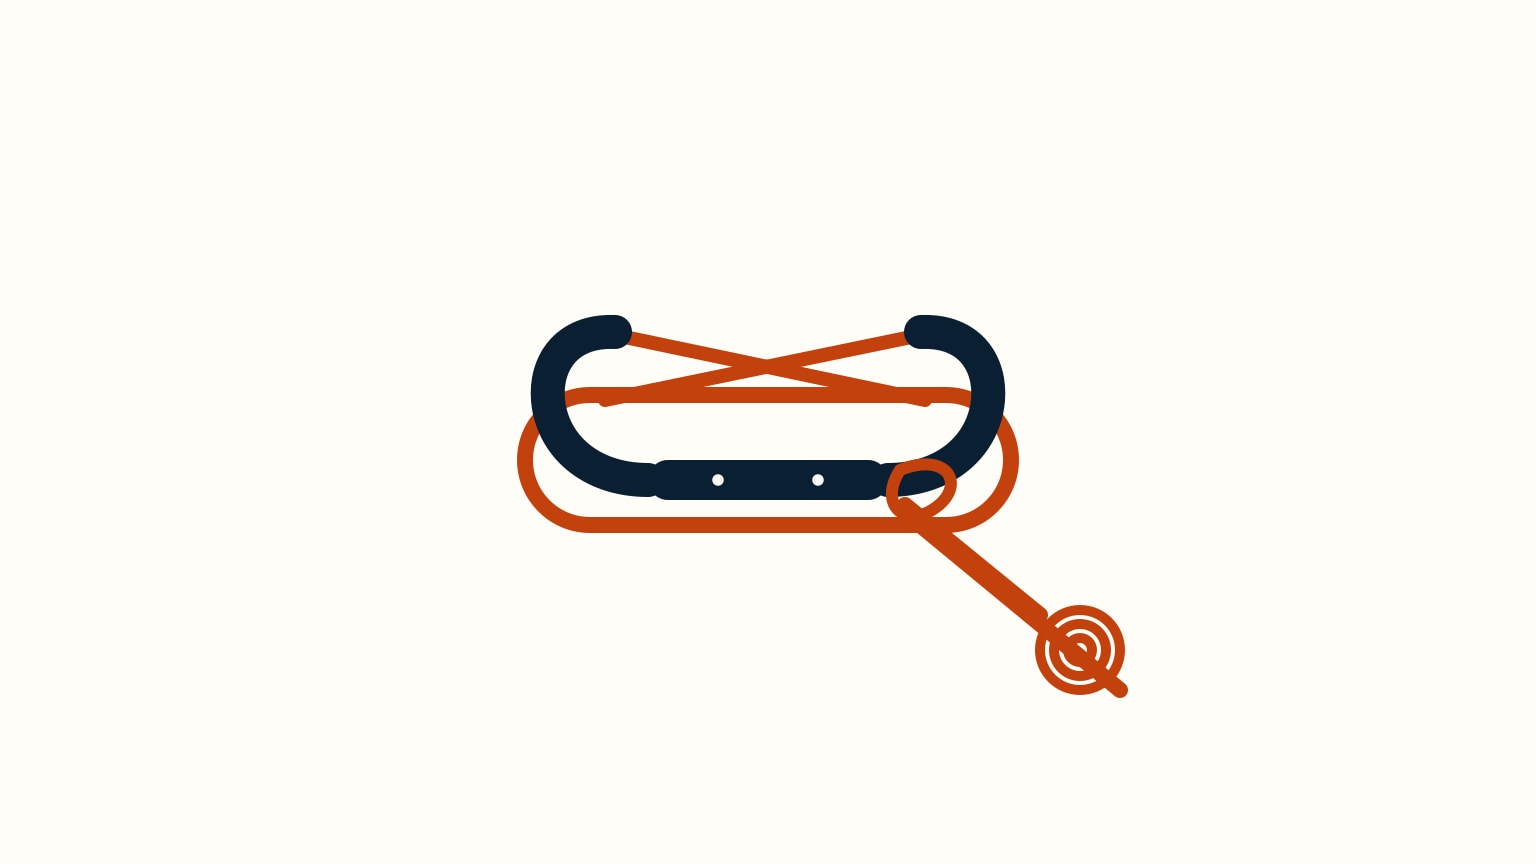
To tie a cleat hitch, lead the line first to the horn farthest from the direction it's coming from — the far horn — then carry it around the base of both horns in one turn, the round turn. That base turn alone already holds a serious load through friction. Next, cross the line diagonally over the top of the cleat and around each horn in turn, figure-eight style, two or three times. Finish, if the line will sit unattended, with a locking hitch: an underhand loop twisted away from the incoming line and slipped over the near horn. Tied correctly, the free end exits the same side the load enters. Skip the lock on a sheet or any line you might need to release instantly.
A cleat hitch is how you make a line fast to a horn cleat — the two-pronged fitting bolted to a dock or a deck — without tying a knot in the rope itself. Get the order right, and an ordinary length of line holds a boat against wind, current, and its own weight through friction alone, then comes free again in seconds when you want it to. Get the order wrong, or skip the check that tells you it's right, and the same hitch can work loose overnight or jam solid exactly when you need it to let go.
This guide walks through tying a cleat hitch step by step: the round turn that does the real holding, the figure-eight crossings that build on it, and the finishing hitch that some lines get and others should never see. You'll also learn how to check your own work by eye and how to release a loaded line under control.
Lead to the Far Horn, Then Take a Round Turn
A horn cleat has two stubby horns rising from a narrow base, usually bolted through a dock or deck. Start by leading your line to the horn farthest from the direction it's coming from — the far horn. Leading to the near horn first crosses the line awkwardly and makes everything that follows harder to keep neat.
From there, carry the line around the base of both horns in one continuous wrap: the round turn. Do this before anything else. That single turn is already doing real work — friction between rope and metal lets it hold a serious load on its own, before you've added a single crossing.
Stop at one turn around the base. Wrapping the base a second time can jam the line under load instead of adding security. One turn is enough; the figure-eight crossings that come next add the rest of the grip.

Add the Figure-Eight Crossings
Once the round turn is set, cross the line diagonally over the top of the cleat toward the opposite horn, then back the other way — the figure-eight pattern that gives the hitch its name. Each crossing rides up and over a horn, sitting above the round turn rather than tangled beside it.
Two crossings are the bare minimum, and really only enough for a short stop in calm, sheltered water. For anything you'll leave for a while, or any real load — wind on the boat, a healthy chop, an overnight stay — add a couple more. There's no fixed number; match the crossings to how hard the line is working and how long it'll be left alone.
Keep each crossing snug against the one before it. A loose figure-eight looks the part but does none of the gripping a tight one does.

Finish With a Locking Hitch — or Don't
If the line is going to sit unattended — a dock line overnight, a halyard on a small boat — finish with a locking hitch. Form an underhand loop, twist it away from the direction the loaded line enters the cleat, and slip it over the near horn. Pulled snug, it should look neat, with plenty of rope touching rope for friction.
Here's the check: on a correctly tied hitch, the free end exits the cleat on the same side the load came in. If it exits the opposite side, you twisted the loop the wrong way — toward the load instead of away from it — and the hitch won't seat properly.
Not every line gets this lock. Skip it on a sheet controlling a sail, on either end of a towline, or on a large vessel generally — anywhere you might need to release the line the instant a situation demands it. A locked hitch costs you the extra seconds of undoing that lock first, and that's exactly the time you may not have.

Release a Loaded Cleat Hitch Under Control
To release a hitch with no lock, unwrap the figure-eight crossings off the horns first, while the round turn underneath keeps taking the strain. Then ease that round turn's own wraps out gradually — never just let go, or the line runs free all at once.
A locked hitch needs one extra step: undo the locking loop first, then slide the remaining wraps off the same way. Either way, keep your fingers clear of the cleat while the line is still under load — tension can trap them against the metal in an instant.
If a loaded line won't ease no matter how you pull, don't force it. Taking the strain off first — easing the boat toward the load under power, for instance — lets you free wraps that are genuinely jammed rather than fighting them.
Once the line is off, or freshly made fast, gather the loose tail into a tidy coil. A cleat that reads clearly at a glance, tail included, is one nobody trips over or has to guess at later.

Tying a cleat hitch well is less about memorizing steps than building the habit of doing them in the same order every time: far horn, round turn, figure-eight, lock only when it belongs there. Once that order is automatic, you can glance at any cleat on any boat and tell whether it's actually holding or just looks like it is.
SailStarter's line-handling lessons walk through this kind of everyday rigging skill visually, one small habit at a time, alongside the docking moves that put a cleat hitch to work. If you're building toward handling a boat confidently around a dock, that's a good next stop — and a cleat hitch is one of the smallest, most useful habits to have solid before you need it.