Chart your course
Sailboat Lifeline and Stanchion Inspection
Quick answer
The short version
A polished lifeline can look reassuring while a split strand hides beside a terminal or a loose base works against wet deck core. The opposite happens too: a brown stain can be surface contamination rather than proof that a fitting has lost strength. Inspection is about finding changes and tracing them through the whole enclosure, not making a verdict from one mark.
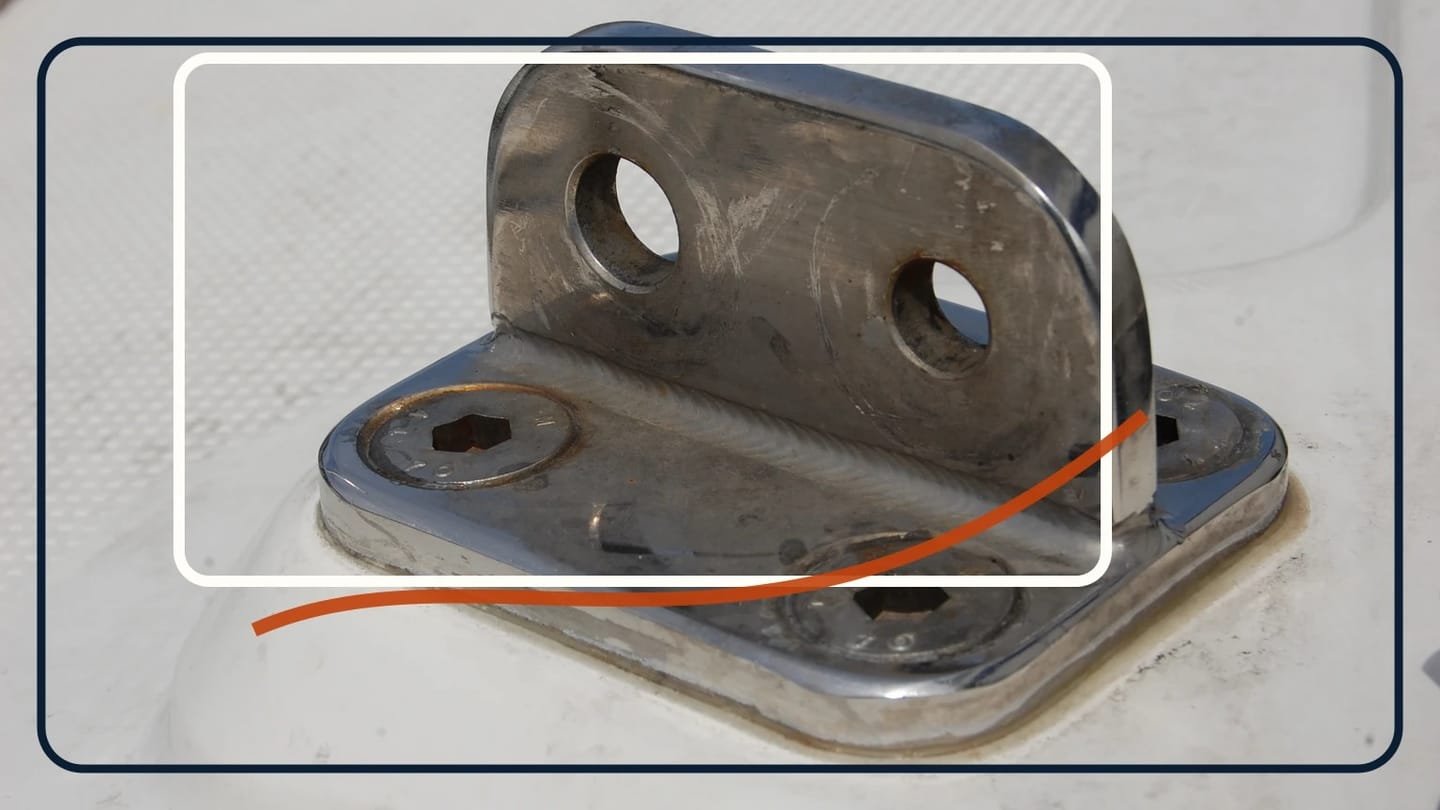
Quick answer: Secure the boat and keep people from leaning on the rail. Follow each lifeline from its bow or stern attachment through every stanchion, gate, terminal, and opposite end. Then inspect every post, base, fastener, and the structure below deck. Record broken or displaced strands, bent or cracked fittings, missing retainers, changed alignment, base movement, deck cracking, moisture, and damaged backing. Do not test a doubtful system with body weight. Keep it out of service until the boat builder or a qualified marine professional defines the repair.
This is an observation job, not a strength test. You cannot prove the remaining capacity of wire, a swage, or a cored deck by pulling harder. A careful pass gives you something more useful: the exact location of a change, the component involved, what is hidden, and whether the lifeline can be kept out of use while the cause is assessed.
Inspect the whole enclosure in one direction
Choose the port or starboard side and start at a fixed end. The route matters. If you hop between the brightest pieces of metal, it is easy to miss a gate pin, one hidden terminal, or the aft face of a post. Follow the upper line all the way, return along the lower line if fitted, and photograph each connection in order. Repeat on the other side with the same sequence.
At the ends, identify how the lifeline attaches to the pulpit or pushpit. At a gate, look at the hook or latch, hinge, clevis pins, split pins or other retainers, and any short lanyard. At each stanchion, see whether the line passes through cleanly without an edge cutting into it. Confirm that the post is still retained in its base and that the base remains attached to the deck. The equipment maker’s drawing is the reference when a fitting’s assembly is unfamiliar.
World Sailing’s current Offshore Special Regulations describe a perimeter enclosure as a connected system of continuous lifelines, gates, supports, permanently installed bases, and mechanically retained posts. Those rules apply to offshore racing, so their measurements are not a universal cruising standard. The systems lesson is still useful: wire, supports, gates, and end attachments have to be inspected together.
Look at the route from deck level as well. A stanchion pushed out of line may force the wire against one side of its hole. A gate that appears shut may still have a missing retainer. A tidy middle section says nothing about the terminal behind a cover. Write locations as “port, second post aft of bow” rather than “front rail”; the repairer should be able to find the exact piece without guessing.
How much movement is too much?
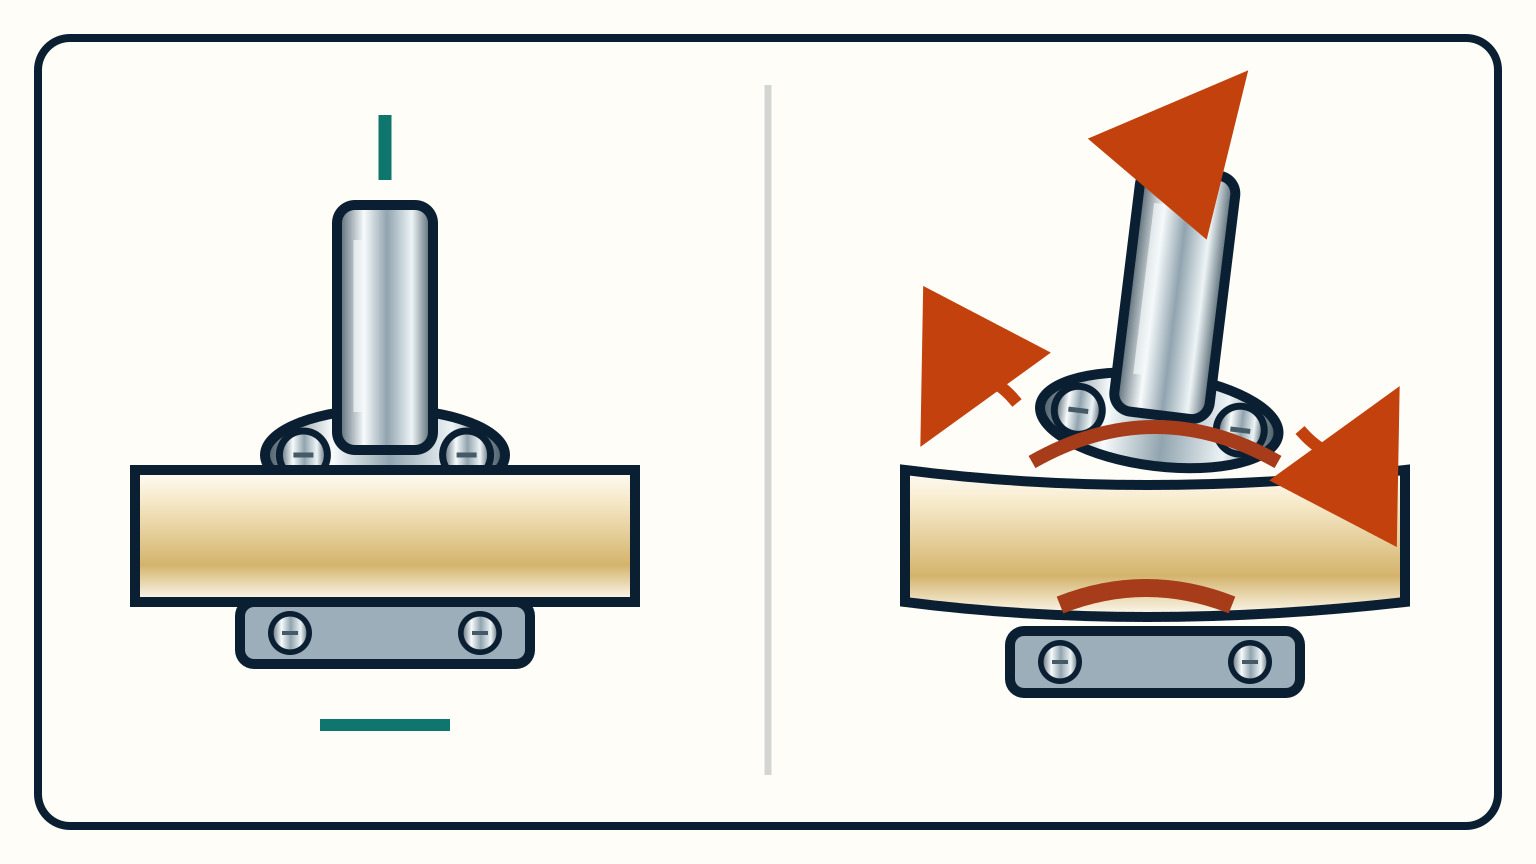
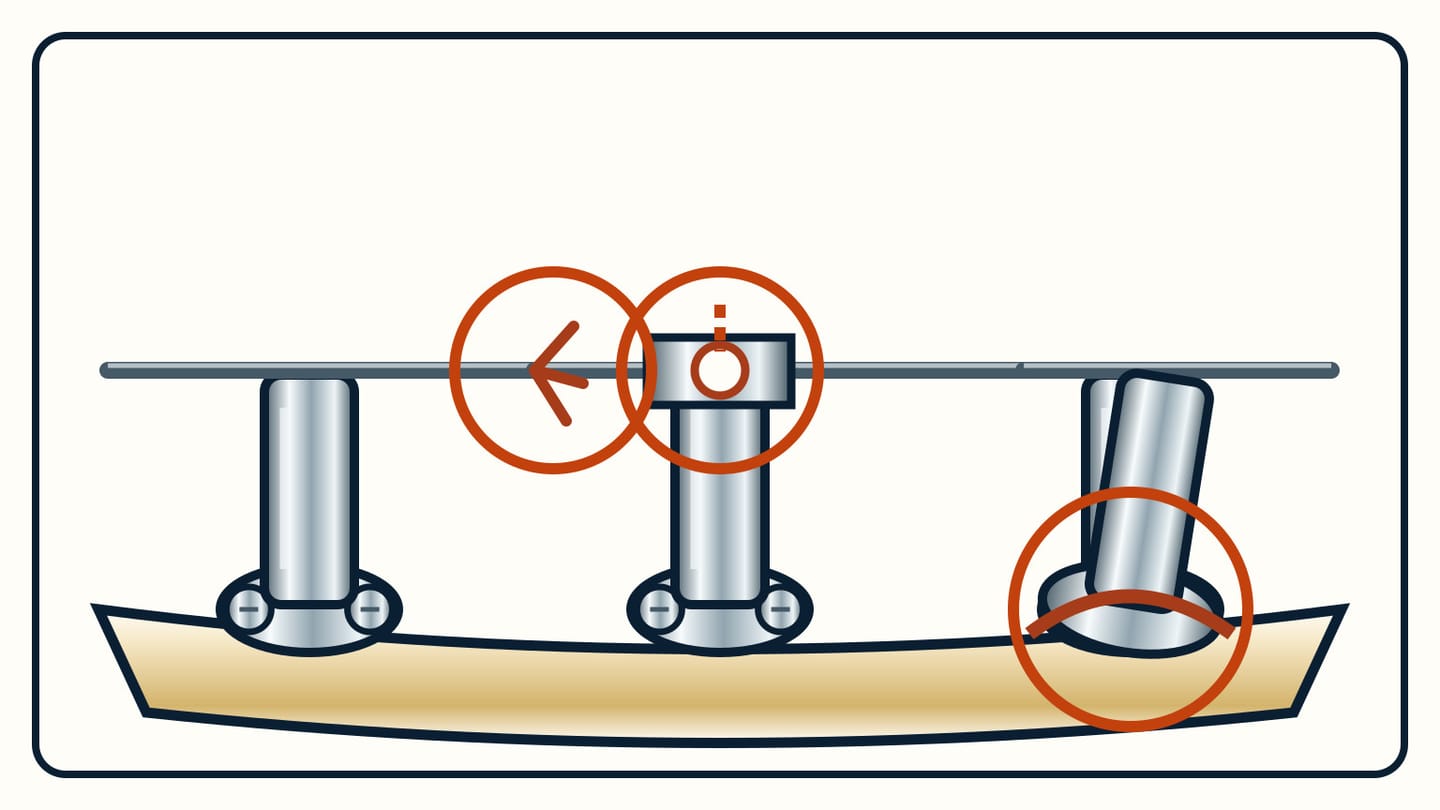
There is no trustworthy universal hand-push limit. Boats use different bases, deck laminates, backing arrangements, and post geometries. What matters during an owner inspection is new or unequal movement: a base edge lifting while the opposite edge stays down, a post rocking inside a socket that should retain it, deck skin flexing around the fasteners, or alignment that differs from neighbouring posts and earlier photographs.
Keep the boat secured and make sure nobody is using the lifeline for balance. Watch the base while the post is touched gently in the ordinary direction of use, but stop if the builder’s instructions prohibit that check or the deck is already visibly damaged. This is only a way to locate relative motion. Leaning your weight on a suspect post turns inspection into an uncontrolled load test.
Examine the full perimeter of the base. Look for a sealant gap that opens and closes, a raised fastener head, a washer or nut no longer seated, a crescent crack in gelcoat, or a depression beneath one edge. Compare the post with the boat’s centreline and its neighbours, but remember that some stanchions are designed with an angle. The builder’s drawing settles whether an angle is original.
Photograph the post from fore-and-aft and athwartships views (across the boat), with a fixed cabin edge or level reference visible. Then take a close view of the base and fasteners. A repeatable pair of images can show whether the alignment or gap is changing. If the post moves but you cannot see the underside, record that access limit rather than tightening the most convenient screw.
What should you look for in wire and terminals?
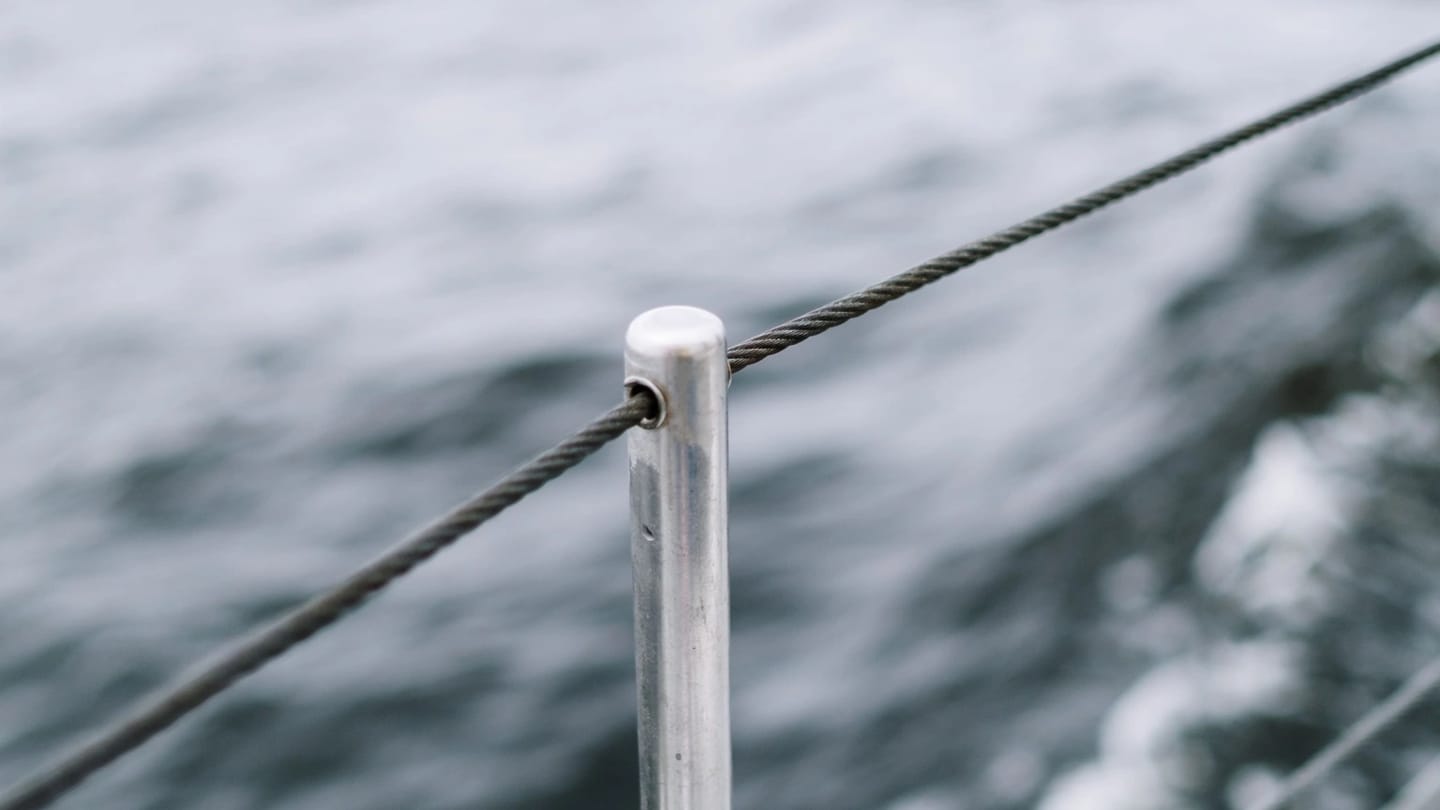
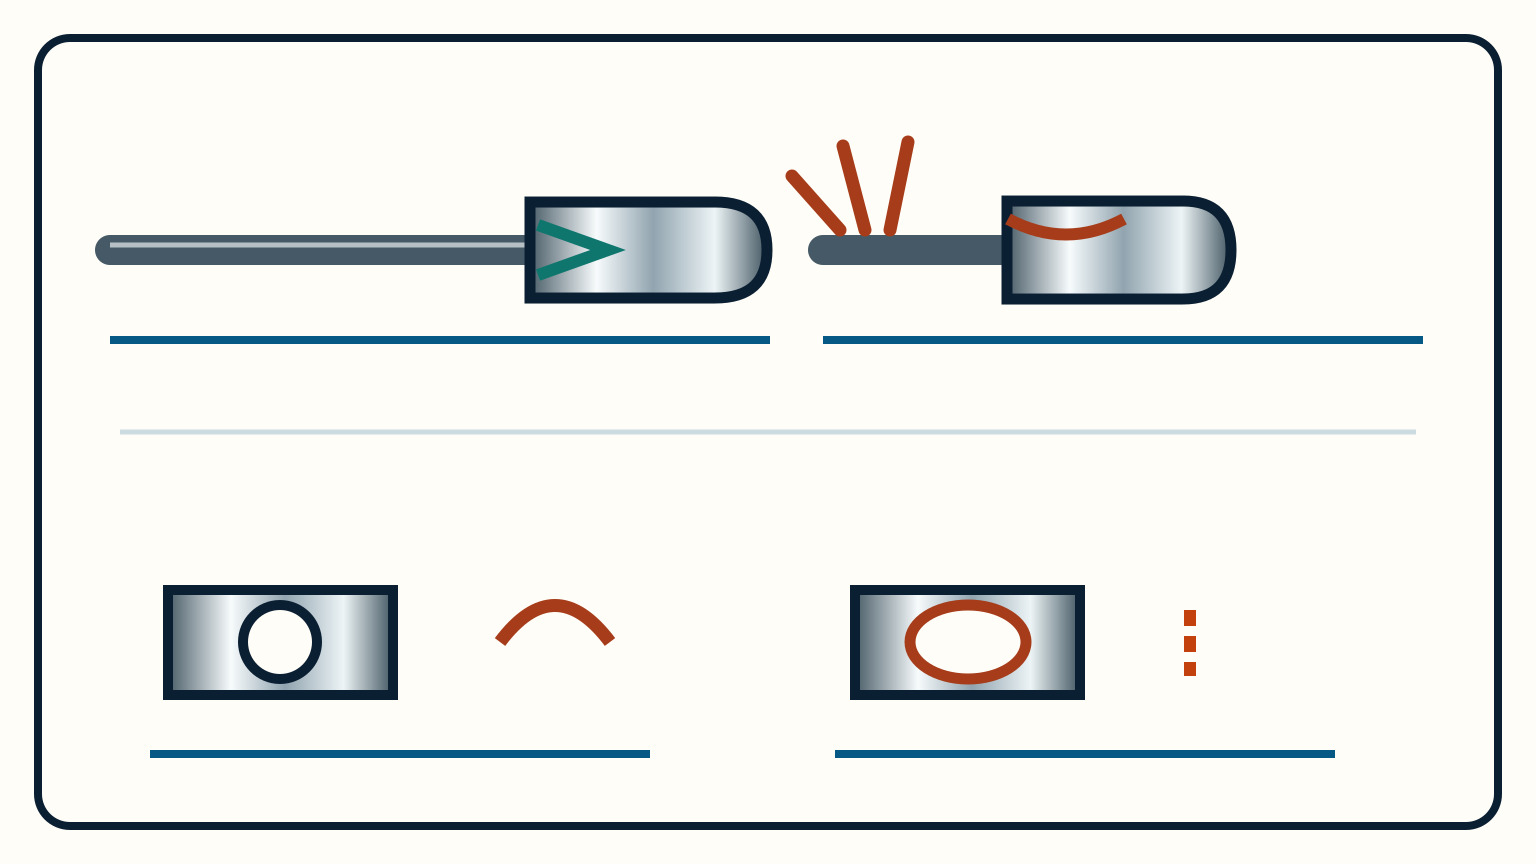
Use bright, raking light so small surface changes cast a shadow. Work close enough to see individual strands without dragging a bare hand along the wire. At every stanchion pass-through, inspect the wire where it touches the hole. At each terminal, look where the wire enters the fitting and around the pin hole. These are compact areas, so a phone photograph enlarged on screen can reveal detail missed at arm’s length.
The UK Maritime and Coastguard Agency says stanchions and lifelines deserve inspection and notes that stainless wire-rope inspection techniques also apply to them. US Coast Guard rigging guidance gives the relevant visual vocabulary: corrosion, cracks, pitting, discoloured strands, broken strands at a fitting entrance, bends, fractures, elongated pin holes, and damaged or missing retaining pins all require closer professional examination. The Coast Guard document governs inspected US sailing vessels, but those visible conditions are material observations rather than a cruising rule.
Check a gate terminal both open and closed while no one relies on it. The latch should reach its intended closed position, and the pins and retainers shown by the maker should be present. Do not force a stiff fitting with extra leverage. Photograph its assembled state and ask the manufacturer or rigger how it should be serviced.
Coverings change what you can see. World Sailing’s offshore-racing rule requires stainless wire lifelines to be uncoated and temporary sleeving to be removed regularly for inspection. A cruising boat may have a different approved system, but an opaque cover is still an access limit. Splits, swelling, staining at the cover ends, or an unknown service history justify a closer assessment; a smooth jacket cannot certify the wire beneath it.
Follow every base below the deck
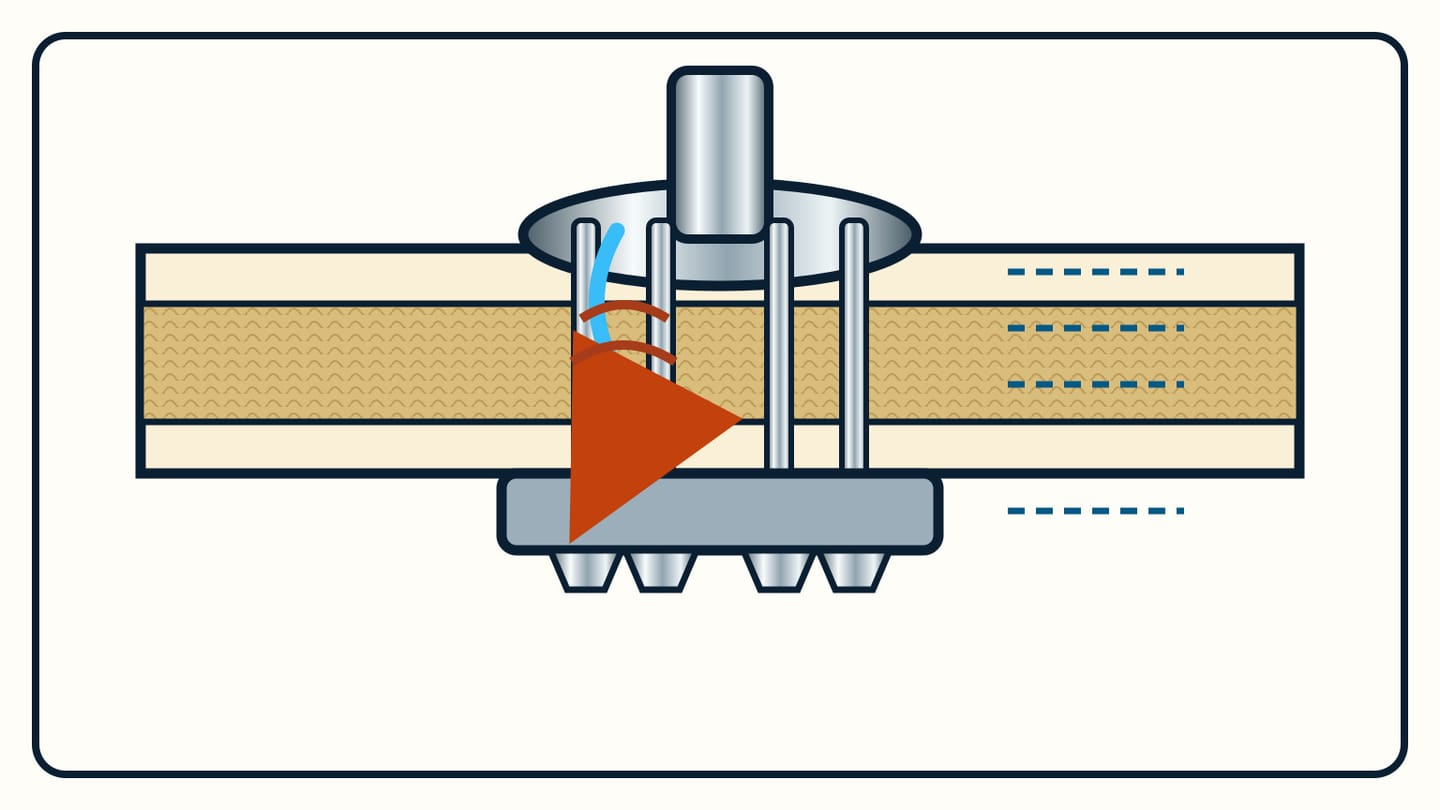
The stanchion base ends on top of the deck, but its load path does not. Find the inside fasteners, washers or backing plate, and the laminate or core that carries them. Access may be behind a headliner, locker trim, or furniture. Remove only panels intended for access. If the builder concealed the joint permanently, note that the backing structure has not been seen.
Look for water trails on fastener threads, dark or softened material, corrosion under washers, cracked inner skin, a backing plate no longer lying flat, loose or missing nuts, and repairs that do not match across the fasteners. Compare the underside while someone watches the base above under the same gentle observation used earlier. Any relative motion between the plate, inner skin, deck, and base gives the assessor a more exact problem to investigate.
WEST SYSTEM’s fiberglass repair manual explains why the underside matters. Through-bolts in a cored panel can crush the skins and core when they are overtightened or loaded, and damaged core should be repaired before hardware is reattached. Its repair guidance uses a backer plate with uniform bearing against the panel. That is a repair-system example, not permission to inject epoxy around an assembled stanchion. The builder or repair designer must specify how this boat’s deck regains its load path.
Water staining also needs a source. A mark below a fastener does not, by itself, establish where the deck was breached. Use the one-zone method in finding rainwater leaks and apply the limits in deck-core moisture testing. Tightening a nut may hide an opening for a while without repairing wet or crushed structure below it.
Which findings keep a lifeline out of use?
Keep people off the affected section when the enclosure has lost continuity or its support is uncertain. Examples include a broken strand, cracked or sharply bent terminal, missing clevis or retaining pin, gate that will not secure as designed, post no longer retained in its socket, base that lifts from the deck, fastener moving through the laminate, or backing structure that is cracked, crushed, wet, or no longer bearing evenly. Mark the location and brief everyone aboard; tape or a tag can warn people, but it does not restore the rail.
Other findings need interpretation rather than an instant verdict. Light surface staining, an old cosmetic gelcoat crack, or a post that was built with an angle may not mean the same thing as active pitting, a growing crack, or changed alignment. Clean only after the first photographs, using methods compatible with the installed material. The Coast Guard warns against aggressive rust removers, wire brushes, and abrasive tools that score stainless rigging components. Preserve the evidence a surveyor or rigger needs.
Ask for a written repair scope that identifies the damaged part, the surrounding deck condition, the specified replacement fitting or wire, and the required assembly and tension. If a stanchion impact may have damaged a cored deck, the sailboat survey red-flags guide explains why visible hardware and hidden structure belong in the same conversation. After repair, photograph both sides of the deck before trim is replaced, then record the final terminals, pins, gate closure, post retention, and wire route.
This inspection is worth practising because it turns “the rail feels loose” into a short, useful handoff. SailStarter’s beginner sailing guide builds the same habit across the rest of the boat: observe the real arrangement, name what changed, and stop before a guess becomes a repair.
Try it from the lesson
Can you spot the next move?
The boat leans away from the wind. Which side offers the safer route forward, assuming its handholds and footing are clear?
Why you can trust this guide
. We build each guide from public seamanship and safety sources, then teach the universal principle before any local difference.