Chart your course
Bilge Pump Not Working
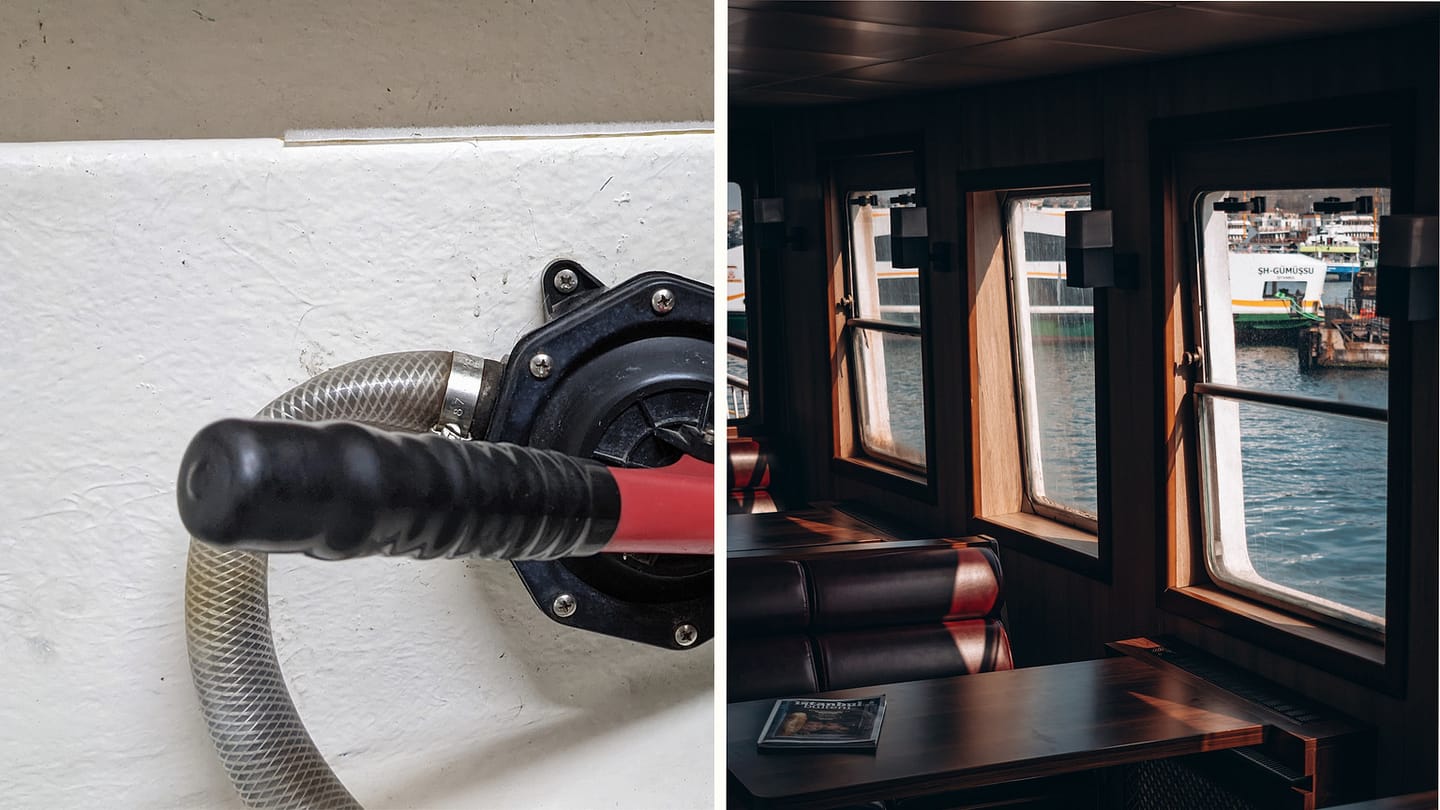
Quick answer
The short version
If bilge water is rising and the pump is not keeping up, treat it as flooding first. Use safe backup dewatering, locate and control the inflow if possible, protect buoyancy and stability, and call for help early. Once the boat is secure, test automatic and manual operation separately. Then trace the system in order: control or float switch, correct circuit protection, accessible wiring, pump and inlet, and discharge hose. Isolate power before touching the pump.
A pump that makes noise but moves no water has a different fault from a silent pump. A pump that works at the panel but not automatically has narrowed the problem further. The goal is to preserve those clues rather than replace parts blindly.
Before trouble, every regular crew member should know where the manual pump handle lives and which discharge outlet belongs to each pump. During a fault, one person can watch the water level while another pumps and a third searches for the source. Clear roles prevent a noisy electric motor from being mistaken for successful dewatering.
Respond to Rising Water Before Testing
Put on flotation, alert the crew, and keep a lookout. Establish whether water is rising, steady, or falling, and mark the level with tape or note the time against a fixed point. Find the source without delaying a distress call when the inflow exceeds your ability to control it. Close an affected seacock, use a soft plug, or reduce an accessible leak only when the action is safe and you understand the system.
Use the installed manual pump, portable pump, bucket, or other backup as appropriate. Direct discharge overboard without creating another flooding route. Keep suction strainers clear and rotate crew before fatigue makes manual pumping ineffective. If the boat is losing stability, electrical equipment is submerged, or the inflow cannot be controlled, move people to the safest position and seek immediate assistance.
Do not assume water came through the hull merely because it is in the bilge. It may come from rain, plumbing, a cooling system, a stuffing box, a tank, or deck drainage. Taste and smell are unsafe identification methods. Note colour, temperature, timing, and the highest wet point you can see. The companion guide on why water appears in the bilge helps sort sources after the immediate risk is controlled.
Electricity and water add another hazard. Do not reach into water that may contain live conductors or damaged equipment. Isolate affected circuits only if the switches remain safely accessible and doing so will not disable essential dewatering or communication. Fuel, sewage, smoke, chemical contamination, or an abnormal battery smell changes the response and calls for appropriate professional or emergency help.
Only begin fault tracing when the boat is secured, the inflow is controlled, and a backup means of pumping remains ready. A bilge pump is not a substitute for repairing the leak; its job is to manage limited water and warn you that water is present.

Test Manual and Automatic Operation Separately
Read the pump, switch, and boat wiring information before testing. Many installations have a panel switch with manual and automatic positions, while others use separate circuits. Do not assume “off” isolates an automatic feed. Identify every supply and disconnect power as the manufacturer directs before putting hands near an impeller or moving switch.
Start with observation. Does the pump stay silent, run continuously, cycle briefly, or run without discharge? Does a panel indicator illuminate? Does lifting or otherwise operating the automatic switch start the pump? Use only the switch maker’s test method. A float must move freely through its full range without catching hoses, wiring, debris, or the hull.
Test manual mode and automatic mode as two results:
- Neither mode works: check shared power, circuit protection, negative return, connections, and the pump.
- Manual works but automatic does not: focus on the float or sensor, its dedicated supply, connections, mounting, and movement.
- Automatic works but manual does not: check the panel control and its circuit rather than blaming the pump first.
- Pump runs but water does not move: inspect inlet blockage, air lock where relevant, impeller condition, hose restriction, discharge height, and backflow.
- Pump will not stop: look for a stuck switch, trapped water, backflow, or a control fault before the battery is exhausted.
Never test by allowing the bilge to flood beyond a safe controlled level. Some pumps are not intended to run dry for long, and some electronic sensors have special procedures. If adding clean water is permitted, use enough to prove automatic start and actual overboard discharge, then remove it. Keep oil, fuel, coolant, sewage, and contaminated bilge water out of the environment and follow local rules.
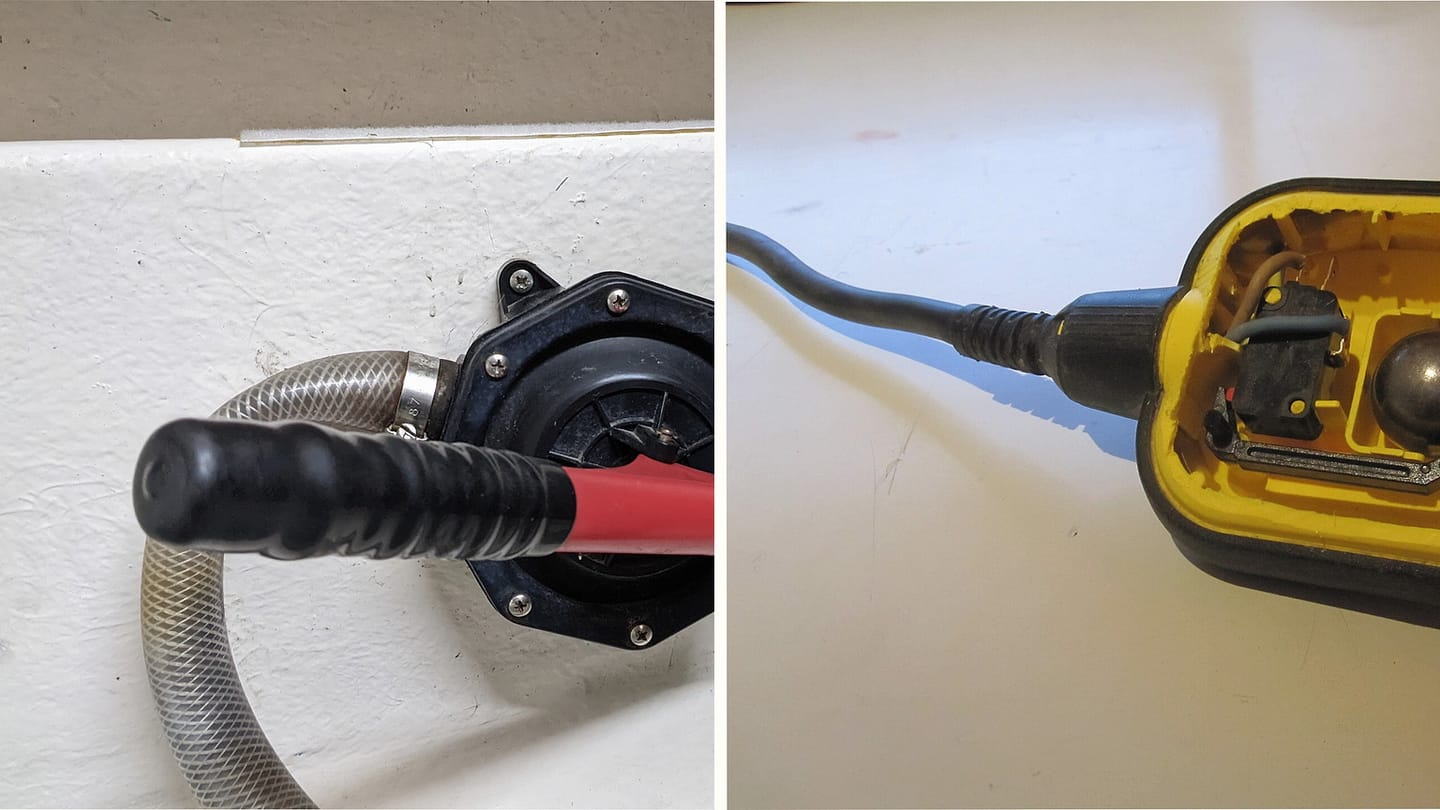
Trace Power, Pump, Inlet, and Discharge
With the circuit isolated, work in a fixed order. Confirm the fuse or breaker type and rating against the pump instructions. Check it rather than trusting appearance. A replacement that fails again indicates a fault; never fit a larger rating. Inspect accessible connections for corrosion, looseness, heat, chafe, or immersion. Bilge wiring lives in a harsh place, so a connection can look intact while failing under pump load.
Do not add improvised test leads or bypass protection. If you use a meter, follow the boat’s electrical procedure and measure at meaningful points while respecting ignition and flooding hazards. A full voltage reading with no load does not prove a connection can carry pump current. If the circuit route or negative return is unclear, a marine electrician can test voltage drop and protection without turning the installation into an experiment.
Inspect the inlet and strainer for hair, leaves, cable ties, sludge, and other debris. Remove the pump only as its manual permits, with power disconnected. Keep fingers and tools out of the impeller path. Confirm the pump sits where intended and has not come loose or become buried under stored gear.
Trace the discharge hose to its outlet. Look for a kink, collapse, loose clamp, split, blockage, low sag that traps water, or routing that permits water to return. An outlet near the waterline can introduce siphoning or backflow if the installation is wrong. Do not redesign loops or valves from a generic article; compare the actual route with the pump and boat builder’s instructions and obtain qualified advice where through-hull safety is involved.
A noisy motor with no discharge may have a blocked inlet, damaged impeller, air or routing problem, or failed connection between motor and pump. A silent motor with correct loaded voltage points elsewhere. Preserve each observation. Replacing the pump before checking the hose can leave the original fault untouched.
Inspect how stored equipment interacts with the installation. A spare line can pin a float down, a tool bag can crush a hose, and cleaning cloths can reach an exposed inlet. Restore access after every storage change. The bilge should not become the place where small loose objects collect around the only pump expected to remove water.
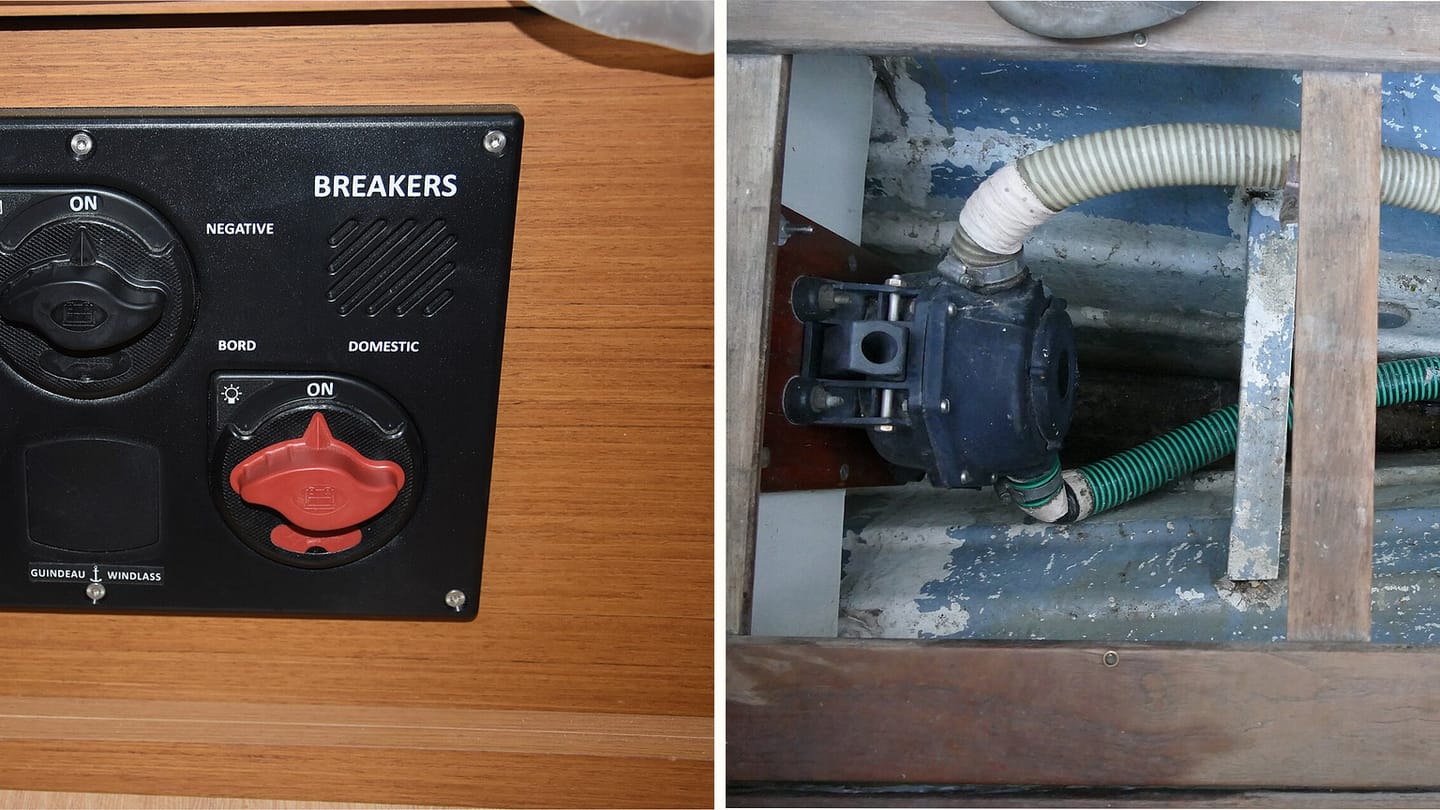
Prove the Repair and Improve the Backup
Reassemble guards, strainers, and covers, remove tools, and restore every circuit to its intended operating state. Use clean water and the manufacturer’s test procedure to prove actual flow from bilge to outlet. Watch the entire route for leaks. Confirm manual start, automatic start at a safe level, automatic stop, and no damaging backflow. A motor sound alone is not a pass.
Time a controlled discharge or record another repeatable baseline permitted by the maker. You are not trying to establish a universal pumping rate, because hose route and lift affect real output. You are creating a comparison for your own installation. A later test that takes much longer can reveal restriction before the pump fails completely.
Check the alarm separately if fitted. A high-water alarm should be independent enough to warn that normal pumping has not controlled the level. Test it by its instructions and make sure the crew recognises its sound. Keep a manual pump or suitable backup ready even with multiple electric pumps; batteries, switches, and wiring can share failure causes.
Record the date, fault found, fuse rating, pump model, test result, and any parts replaced. Add inspection and functional testing to the safety-equipment checklist. Keep the bilge accessible and free of loose material, and investigate frequent cycling rather than accepting it as normal.
If the boat took on significant water, if structural or through-hull damage is possible, or if contaminated water reached electrical and machinery spaces, arrange a wider professional inspection. If dewatering remains unreliable, do not depend on the boat offshore. Plan safe assistance, including the principles in taking a tow at sea, before moving her.
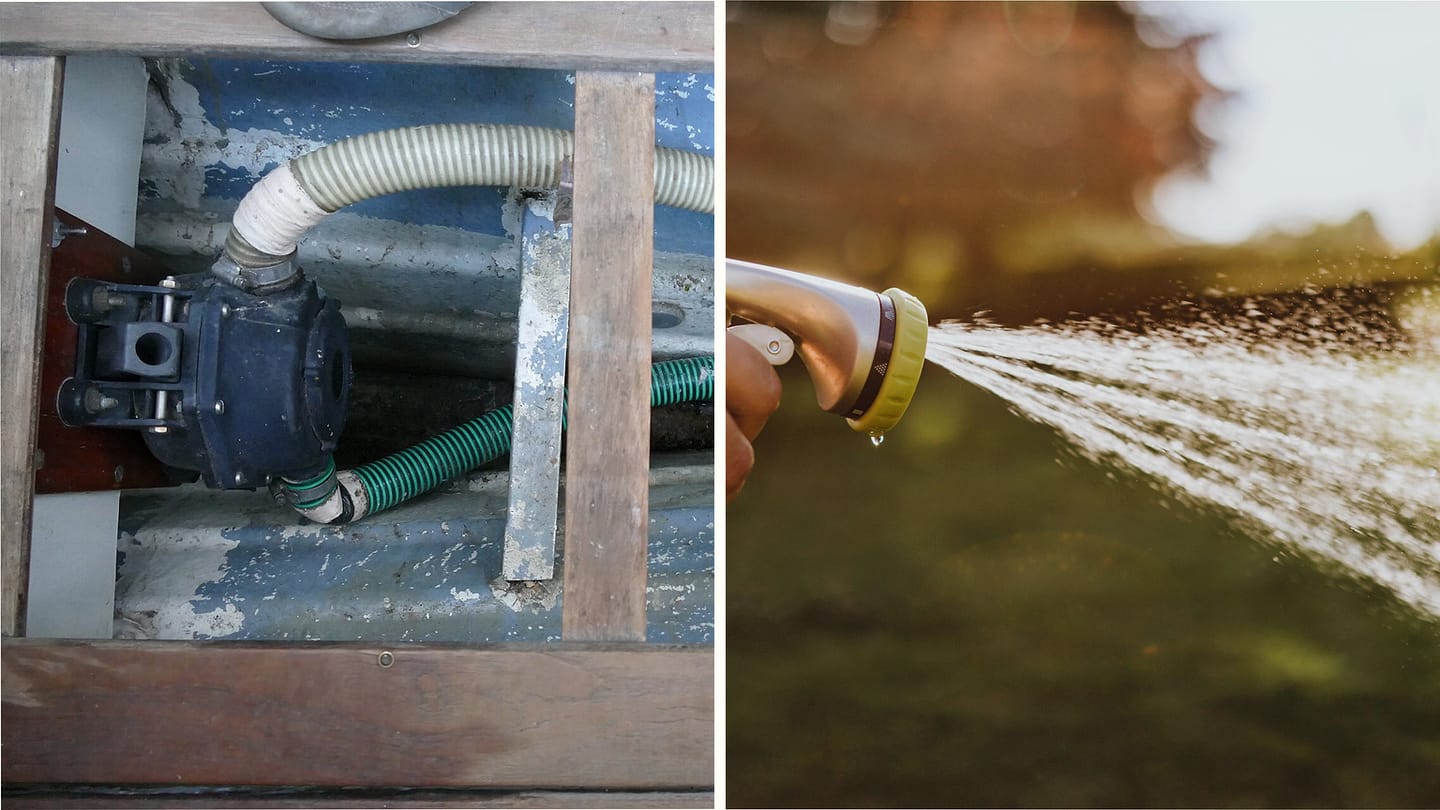
Use SailStarter’s onboard-systems lesson to trace your pump from inlet to outlet. Photograph the automatic control, panel switch, fuse, pump, hose route, outlet, alarm, and manual backup. Then perform the maker’s controlled test and write the results where another crew member can find them.
Try it from the lesson
Can you spot the next move?
Water is rising and several crew can act. How should the first jobs be shared?
Why you can trust this guide
. We build each guide from public seamanship and safety sources, then teach the universal principle before any local difference.