Chart your course
Used Sailboat Inspection Checklist for Buyers

Quick answer
The short version
Use your first inspection to decide whether a used sailboat deserves professional evaluation, not to replace it. Begin with ownership and registration documents, service records, equipment inventory, and any information about finance or liens relevant to the sale. On the boat, look systematically at the deck, hull, rig, sails, steering, engine, electrical equipment, plumbing, and safety gear. Record damage, leaks, corrosion, unusual movement, missing items, and systems you cannot test. If the boat remains a serious candidate, arrange an independent condition survey, out-of-water inspection, and trial run. Bring in engine, rigging, or electrical specialists when the boat or findings justify it. Do not let a clean cabin substitute for evidence about structure and systems.
A checklist helps you slow down when the boat is appealing and the seller is waiting. It creates the same path through every candidate, making comparisons easier and gaps more visible. This assumes you already have a used boat worth a closer look; if you are still weighing a new boat against a used one, settle that question first, since it changes how much risk you are willing to carry into this process. Ask permission before opening panels, operating equipment, or moving gear. Take photographs and notes, then label anything you did not inspect. A preliminary visit can identify obvious reasons to stop, but some important areas require the boat ashore, equipment running, or a trained surveyor's judgment. Treat uncertainty as a question to resolve, not proof that everything is fine.
Which Documents Should You Check First?
Ask for evidence that the seller can transfer the boat and that its identity matches the documents. Review the registration or licensing record used in the boat's jurisdiction, the bill of sale history available, and any relevant finance or lien information. Confirm which sails, electronics, tender, engine, safety equipment, and loose items are included.
Service records can show what work was done, by whom, and when. Look for consistency between the records, the seller's description, and what you see aboard. Missing records do not prove a defect, but they leave more condition to verify independently.
Write down document numbers and discrepancies rather than trying to solve them from memory later. Do not send a deposit merely because paperwork has been displayed. Your purchase process should state which document and inspection checks must be satisfactory before the sale becomes final.
What Good Paperwork Does Not Tell You
Clean documents establish that the seller can legally sell the boat and confirm what is included in the sale. They say nothing about the condition of the hull, rig, engine, or systems, which is the entire reason the rest of this checklist exists. A seller who produces a tidy folder of registration papers and service invoices has cleared one hurdle, not all of them. If a document raises a question you cannot answer on the spot (an inventory item you do not see aboard, a service record that stops years ago, a name on the registration that does not match the seller), write down the exact discrepancy and treat it as open until it is resolved, not as a detail to smooth over because everything else looks promising. Later in this checklist, an independent survey turns condition observations into a structured report; understanding roughly what that survey costs and covers before you view the boat helps you budget for it from the very first visit rather than treating it as a surprise expense at the end.

What Should You Look for on Deck and Aloft?
Walk the deck carefully and notice damaged surfaces, cracks, staining, soft or moving areas, leaks around fittings, and hardware that is loose or heavily worn. Inspect railings, lifelines, cleats, winches, hatches, and steering controls for condition and secure attachment. Ask before applying force or climbing.
From deck level, examine the mast, boom, standing rigging, running rigging, terminals, and visible fittings. Look for corrosion, broken strands, distortion, chafe, poor repairs, and age information. Sails can be checked for tears, worn stitching, damaged fittings, and shape, but a bundled sail hides much of its condition.
A ground-level look cannot certify the rig. If the mast or rigging is material to the purchase, use a qualified rigger for closer evaluation. Record what was visible and what still needs access. "Looks fine from below" is not an inspection result.
Reading the Clues You Can See
A short list of visible clues is worth learning before your first viewing, because they show up on deck, on the hull, and around fittings alike. Cracks in gelcoat or fiberglass can be purely cosmetic or can point to stress underneath, and you cannot tell which from a glance. Corrosion on fittings, fasteners, or metal parts tells you moisture has been getting somewhere, but not for how long or how far it has travelled. Blistering or peeling finish often points to water intrusion or a coating that has started to fail. A patch, a mismatched paint area, or an obviously repaired section means something already went wrong once, whether or not the repair was done well. None of these clues sizes the problem for you. Each one is a reason to look closer, photograph it clearly, and name it specifically when you brief the surveyor, not a reason to either walk away on the spot or wave it off. For a longer list of what surveyors flag most often, see sailboat survey red flags.

Why Does the Boat Need to Come Out of the Water?
An out-of-water inspection exposes the underwater hull, keel or centreboard, rudder, propeller, shaft or drive, through-hull fittings, and other areas hidden afloat. The surveyor can look for damage, distortion, corrosion, leaks, previous repairs, and movement where parts join. The exact checks depend on the boat's design and materials.
Below deck, inspect accessible structure and spaces for water, staining, odour, damaged finishes, corrosion, loose equipment, and signs of repair. Test systems only with permission and in a safe setup. An engine that starts at the berth still needs evaluation under appropriate operating conditions.
Schedule haulout logistics and cost before the survey day. Ask the yard and surveyor what access they need and who is responsible for moving the boat. If the seller refuses a reasonable out-of-water inspection for a serious purchase, you are being asked to accept important unknowns.
What a Dockside Test Cannot Show You
An engine that turns over and idles smoothly at the berth has passed the easiest test it will face. Sustained running, real load, and manoeuvring are what reveal a cooling problem, a slipping mount, or a stressed transmission, which is exactly what the trial run covers later in this process. The same logic applies below the waterline: a hull that looks sound from the dock can still hide corrosion, distortion, or old damage that only becomes visible once the boat is out of the water, dry, and open to a close look. Treat a smooth-running engine and a clean-looking topside as a reasonable sign, not as a substitute for the haulout and trial run.

What Do the Survey and Trial Run Add?
An independent condition survey turns observations into a structured assessment of the boat and its equipment. Choose a surveyor with relevant experience and understand the scope before booking. A general surveyor may recommend separate engine, electrical, or rigging expertise when those areas require specialist knowledge.
The trial run shows systems working and the boat behaving under load. It can include engine operation, steering, controls, instruments, and sailing equipment where conditions and the agreed plan allow. Use it to investigate, not to enjoy a ceremonial last step after the decision is already made. SailStarter's sailboat sea trial checklist walks through what a useful trial run actually tests, so you arrive with a plan rather than a hope that something will reveal itself.
Read the report, ask questions, and sort findings into safety, function, maintenance, and preference. Obtain suitable repair information for major items. The result may support the purchase, a price discussion, a revised work plan, or a decision to walk away. All four are legitimate outcomes of a useful inspection.
Turning a Report Into a Decision
Sorting the report by category keeps one finding from carrying the wrong weight. A cracked through-hull fitting belongs in the safety column and needs an answer before you take the boat anywhere. A stiff winch or a tired batten pocket belongs in maintenance, something to plan and budget for after the sale, not before it. Faded upholstery or a dated cabin layout belongs in preference and should never block a decision the way a safety finding should. Working through the report this way keeps a cosmetic issue from crowding out a structural one, and keeps a genuine safety finding from getting buried in a long list of small items.
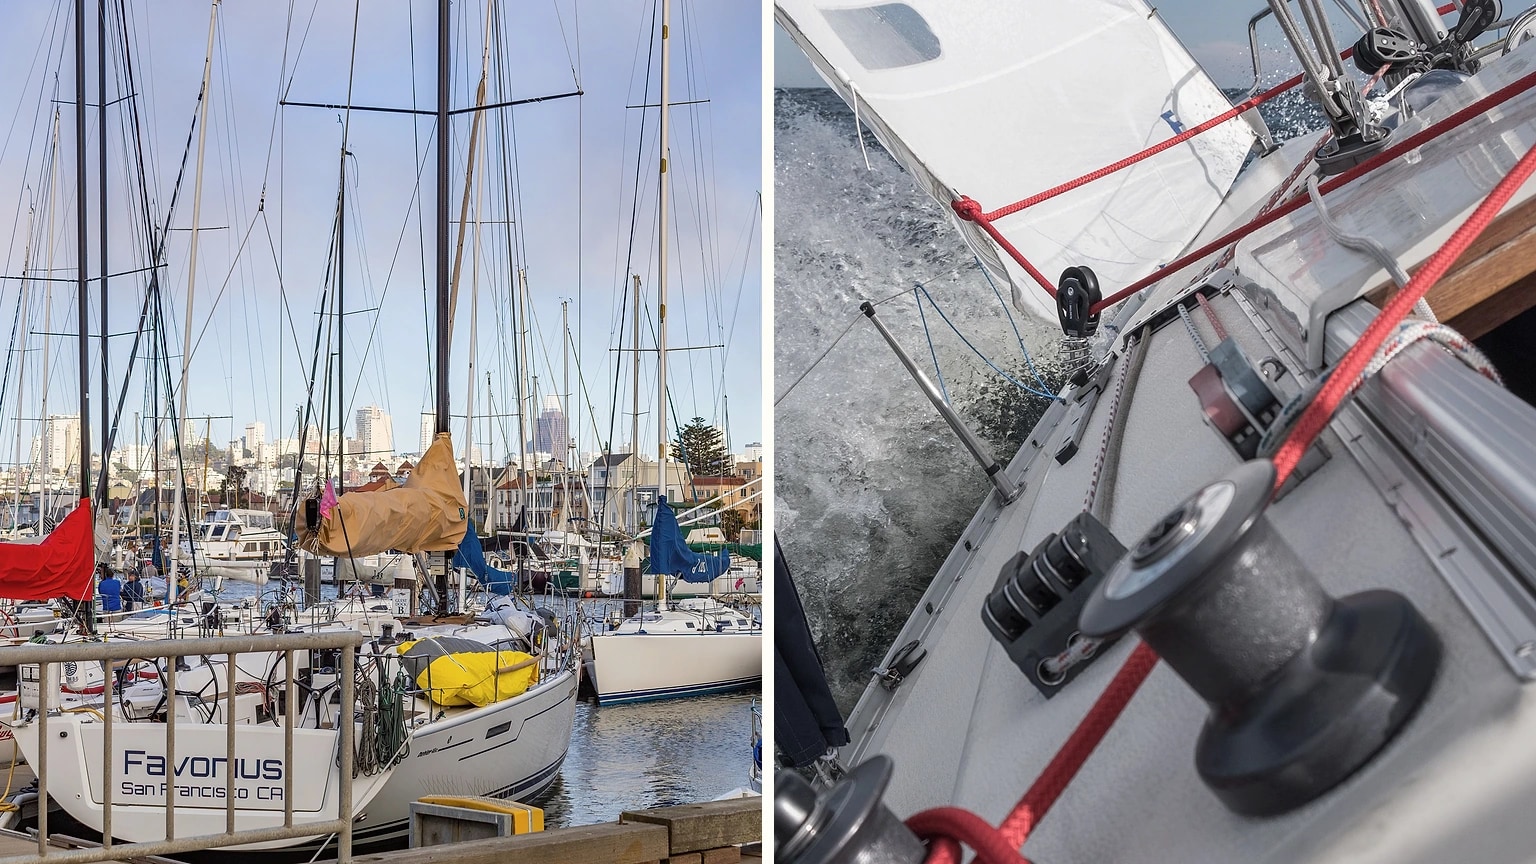
Open SailStarter's first-boat lesson before your next viewing and turn your intended use into inspection priorities. A simple day sailor, training dinghy, and cruising boat do not have the same equipment or condition questions. Bring a printed checklist, phone or camera, flashlight, and a way to take notes, but follow the owner's access and safety instructions. Mark every item as seen, tested, not present, or not checked. That last category matters because it becomes the agenda for the surveyor and specialists. Keep emotional and financial decisions separate from the visit: inspect first, review your notes away from the boat, then decide whether to pay for the next stage. A preliminary checklist can help you reject an unsuitable candidate early. It cannot prove a boat sound. For a serious purchase, let independent evidence from the survey, haulout, trial, documents, and relevant specialists shape the decision.
Try it from the lesson
Can you spot the next move?
A wide sailboat glides past on two side-by-side hulls, barely leaning at all. What type is it?
Why you can trust this guide
. We build each guide from public seamanship and safety sources, then teach the universal principle before any local difference.