Chart your course
Outboard Motor Maintenance Checklist for Sailboats

Quick answer
The short version
An outboard maintenance checklist starts with the engine's model, serial number, owner manual, and service schedule. Before use, inspect mounting, controls, propeller area, fuel and electrical connections, visible leaks, corrosion, and cooling-water inlets. Run the engine only with the cooling-water supply and procedure its manual requires, then confirm normal cooling discharge, alarms, shifting, and gauges. Calendar- and hour-based work may include engine oil on four-strokes, gearcase lubricant, filters, spark plugs, water pump, anodes, lubrication points, fuel care, and storage preparation, but the interval, fluid, and part are model-specific. Record hours and work. Stop for fuel leaks, overheating, damaged wiring, serious corrosion, impact damage, abnormal noise, or any procedure beyond your tools and training.
Sailboat outboards live in a difficult combination of spray, intermittent use, awkward mounting, and long idle periods. A checklist prevents the engine from being treated as an appliance that matters only when the wind disappears. It should not turn one manufacturer's schedule into a universal rule. Two-stroke and four-stroke engines, portable and permanently rigged tanks, electric start, remote controls, power trim, and different cooling arrangements all change the job.
Build the Checklist From the Exact Model Schedule
Record the serial number and download the correct current manual. Keep its fuel specification, oil or lubricant requirements, capacities, approved parts, maintenance table, storage procedure, and warranty conditions with the boat. Use both engine hours and calendar dates because low use does not stop corrosion, fuel ageing, or rubber deterioration. Note severe-service adjustments for salt, brackish, silty, or shallow water if the manufacturer provides them.
Separate tasks into three groups: observations before operation, owner service the manual describes, and dealer or technician work. Build the parts order from the model rather than buying a kit by horsepower alone. Check whether a first-service interval applies to a new or rebuilt engine. Keep receipts and service records, especially while warranty conditions matter. If the manual cannot be identified, resolve that first; guesswork about an oil, plug, impeller, or procedure can cause expensive damage.
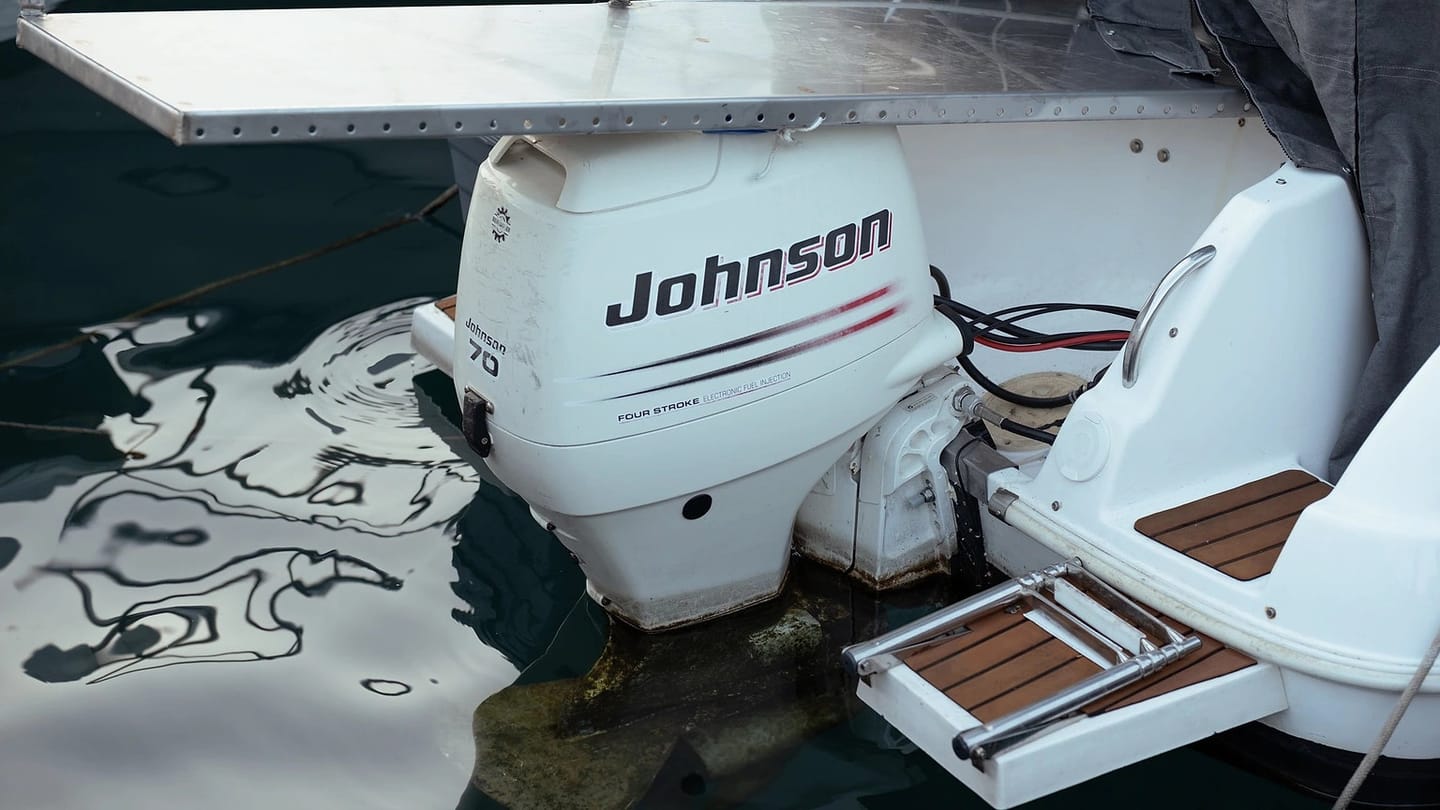
Check the Engine Before Running It
Inspect the transom or bracket, clamps or bolts, lifting and tilt mechanism, safety cable if fitted, and the security of remote controls. Look for cracked hoses, loose connectors, chafed wiring, fuel smell, drips, corrosion, and damage from impact or freezing. Make sure the propeller area is clear and the gear selector is positioned as the starting procedure requires. Inspect the propeller with the ignition safely disabled according to the manual; line around the shaft or a bent blade can indicate seal or gearcase risk.
Check fluids only by the model procedure and with the engine in the required position. Inspect cooling-water inlets for blockage. Confirm the portable tank, vent, primer, fuel line, battery, and engine cutoff device that apply to the installation. Never run an outboard dry. Use the specified flush attachment, tank, or in-water depth, and keep people clear of propeller and exhaust hazards. Once started, watch cooling discharge and instruments immediately.

Service Fuel, Cooling, Lubricants, and Wear Items
Follow the schedule rather than a borrowed fixed interval. Fuel work may include inspecting tanks and vents, replacing model-specific filters, draining separators, and managing storage fuel with an approved method. Prevent spills, remove ignition sources, ventilate the area, and stop if fuel leakage or damaged components appear. Modern fuel systems can retain pressure and include parts intended for trained service.
Cooling service may include flushing, inspecting discharge, checking thermostatic or pump components, and replacing an impeller at the stated point. Weak or absent discharge, an overheat alarm, or steam requires shutdown and diagnosis, not another high-speed test. Lubricant work can include four-stroke engine oil and filter, gearcase oil, trim fluid, and designated grease points. Milky gear lubricant or unexplained metal can signal seal or internal trouble. Spark plugs, anodes, belts, valves, and injection work vary widely, so treat the parts diagram and manual as the boundary.
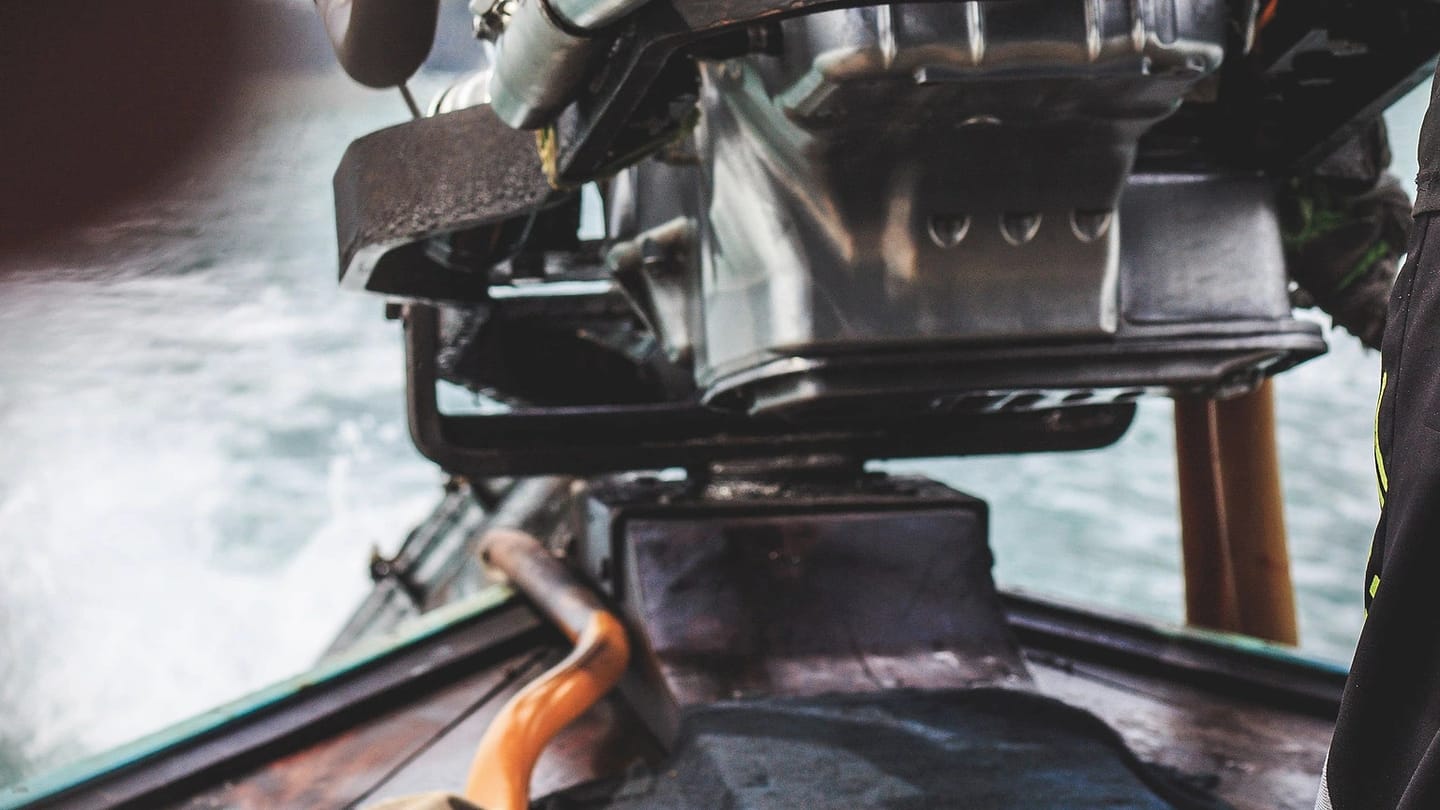
Protect the Outboard Between Trips and Keep Records
Make every pre-run check observable
Confirm the correct fuel, oil arrangement, cooling-water intake, propeller condition, fasteners, controls, kill-switch system, battery connection if fitted, and ventilation for portable fuel. Look for fuel or lubricant leaks before starting. Check that the leg is at the proper operating depth and that no rope can reach the propeller.
After starting by the maker's procedure, confirm cooling-water indication and normal instruments. Listen for a new rattle, uneven running, or alarm. Test shifting only when the area and mooring allow it. Stop if cooling flow is absent, an alarm sounds, fuel leaks, or the engine behaves differently from the documented normal condition.
Use both time and operating hours
Build the service calendar from the exact engine manual. Include engine oil where applicable, gearcase lubricant, fuel filters, spark plugs, water-pump impeller, anodes, belts where fitted, propeller and shaft inspection, controls, fasteners, and corrosion protection. Some items age while the engine sits, so low hours do not cancel calendar service.
Record model, serial number, service dates, hours, fluids, parts, torque or gap values used from the manual, and test results. Keep receipts and photographs of damage or contamination. A known history helps distinguish a recurring fuel or cooling fault from a missed interval.
Protect fuel and cooling systems
Use clean fuel and storage treatment only as specified by the engine and fuel-system makers. Inspect portable tanks, vents, hoses, primer bulbs, connectors, and clamps. Keep tanks secured and refuel portable tanks in the safe location required by current guidance. Gasoline vapor is a separate fire hazard covered in the fueling and ventilation guide.
Keep cooling inlets clear and flush the engine when and how its maker directs for the water used. Do not run an outboard dry. An impeller can be damaged without water, and an apparently strong telltale does not replace the rest of the cooling-system checks.
Before storage, follow the current manual for flushing, fuel, lubrication, battery, tilt position, corrosion protection, and freezing conditions. Do not copy another model's winterizing steps. The inboard versus outboard guide helps compare long-term service access before choosing propulsion.
Escalate damaged mounts, steering, fuel leaks, gearcase water contamination, repeated alarms, poor compression, internal corrosion, or uncertain electrical faults. A checklist is useful because it makes changes visible; it is not a substitute for diagnosis.
Check the propeller and lower unit
With the engine safely isolated, inspect propeller blades for bends, cracks, missing material, and fishing line around the shaft. Remove the propeller only by the maker's procedure. Line behind it can damage the seal and allow water into the gearcase.
Inspect gearcase lubricant at the scheduled service for water, metal, or unusual condition as the manual describes. Replace seals or investigate impact damage rather than refilling a contaminated case and hoping it holds. Confirm the propeller hardware, thrust parts, and cotter or locking device are assembled exactly as specified.
After any impact, stop and check vibration, steering, propeller, skeg, gearcase, bracket, and mounting. A motor that still runs can have damage that worsens with continued use.
After operation, follow the maker's fresh-water flushing and exterior-rinse guidance for the water in which you sailed. Keep cooling passages supplied exactly as instructed. Inspect for new line, weeds, chips, paint damage, or corrosion, then store or tilt the engine in the permitted position. A raised outboard can still trap water differently by model, and a portable engine has fuel, lifting, and orientation limits.
For longer storage, use the manufacturer's complete procedure for fuel, oil, cylinders, cooling water, battery, corrosion protection, and engine position. Do not combine advice from different brands. Store portable fuel and batteries according to their own safety instructions and local rules. Log hours, dates, parts, fluids, observations, and who performed the work. Before the next trip, review open defects. Reliable auxiliary power comes from noticing changes early and proving the engine can start, cool, shift, and stop before it is needed in a close-quarters problem.

Use SailStarter's engine pre-start lesson to turn this checklist into a thirty-second scan and a longer scheduled routine. Put the engine model and serial number at the top of one page, followed by the manual link, hour reading, next due items, and approved fluids. Add a column for observations after every run, especially cooling discharge, starting behavior, shifting, and new leaks. Schedule technician work before the season becomes busy and keep a small model-correct spares kit aboard. The goal is not to perform every repair yourself. It is to know the engine's normal condition, follow its real schedule, and act before a small change becomes a loss of propulsion.
Try it from the lesson
Can you spot the next move?
The engine is idling, the boat is safely secured and the propeller area is clear. What should you confirm before departure?
Why you can trust this guide
. We build each guide from public seamanship and safety sources, then teach the universal principle before any local difference.