Chart your course
How to Inspect Used Sails Before You Buy

Quick answer
The short version
Inspect a used sail laid out dry and clean, after first confirming that it can fit your boat and rig. Check the whole cloth, seam lines, corner reinforcements, luff attachment, UV cover, batten pockets, and repairs. A sail can be tidy in a bag yet still be wrong for your dimensions or have wear where it is loaded hardest. If the value depends on a close call, a sailmaker's inspection is worth arranging before you commit.
Used sails are not all worn in the same way. One may have sound cloth with a tired UV cover. Another may have neat-looking repairs that need checking under load. Your job is not to pronounce a sail good or bad from a distance. It is to gather enough evidence to decide whether it fits, whether the condition matches the price, and whether the remaining uncertainty needs professional advice.
Confirm fit before judging condition
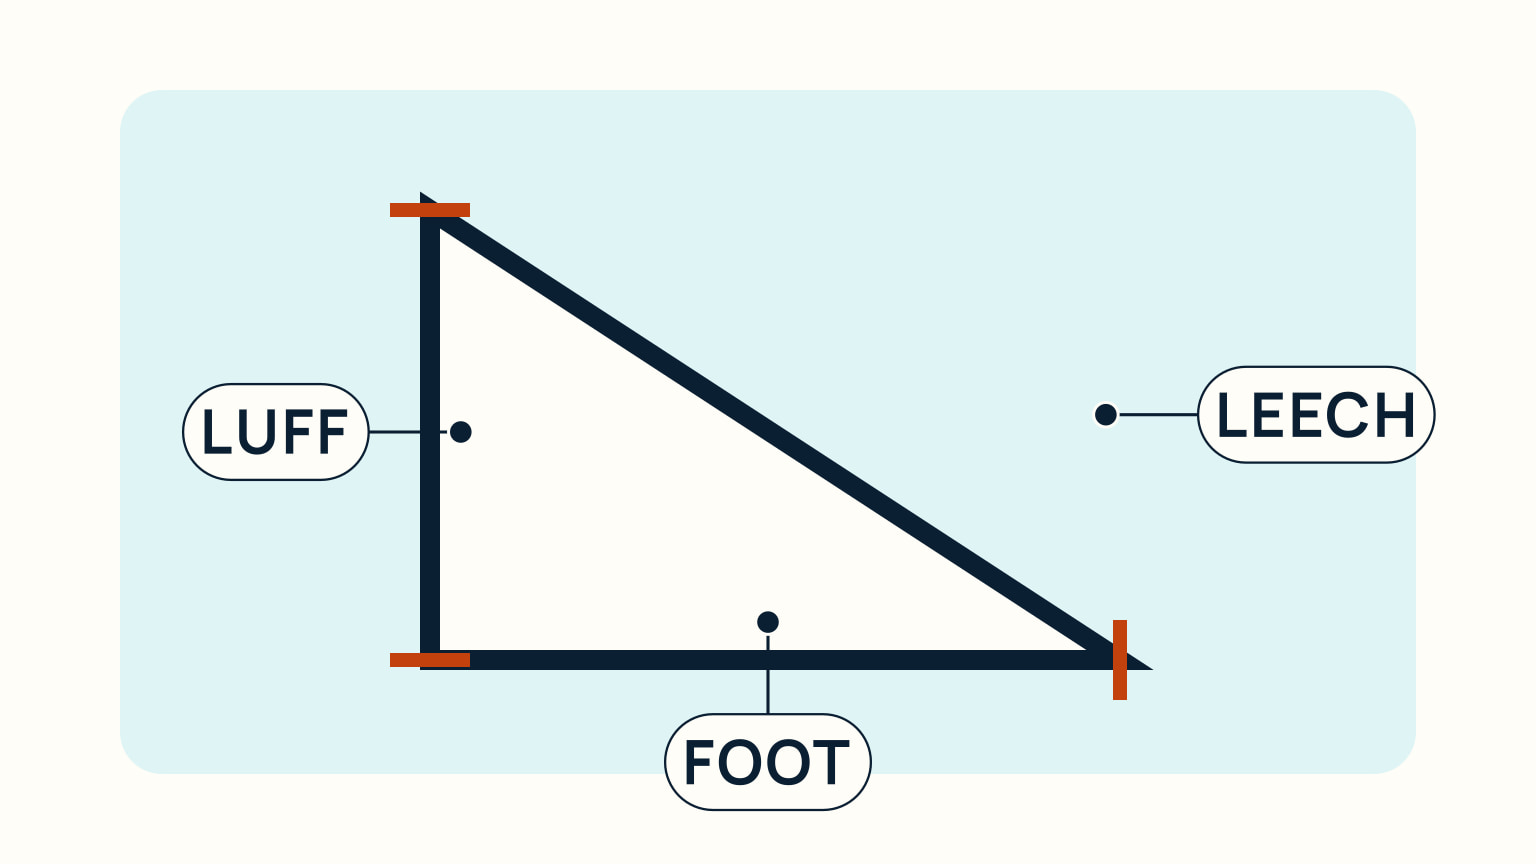
Ask what boat and rig the sail came from, then compare its measurements and attachment system with your own. A mainsail needs the right luff arrangement, tack, clew, headboard, reef points, batten system, and boom relationship. A headsail needs the right luff length and the attachment that your forestay or furler uses. Similar boat length alone is not enough.
Bring your own measurements and photographs of the mast, boom, furler, slides, or track. Check whether the sail was built for a different mast height, boom length, rig geometry, or roller-furling system. A sail that is slightly wrong in an important direction may not set safely or may need changes that erase the bargain.
Ask about every included part. Battens, bags, luff tape, hanks, luff slides, reefing points, telltales, and cover condition all affect what you are buying. If something is absent, write it down rather than assuming it is standard. A seller may honestly call a sail complete while meaning only the cloth itself.
This same fact-first approach helps with the wider used sailboat inspection checklist. Confirming what fits and what is included prevents a small unknown from becoming an expensive surprise later.
Read the cloth and seams in good light
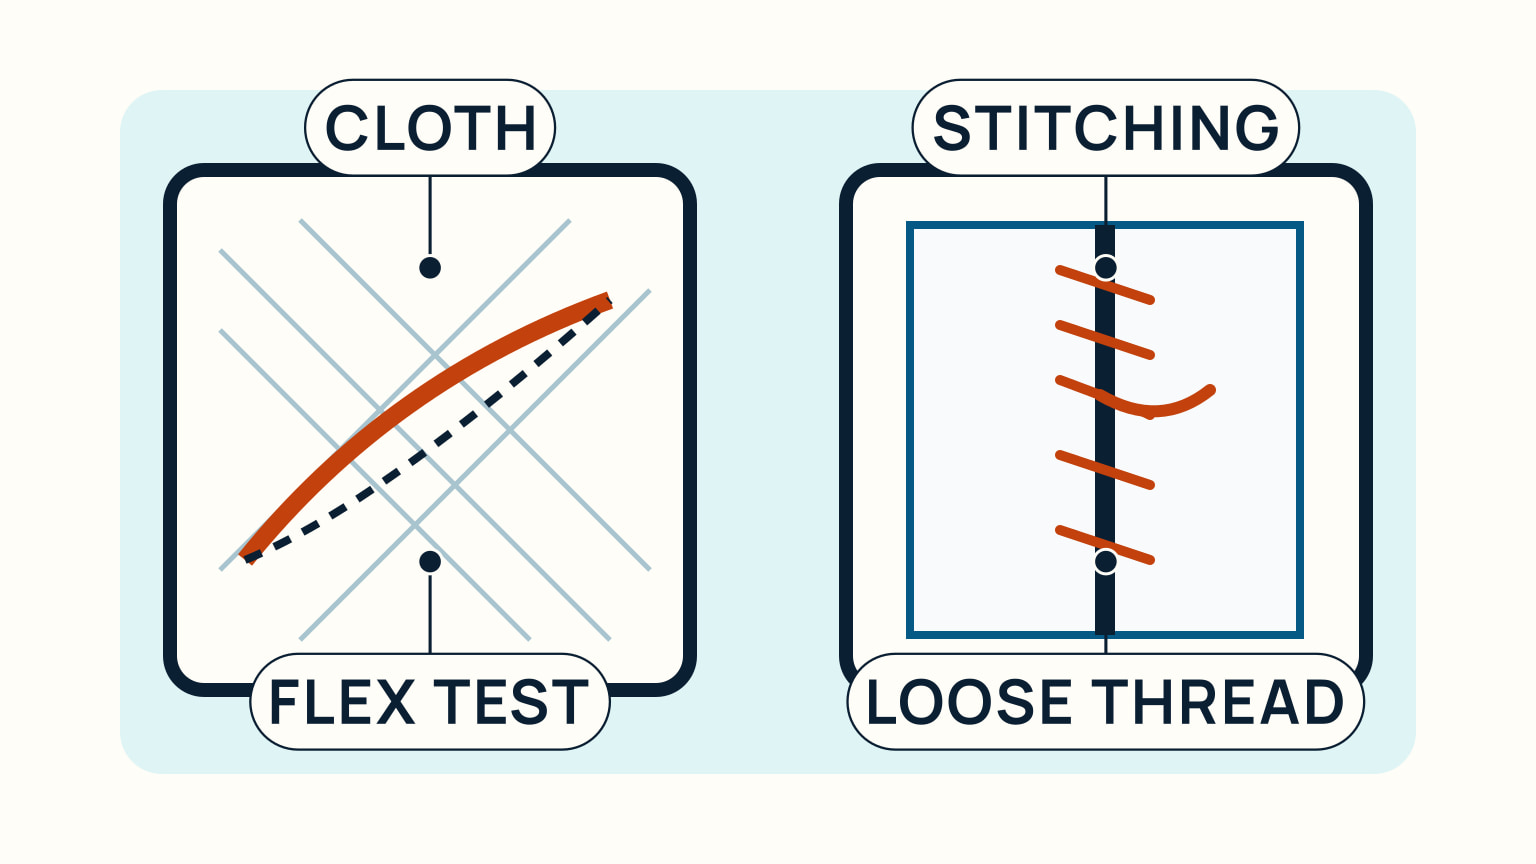
Lay the sail where you can see its full shape. Walk both sides in daylight. Look for staining, chafe patches, thin areas, distortion, brittle-feeling cloth, and places where the weave or laminate appears stressed. Gently handle the cloth without trying to tear it. You are comparing one panel with the next, not performing a destructive test.
Follow every seam. Look for broken, loose, or abraded stitching, especially near the leech, foot, luff, and any place a cover or reinforcement begins. Sail-service inspections commonly flag chafe, degraded stitching, worn webbing, and UV-cover deterioration because these areas can reveal trouble while the main cloth still looks acceptable.
Pay attention to the sun-facing parts of a furling headsail and the exposed areas of a stowed mainsail. A UV cover protects the sailcloth beneath it, but the cover itself is a service item. Loose stitching, thin fabric, or a frayed edge does not mean the whole sail is unusable. It does mean you should include repair work in the decision.
Photograph concerns with a hand or ruler for scale. If you are comparing several sails, use the same view each time. Memory is a poor measuring tool after an afternoon of looking at white cloth in bright light.
Inspect the corners, edges, and hardware
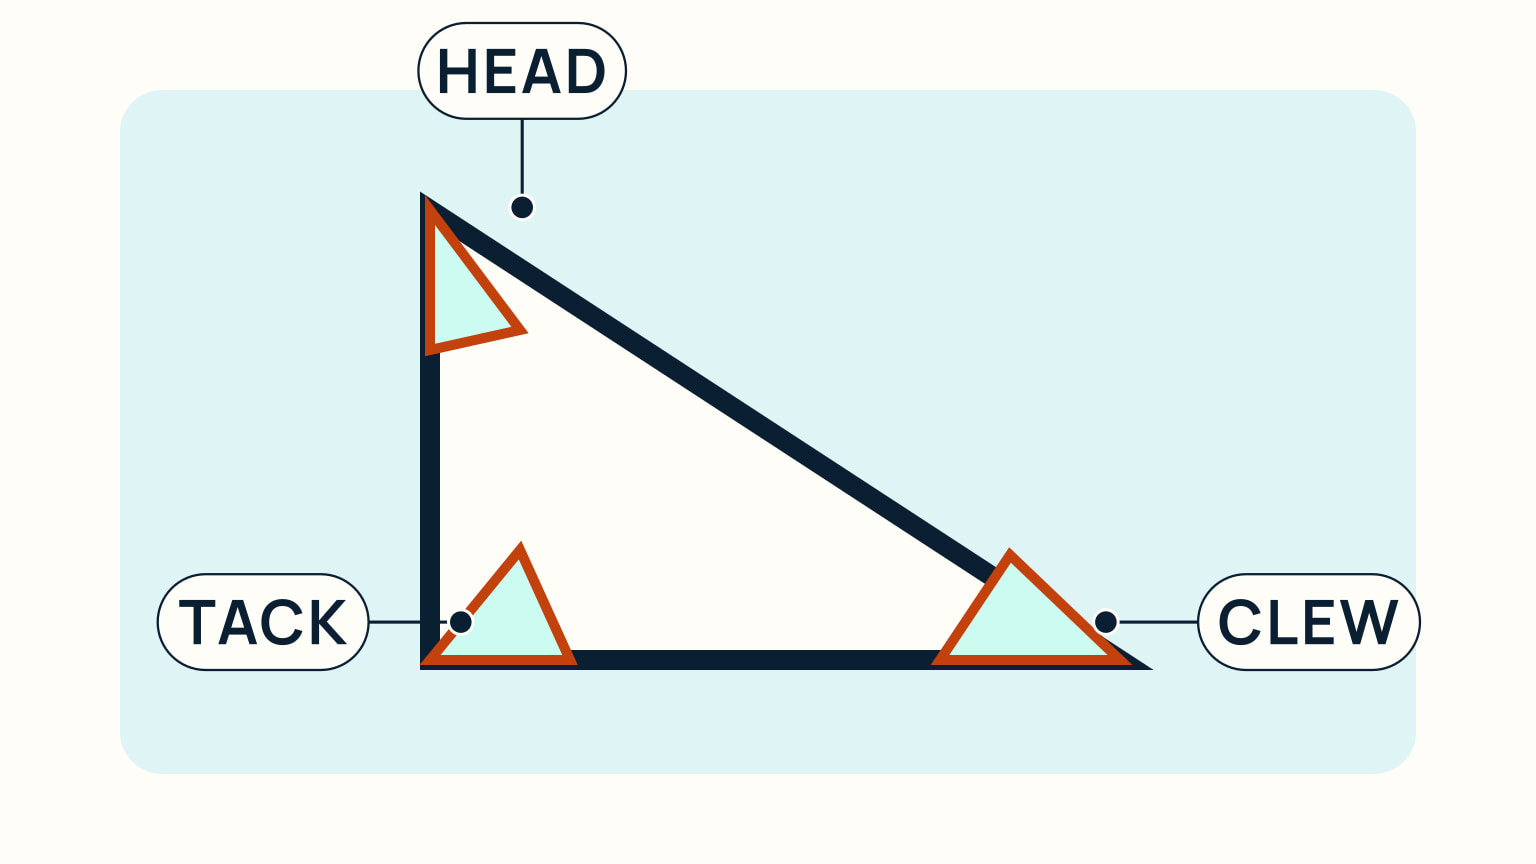
Loads concentrate at the head, tack, clew, reef points, and attachment hardware. Look closely at webbing, rings, cringles, shackles, sliders, hanks, and the stitching that joins reinforcements to the body of the sail. Check for stretched holes, corrosion on hardware, cracks, deformation, or a repair that has started to pull away.
Then inspect the luff and leech from end to end. A luff rope, bolt rope, slides, or luff tape must match the boat's system. A leech line should be present and its exit hardware intact. Batten pockets need attention at both ends, where repeated loading and abrasion can show first. Confirm whether the battens are included and whether their lengths and end fittings are usable.
Do not ignore small patches. A well-done patch may be a sensible repair and a record of responsible ownership. The useful question is why it was needed and whether the surrounding cloth is still sound. Ask the seller when it was done, by whom, and whether the sail has been used heavily since. A vague answer is still information.
If you are learning the parts as you inspect them, types of sails explained can help you name what you are seeing. It will not tell you whether a particular used sail fits, but it makes a sailmaker conversation more precise.
Turn uncertainty into a buying decision
Before paying, list the sail's known fit, visible condition, included parts, known repairs, and questions that remain. Put a realistic repair allowance beside the asking price. If the sail needs a new cover, restitching, recut, new battens, or changes to fit your boat, get an estimate instead of inventing a number.
A sailmaker can identify issues early and recommend a repair or another course of action. That is particularly valuable when cloth condition, shape, or a loaded repair is hard to judge. Arrange an inspection if the sail is a major part of your budget or if it will be used for coastal sailing where failure would seriously disrupt the day.
Be ready to walk away. A sail can be inexpensive and still not be good value if it does not fit your rig or its next service bill is unknown. The best used-sail purchase is one where you can state what it will do, what it needs now, and what you are accepting as normal used condition.
Once you own the sail, store it dry, clean, and supported. Our guide to how to store sails covers the habits that make your inspection record useful for the next owner too.

A used sail is a piece of working equipment, not just a white triangle. Confirm fit first, inspect it in full light, focus on loaded details, and ask for an expert view when the answer affects your purchase. That gives you a decision you can explain and live with.
Ask to see the sail dry and unfolded before agreeing to a price. A bag protects a sail in storage, but it also hides the parts that need inspection. If the seller cannot show the whole sail, treat that as uncertainty rather than evidence of good condition. A fair purchase leaves room for the known service work and does not depend on optimism about the parts you could not inspect.
Bring a list so the visit stays orderly. Record sail dimensions, attachment, cloth observations, seam condition, hardware, repairs, included battens, and questions for a sailmaker. A consistent checklist makes it easier to compare two possible sails. It also stops an attractive colour, clean bag, or friendly seller from distracting you from the practical question: will this sail set correctly and remain useful on this boat?
If practical, ask how the sail was stored between seasons. Dry storage, a clean bag, and attention to small repairs support a better history than a sail left wet or ignored. They do not prove the sail is sound, but they give useful context for the inspection and price.
Consider how you will use the sail after purchase. A lightly used spare for local daysailing can be a reasonable choice with known cosmetic wear. A primary sail for a long trip needs a different level of confidence in cloth, seams, and fit. State that intended use to the seller and any sailmaker. It makes the advice more relevant than asking whether the sail is simply "good." A useful answer describes the sail's condition in relation to the job you need it to do.
Keep the sale record with your other boat papers. Include the seller's description, measurements, inspection photos, repair invoices, and the price. If you later service or sell the sail, that history lets the next person understand what was known at the time. Transparent records make used equipment easier to assess and reduce the temptation to overstate a sail's condition.
If a seller offers to hoist the sail, use the opportunity carefully. A brief hoist can reveal how the luff attaches, whether the sail reaches expected points, and whether obvious distortion appears. It is not a substitute for laying the sail out, because details in seams and repairs can still be hidden when the cloth is under tension and light.
Try it from the lesson
Can you spot the next move?
The mainsail is down and you need to raise it to the top of the mast. Which line do you pull?
Why you can trust this guide
. We build each guide from public seamanship and safety sources, then teach the universal principle before any local difference.